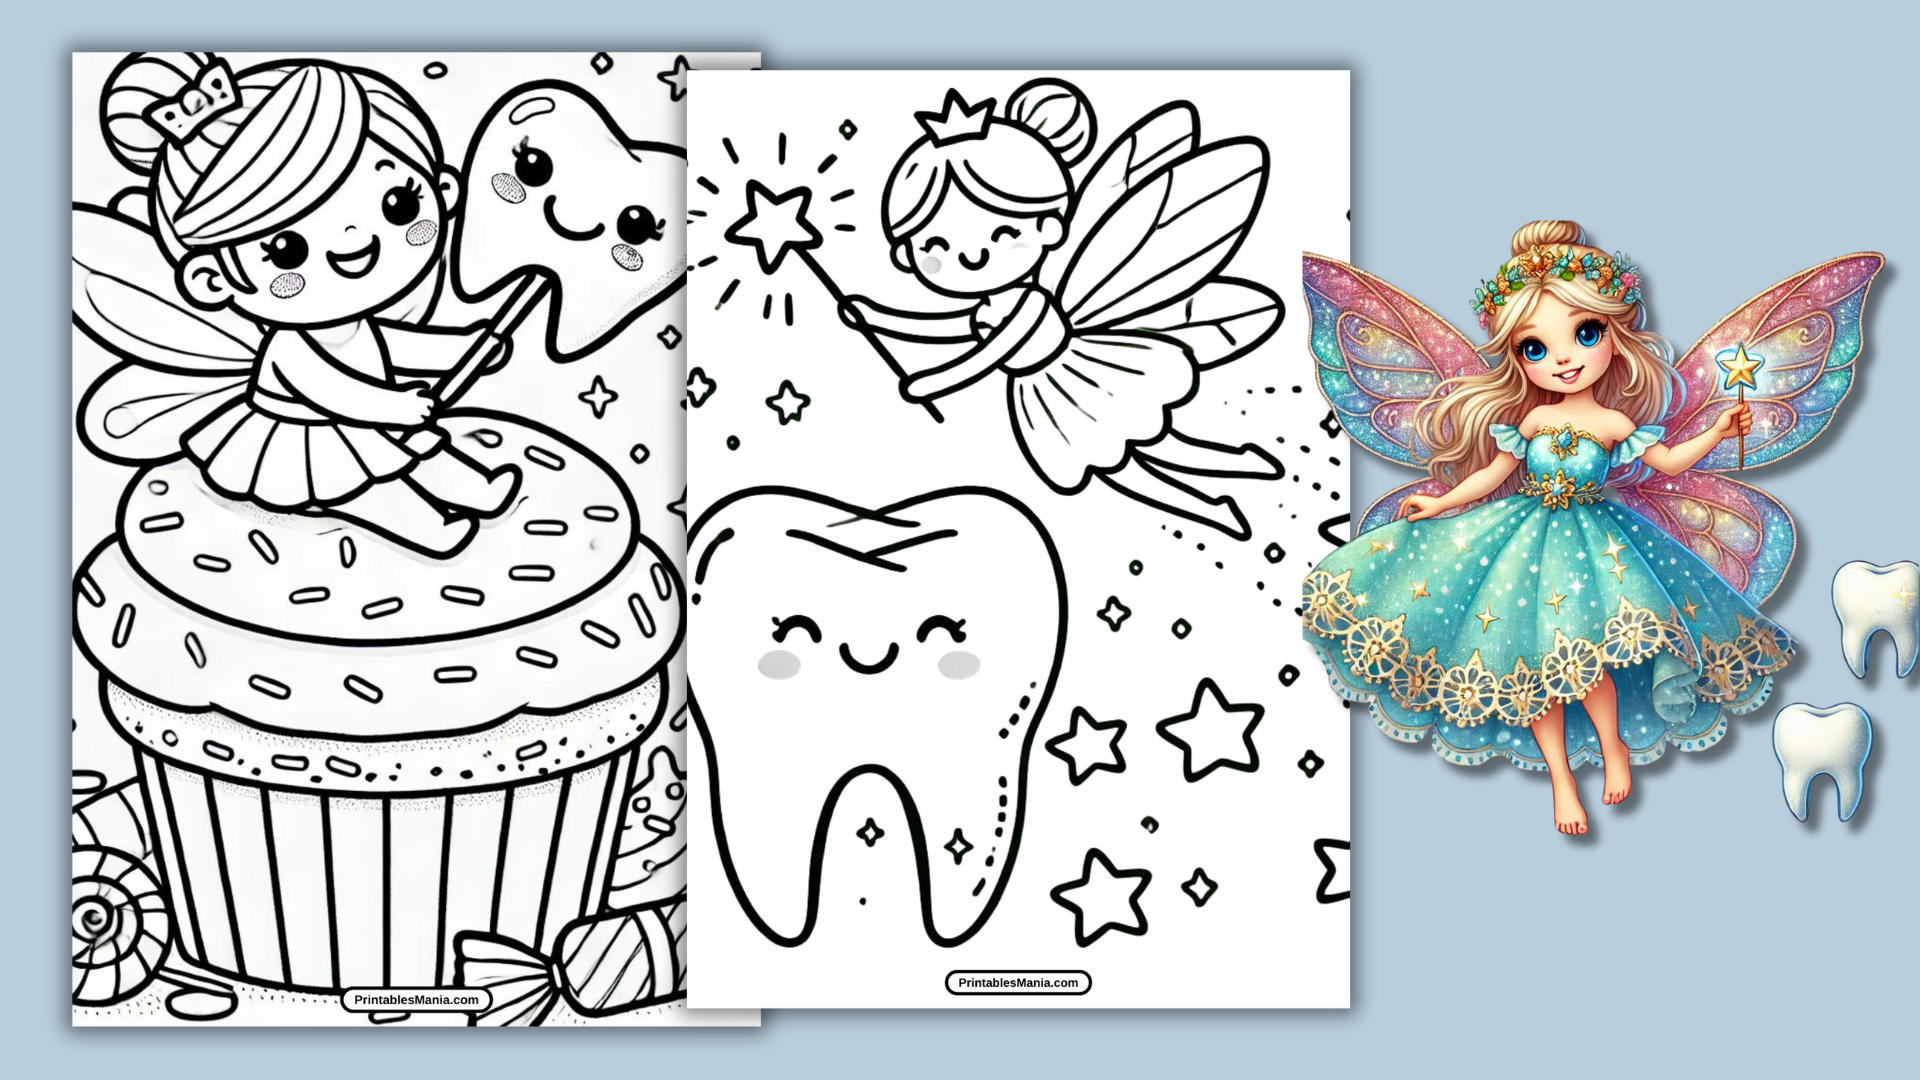
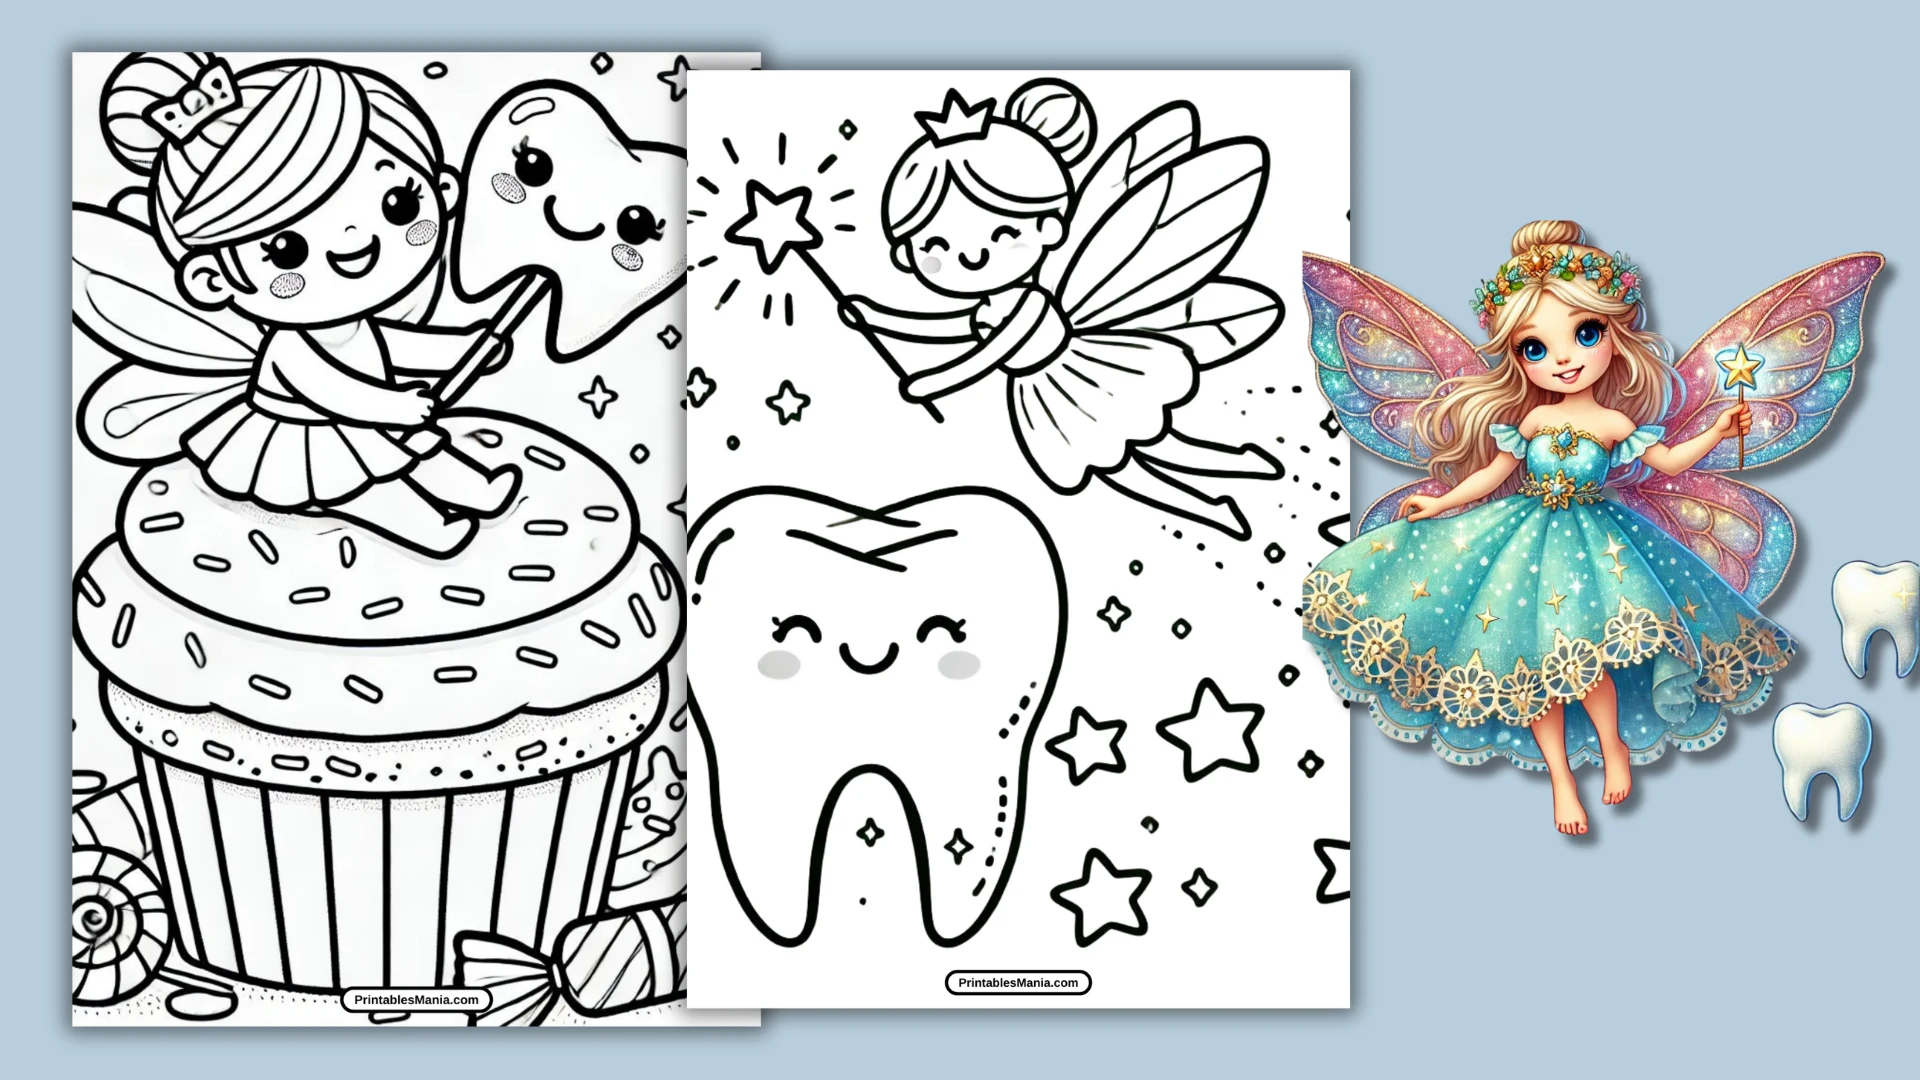
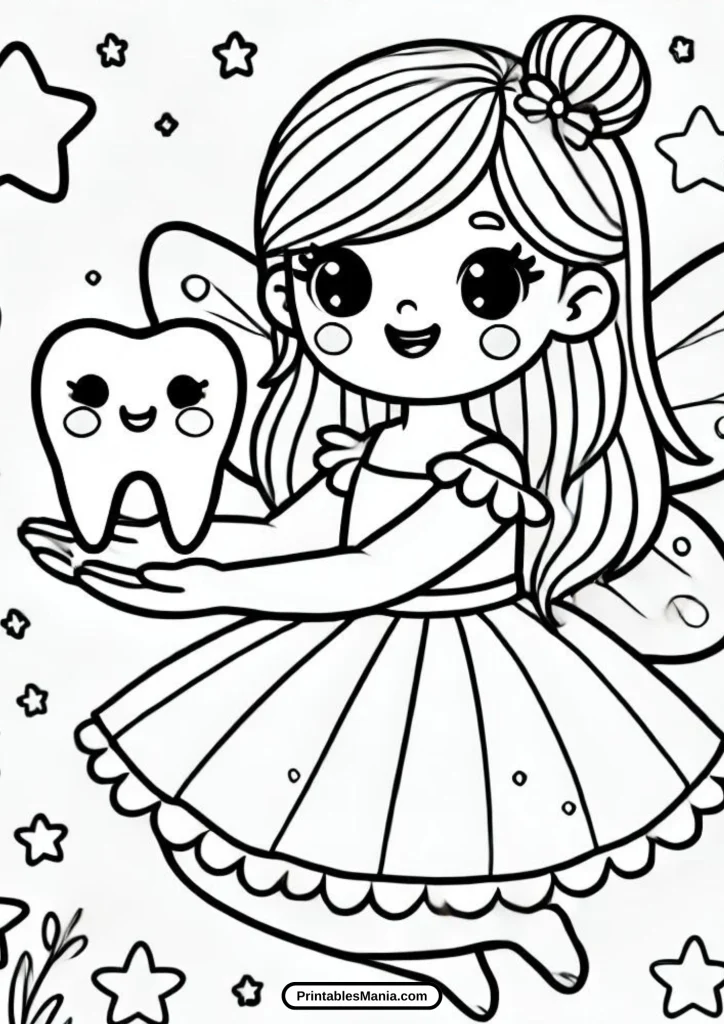
Explore our magical collection of Tooth Fairy coloring pages, where imagination takes flight! Perfect for little artists who love all things whimsical, these pages are designed to bring smiles and creativity to your child’s day.
Why Tooth Fairy Coloring Pages?
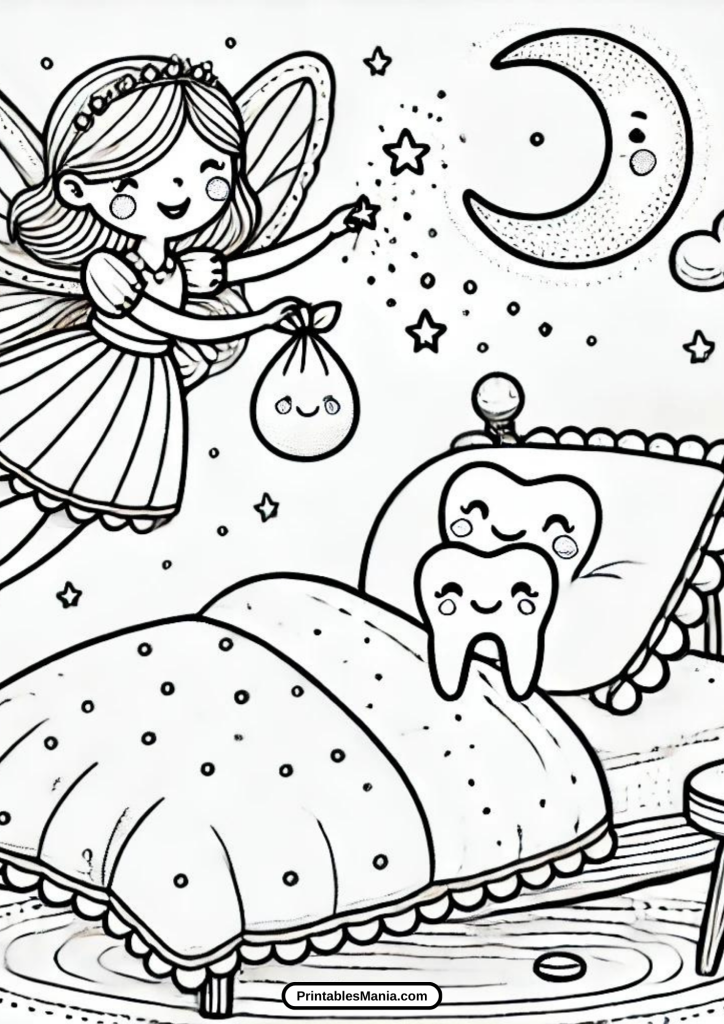
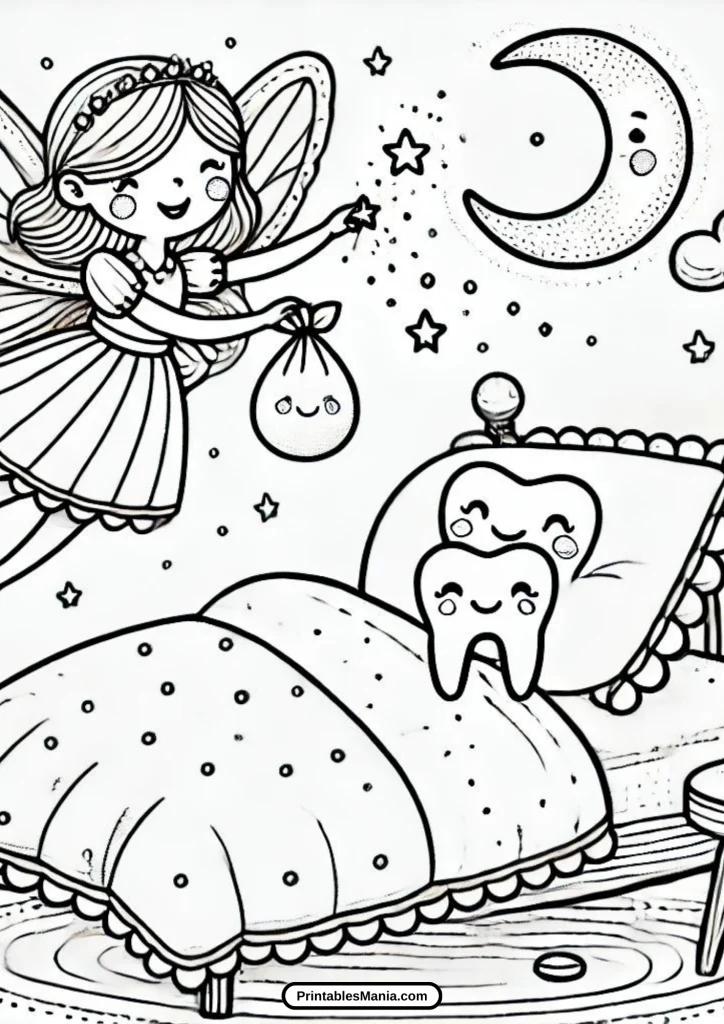
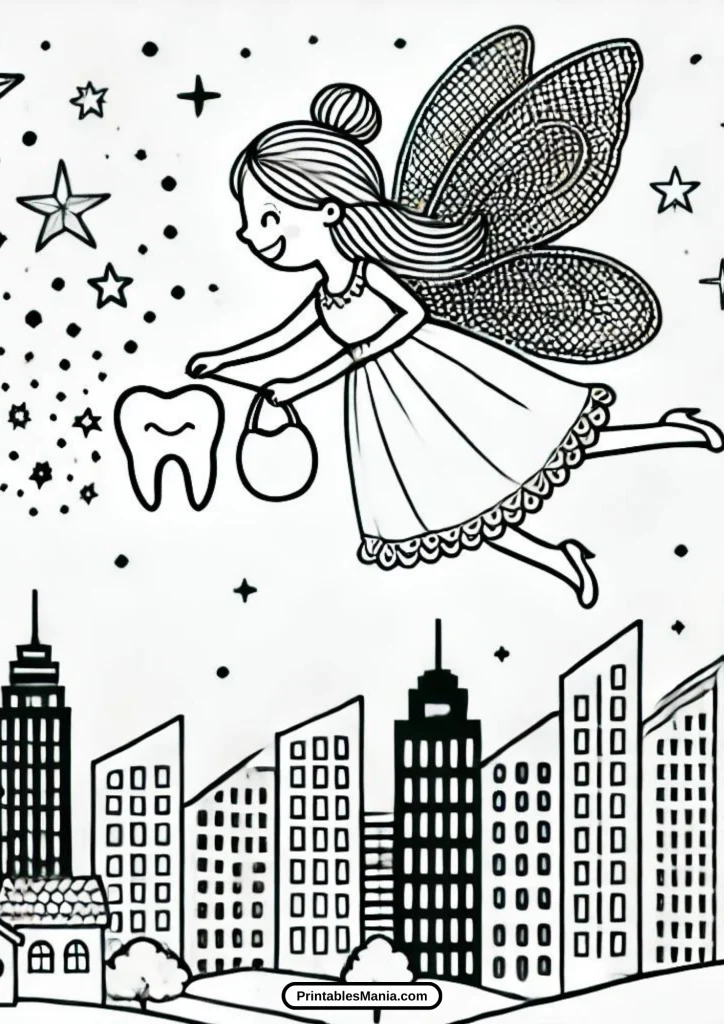
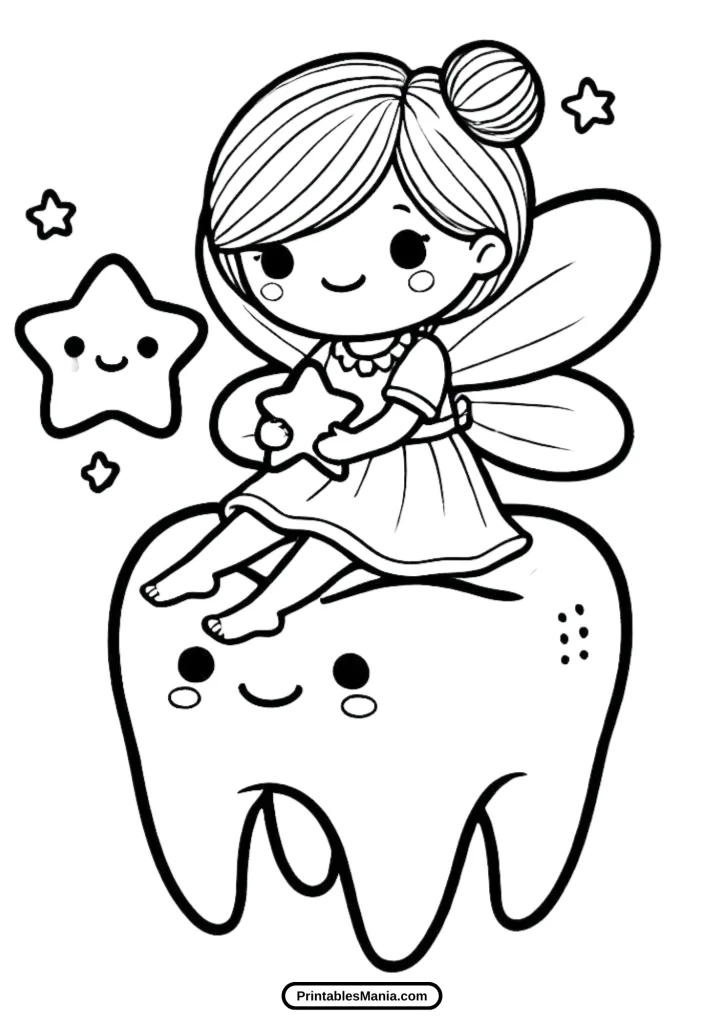
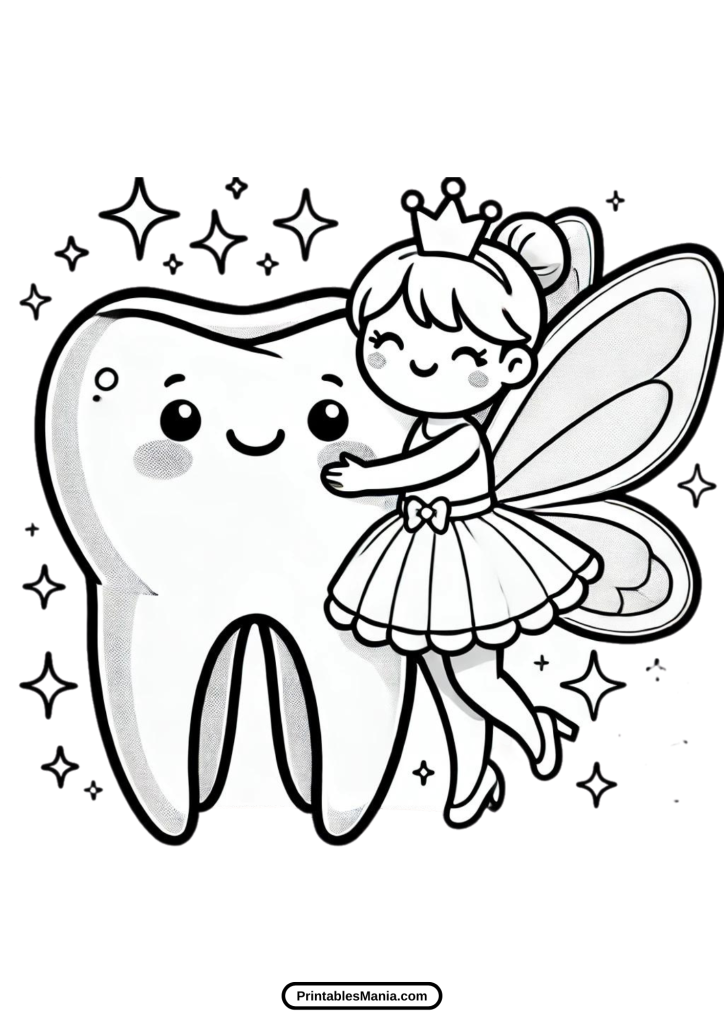
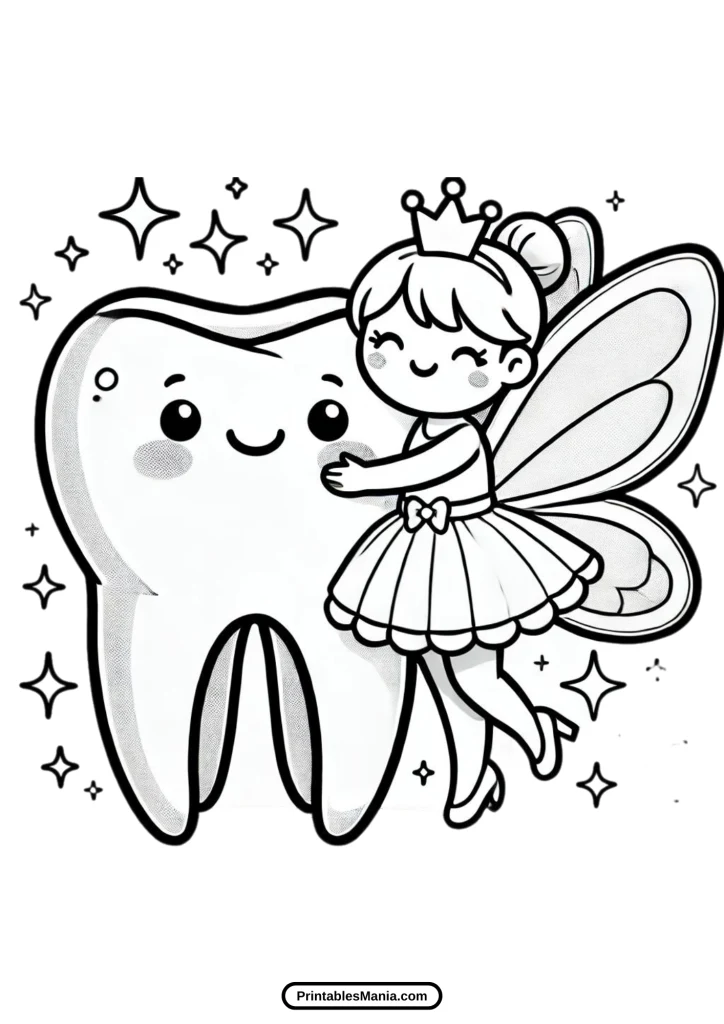
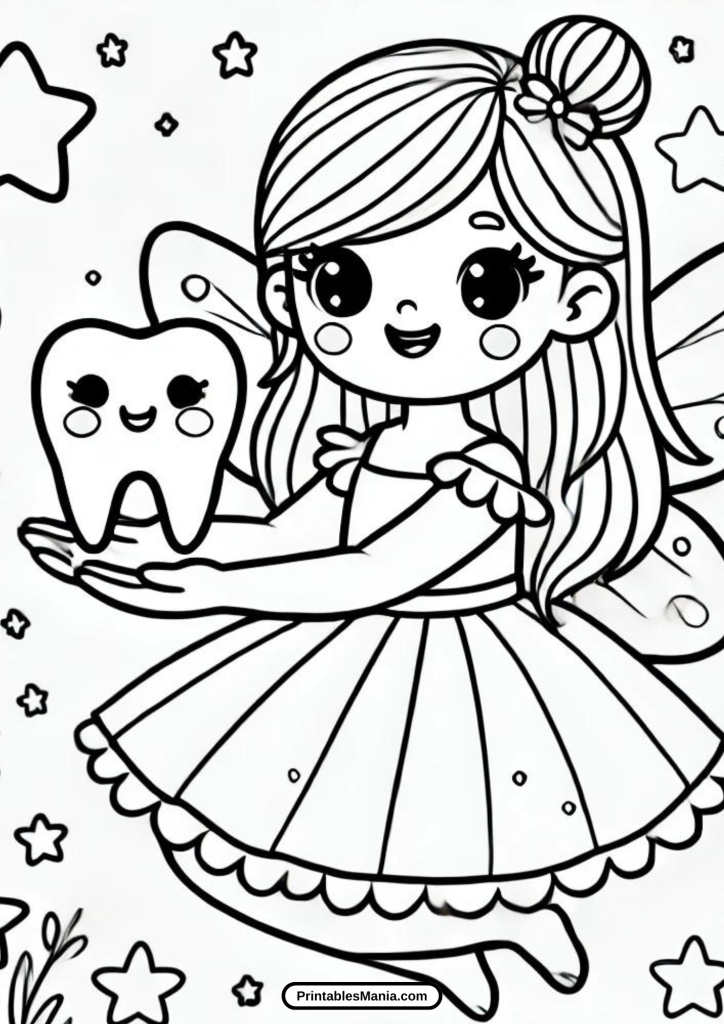
The Tooth Fairy is a beloved figure in many children’s lives, symbolizing the wonder and excitement of losing a tooth. Our coloring pages capture that magic, offering a fun and educational way for kids to engage with this enchanting tradition. Whether your child is waiting for the Tooth Fairy’s next visit or just loves the idea of fairies, these pages are sure to delight!
How to Use Our Coloring Pages
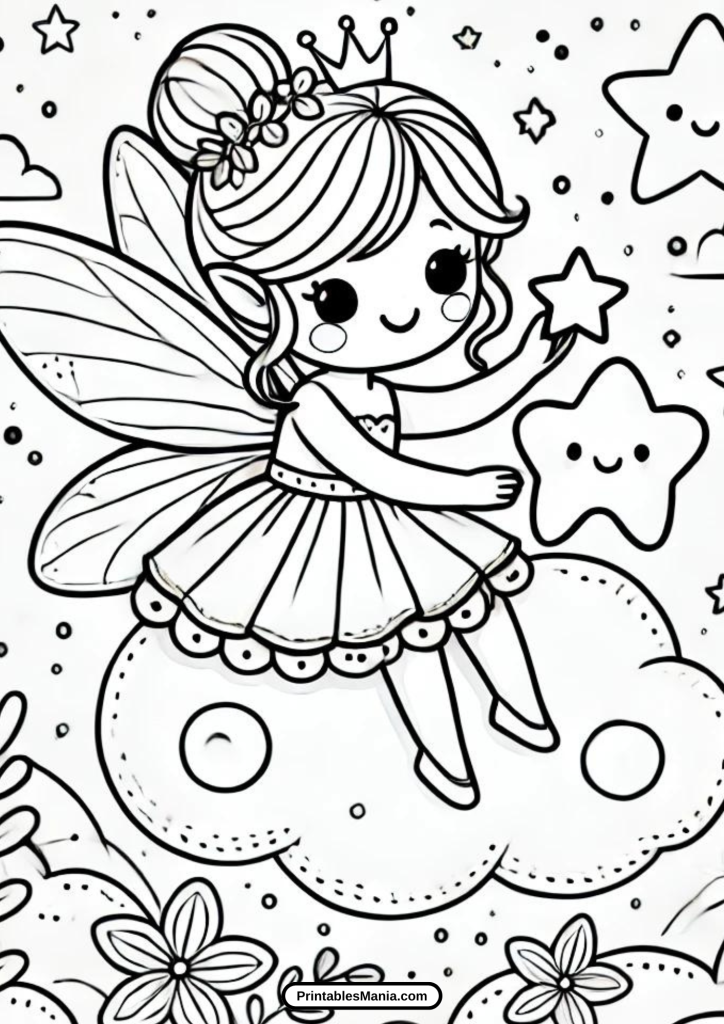
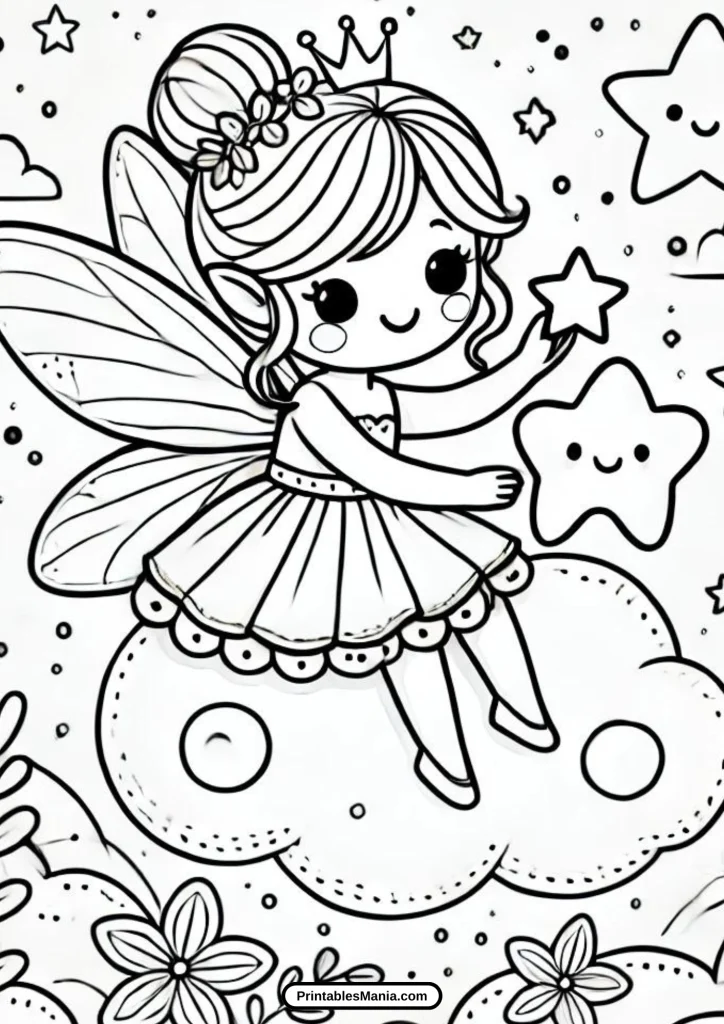
Simply choose your favorite Tooth Fairy design, print it out, and let the coloring fun begin! Our pages are perfect for all skill levels, featuring simple, easy-to-color designs that inspire creativity and storytelling. Don’t forget to share your child’s finished artwork with us!


Art Tips and Techniques for Coloring Your Tooth Fairy Pages
Coloring is not just fun—it’s an opportunity to express creativity and learn new techniques! Whether you’re a beginner or an experienced artist, these tips will help you bring your Tooth Fairy coloring pages to life.
Choosing Your Colors
- Start with a Color Palette: Before you begin, think about the colors you want to use. For a magical, whimsical look, consider soft pastels like pinks, blues, and purples. If you want something vibrant, try using bright yellows, greens, and reds.
- Complementary Colors: Use colors that complement each other to make your artwork pop. For instance, pair blues with oranges or purples with yellows to create a visually appealing contrast.
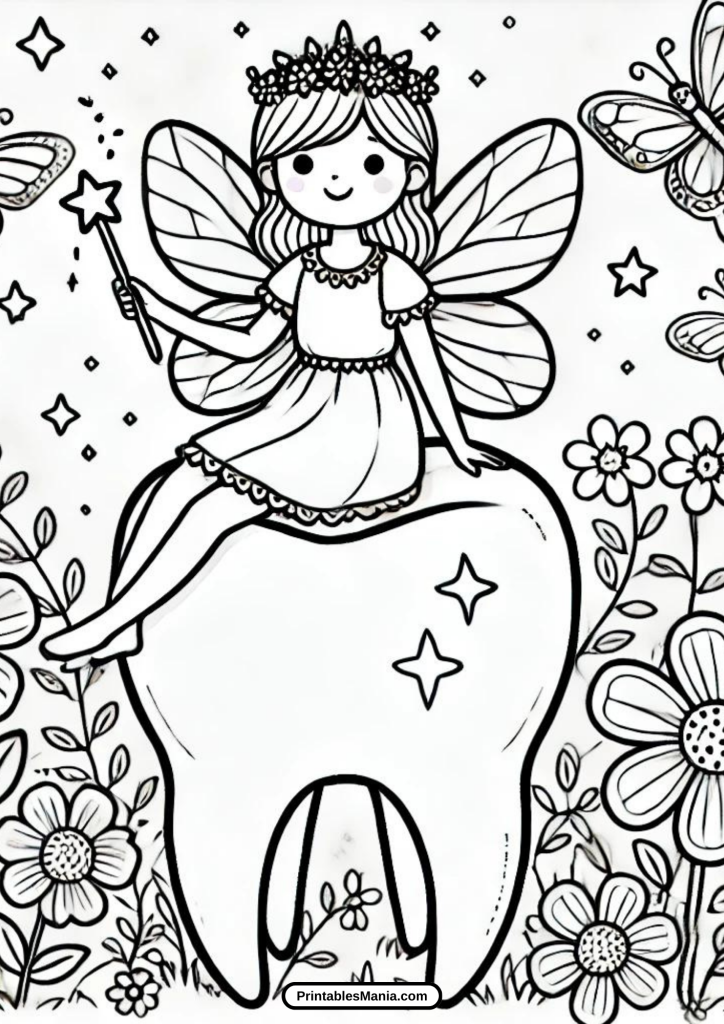
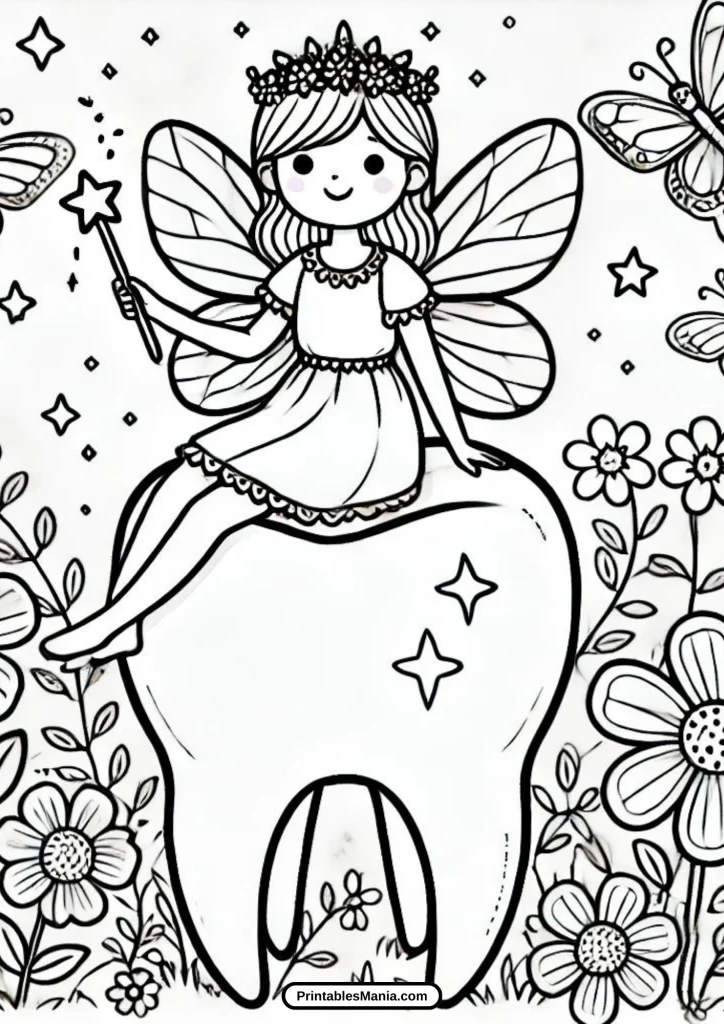
- Stick to a Theme: If your Tooth Fairy scene includes elements like flowers or stars, consider using a consistent color theme throughout the page to create a harmonious look.
Blending Techniques
- Crayons: For a soft, blended look, use a lighter touch with your crayons. Layering different shades of the same color can create depth. You can also use a white crayon on top to blend colors smoothly.
- Markers: While markers can be bold and vibrant, they can also be blended! Start with a lighter color and gradually add darker shades. For blending, try using a colorless blender marker, or lightly layer the colors while the ink is still wet.
- Colored Pencils: Colored pencils are perfect for blending. Start with the lightest color and build up layers, pressing harder as you go to deepen the color. You can blend colors together with a blending pencil or by lightly rubbing with a tissue or cotton swab.
Experiment with Mediums
- Crayons: Perfect for younger children, crayons offer bold color and are easy to handle. Encourage kids to explore shading by pressing lightly for lighter colors and more firmly for darker shades.
- Markers: Great for bold, vibrant coloring. Encourage using the marker’s tip for fine details and the side for filling in larger areas. Just be careful not to press too hard to avoid bleeding through the paper.
- Colored Pencils: Ideal for adding details and blending colors. Encourage kids to layer colors to create gradients or use different pressure to create texture.
- Digital Coloring: If you’re using a tablet or computer, try experimenting with different brush styles and opacity settings. Many digital tools allow for easy undoing and layering, making it a great way to explore different techniques without fear of mistakes.
Adding Special EffectsWhat to Do with Your Colored Page?
Once you’ve finished coloring your Tooth Fairy masterpiece, the fun doesn’t have to stop! There are plenty of creative ways to enjoy and share your artwork. Here are some ideas to inspire you:
1. Create a Tooth Fairy Keepsake
Turn your colored page into a special keepsake! You can write the date on the back and keep it as a memory of your child’s artistic skills. You might even want to start a scrapbook dedicated to all the Tooth Fairy visits, complete with colored pages, notes, and pictures.
2. Display It Proudly
Showcase your child’s hard work by displaying the finished page in your home. Frame it and hang it in their bedroom, on the fridge, or create a rotating art gallery wall where you can regularly switch out new pieces.
3. Use It as a Gift
A colored Tooth Fairy page can make a wonderful and personal gift for grandparents, relatives, or friends. Simply write a sweet message on the back, roll it up, and tie it with a ribbon. It’s a heartfelt way to share your child’s creativity.
4. Make a Tooth Fairy Letter
Transform the coloring page into a letter from the Tooth Fairy! After your child has colored it, you can write a special note on it from the Tooth Fairy, thanking them for their tooth. Leave it under their pillow or in a special spot for them to find in the morning.
5. Craft a Tooth Fairy Bookmark
Cut out a portion of the colored page and laminate it to create a cute bookmark. This is a fun and functional way to keep the Tooth Fairy magic alive every time your child reads a book.
6. Share It Online
Why not share your child’s artwork with the world? Take a photo or scan the colored page and share it on social media or in a family group chat. You can also post it in online communities where other parents share their children’s artwork. Encourage your child by showing them the positive feedback from friends and family.
7. Turn It Into a Puzzle
Make a fun activity out of your artwork by turning the colored page into a puzzle. Glue the page to a piece of cardboard and cut it into puzzle pieces. Your child will enjoy putting it back together again!
8. Create a Coloring Book
Collect several colored pages and bind them together to create your very own personalized coloring book. This can be a fun way to look back at your child’s artistic progress over time or to give as a gift to friends and family.
9. Incorporate It into a Story
Encourage your child to create a story around their colored Tooth Fairy page. They can write or dictate the story, using their artwork as an illustration. This is a wonderful way to foster creativity and storytelling skills.
10. Use It as a Reward Chart
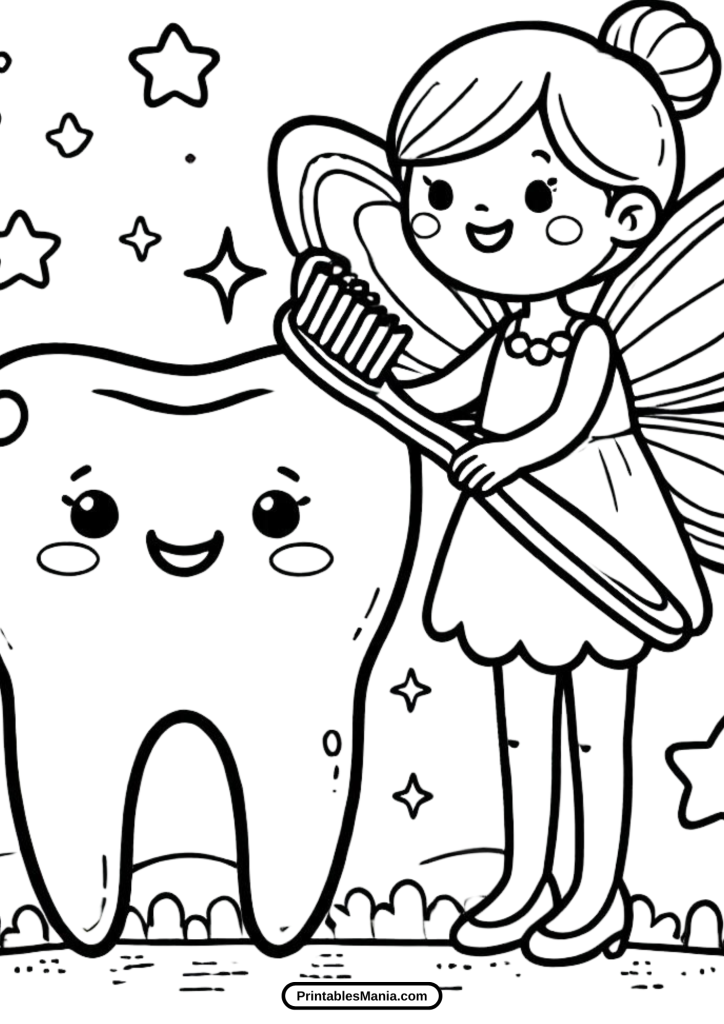
Turn the colored page into a fun reward chart! Add stars or stickers each time your child completes a task, such as brushing their teeth. Once the chart is full, they can be rewarded with a small treat or a special activity.
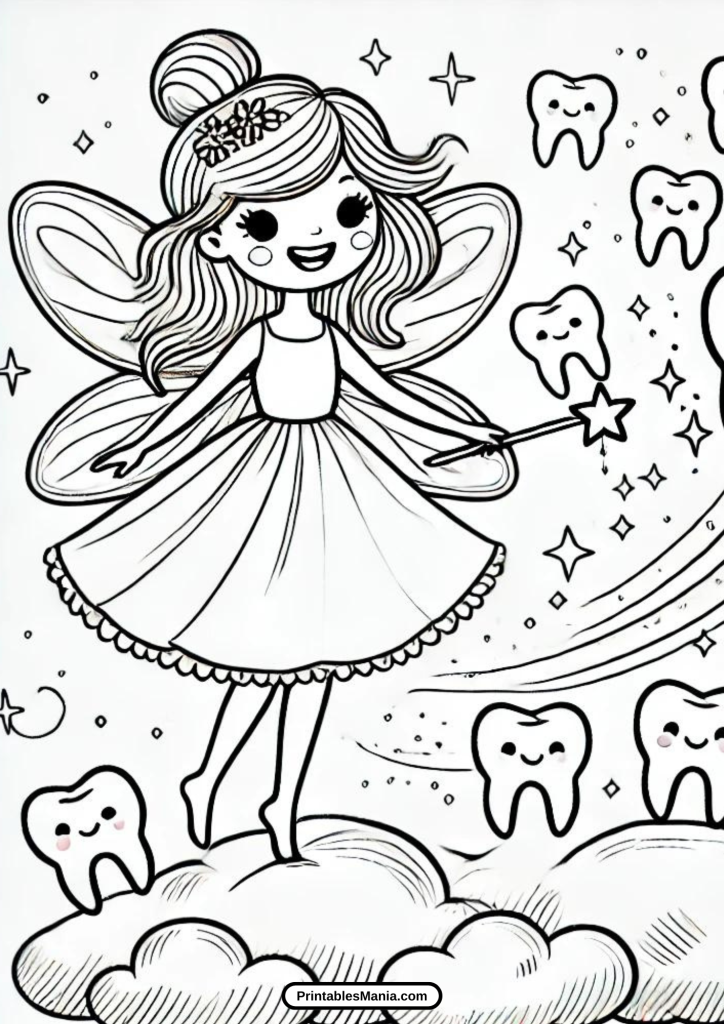
- Sparkle and Shine: Use glitter gel pens or add a touch of glitter glue to create sparkling effects on the Tooth Fairy’s wings or magical dust.
- Highlights and Shadows: Add depth to your coloring by incorporating highlights and shadows. Lightly shade areas that would be in shadow, and use a white or lighter color to highlight areas where the light would naturally hit.
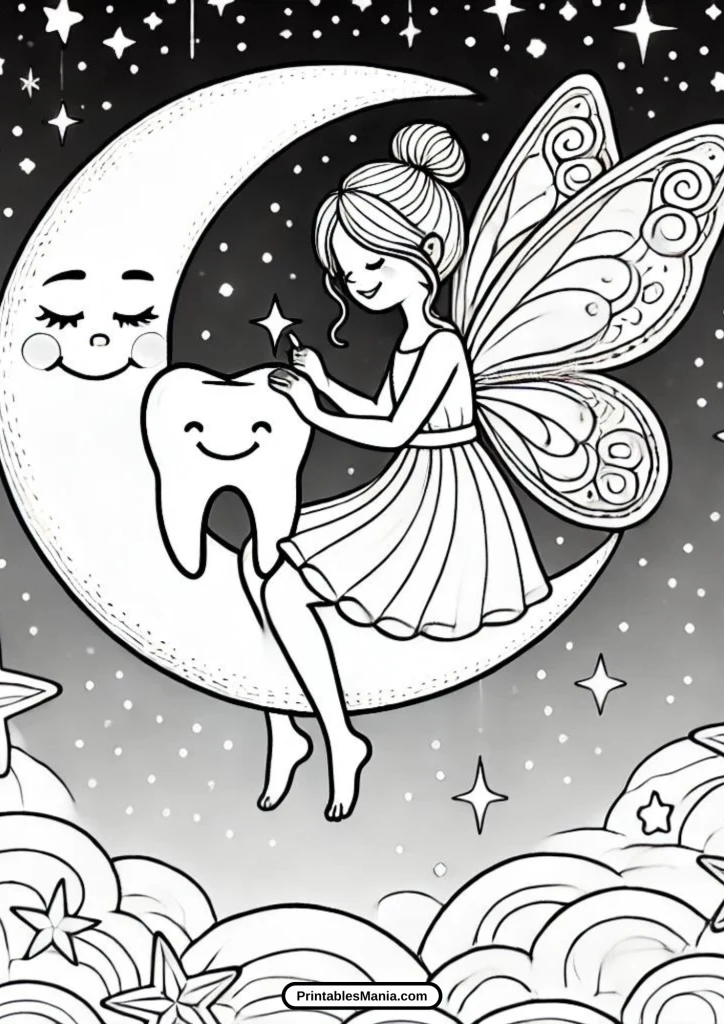
- Backgrounds: Don’t forget the background! A softly colored background can make the Tooth Fairy stand out even more. Consider adding soft clouds, a glowing moon, or twinkling stars to complete the scene.