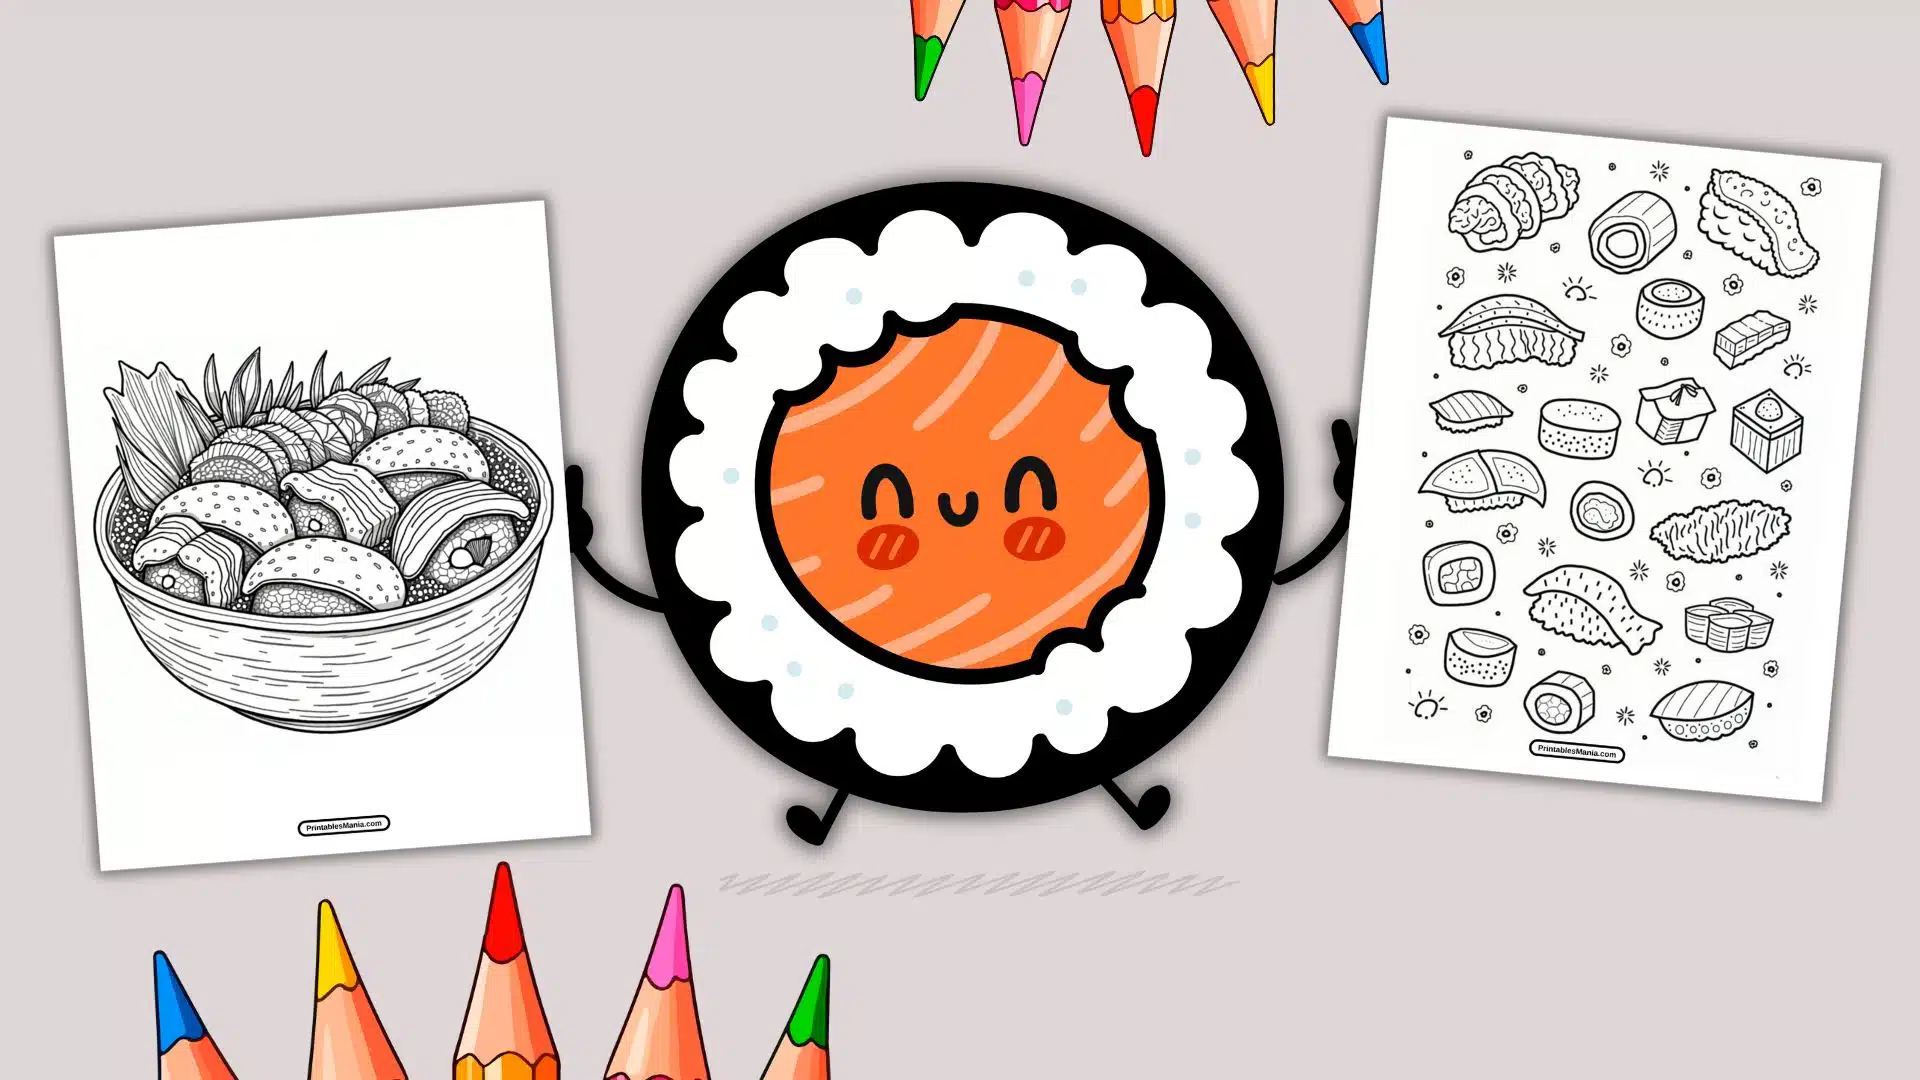
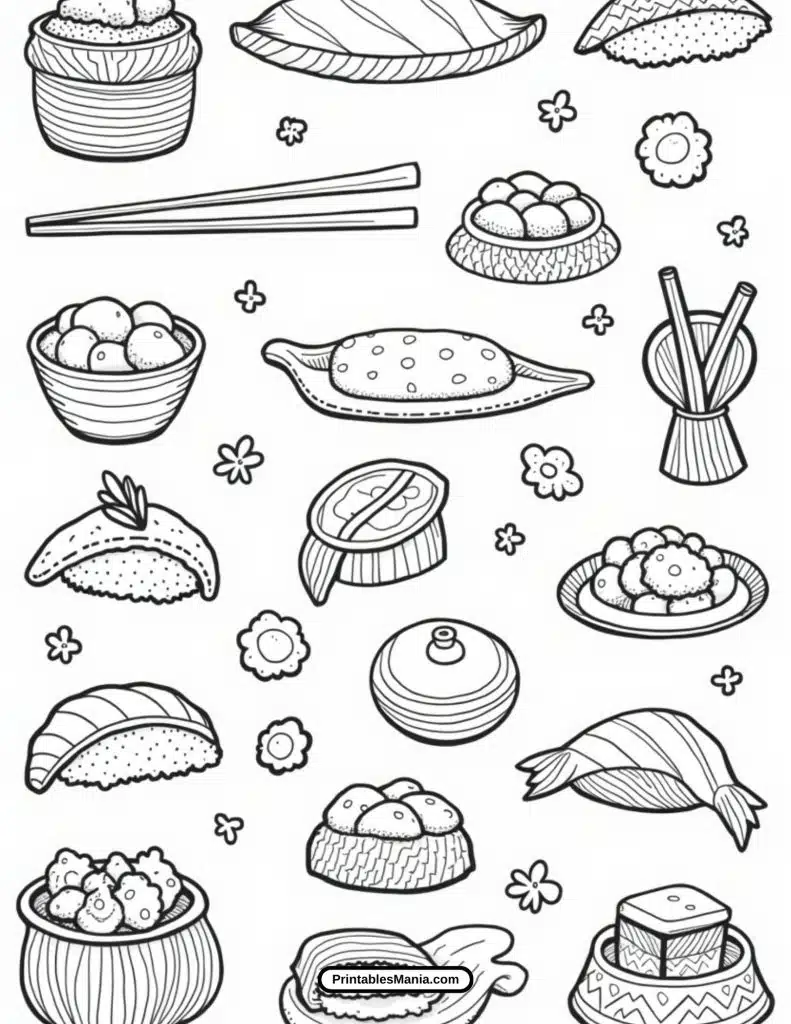
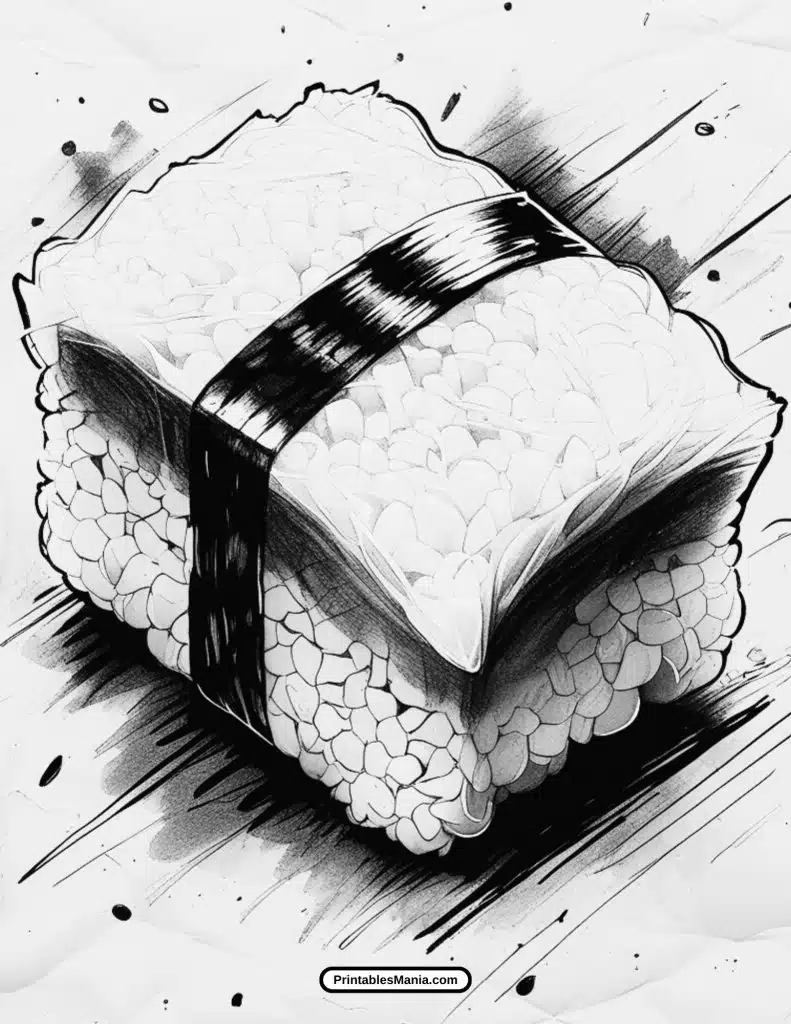
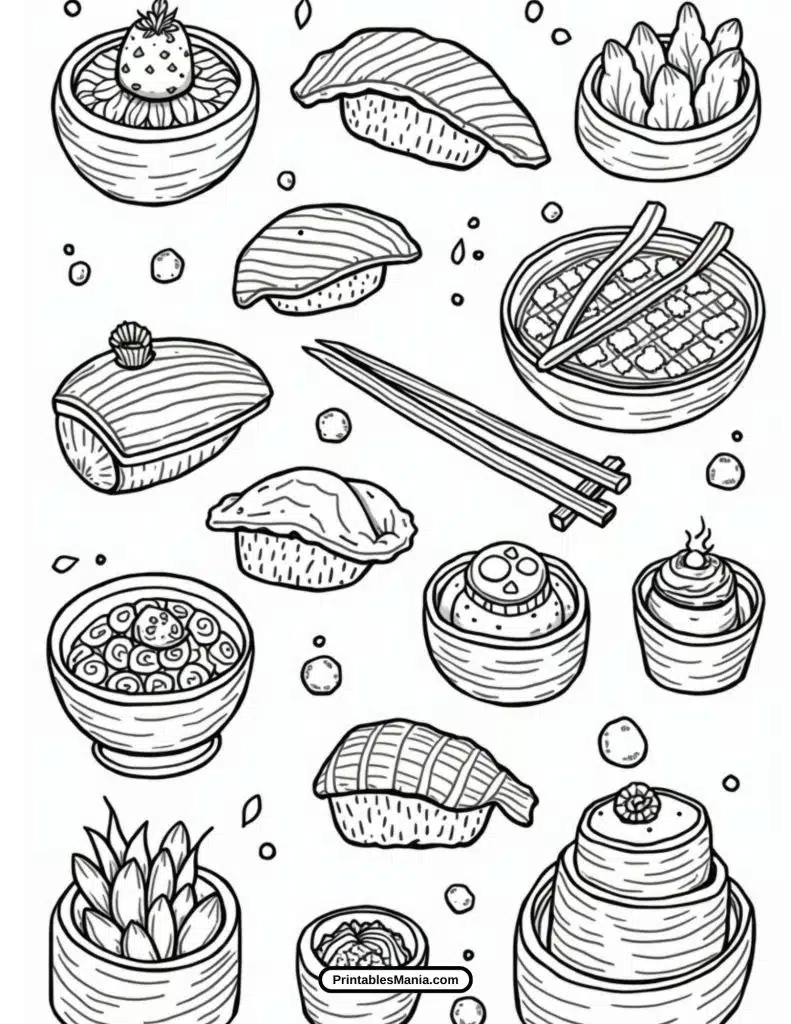
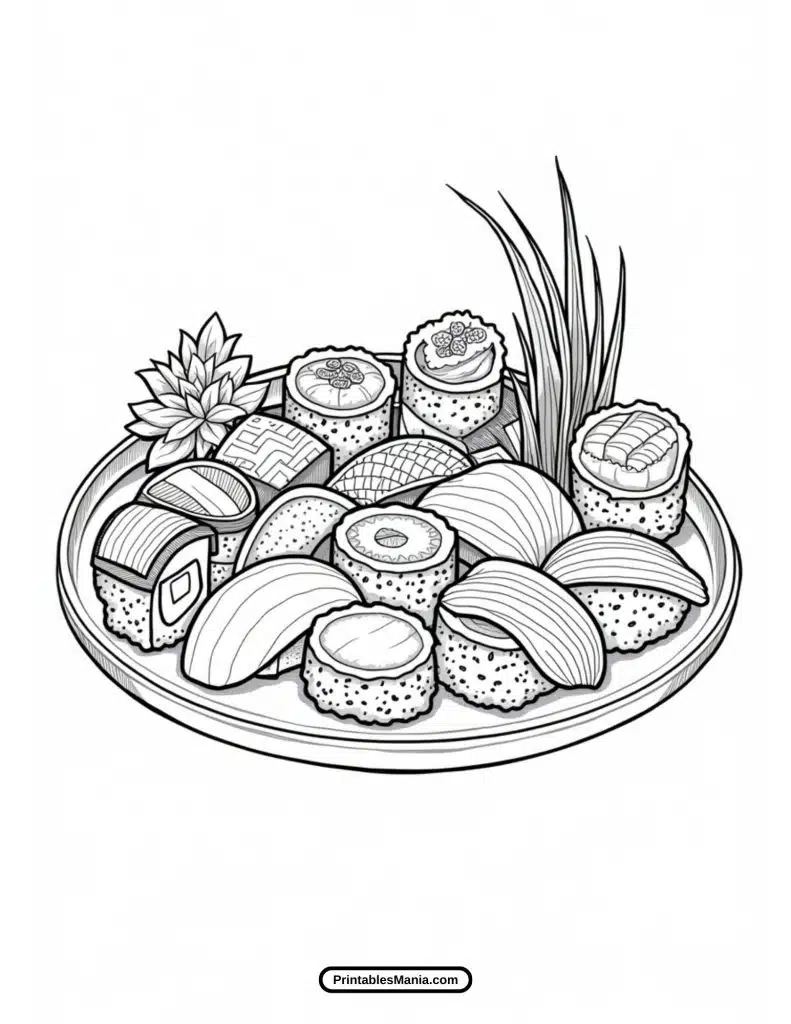
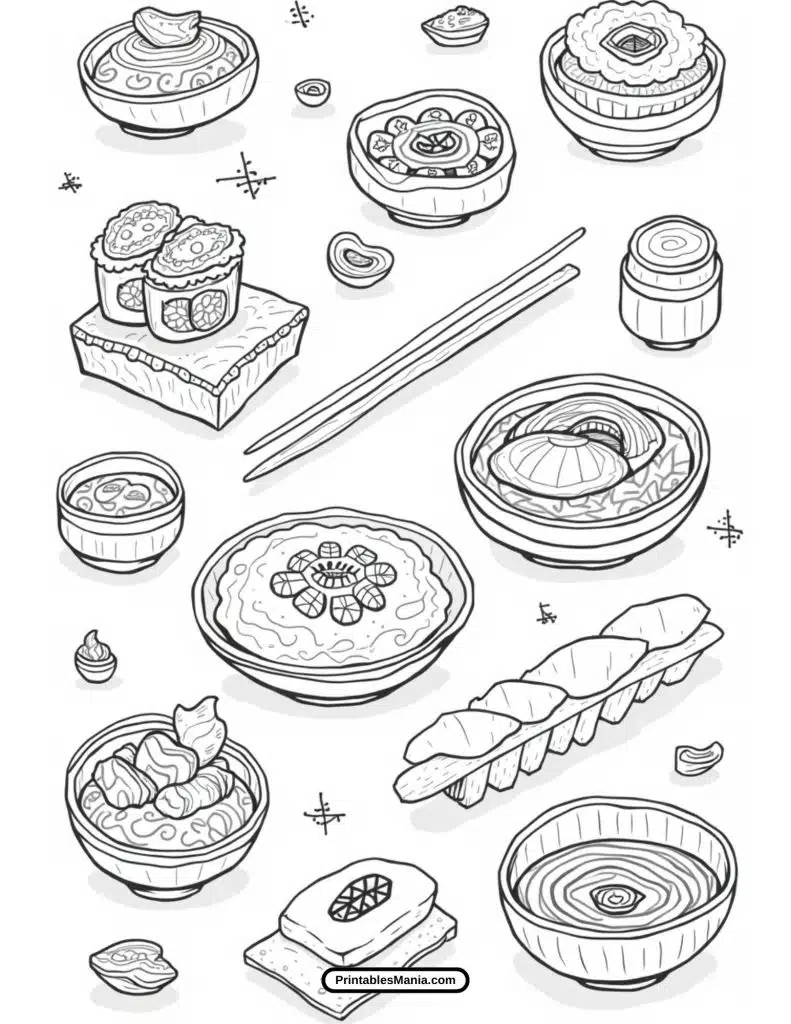
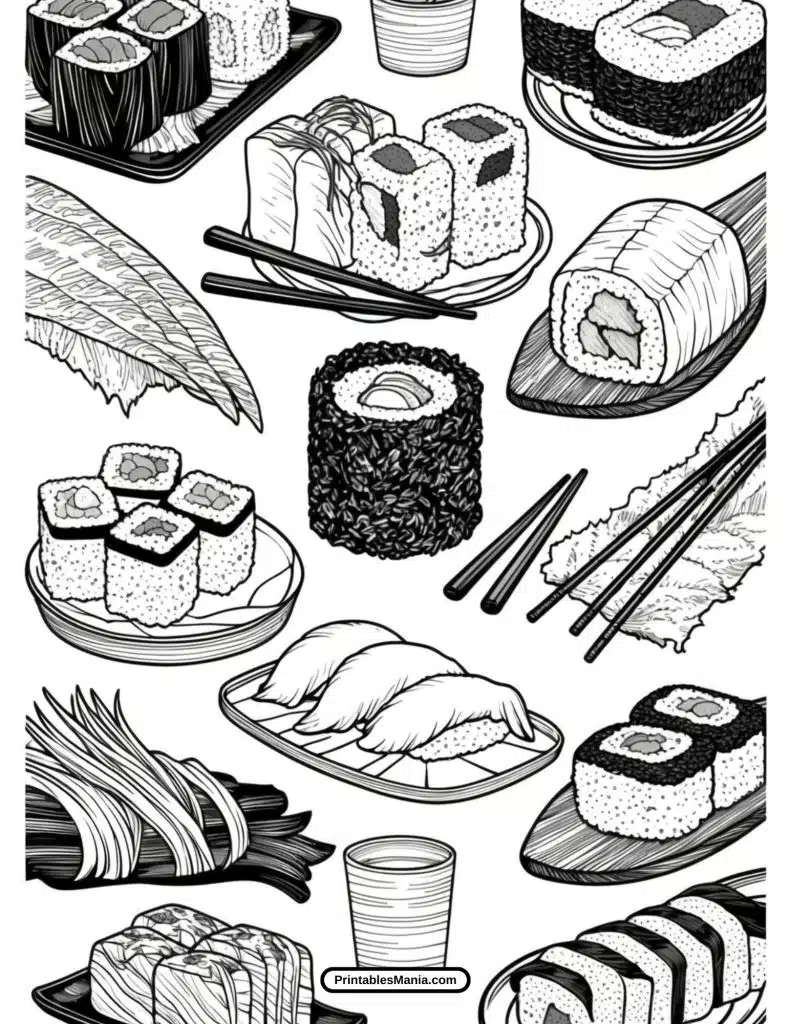
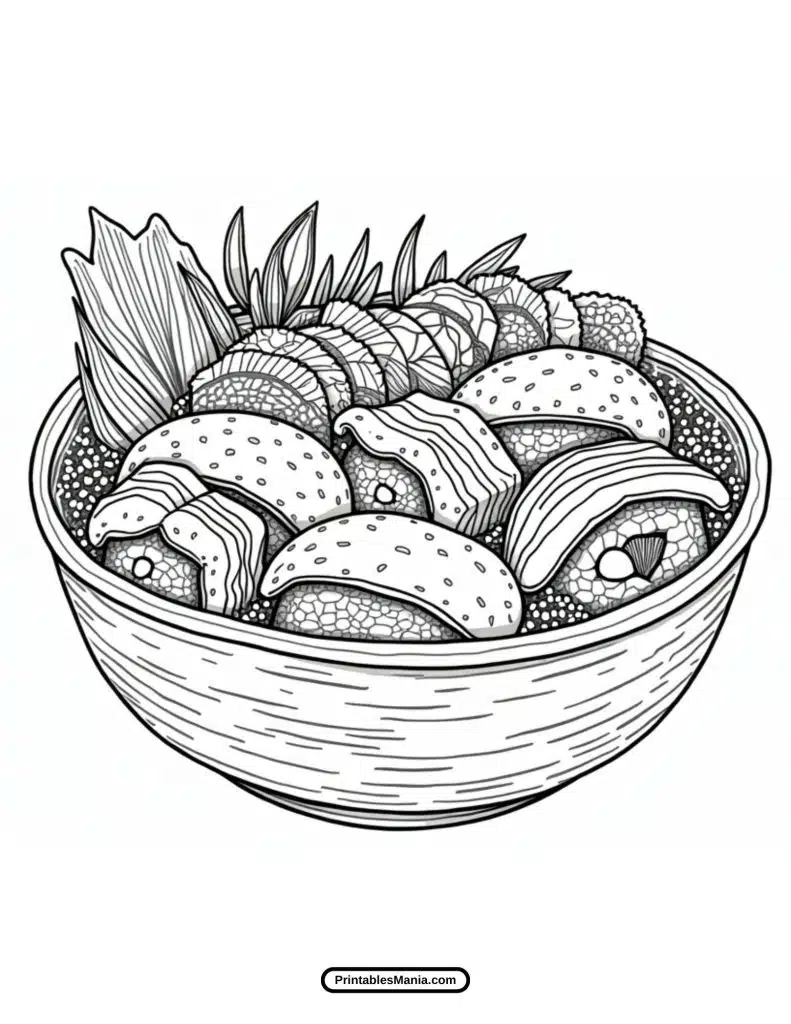
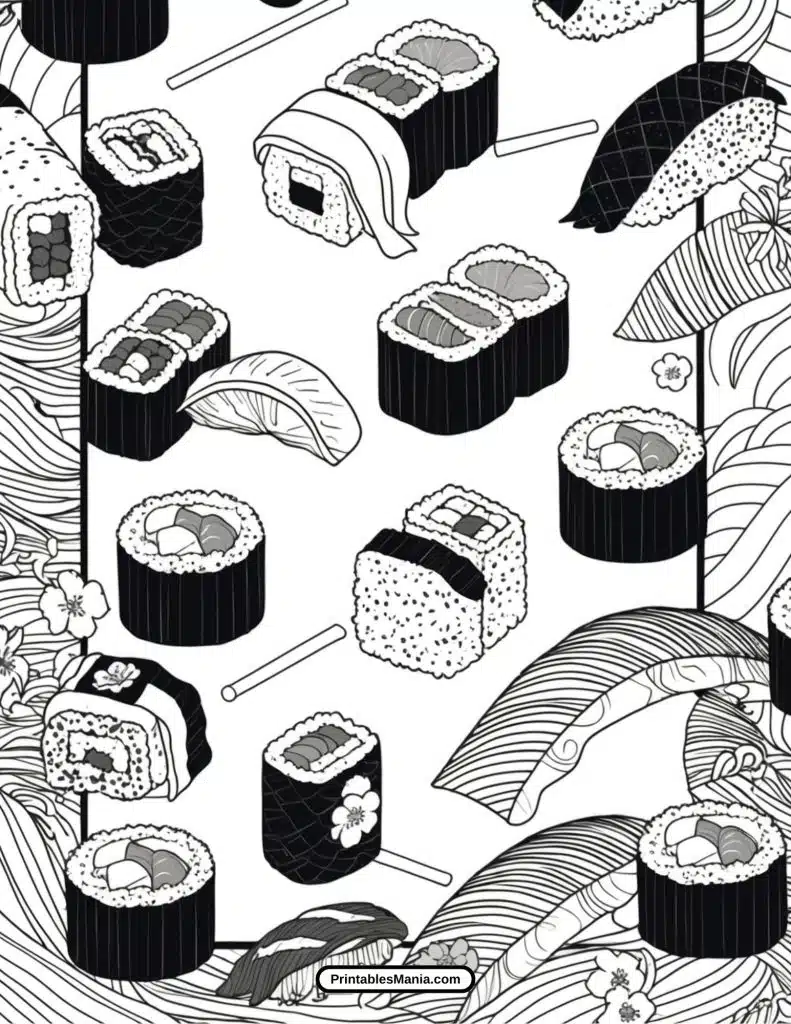
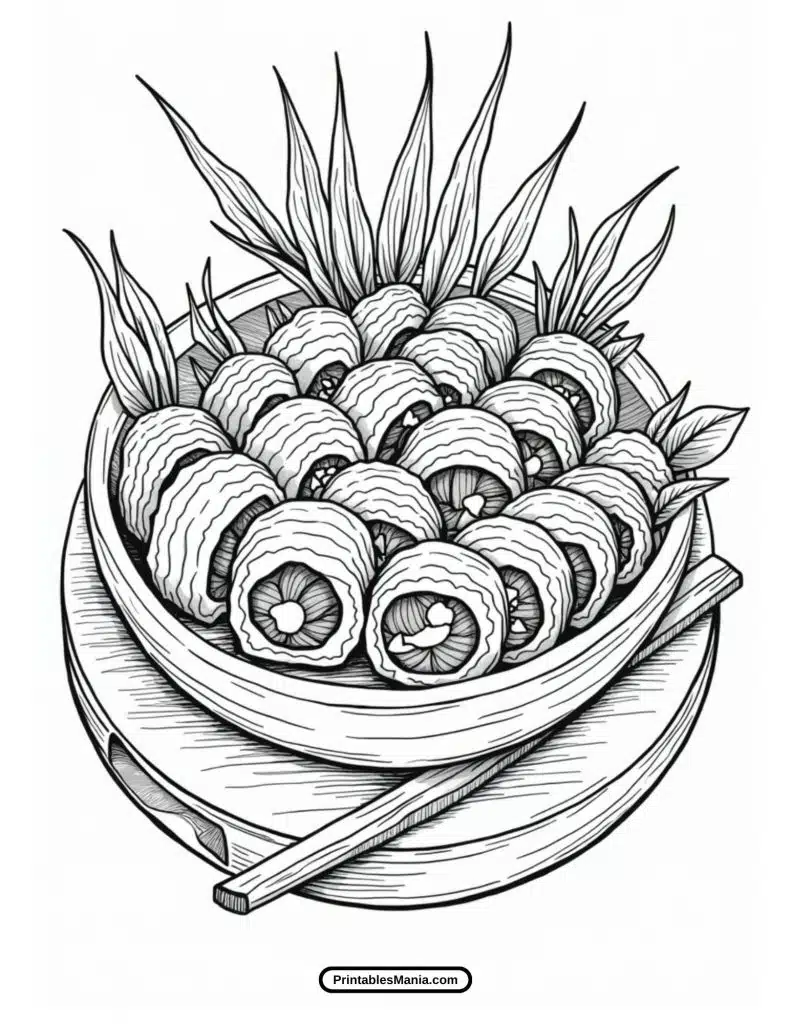
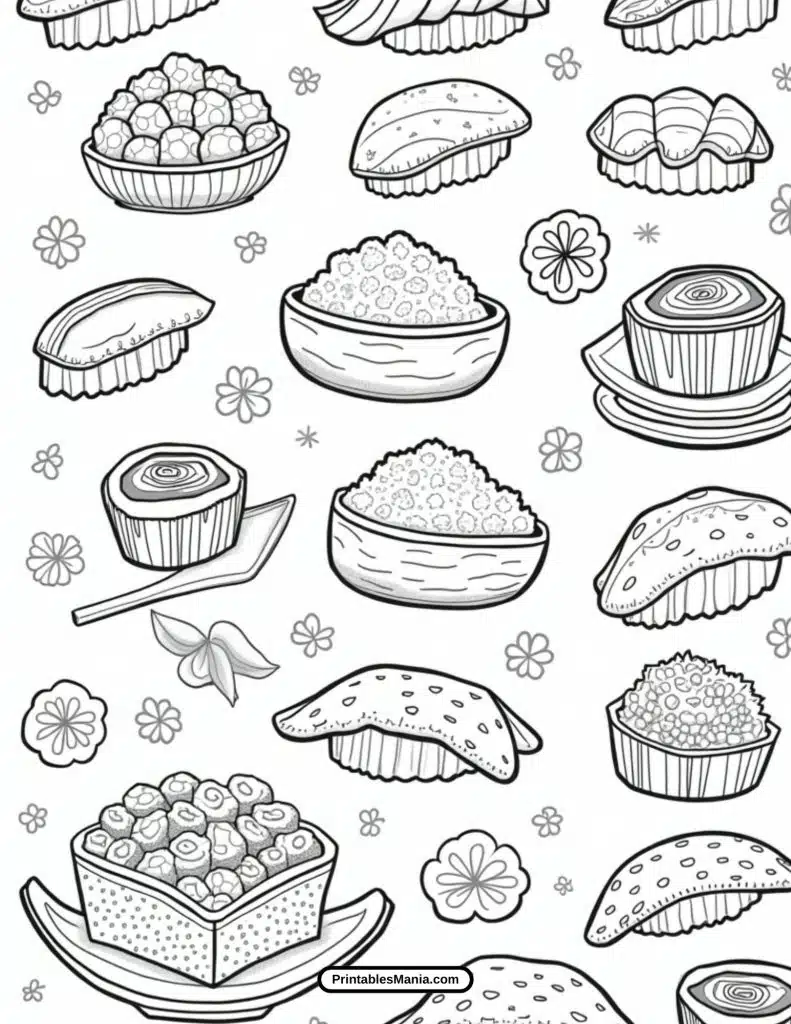
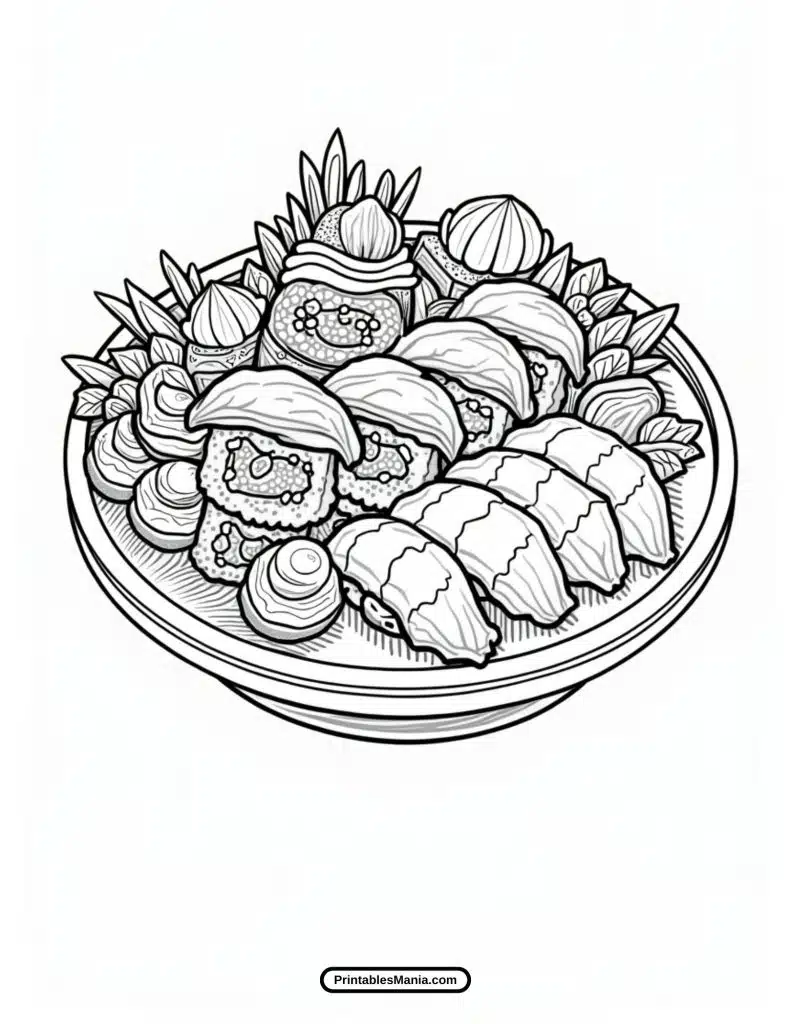
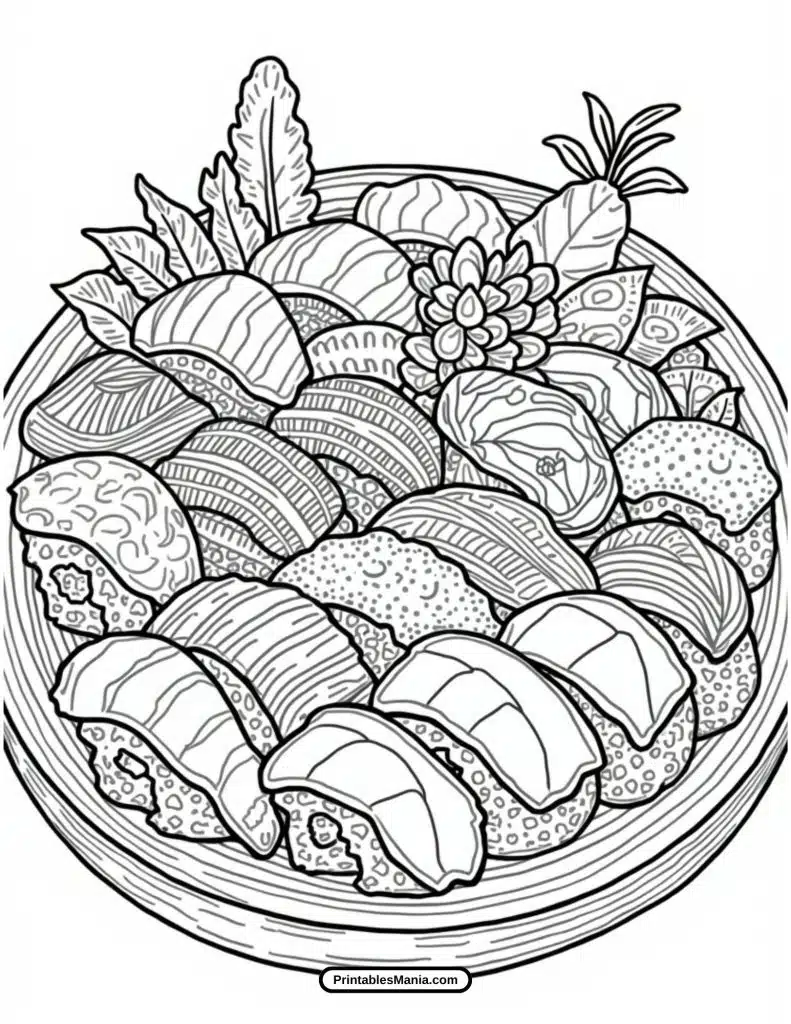
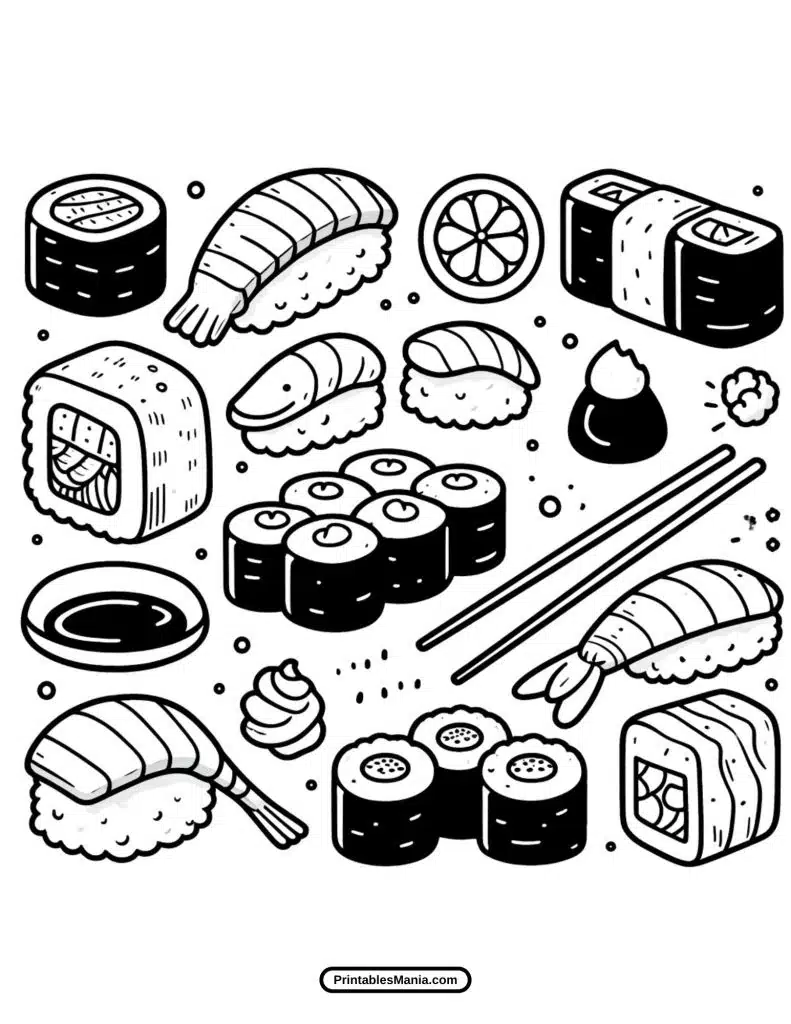
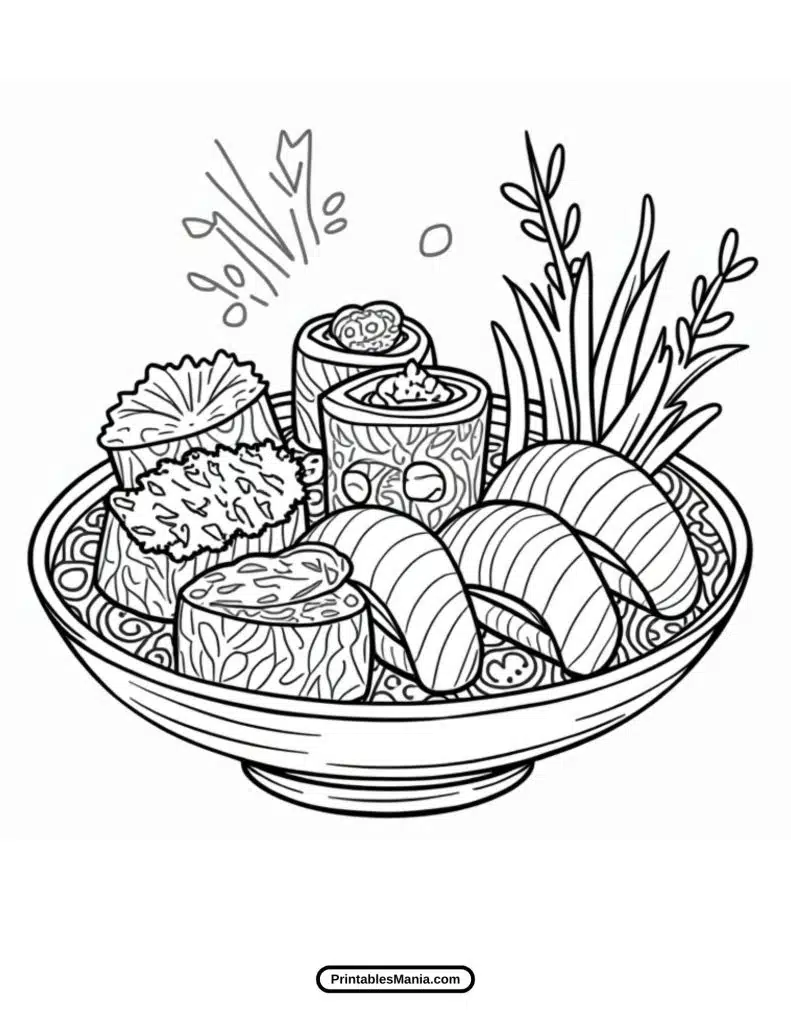
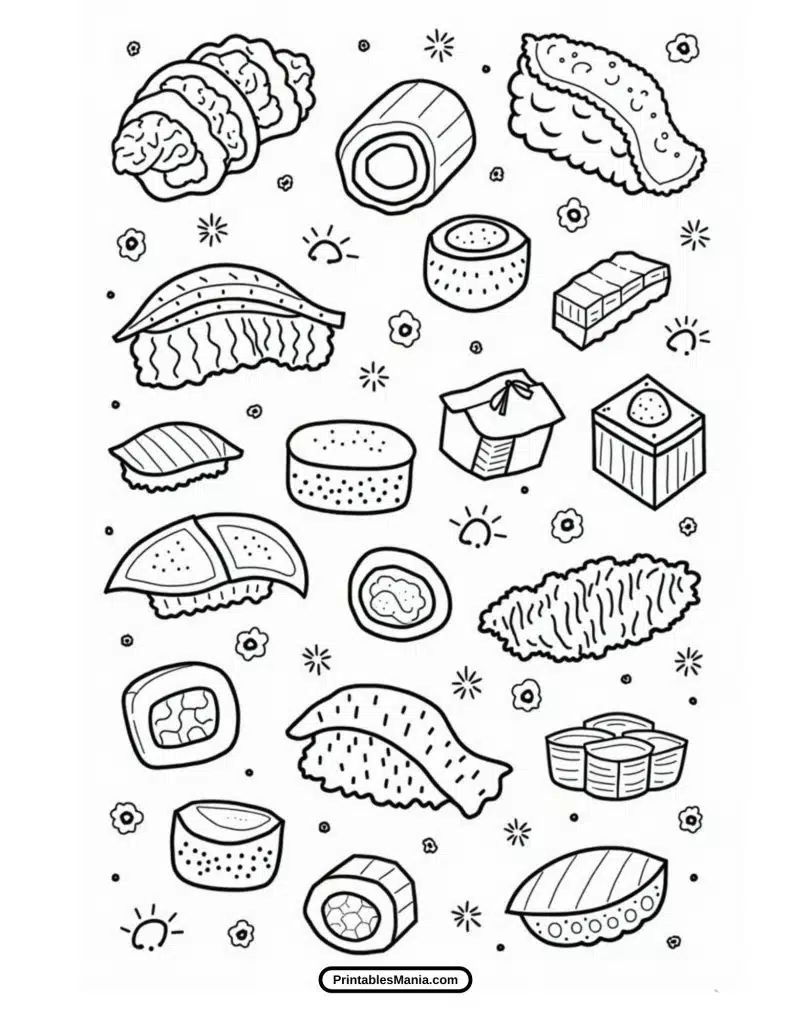
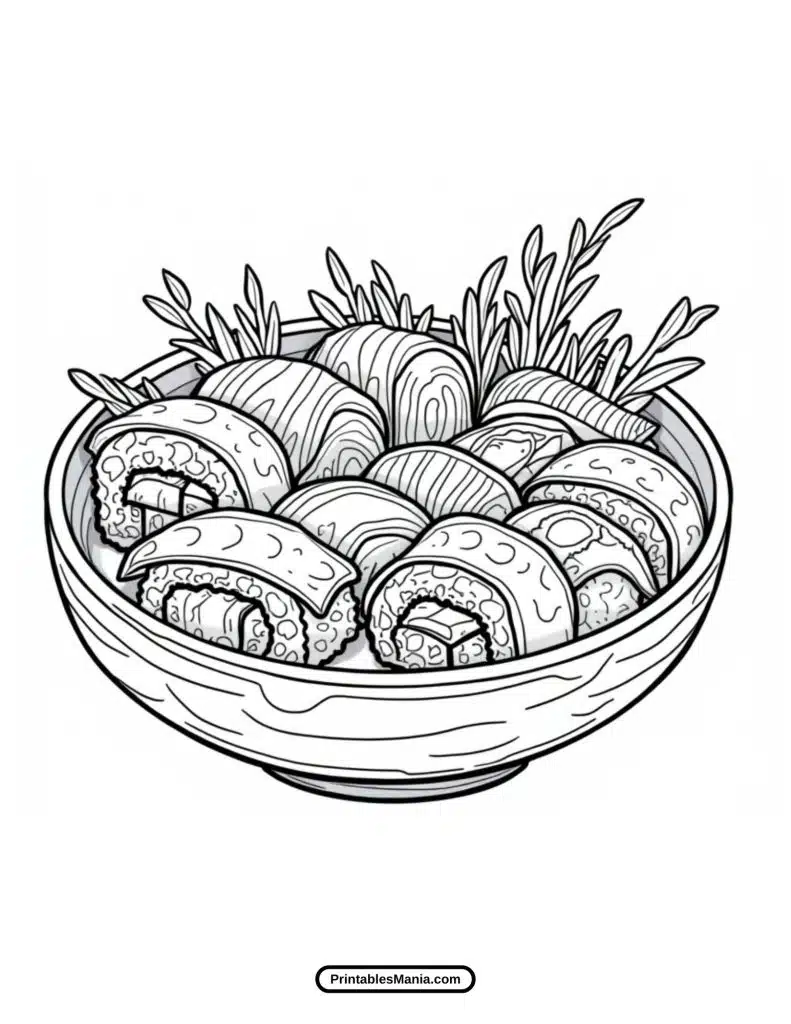
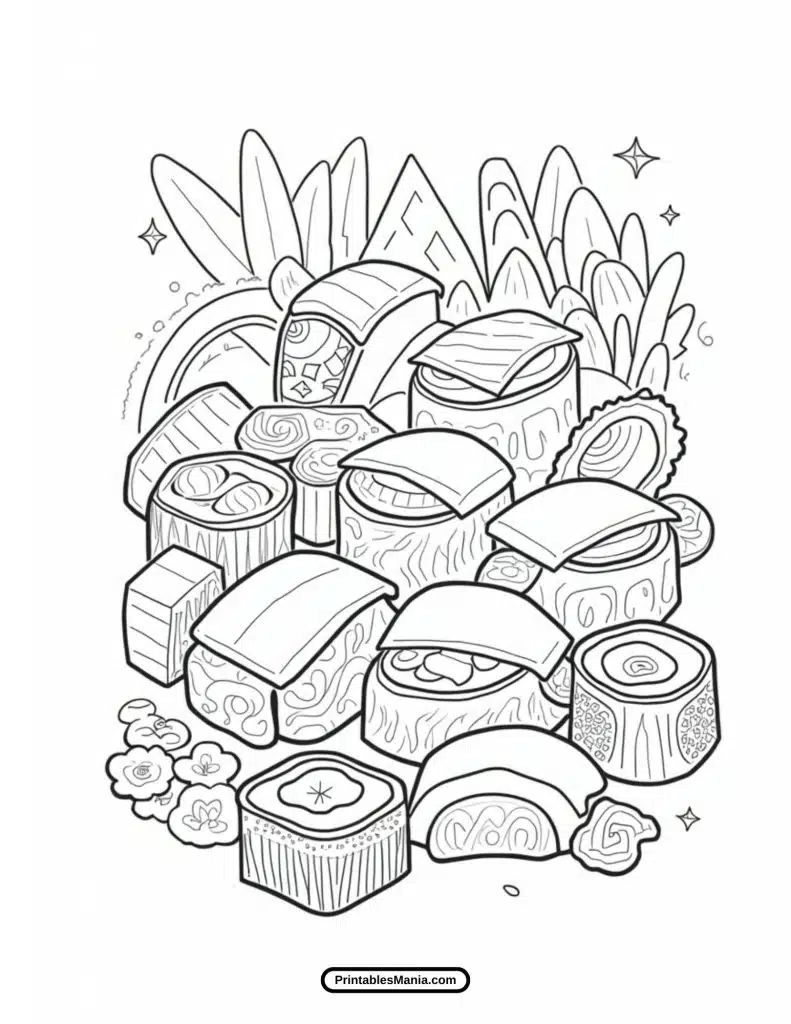
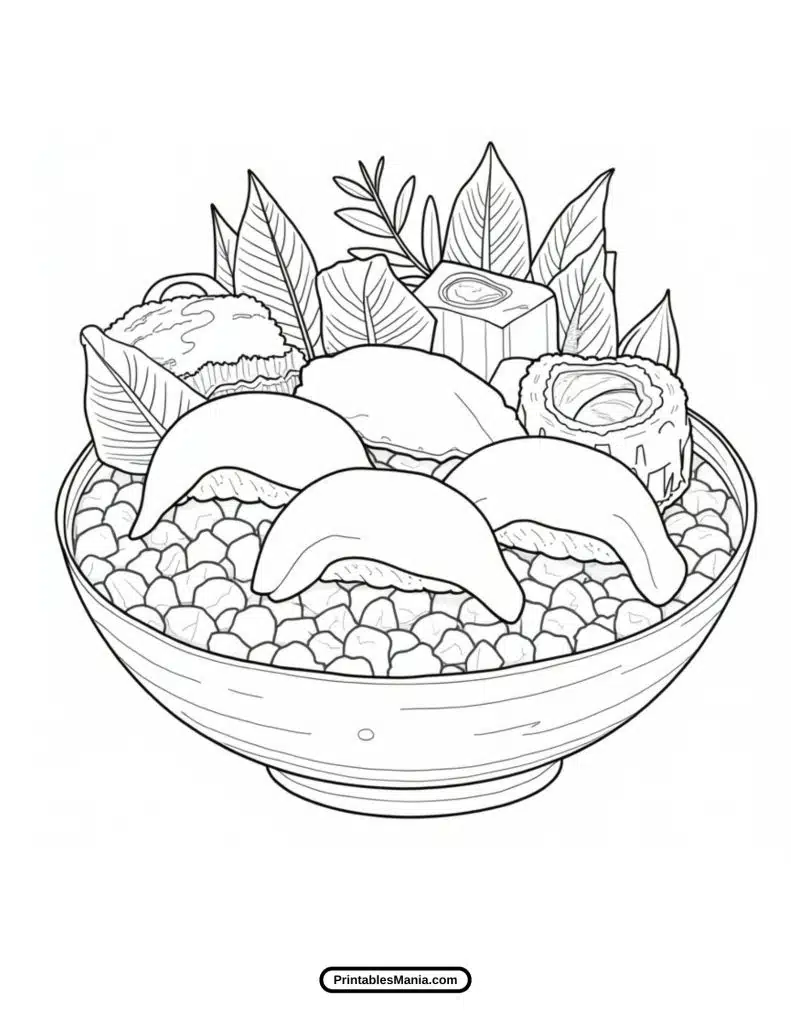
Dive into the delicious world of sushi with these fun and creative coloring pages! Perfect for kids, beginners, and sushi lovers of all ages, this page features a variety of sushi-themed designs that are both simple and enjoyable to color. From maki rolls to nigiri, these illustrations are a great way to spark creativity and have fun.
Why Choose Sushi Coloring Pages?
Sushi-themed coloring pages are a delightful choice for several reasons:
- Fun and Unique Theme: Coloring sushi designs is a creative way to explore this iconic Japanese cuisine.
- Great for All Ages: Simple outlines and playful details make these pages suitable for kids and adults alike.
- Encourages Creativity: Add your own colors and patterns to customize each sushi piece.
What’s Included?
On this page, you’ll find:
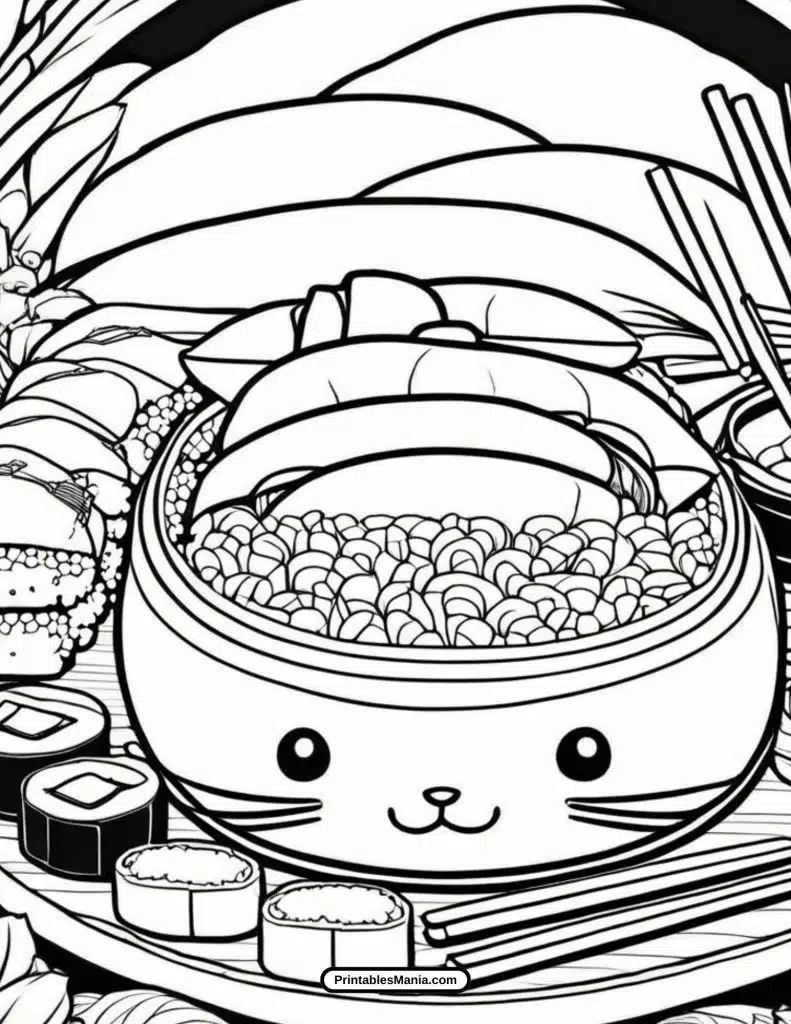
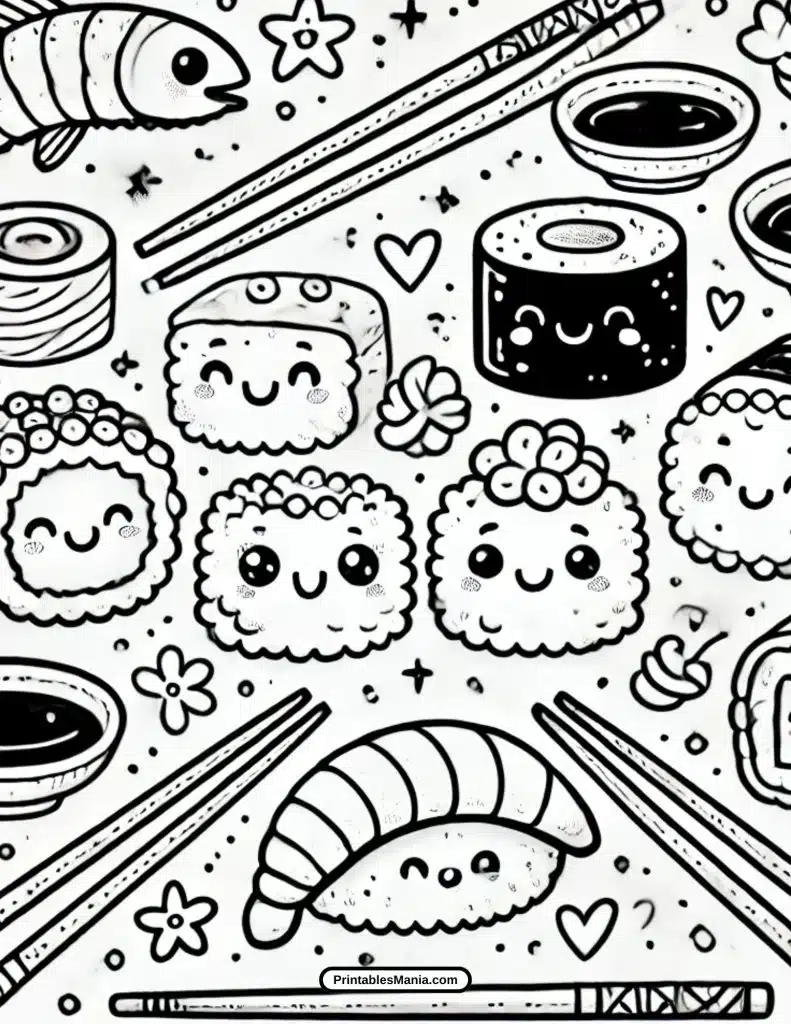
- Variety of Sushi Designs: Maki rolls, nigiri, sashimi, and temaki with fun details like chopsticks and soy sauce.
- Cute Decorative Elements: Smiling sushi, hearts, and stars to make coloring even more enjoyable.
- Simple and Clean Outlines: Perfect for beginners or quick coloring activities.
How to Use These Pages?
- Download and Print: Choose your favorite designs and print them out.
- Grab Your Supplies: Use crayons, markers, or colored pencils to bring the sushi to life.
- Get Creative: Experiment with colors, patterns, and textures to make your sushi unique.
Let’s Start Coloring!
Whether you’re looking for a relaxing activity or a fun way to keep kids entertained, these sushi coloring pages are the perfect choice. Grab your coloring tools and dive into this creative adventure today!
Art Tips and Techniques for Coloring Sushi Pages
Coloring your sushi-themed illustrations can be a fun and creative process. Here are some helpful tips and techniques to make your artwork stand out, whether you’re using crayons, markers, or digital tools:
1. Choosing the Right Colors
- Realistic Colors: Use references to match authentic sushi colors, like pinks and oranges for salmon, greens for wasabi, and white or beige for rice.
- Playful Colors: Experiment with vibrant or pastel shades to give your sushi a whimsical, cartoonish look.
- Contrast and Balance: Combine light and dark tones to create a visually appealing design. For example, pair a light rice color with darker seaweed (nori).
2. Blending Technique
Blending adds depth and smooth transitions between colors, making your sushi drawings more dynamic:
- Crayons: Layer colors lightly and build up intensity gradually. Blend by overlapping shades or using a white crayon to smooth transitions.
- Markers: Use alcohol-based markers for seamless blending. Start with the lightest shade, then add darker tones around the edges, blending with the lighter marker.
- Colored Pencils: Apply colors in circular motions for smooth shading. Use a blending pencil or cotton swab to soften the edges.
- Digital Tools: Adjust opacity and use gradient brushes to create smooth transitions and shadows.
3. Adding Texture
- Rice Texture: Use small dots or light stippling to mimic the texture of rice.
- Fish Details: Add curved lines or highlights to give fish pieces like salmon or tuna a realistic look.
- Seaweed Effect: Use subtle wavy lines or dark gradients to create the texture of nori.
4. Medium Suggestions
Explore different mediums to find what works best for your coloring style:
- Crayons: Great for younger artists or bold, vibrant looks.
- Markers: Perfect for smooth coverage and blending. Use fine-tipped markers for detailed areas.
- Colored Pencils: Excellent for shading, layering, and adding fine details.
- Watercolors: Create a soft and dreamy effect. Use thicker paper to avoid tearing or warping.
- Digital Tools: Apps like Procreate or Photoshop offer brushes, layers, and undo options for flexible and creative coloring.
5. Highlighting and Shadows
- Highlights: Use white pencils or gel pens to add highlights to shiny surfaces like fish or soy sauce dishes.
- Shadows: Add darker tones under the sushi rolls or on one side of the pieces to create depth and dimension.
6. Have Fun and Be Creative
There’s no right or wrong way to color! Let your imagination guide you:
- Add fun backgrounds like bamboo mats, chopsticks, or plates.
- Decorate the sushi with playful elements like sparkles, smiley faces, or patterns.
- Mix and match realistic and fantasy colors for a unique design.
By trying these tips and techniques, you’ll transform your sushi coloring pages into vibrant, dynamic works of art. Happy coloring!
What to Do with the Colored Page?
After putting your creative energy into coloring your sushi-themed page, you might wonder what to do with your masterpiece. Here are some fun and creative ways to use your finished artwork:
1. Display It Proudly
- Frame It: Place your colored page in a frame to decorate your kitchen, dining area, or workspace.
- Create a Gallery Wall: Add your artwork to a collection of other pieces for an inspiring and personal display.
- Use Magnets: Attach your colored page to the fridge or magnetic board for everyone to admire.
2. Turn It Into a Card
- Greeting Cards: Fold your artwork into a card and add a handwritten message inside. Perfect for birthdays, thank-you notes, or just saying hello.
- Custom Invitations: Use your sushi art as a fun design for party invitations, especially for sushi nights or Japanese-themed events.
3. Share It Digitally
- Social Media: Share your masterpiece on Instagram, Pinterest, or Facebook to inspire others. Use hashtags like #ColoringArt or #SushiArt to join the creative community.
- E-Cards: Scan your artwork and send it as a digital greeting or invite to friends and family.
- Creative Blogs: Add your coloring page to a personal blog or portfolio to showcase your creativity.
4. Make It Functional
- Bookmarks: Cut out a portion of your page to create a unique bookmark. Laminate it for durability.
- Gift Wrap: Use your artwork to wrap small gifts or as decorative accents on larger packages.
- DIY Placemats: Laminate your page to create a fun and reusable placemat for your dining table.
5. Turn It Into Craft Projects
- Collages: Cut out sushi elements and combine them with other materials to create a larger, mixed-media project.
- Scrapbooking: Add your artwork to a scrapbook to preserve your creative journey.
- Decorative Envelopes: Use parts of your colored page to make or decorate envelopes for a unique touch.
6. Give It as a Gift
- For Friends or Family: Share your artwork with someone who loves sushi or appreciates handmade creations.
- For Kids: Frame or laminate the page to gift it to a child as a keepsake.
- Personalized Notes: Write a heartfelt message on the back and send it as a thoughtful surprise.
7. Reuse It as Creative Inspiration
- Color Palettes: Save your page to use as a reference for future coloring projects.
- New Art Projects: Redraw the sushi pieces in different styles or incorporate them into larger illustrations.
- Learning Tool: Use it to practice shading, blending, or adding textures in future coloring sessions.
Your finished sushi coloring page isn’t just art—it’s a gateway to fun, creative possibilities. Let your imagination guide you in finding new ways to enjoy and repurpose your artwork!

