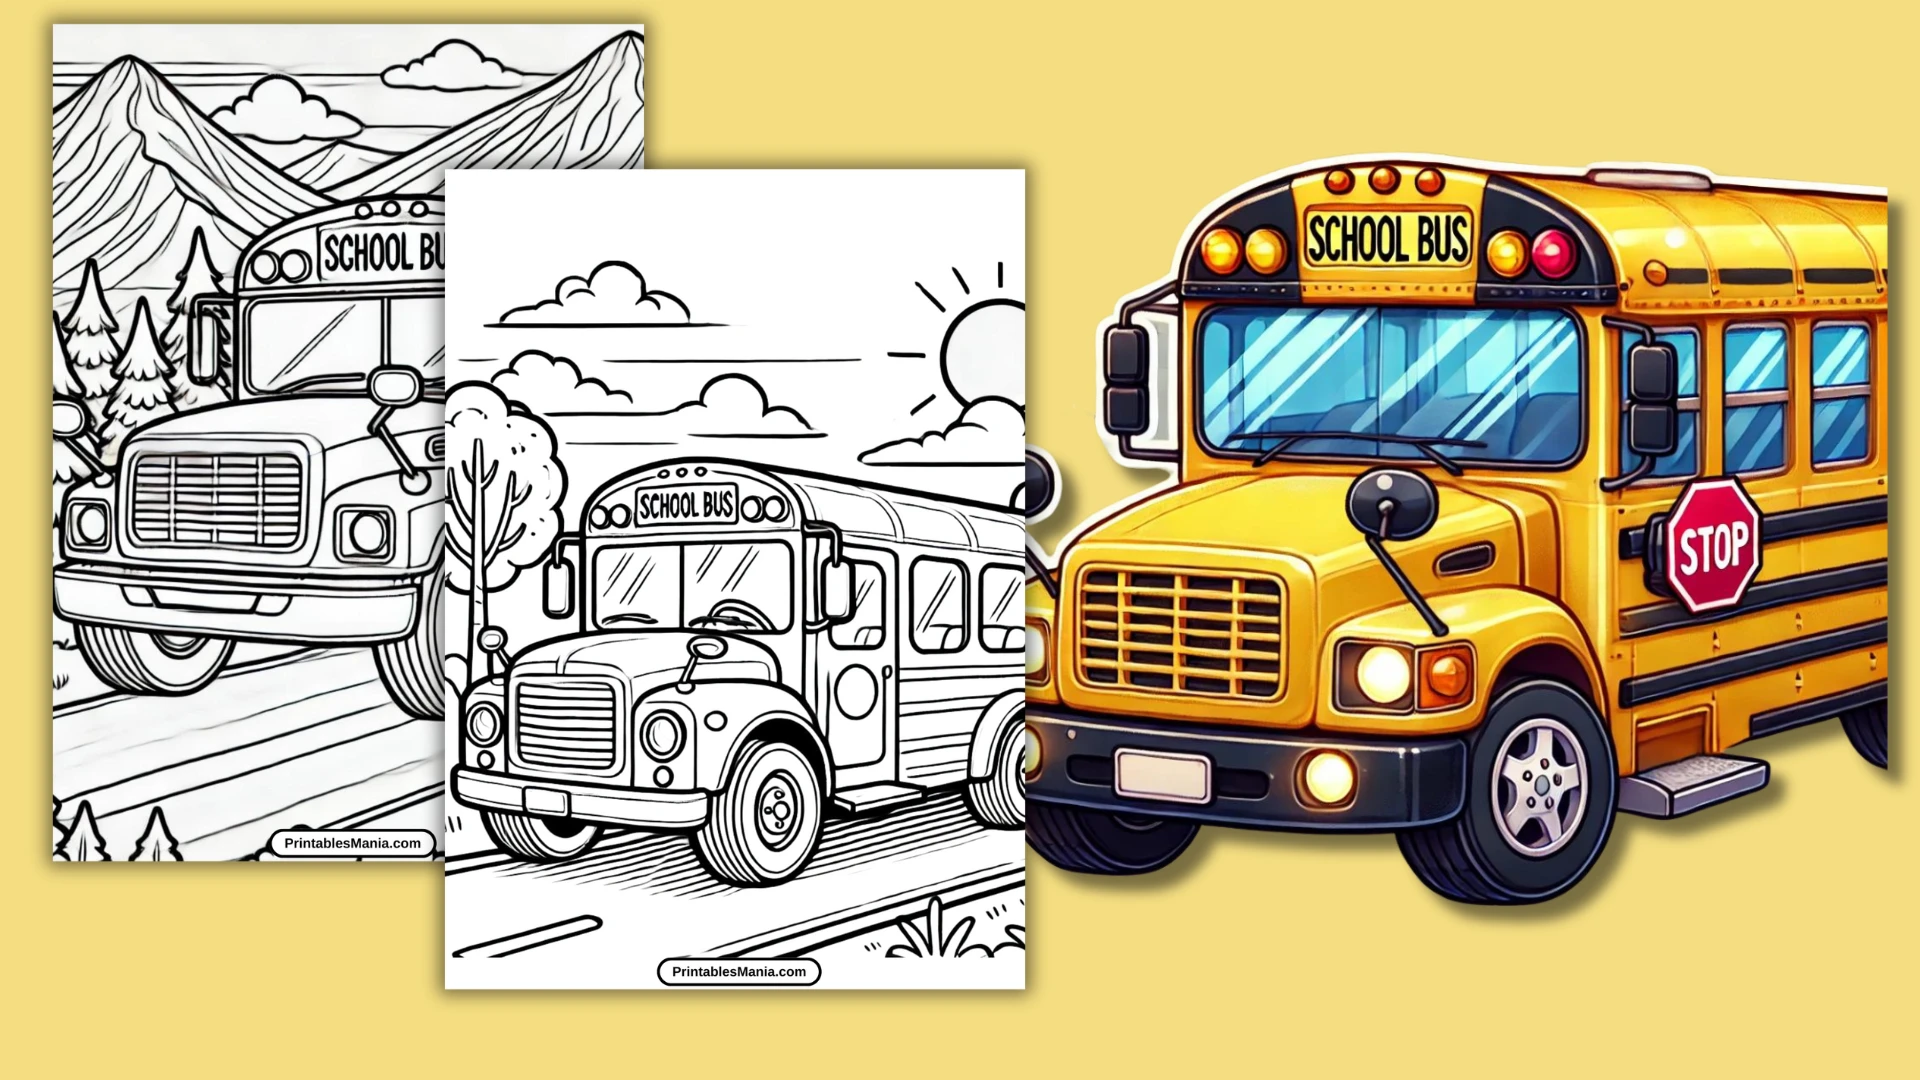
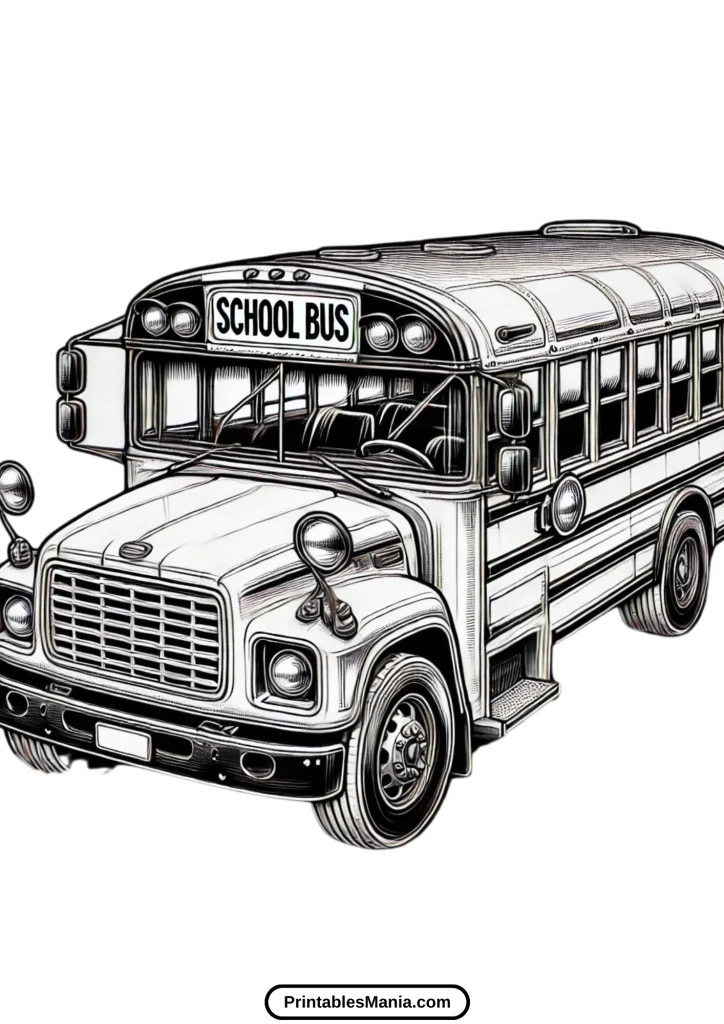
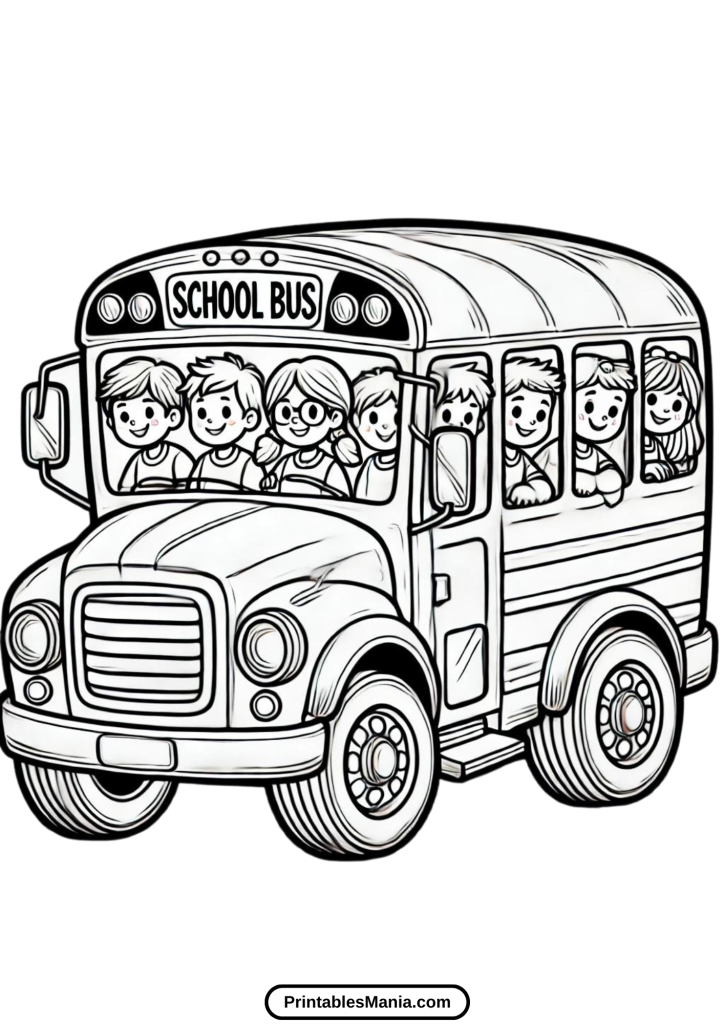
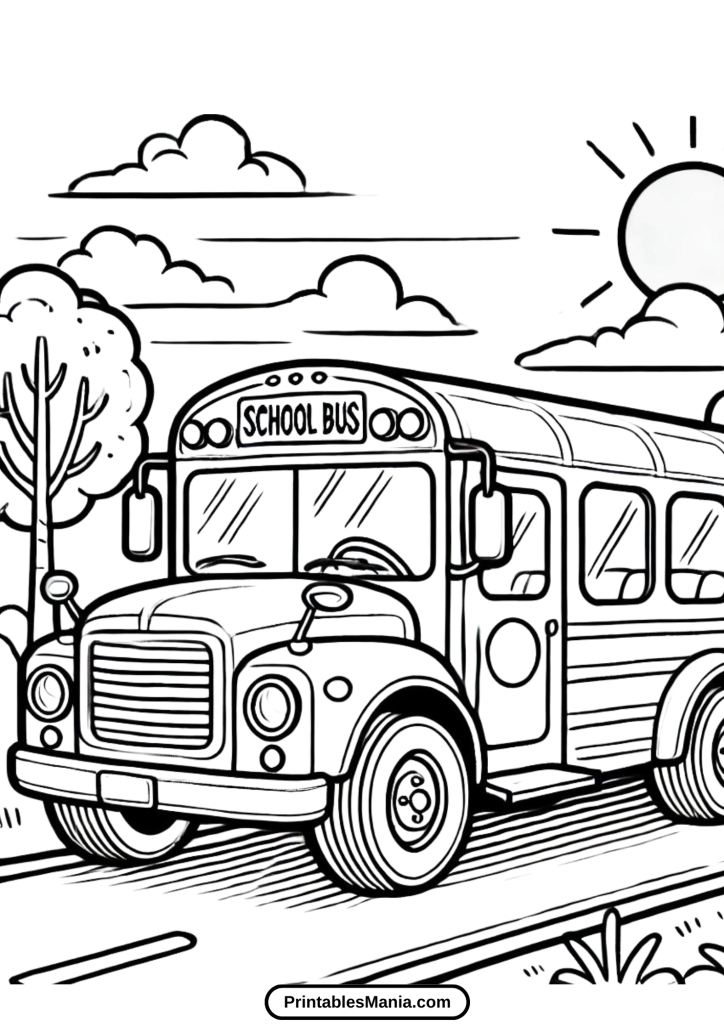
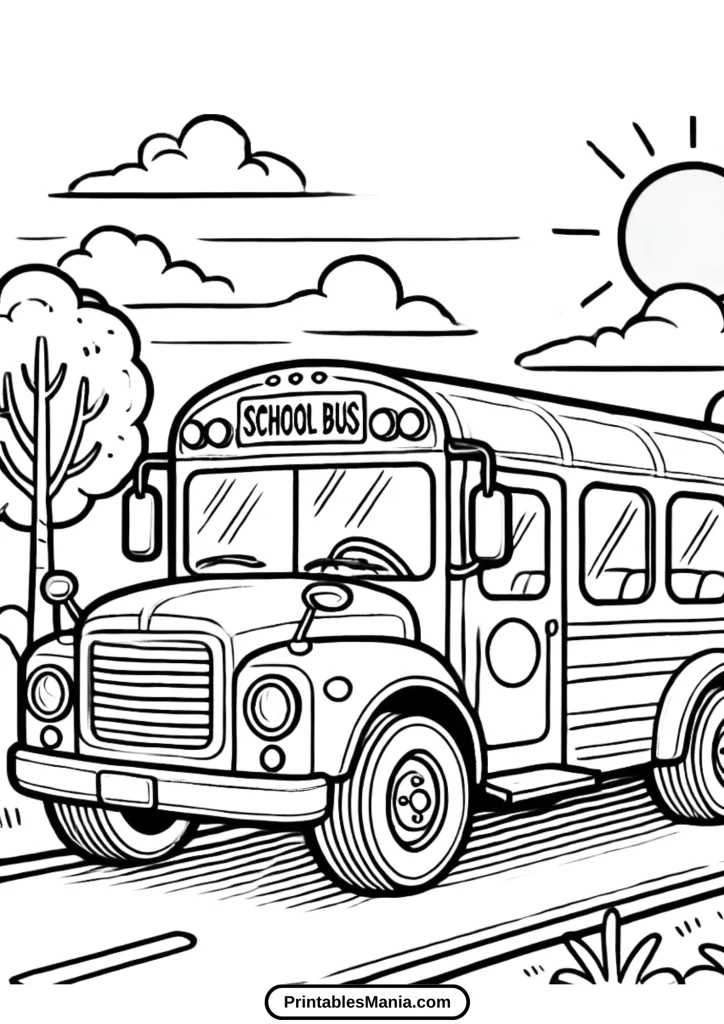
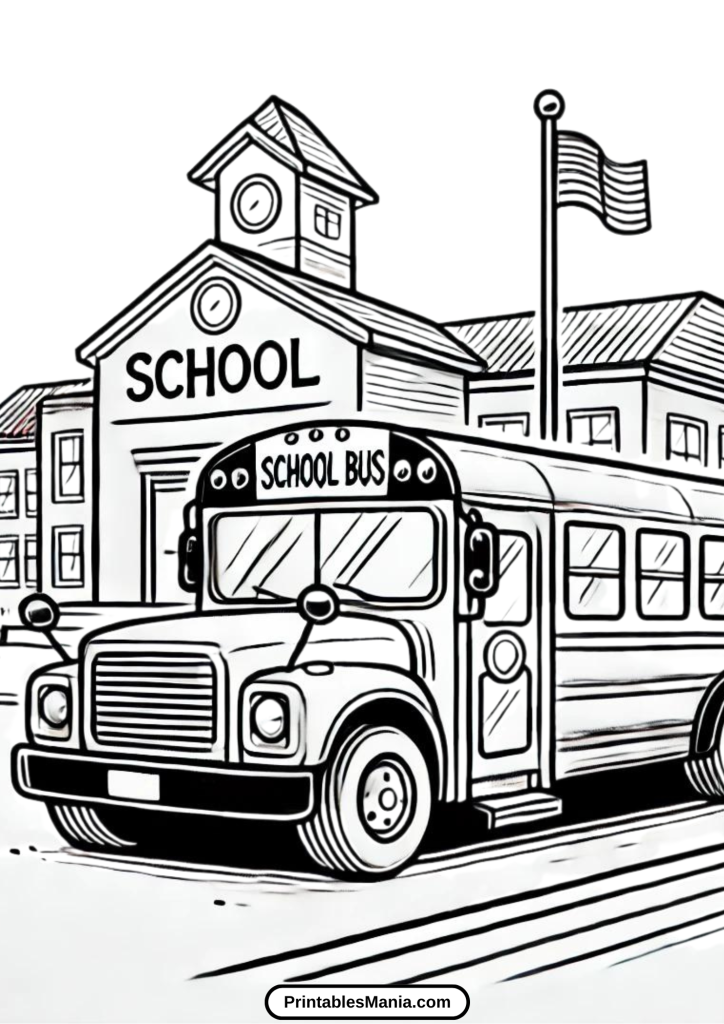
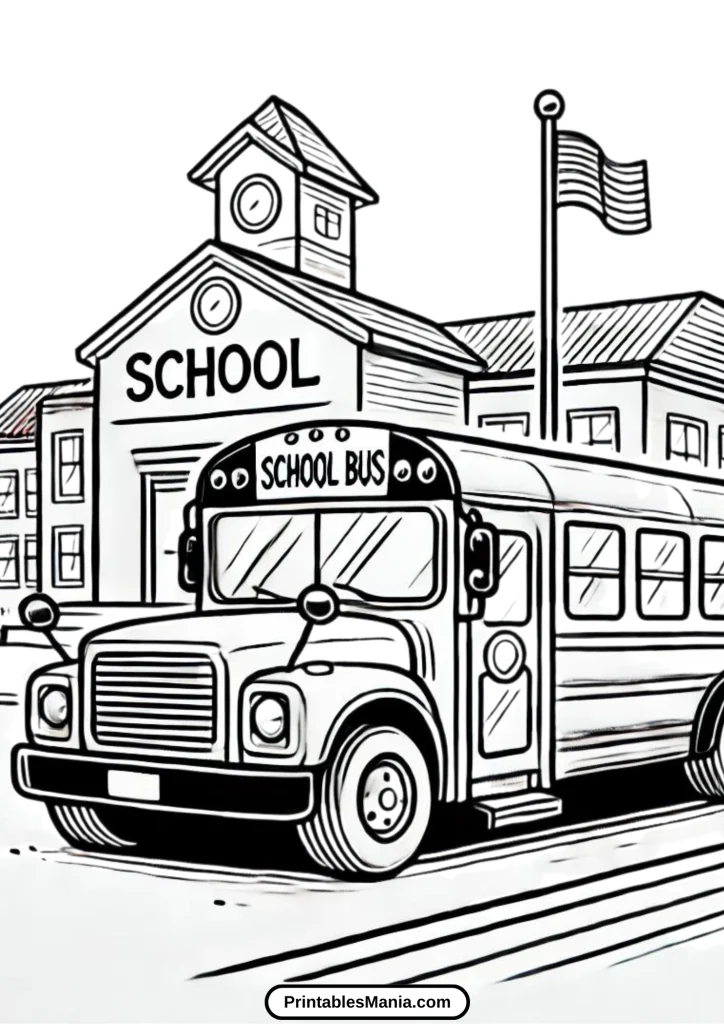
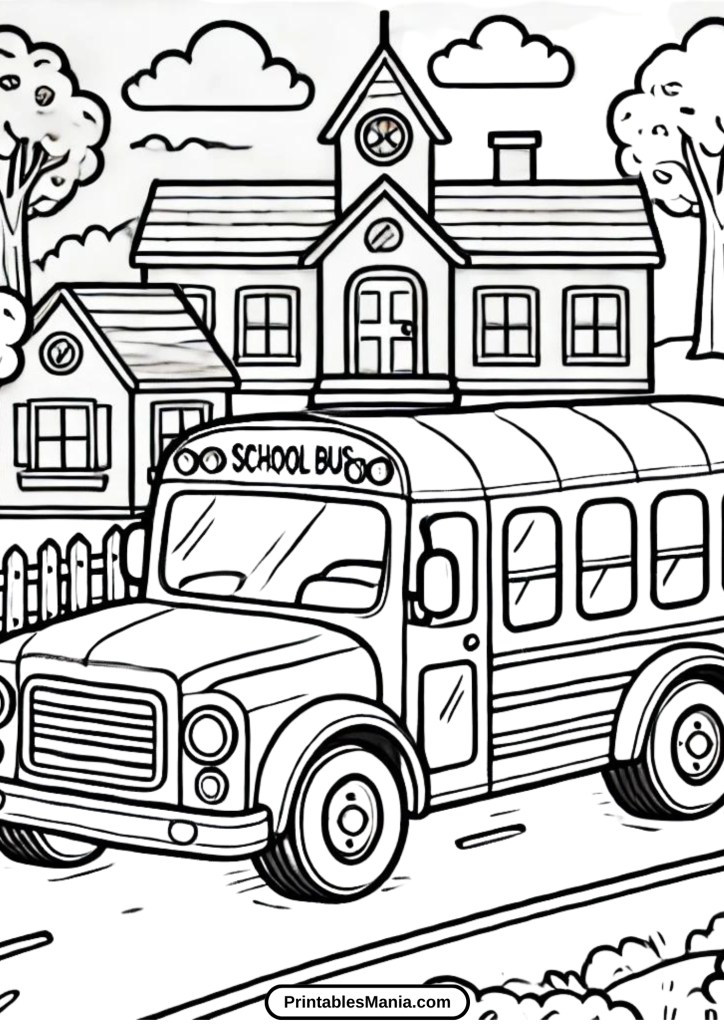
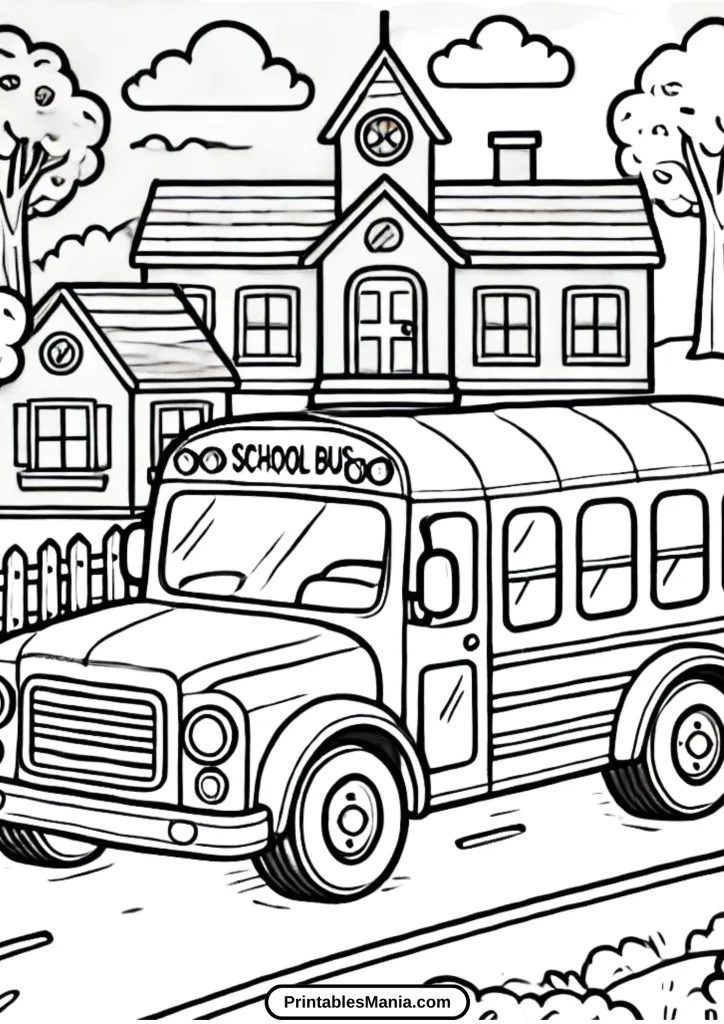
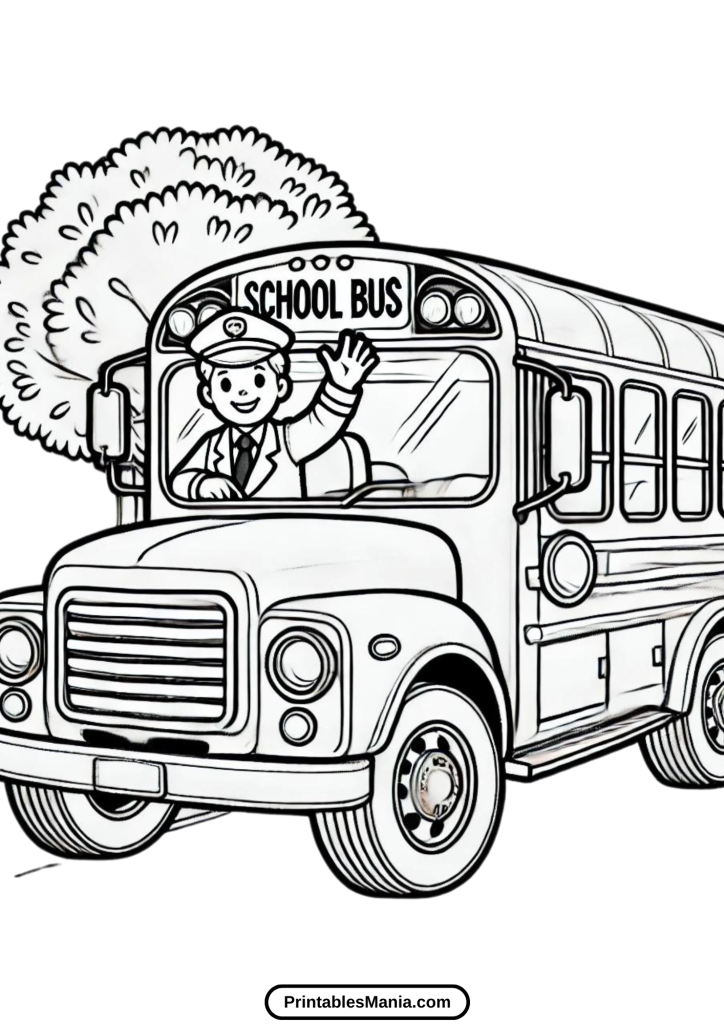
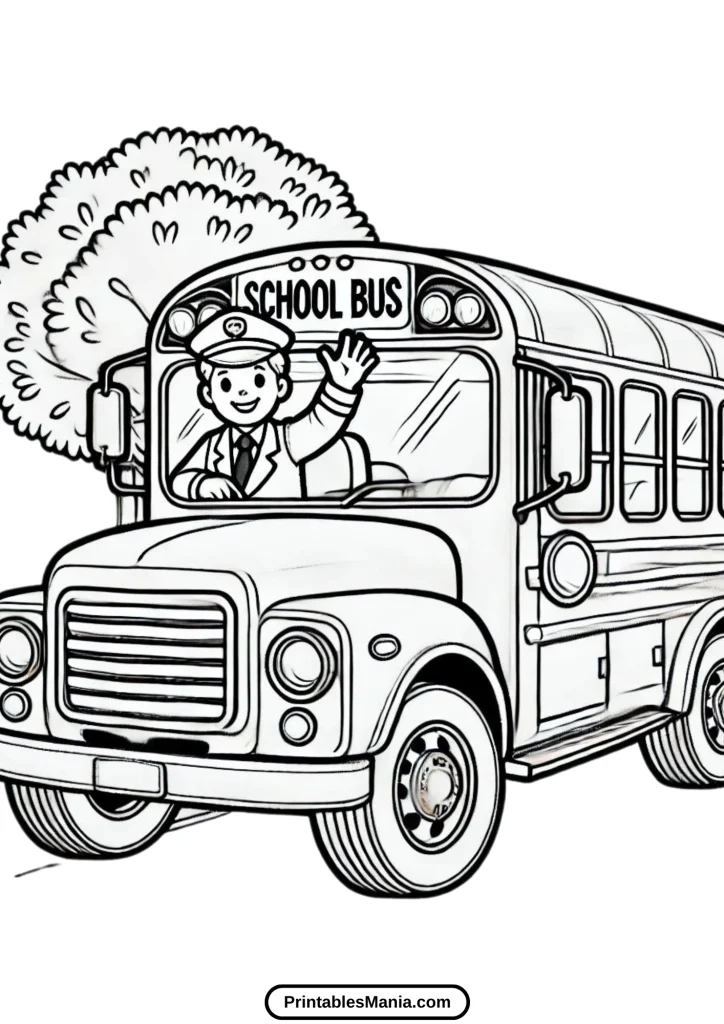
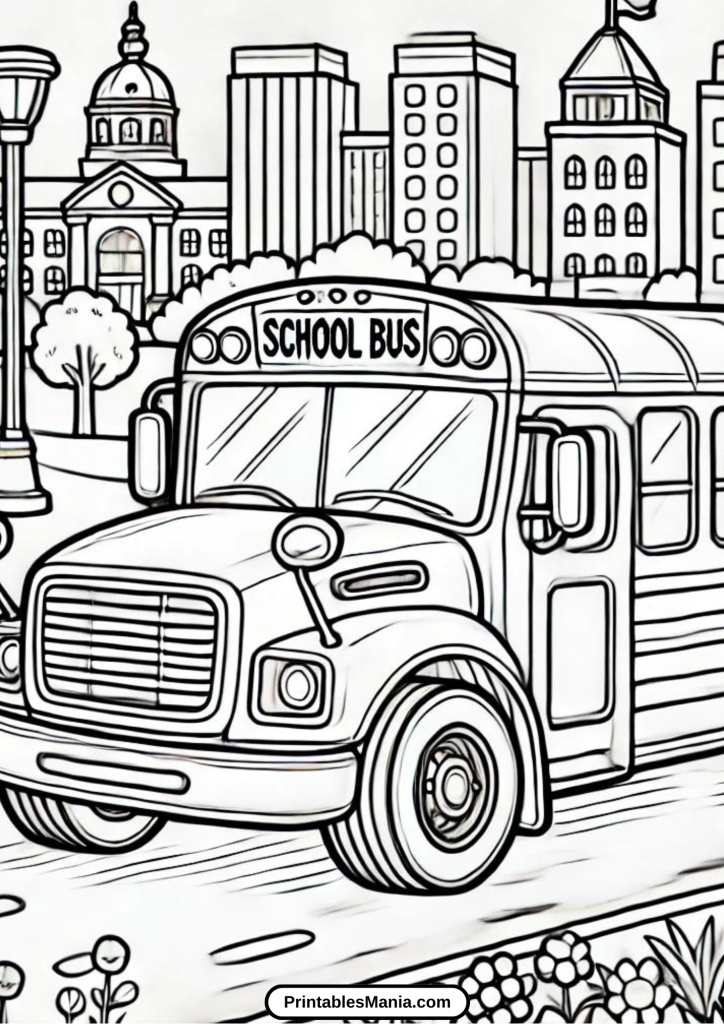
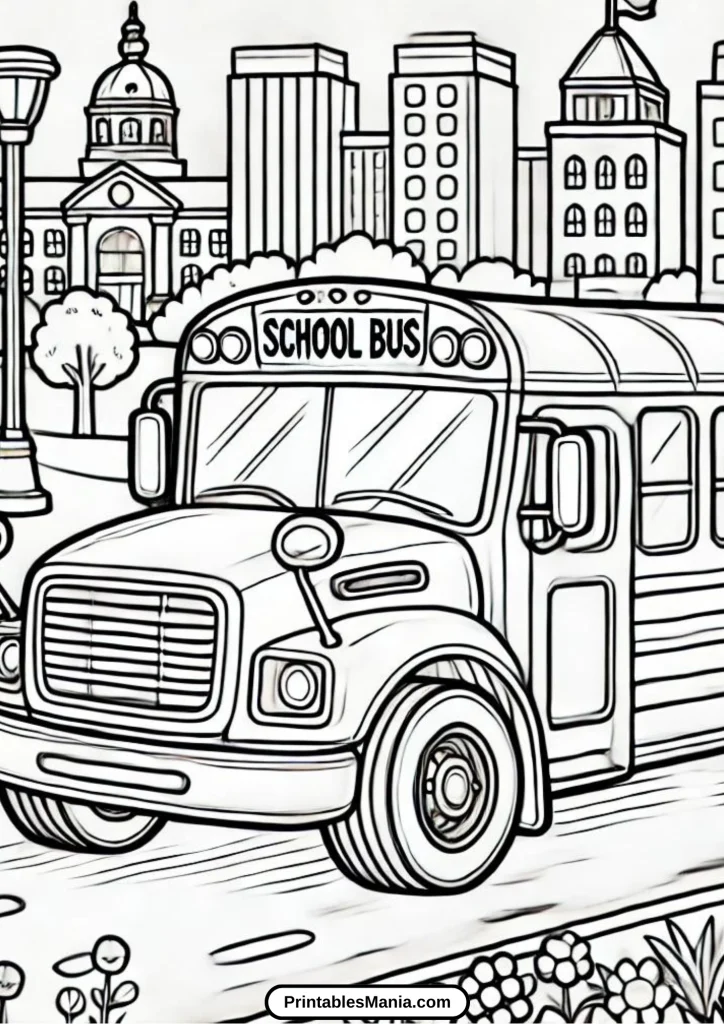
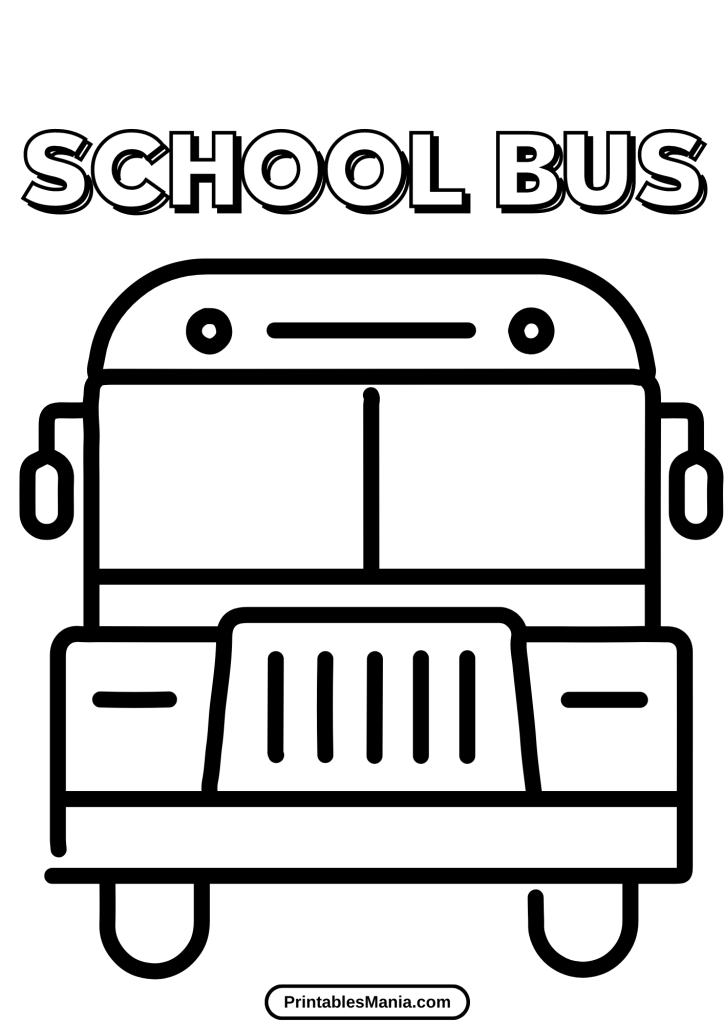
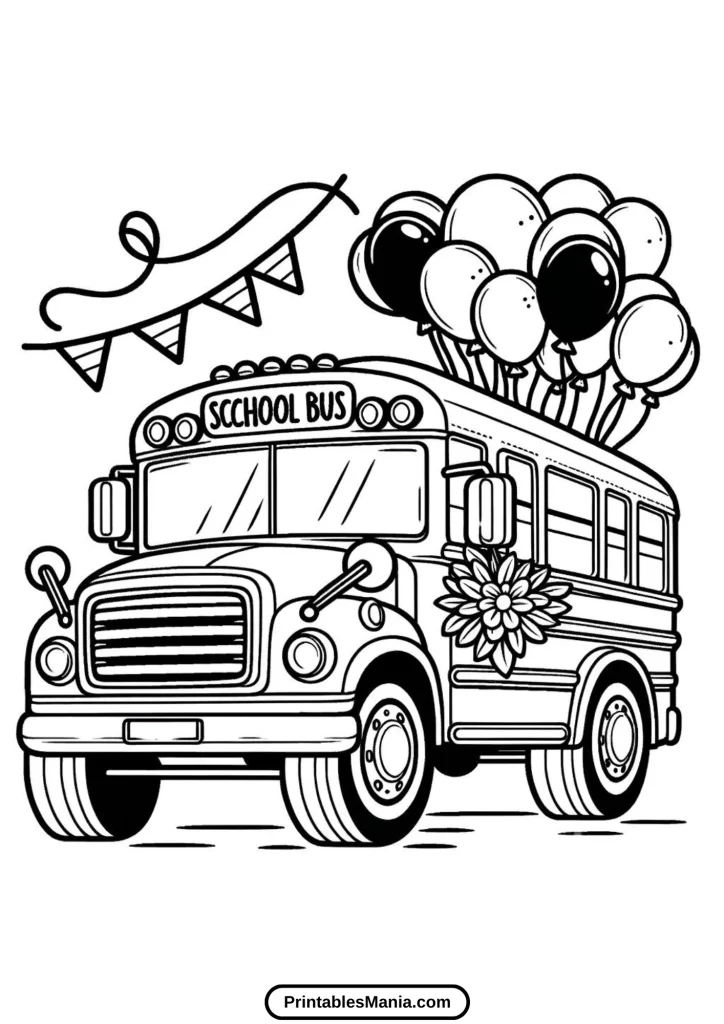
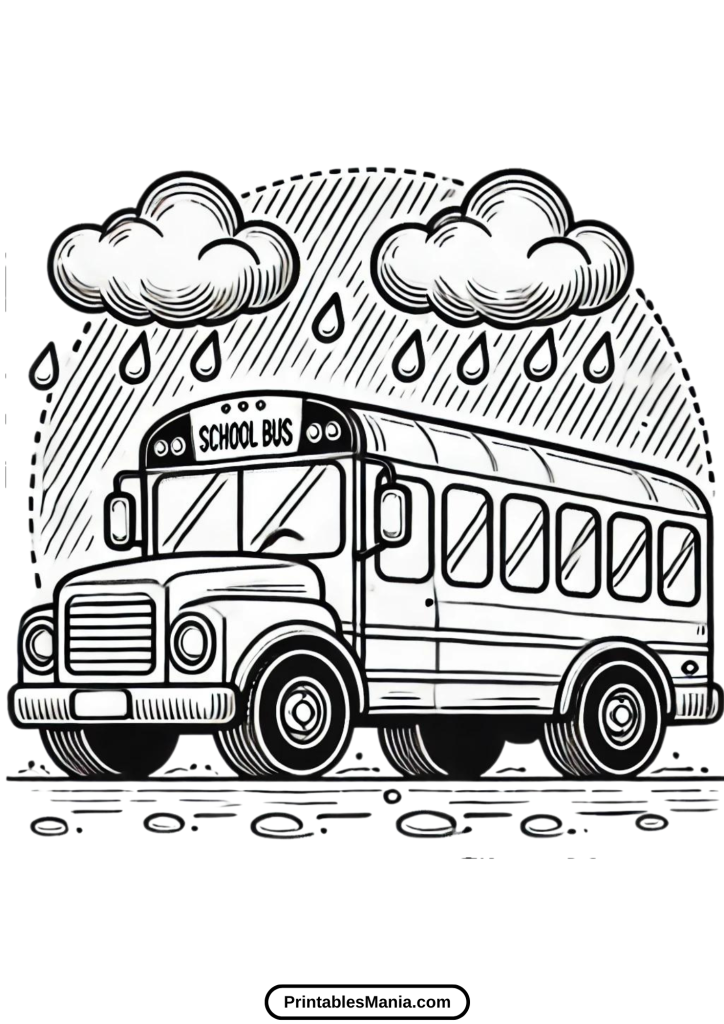
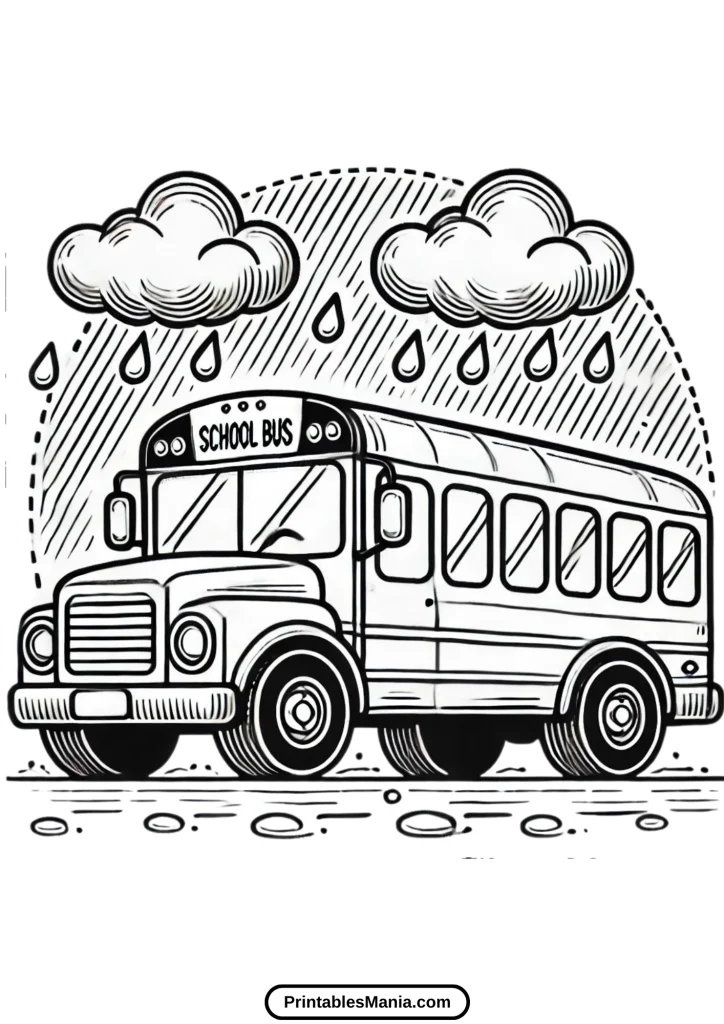
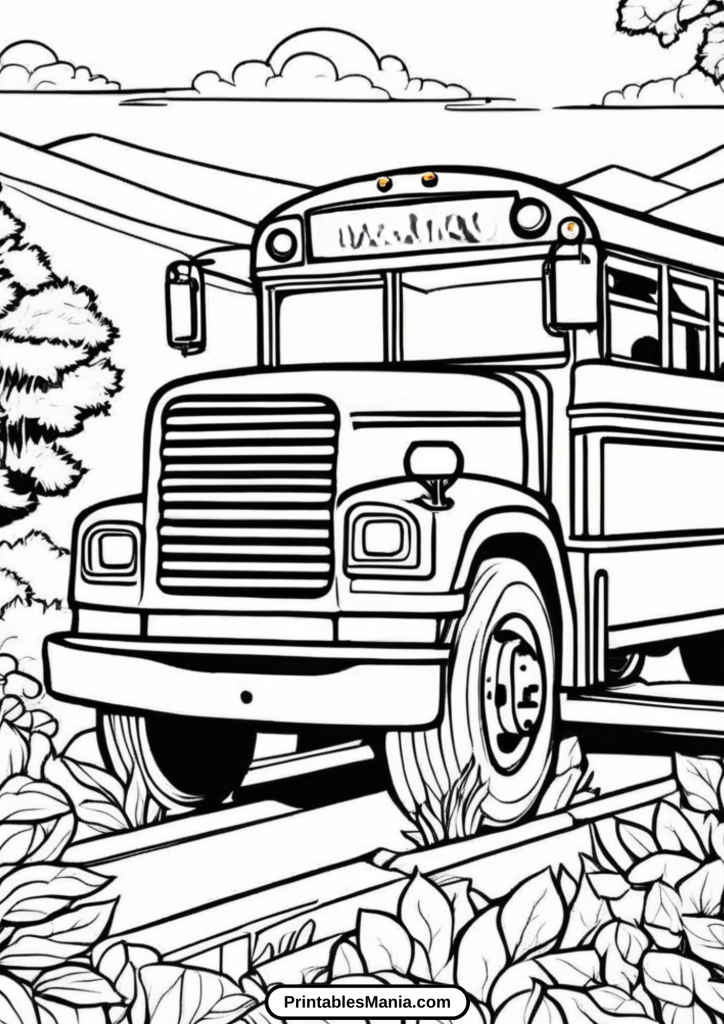
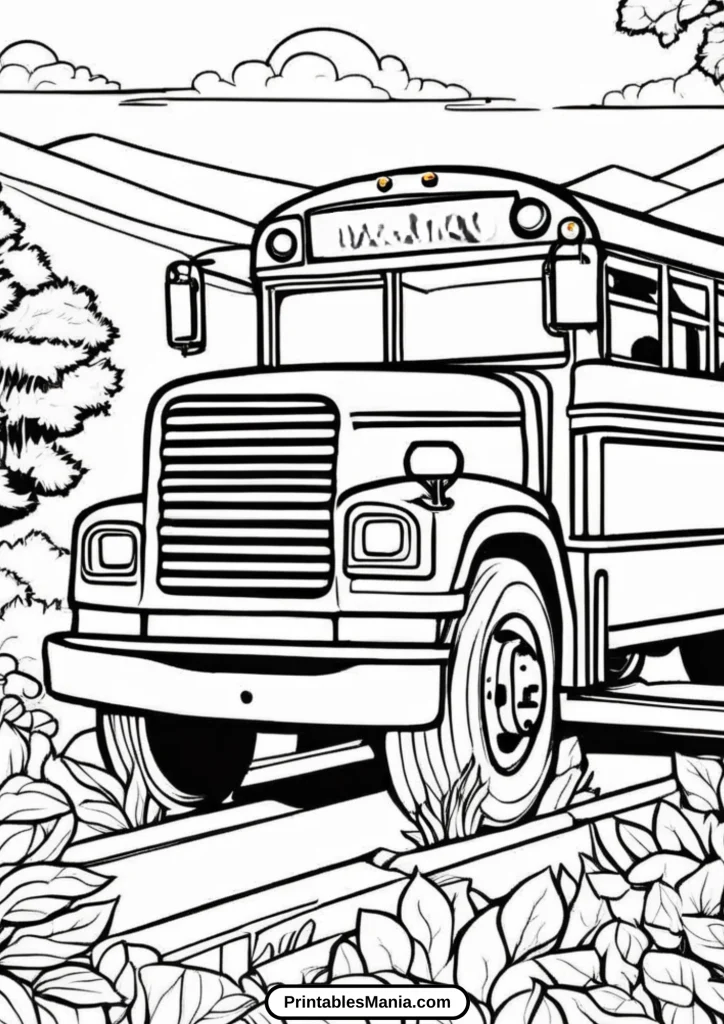
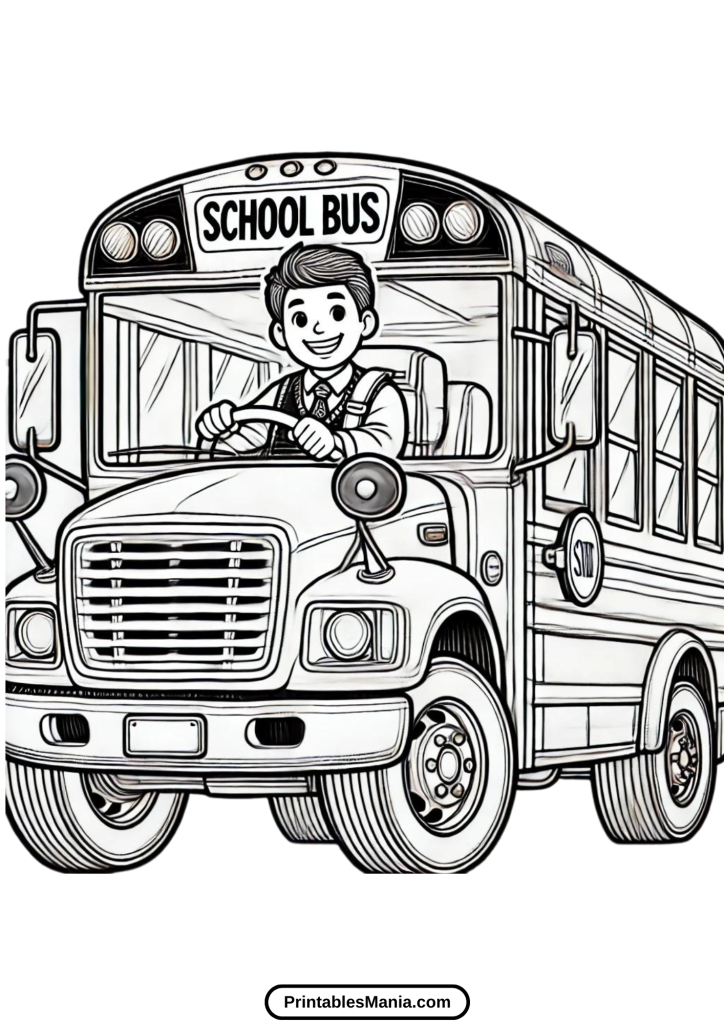
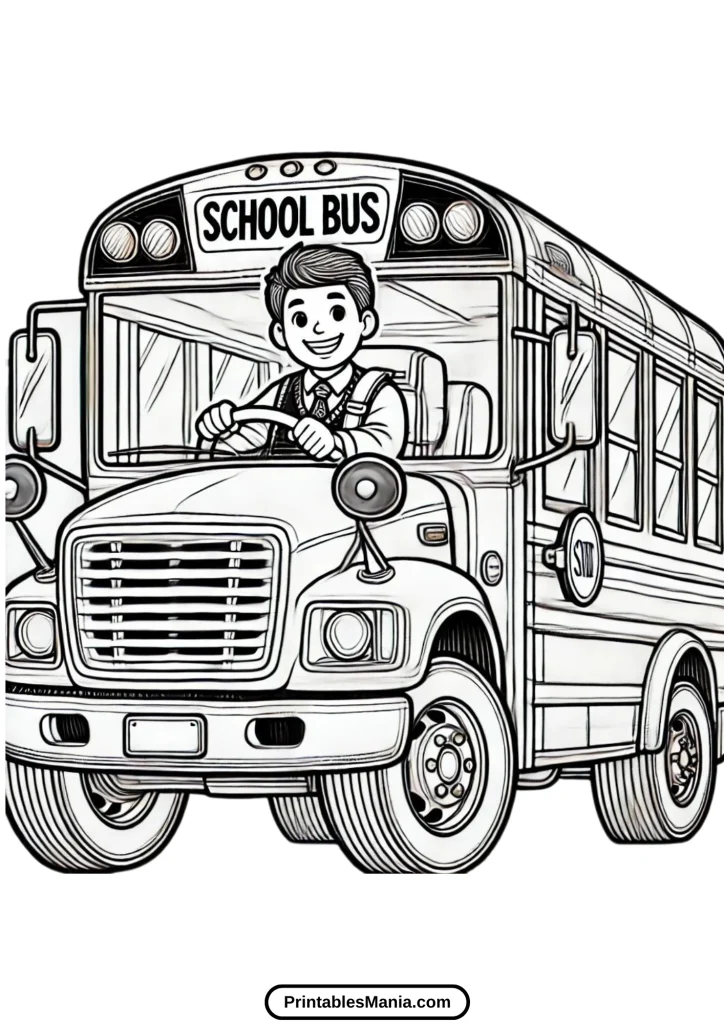
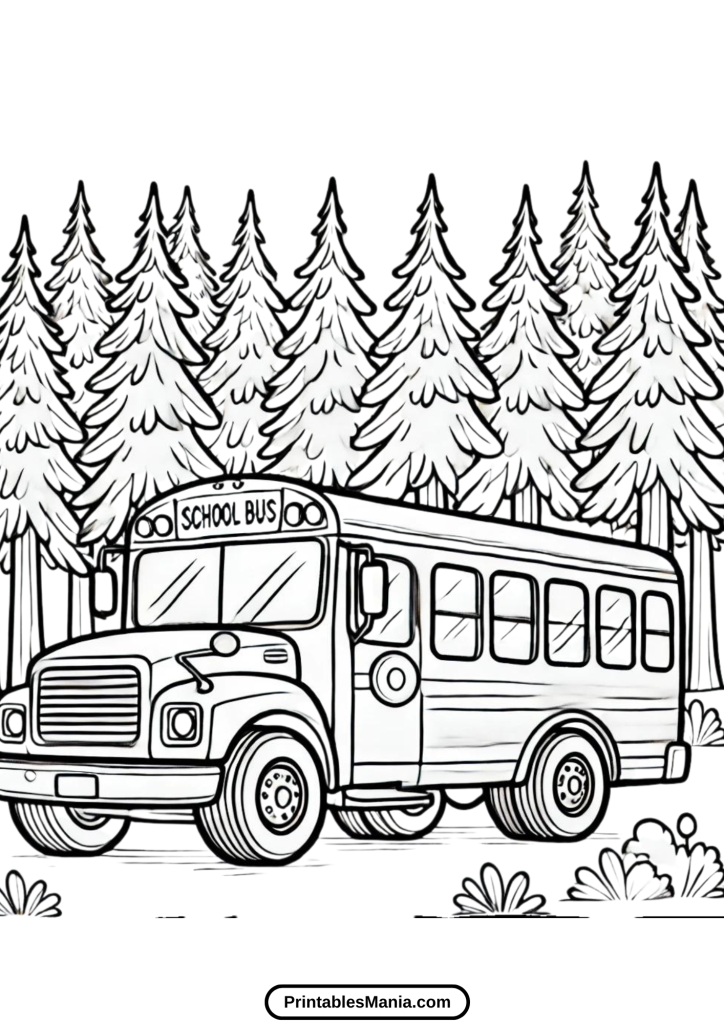
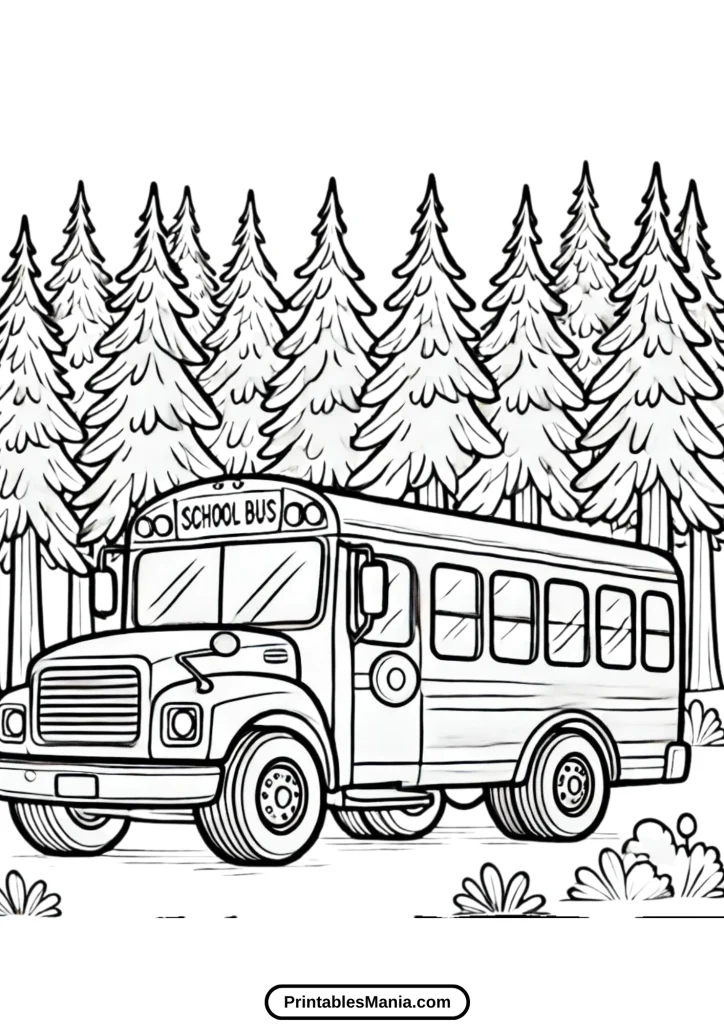
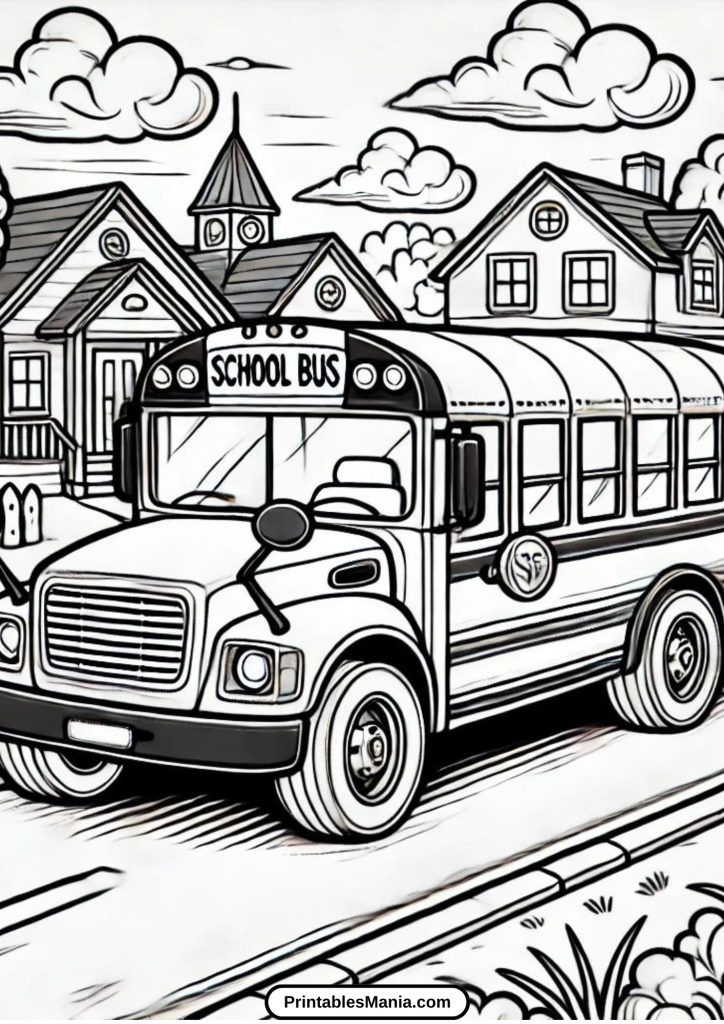
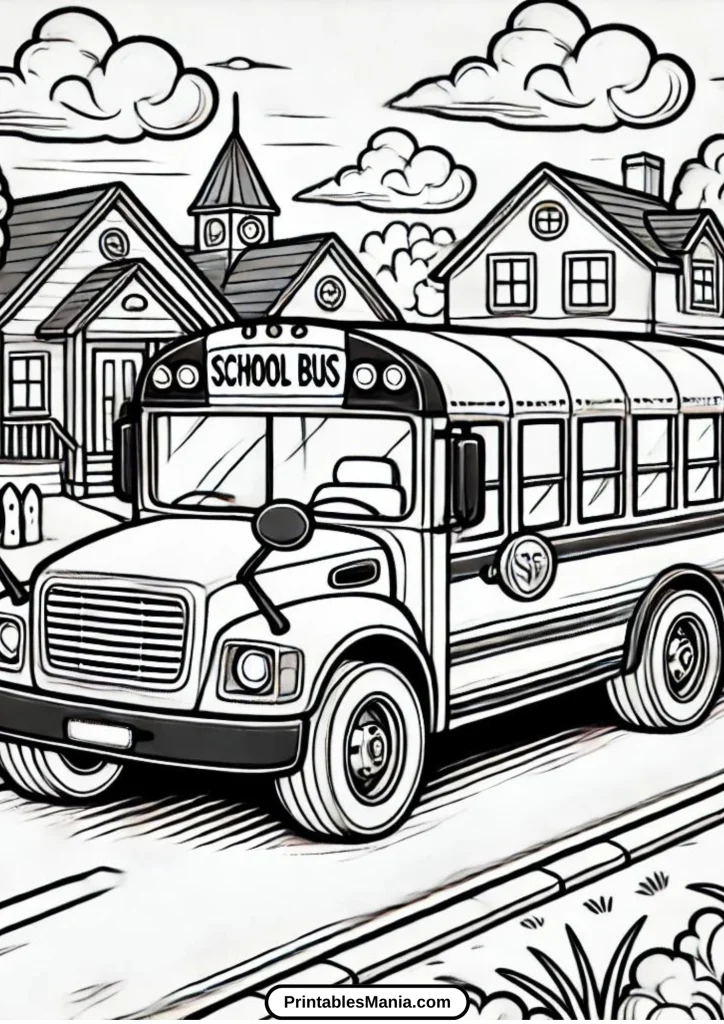
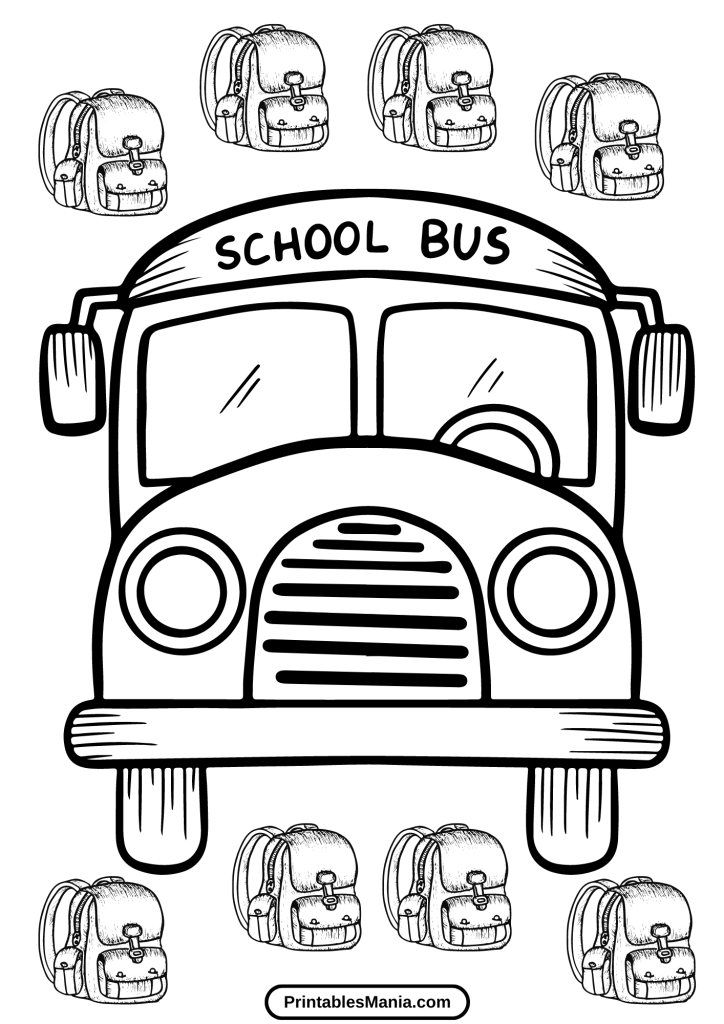
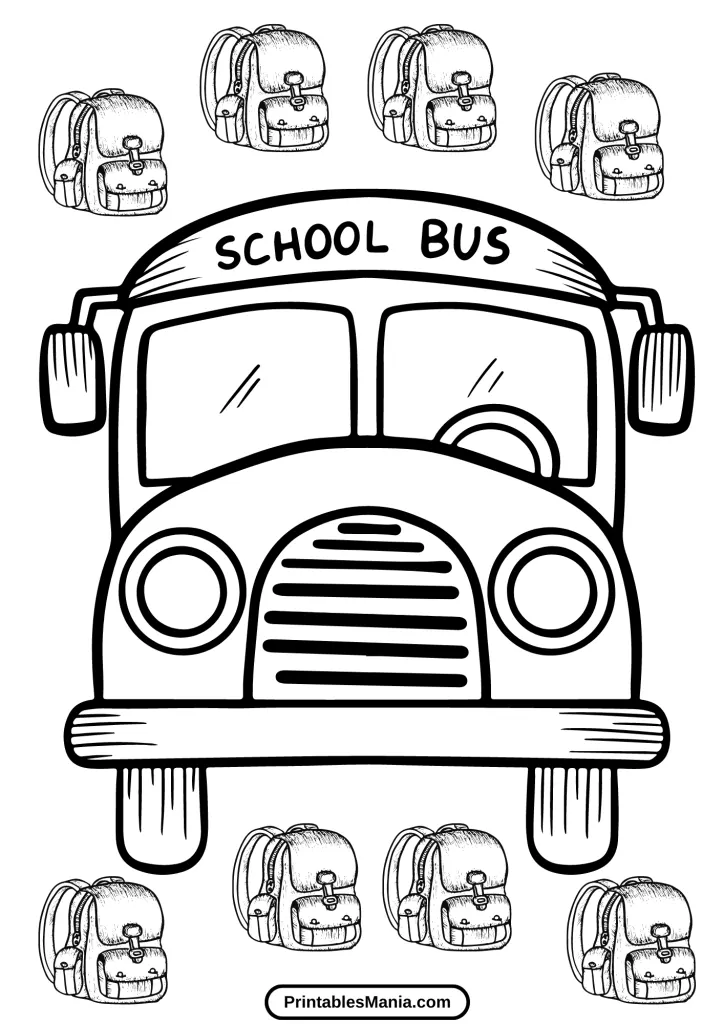
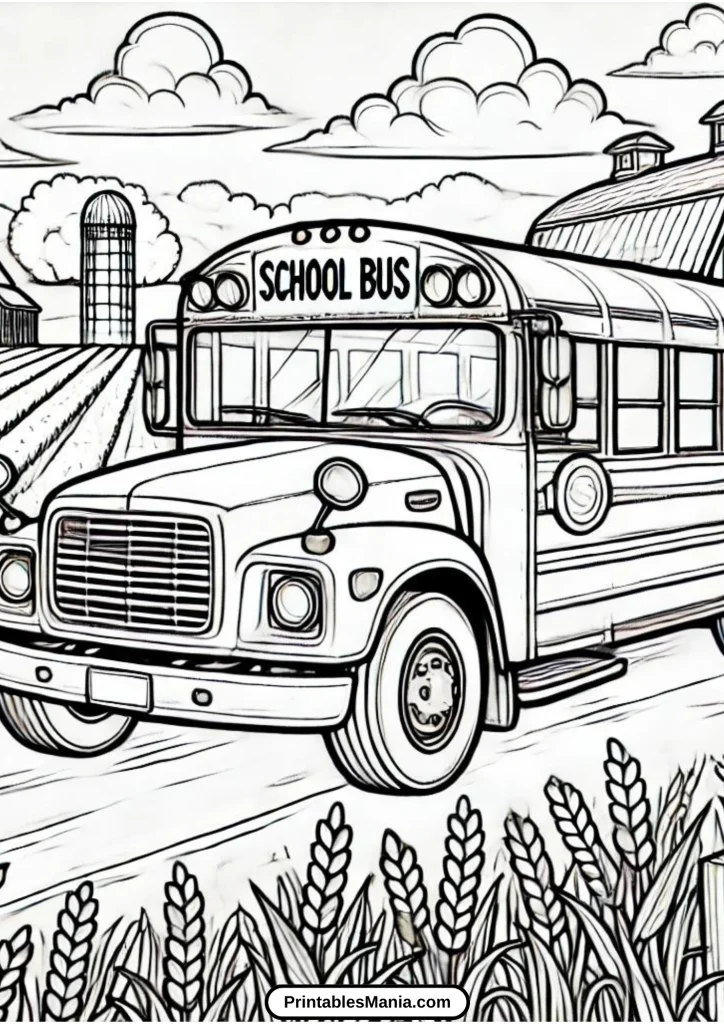
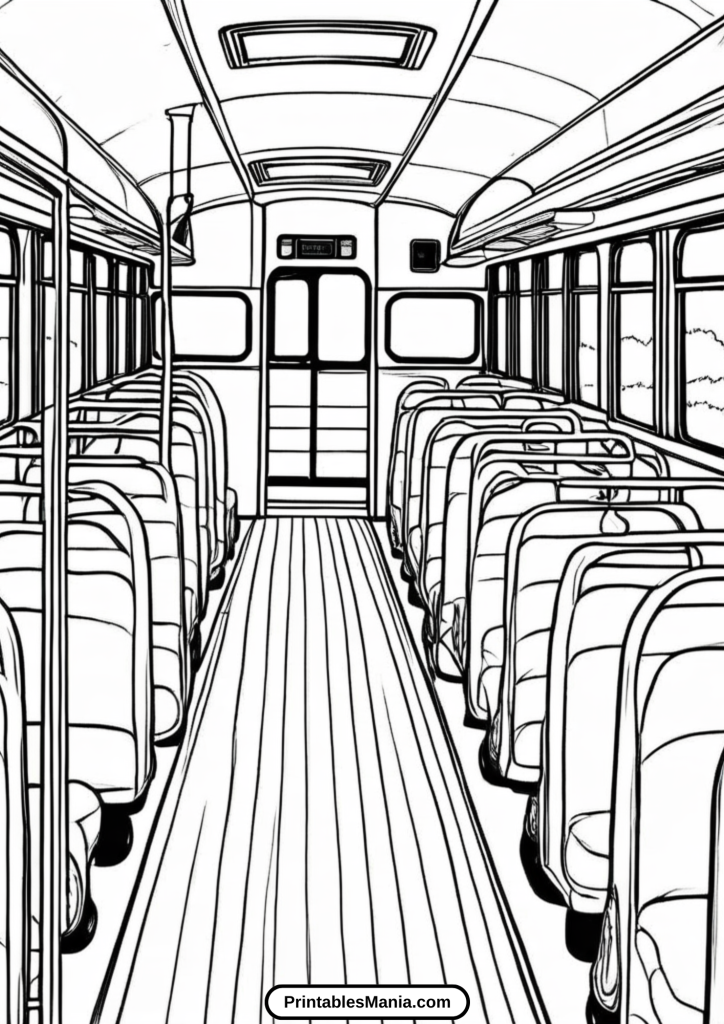
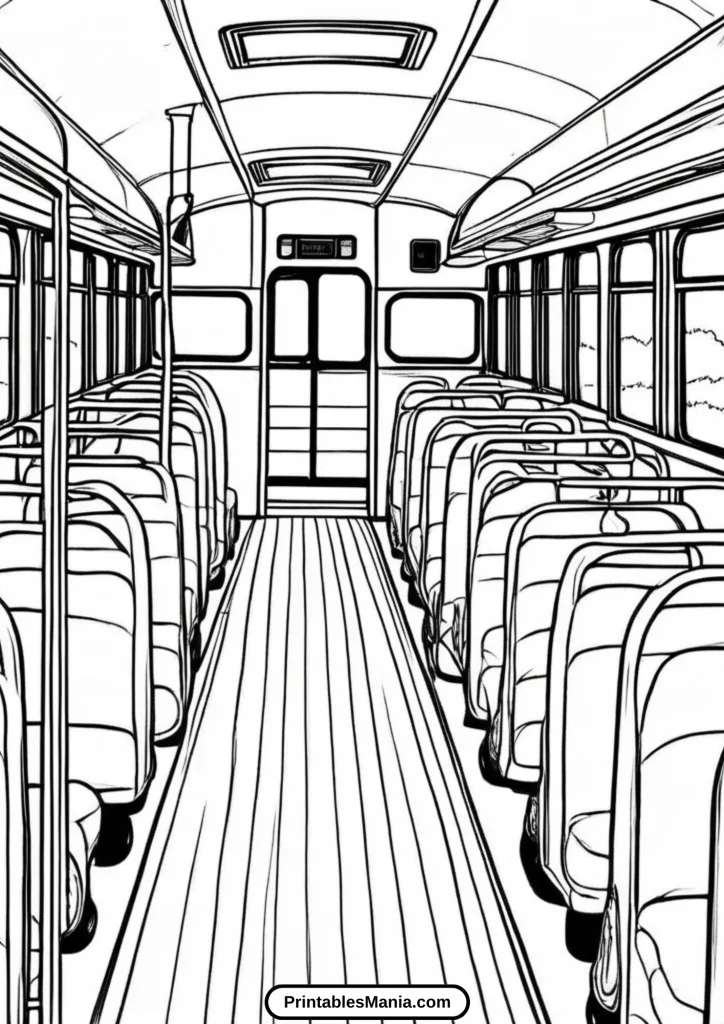
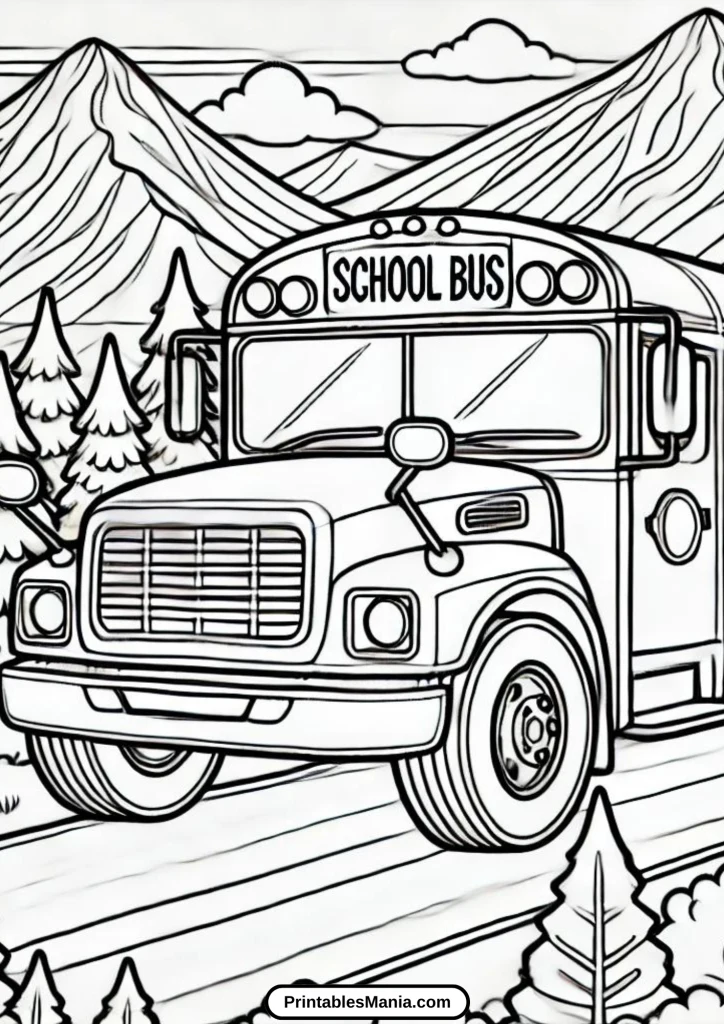
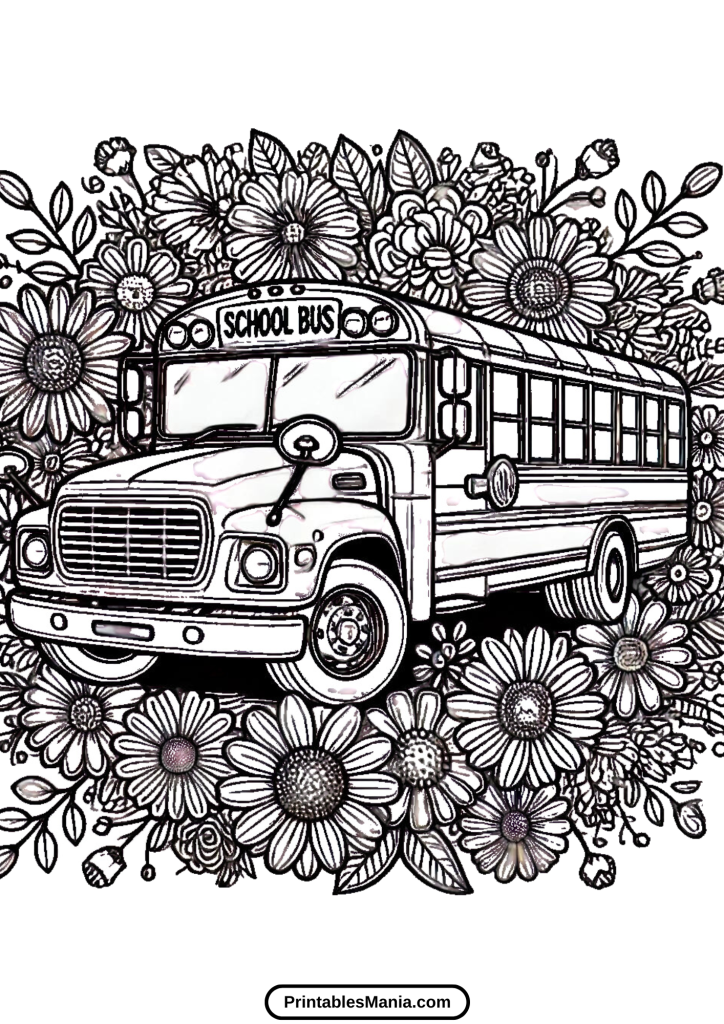
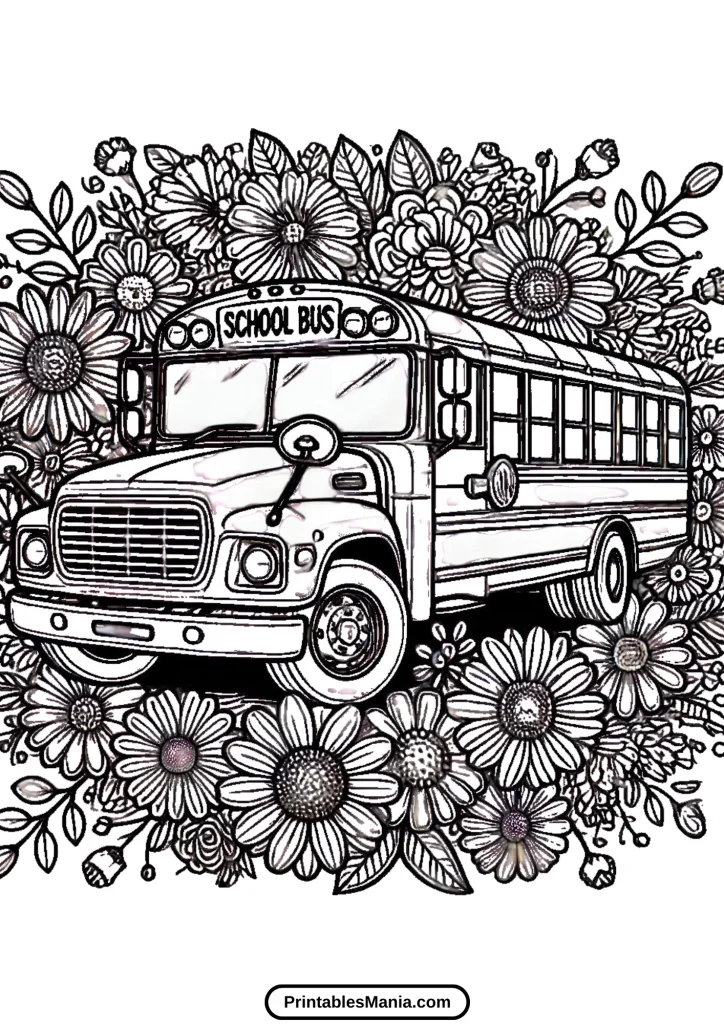
This page is perfect for kids who love big, yellow school buses and enjoy bringing their favorite vehicles to life with color. Whether it’s for a classroom activity, a rainy day project, or just for fun, our school bus coloring page offers a delightful and engaging experience.
Why Coloring Is Beneficial
Coloring isn’t just a fun activity; it also has several developmental benefits for children:
- Enhances Creativity: Allows children to express their artistic side.
- Improves Motor Skills: Helps in developing fine motor skills and hand-eye coordination.
- Boosts Focus and Concentration: Encourages children to concentrate on coloring within the lines.
- Promotes Relaxation: Acts as a calming activity, reducing stress and anxiety.
How to Use This Coloring Page
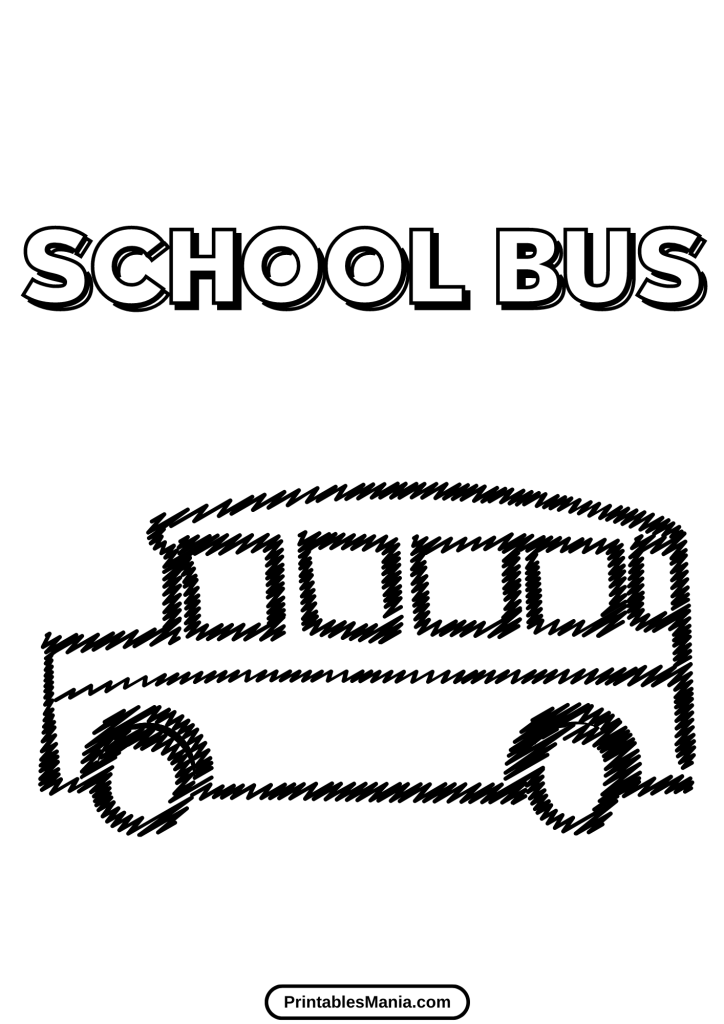
- Download and Print: Simply download the coloring page and print it out.
- Gather Coloring Supplies: Grab your crayons, markers, or colored pencils.
- Start Coloring: Let your imagination run wild and start coloring the school bus!
- Share Your Artwork: We’d love to see your completed masterpiece! Share it with us on social media using the hashtag #SchoolBusColoring.
Enjoy your coloring adventure!


Art Tips and Techniques
Enhance your coloring skills with these helpful tips and techniques. Whether you’re using crayons, markers, or digital tools, these suggestions will help you bring your illustrations to life with vibrant colors and stunning effects.
Choosing Colors
- Color Harmony: Choose colors that complement each other. For example, pairing warm colors (reds, oranges, yellows) with cool colors (blues, greens, purples) can create a balanced and visually appealing look.
- Theme-Based Colors: Consider the theme of your illustration. For a school bus, traditional yellow with black and silver accents works well, but don’t be afraid to experiment with other fun color combinations!
- Color Theory: Understanding basic color theory, like primary and secondary colors, can help in creating dynamic and cohesive color schemes.
Blending Techniques
- Crayons: Use light, circular strokes to layer colors and create a smooth gradient. Start with the lightest color and gradually add darker shades for depth.
- Markers: Begin with a base layer and then use a slightly darker marker to add shadows and highlights. Alcohol-based markers blend well and can create beautiful, seamless transitions.
- Colored Pencils: Layer colors by applying light pressure for the base color and increasing pressure for darker areas. Use a colorless blender pencil or a blending stump to smooth out harsh lines.
Mediums and Tools
Crayons
- Pros: Great for young children, easy to use, and readily available.
- Tips: Choose high-quality crayons for better pigmentation. Use different pressure levels to achieve varying intensities of color.
Markers
- Pros: Vibrant colors and smooth application.
- Tips: Alcohol-based markers blend well and are ideal for detailed illustrations. Keep a scrap piece of paper under your work to prevent bleeding.
Colored Pencils
- Pros: Versatile and excellent for detailed work.
- Tips: Invest in a good set of colored pencils with a wide range of colors. Sharpen pencils regularly for fine details and use a blending pencil to smooth colors.
Digital Tools
- Pros: Unlimited color options, easy corrections, and various brush effects.
- Tips: Use layers to separate different parts of your illustration. Experiment with different brush settings to find the perfect texture. Many digital art programs offer blending tools that can mimic traditional media.
Creative Ideas
- Experiment with Textures: Try different techniques to create textures, like stippling with markers or cross-hatching with pencils.
- Add Highlights and Shadows: Consider the light source in your illustration and add highlights and shadows accordingly to create a sense of depth.
- Mix Mediums: Combine different mediums for unique effects. For instance, use markers for bold areas and colored pencils for finer details.
Share Your Art
We’d love to see your finished pieces! Share your artwork on social media and tag us using the hashtag #ColoringWithPrintablesMania. Happy coloring!
What to Do with the Colored Page?
Once you’ve finished coloring your page, the fun doesn’t have to stop there! Here are some creative and practical ideas for what you can do with your beautifully colored artwork:
Display Your Art
- Frame It: Place your colored page in a frame and hang it on a wall to add a personal touch to your home decor. It’s a great way to showcase your artistic skills!
- Bulletin Boards: Pin your artwork on a bulletin board in your room, office, or classroom. It’s a fantastic way to keep your creative efforts visible and appreciated.
- Refrigerator Gallery: Use magnets to display your masterpiece on the refrigerator. It’s a classic and accessible way to show off your work.
Gift Your Art
- Personalized Gifts: Give your colored page as a unique and heartfelt gift. Add a personal note to make it even more special.
- Greeting Cards: Fold your colored page and turn it into a beautiful, handmade greeting card for birthdays, holidays, or just because.
- Bookmarks: Cut your colored page into strips and laminate them to create colorful, custom bookmarks. These make great gifts for book lovers!
Craft Projects
- Scrapbooking: Incorporate your colored page into a scrapbook layout. It adds a personal touch to your memories and makes your scrapbook even more special.
- Collages: Use pieces of your colored page in a collage project. Combine it with other materials like magazine clippings, stickers, and textured paper for a mixed-media masterpiece.
- DIY Decorations: Cut out shapes from your colored page and use them to decorate notebooks, journals, or gift wrap. You can also create garlands or banners for parties or seasonal decor.
Educational Uses
- Learning Tools: Use your colored pages as visual aids for teaching colors, shapes, or themes. It’s a fun and engaging way to learn.
- Storytelling: Create a story based on your colored page and use it as an illustration. This is a great activity for kids to develop their creativity and storytelling skills.
Share Your Work
- Social Media: Share a photo of your finished coloring page on social media platforms. Tag us and use the hashtag #ColoringWithPrintablesMania to connect with other coloring enthusiasts.
- Online Communities: Join online forums or groups dedicated to coloring and share your artwork for feedback and inspiration. It’s a wonderful way to meet like-minded people and grow your skills.
Create a Portfolio
- Art Portfolio: Collect your colored pages in a portfolio to track your progress and showcase your work. It’s a great way to see how your skills have improved over time.
- Digital Gallery: Scan your colored pages and create a digital gallery. You can share this online or keep it as a personal collection.
Reuse and Recycle
- Recycle Art: Use your colored pages for other craft projects, or if you need to dispose of them, make sure to recycle the paper responsibly.
- Reuse for Sketches: Flip the page and use the back for sketches or drafts. It’s an eco-friendly way to make the most out of your materials.