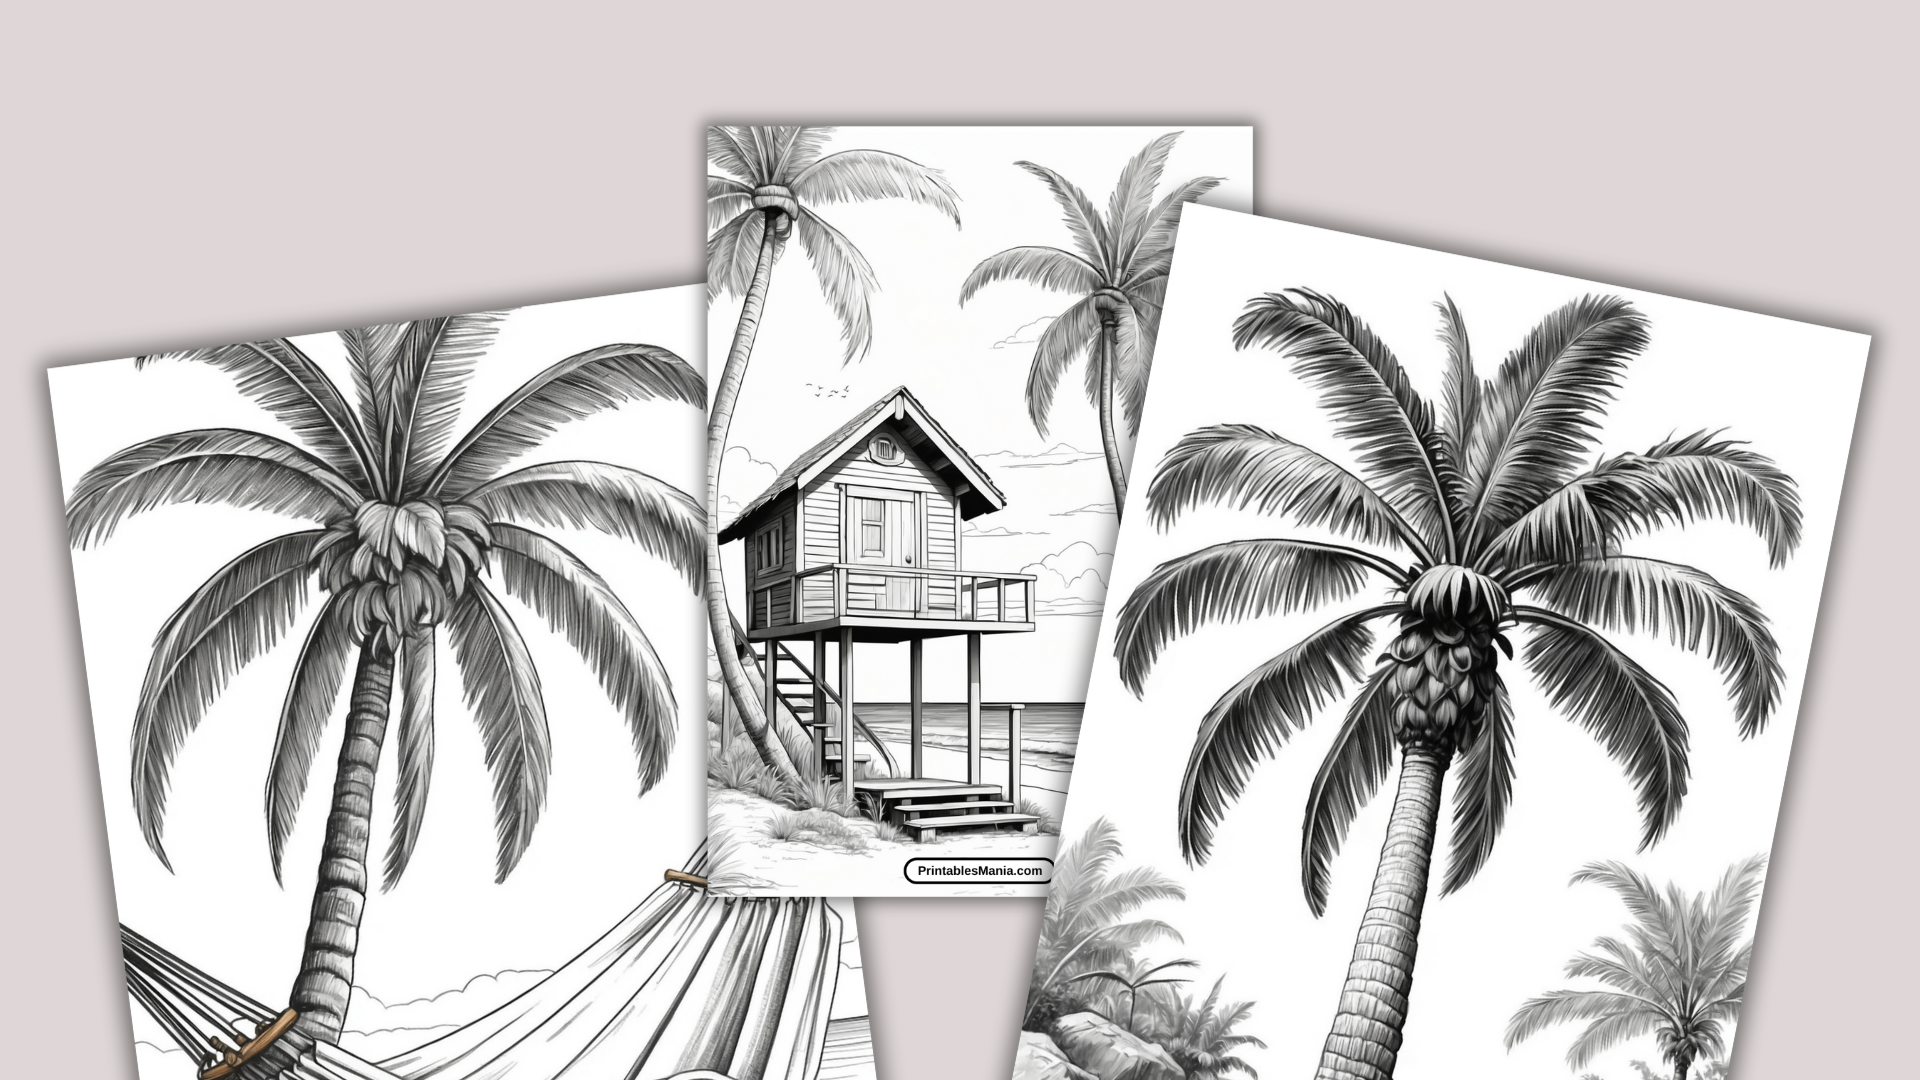
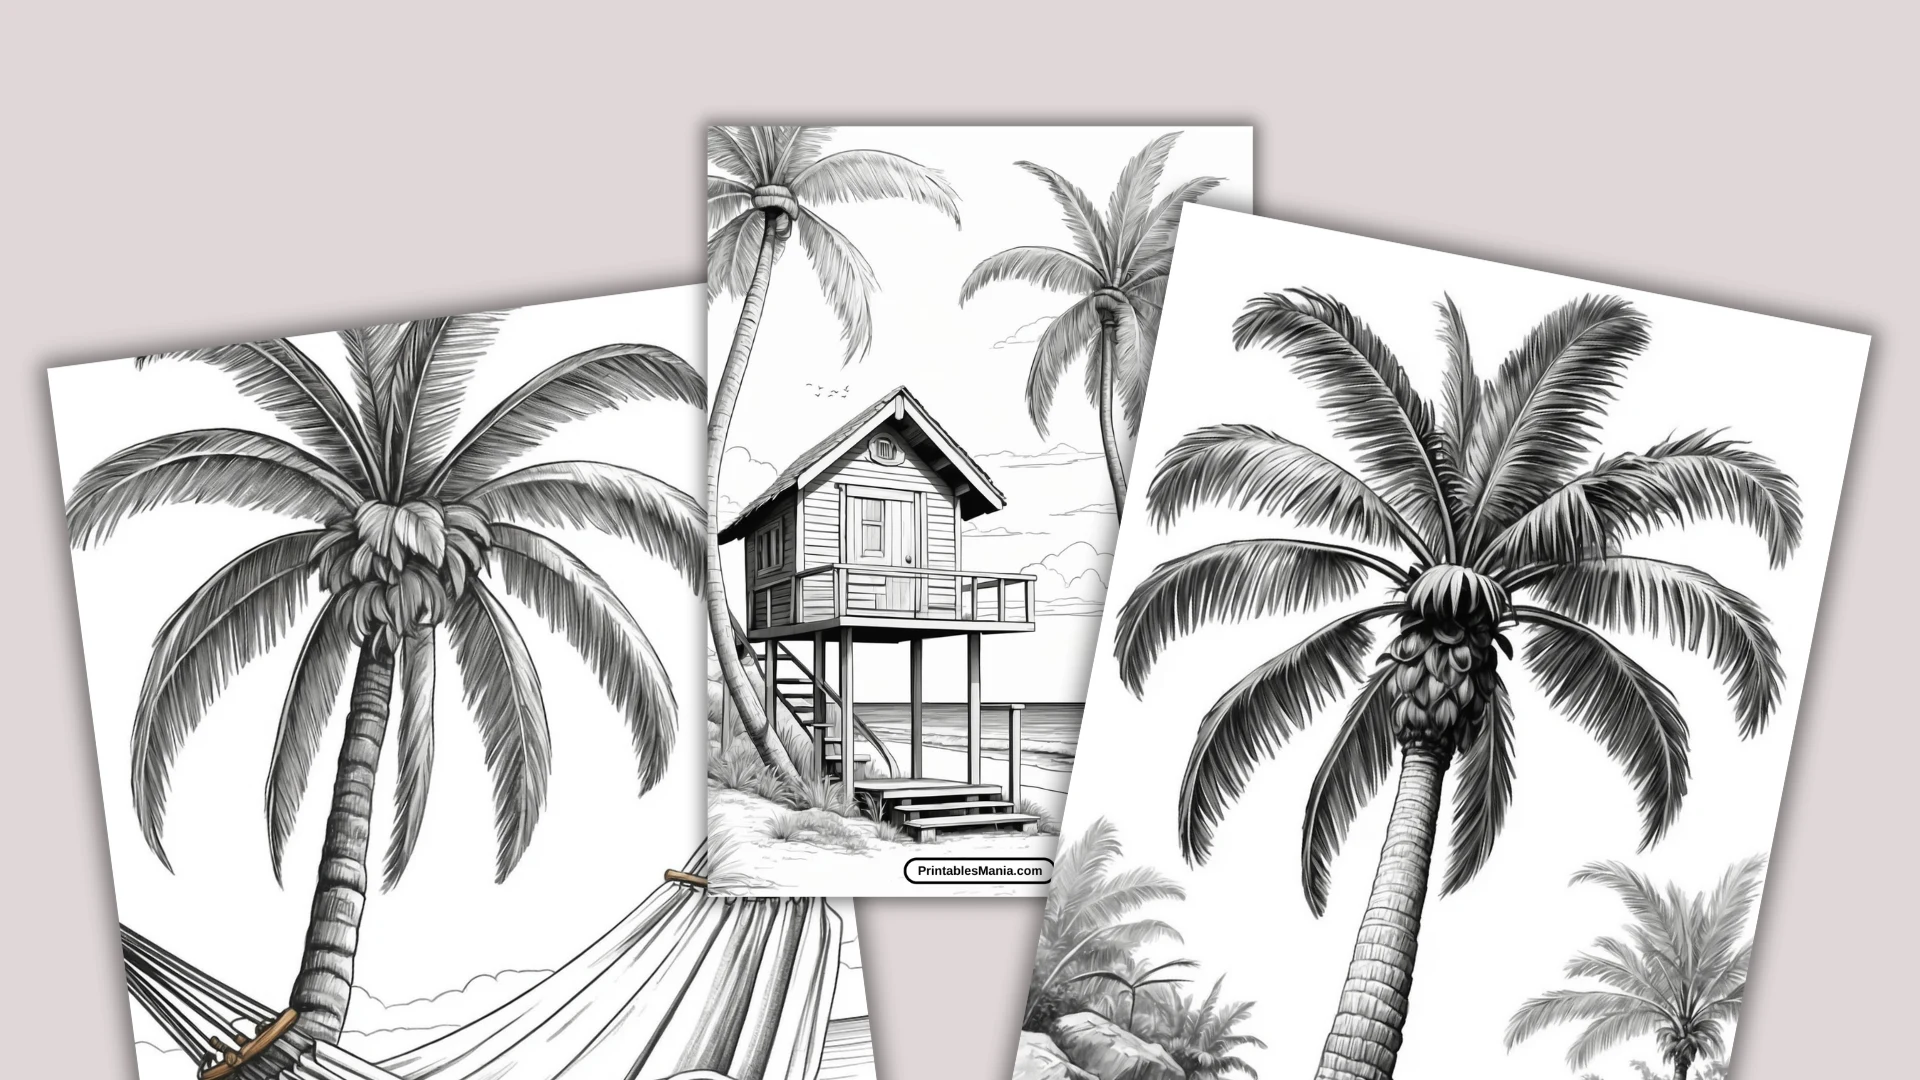
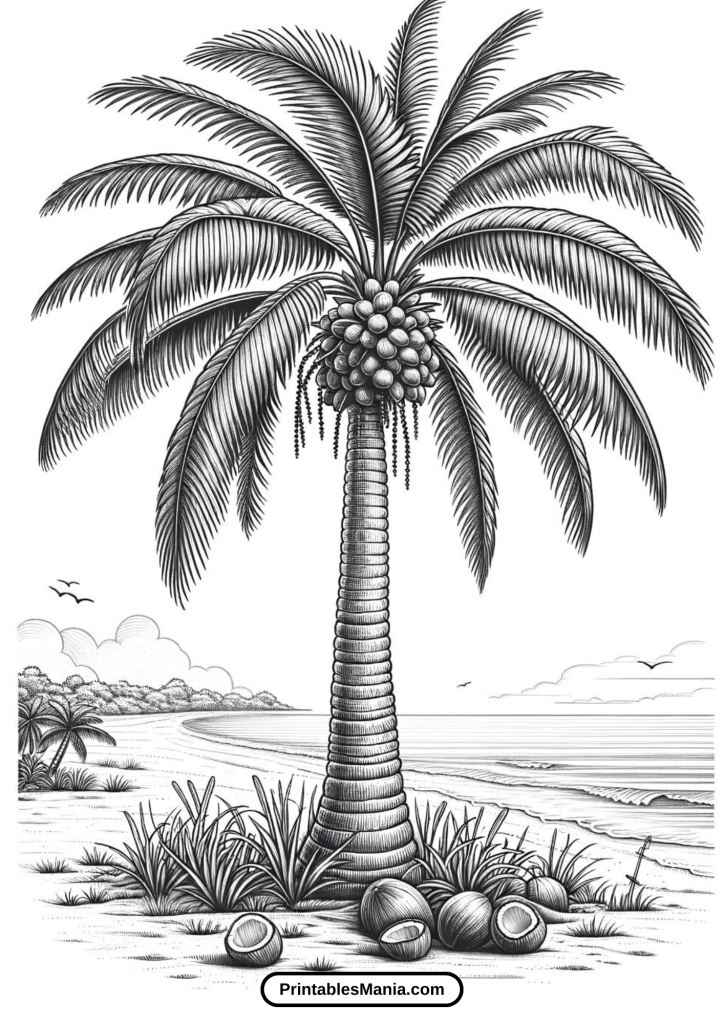
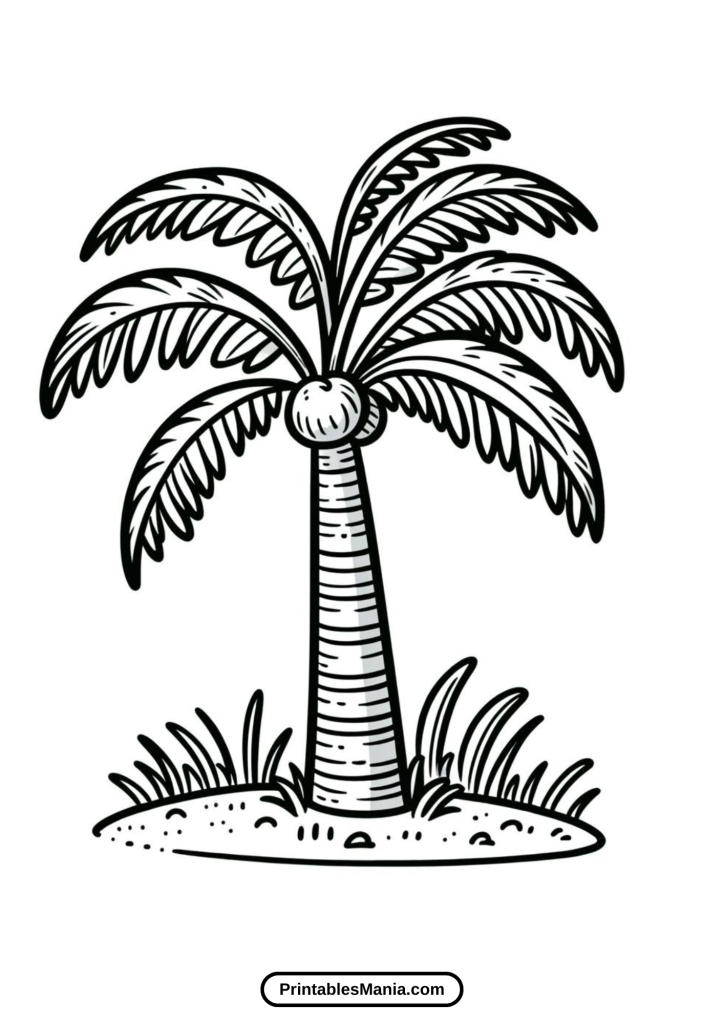
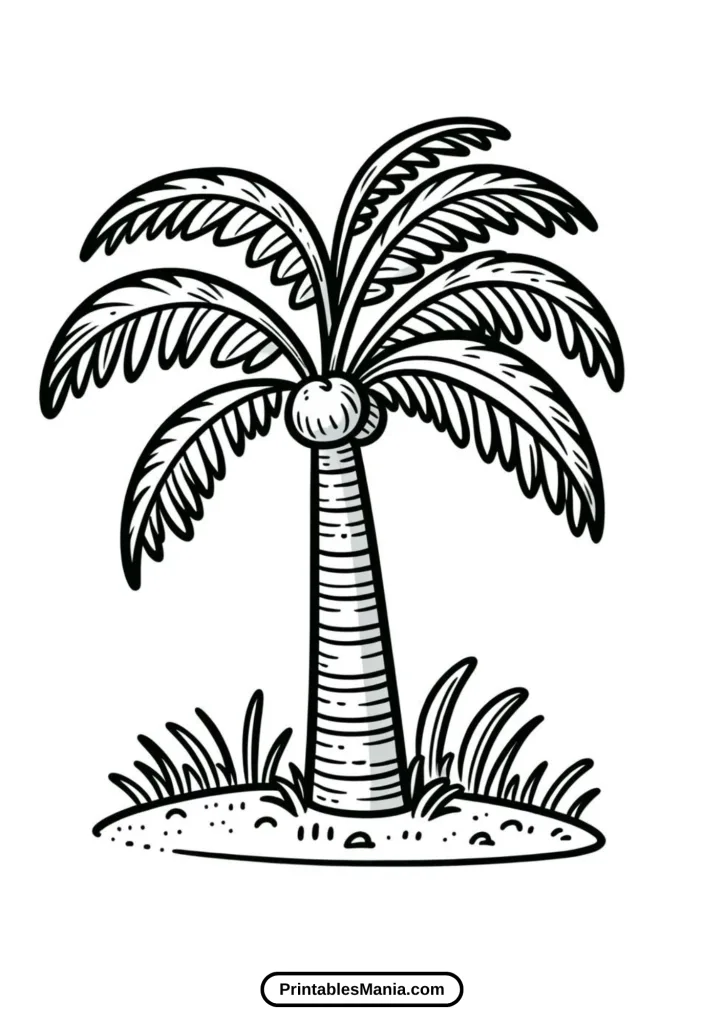
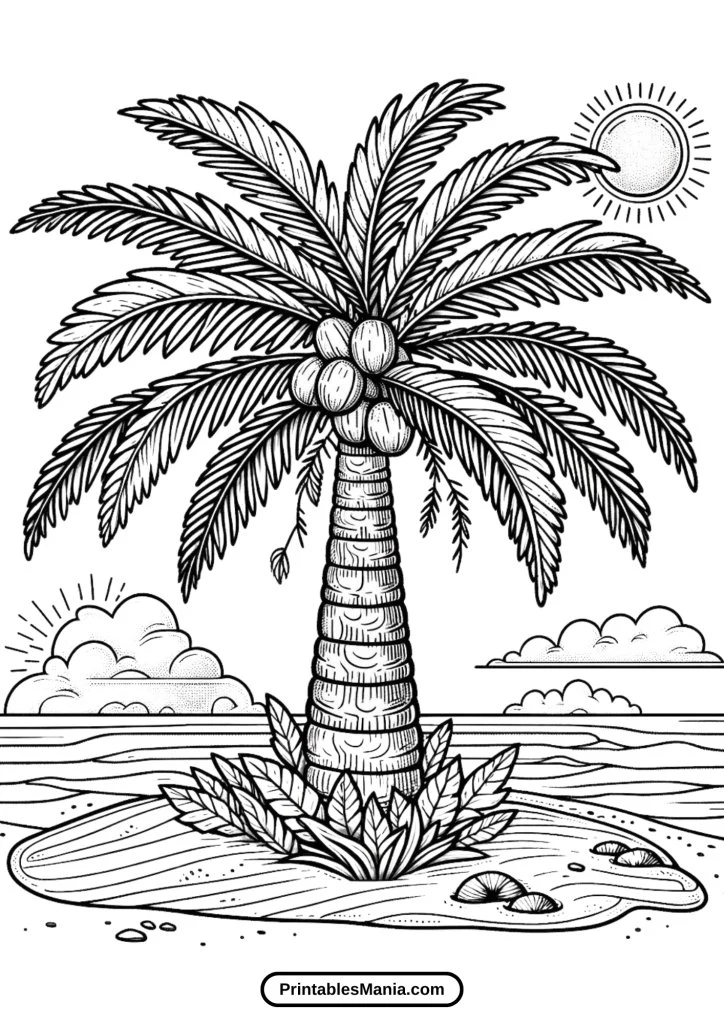
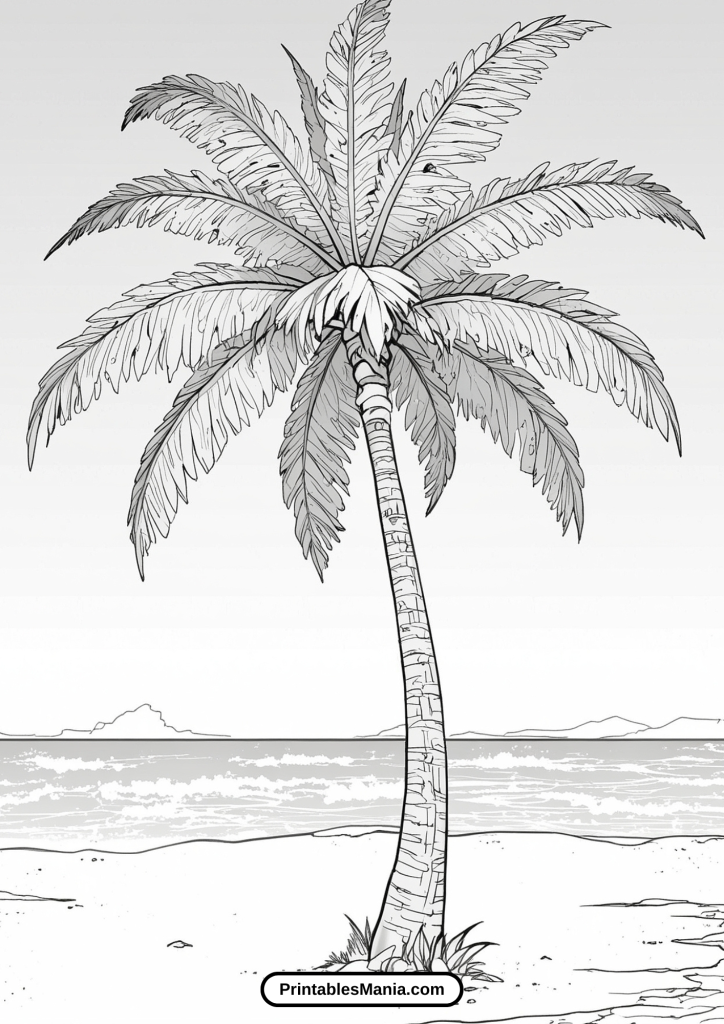
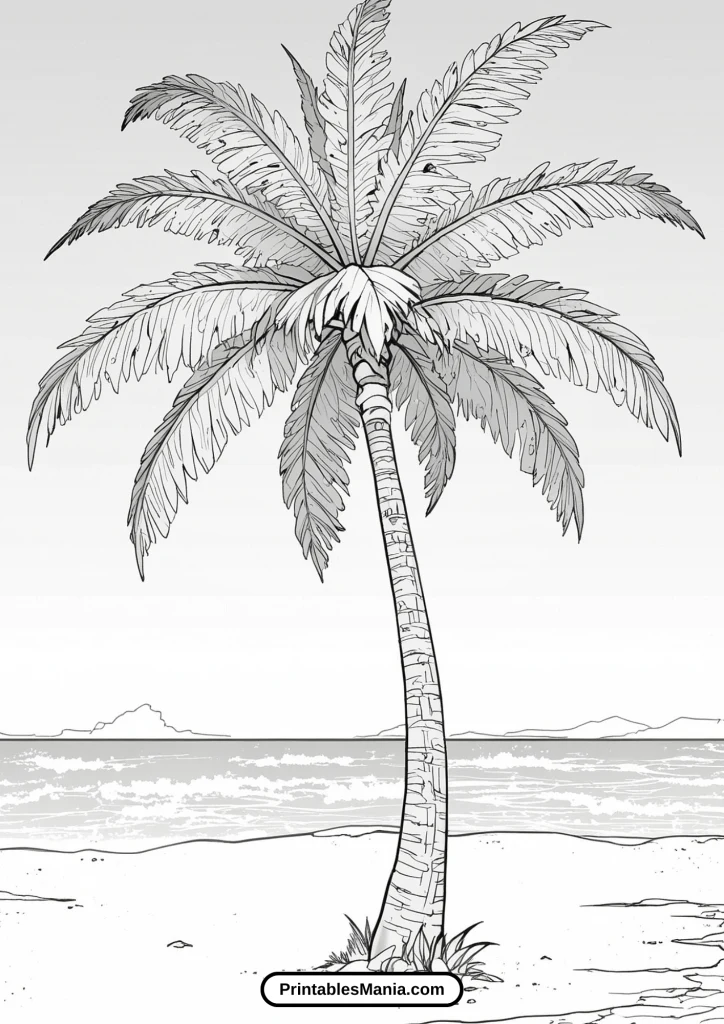
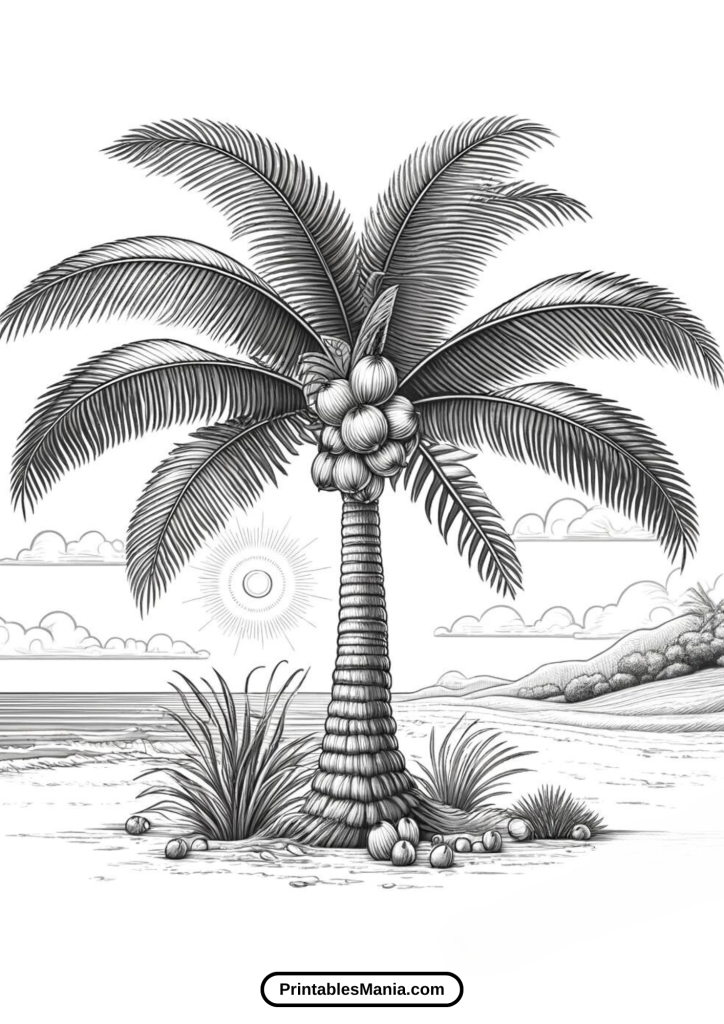
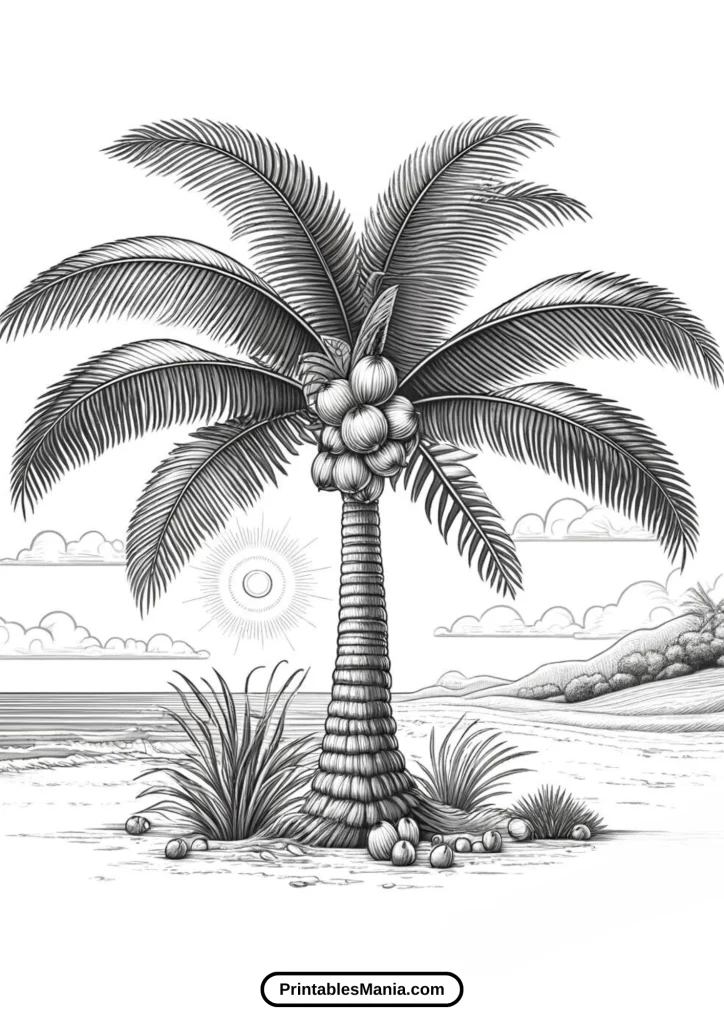
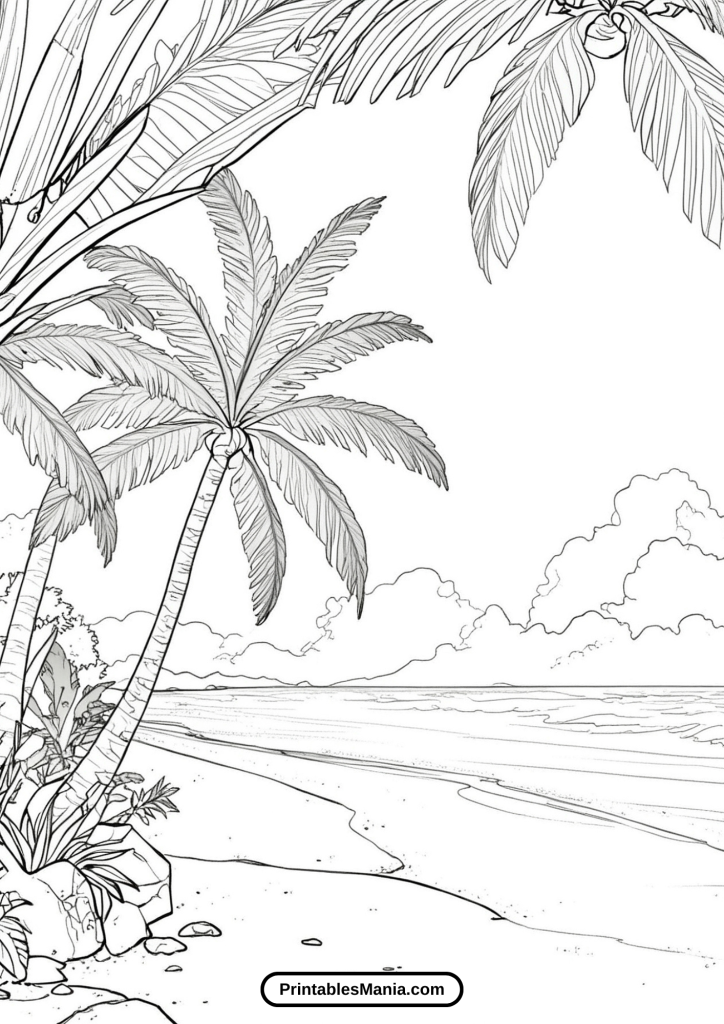
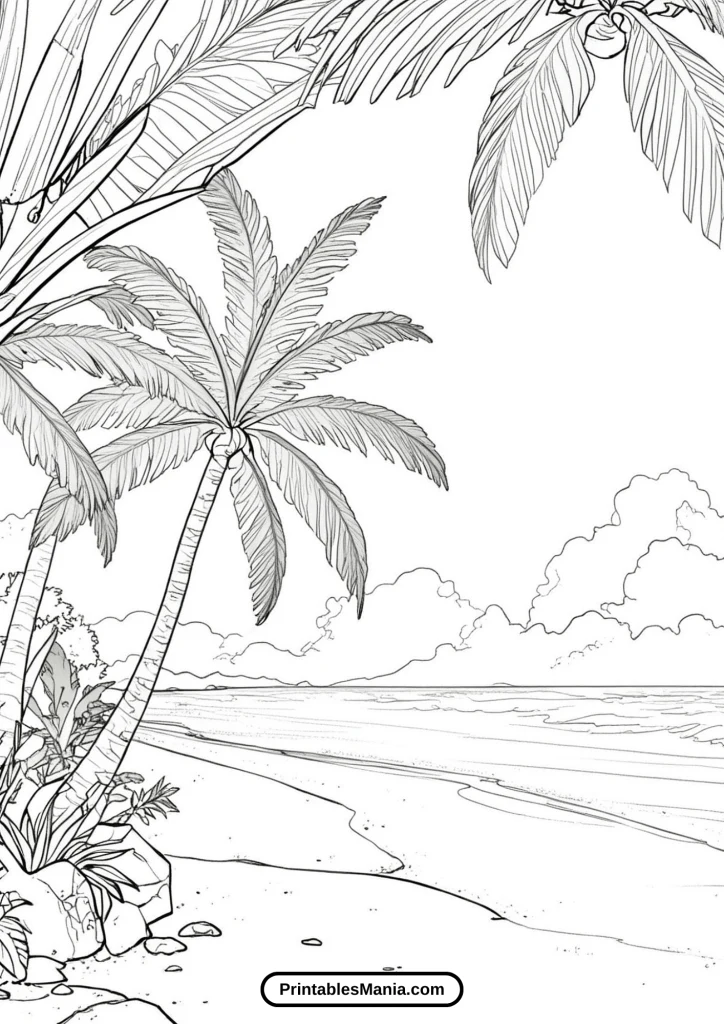
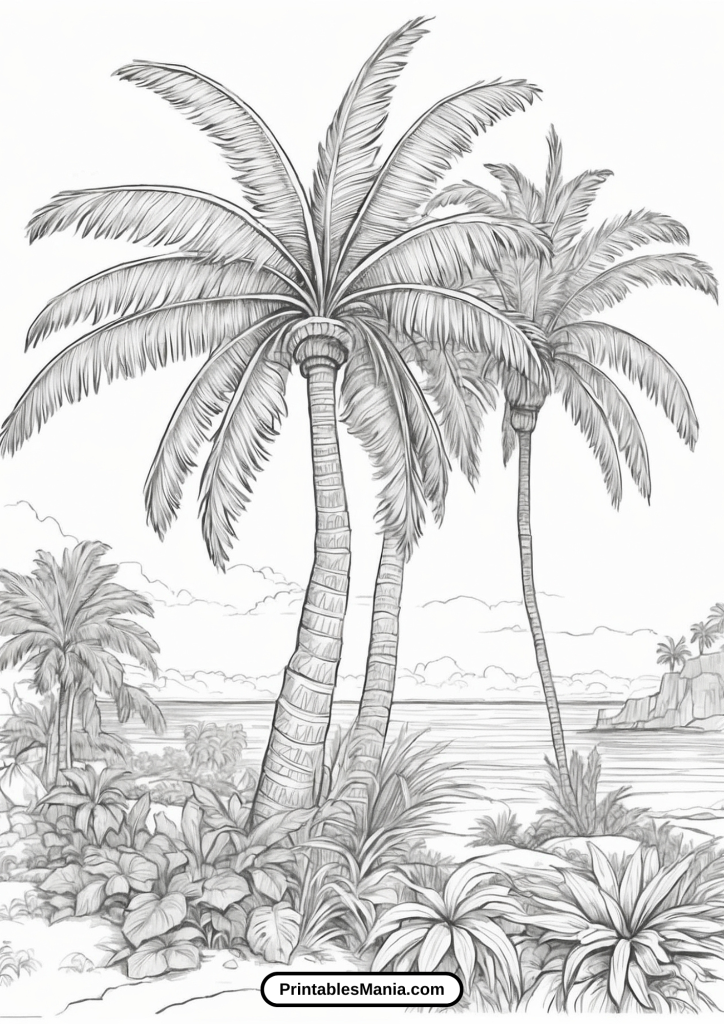
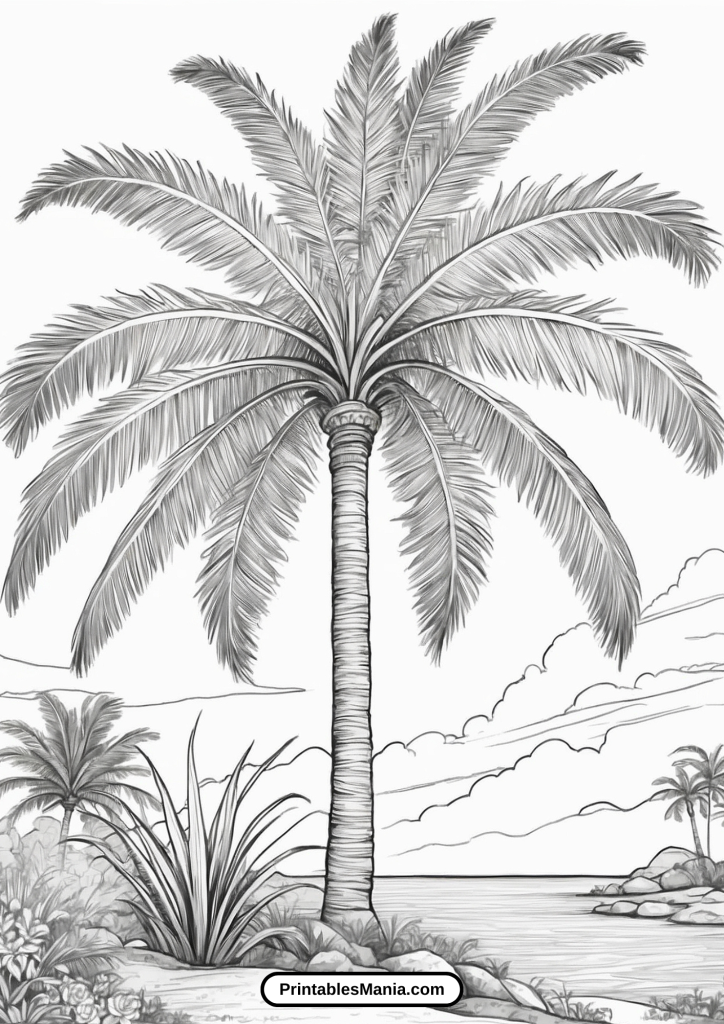
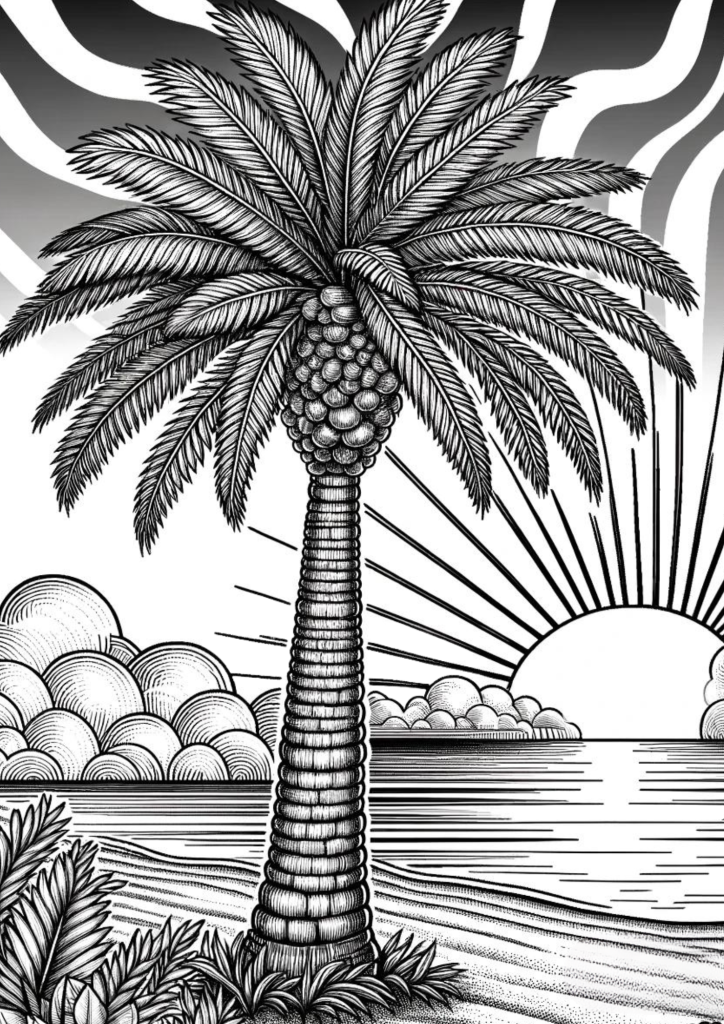
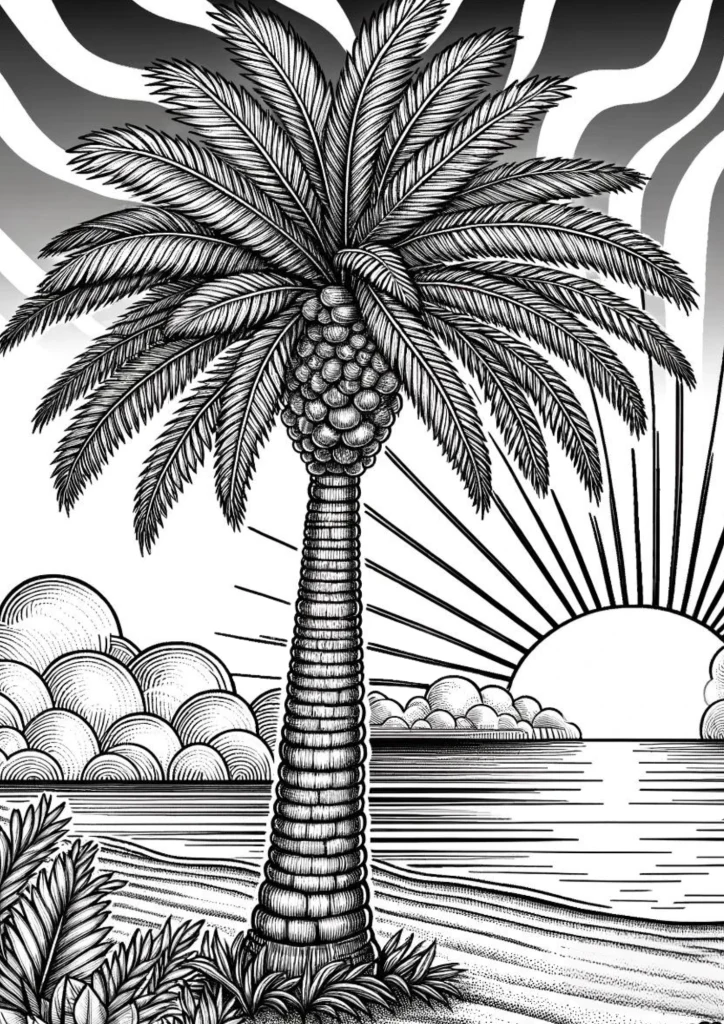
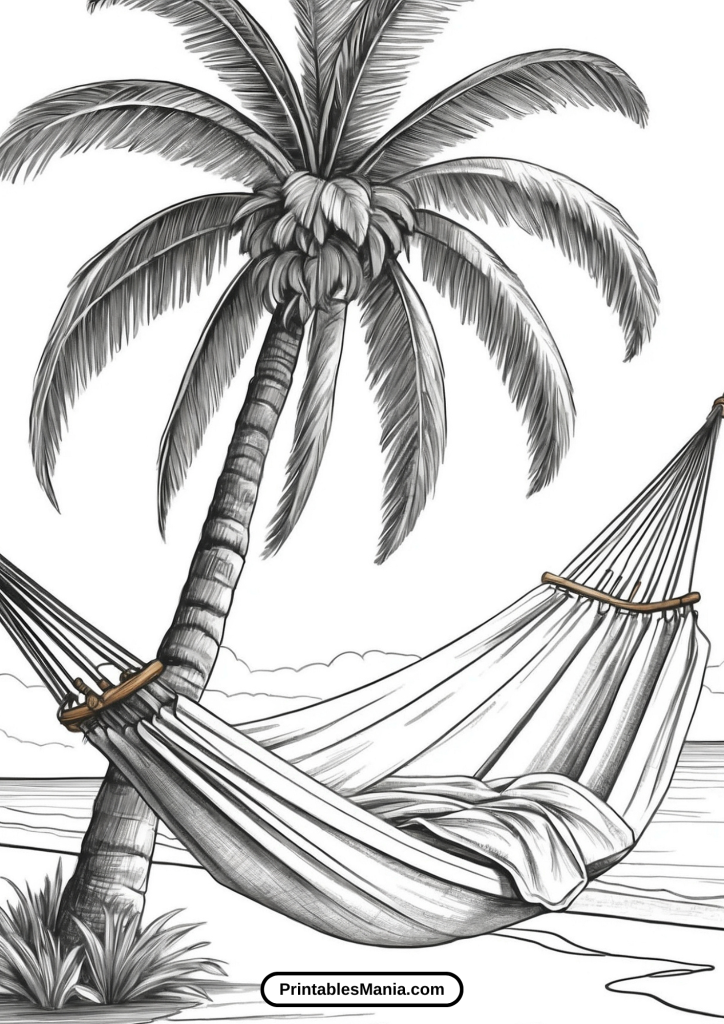
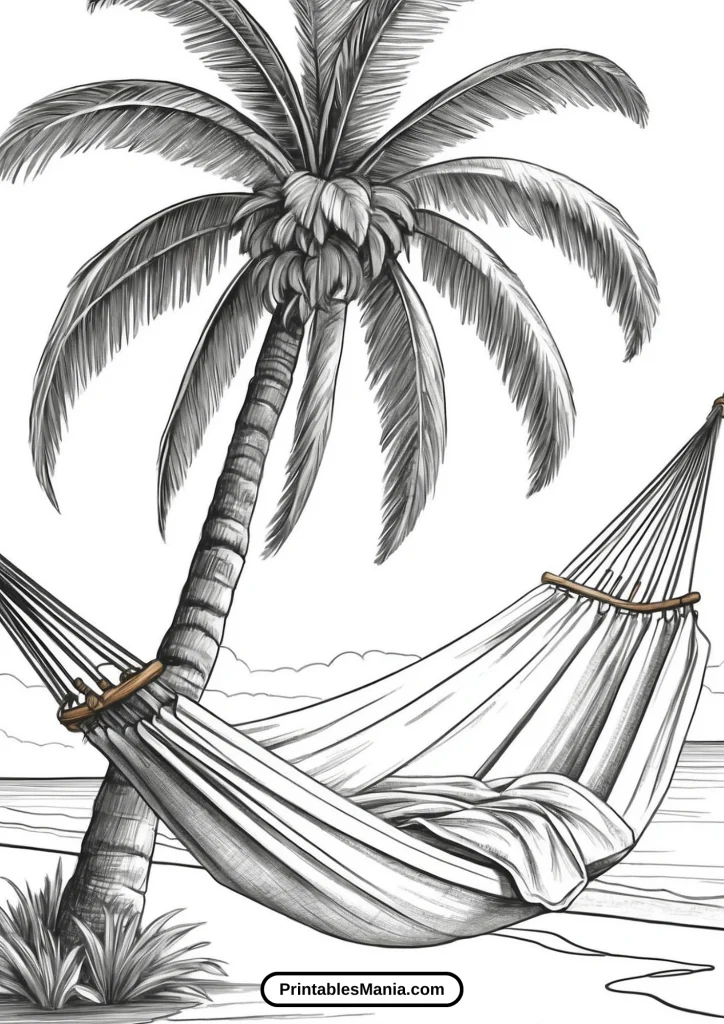
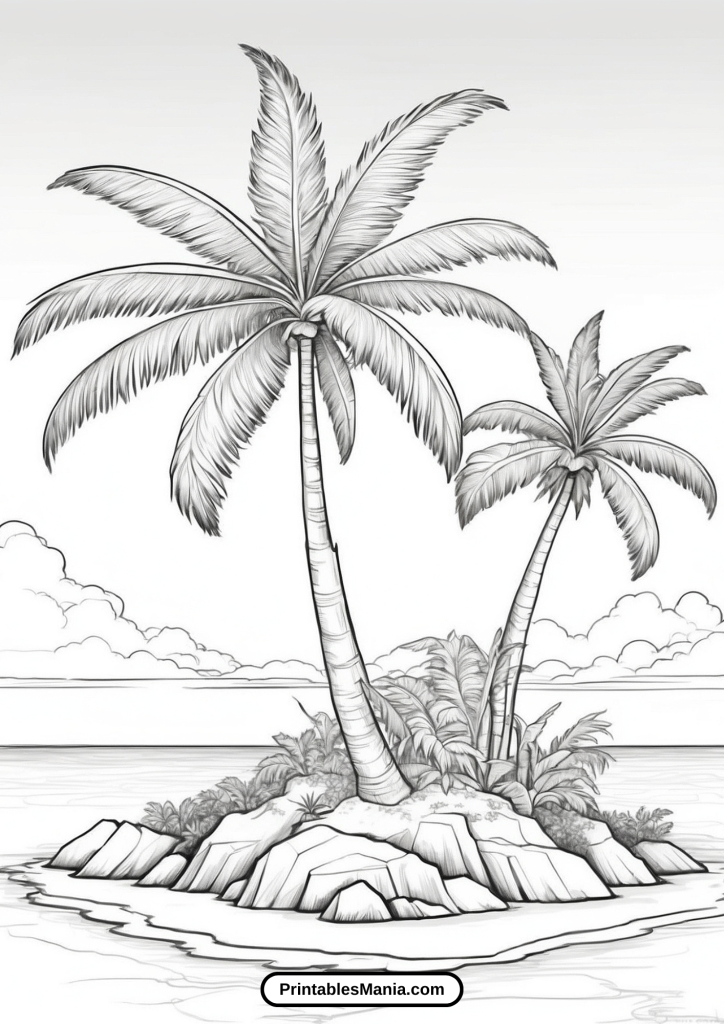
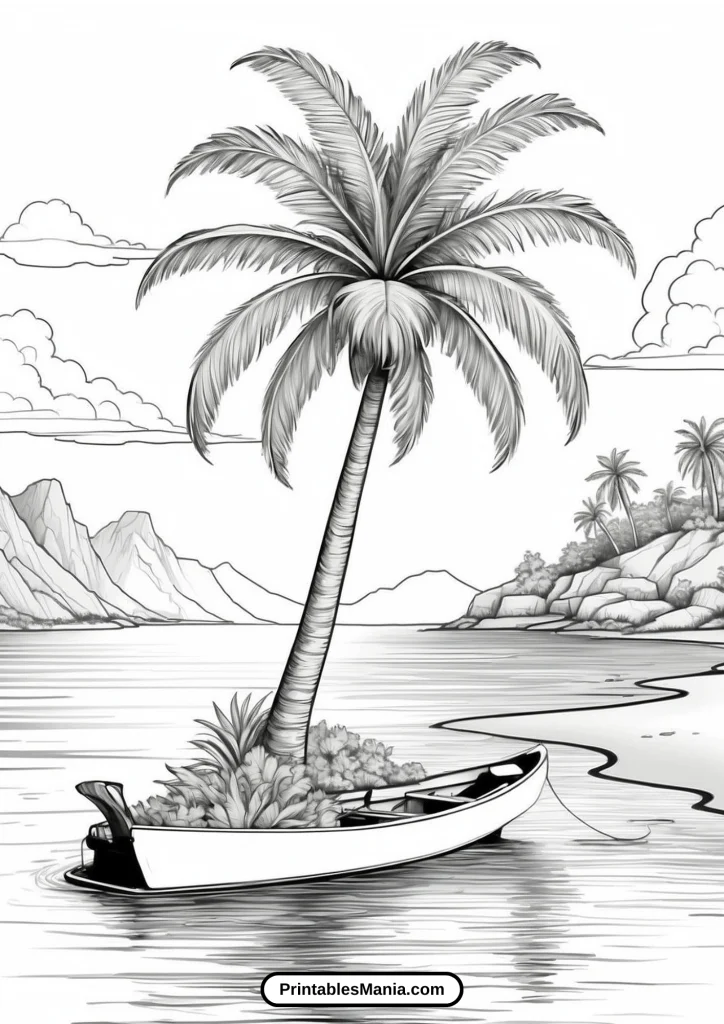
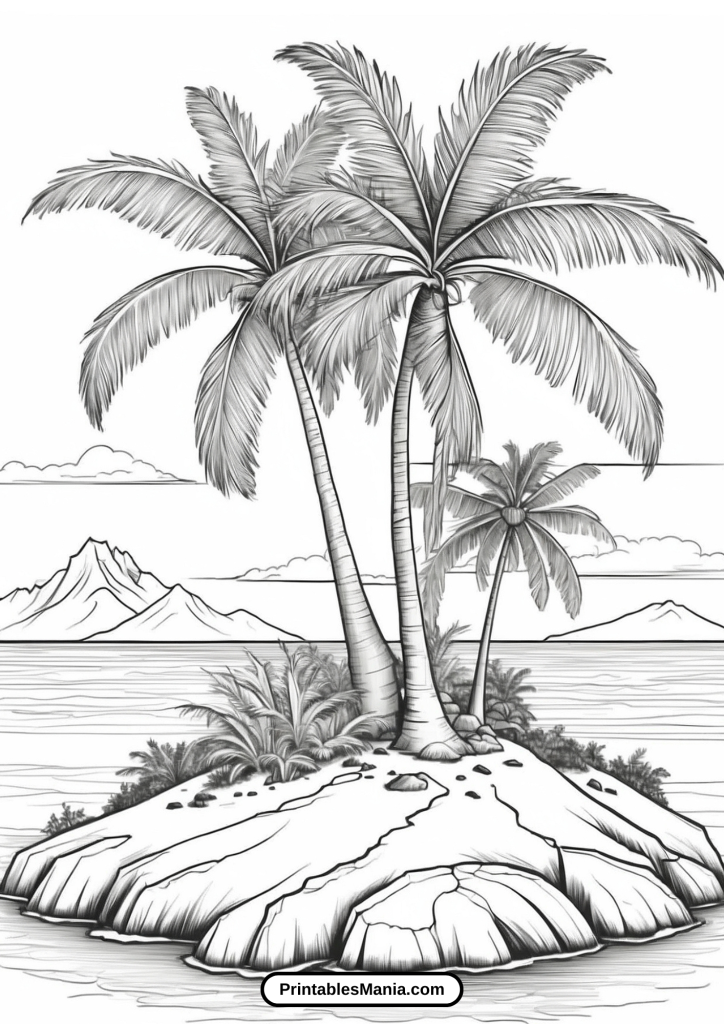
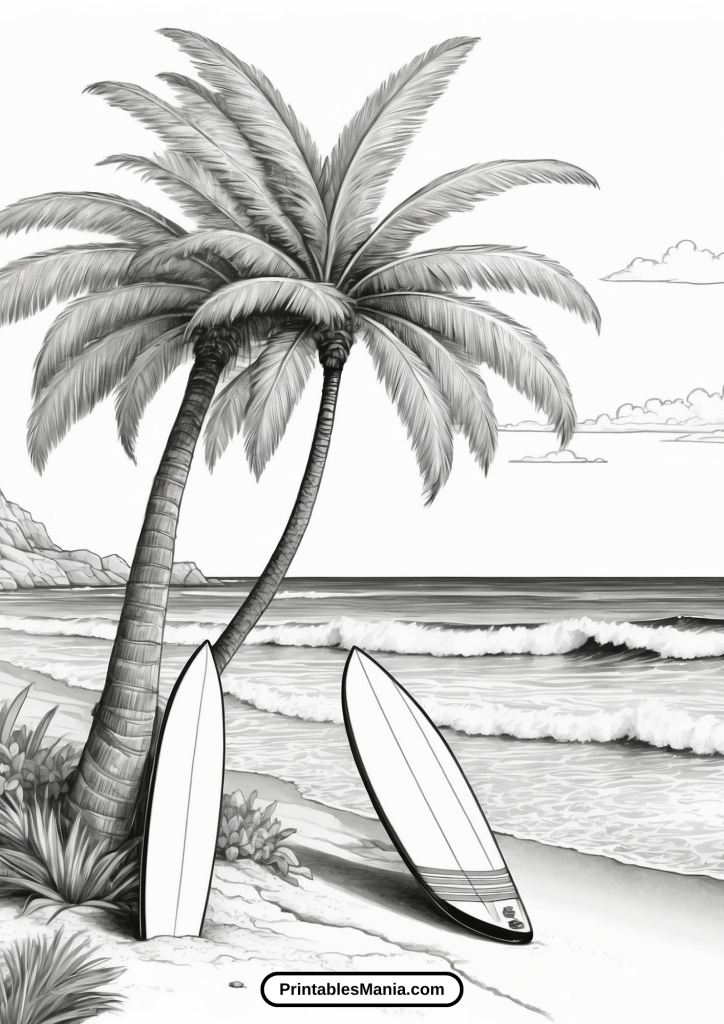
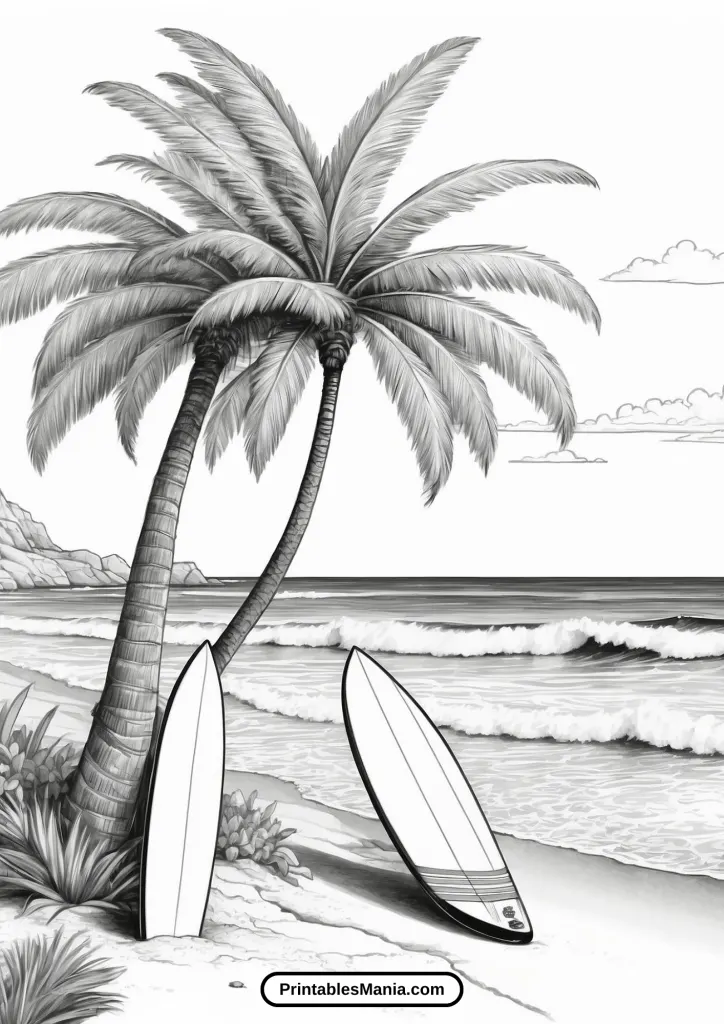
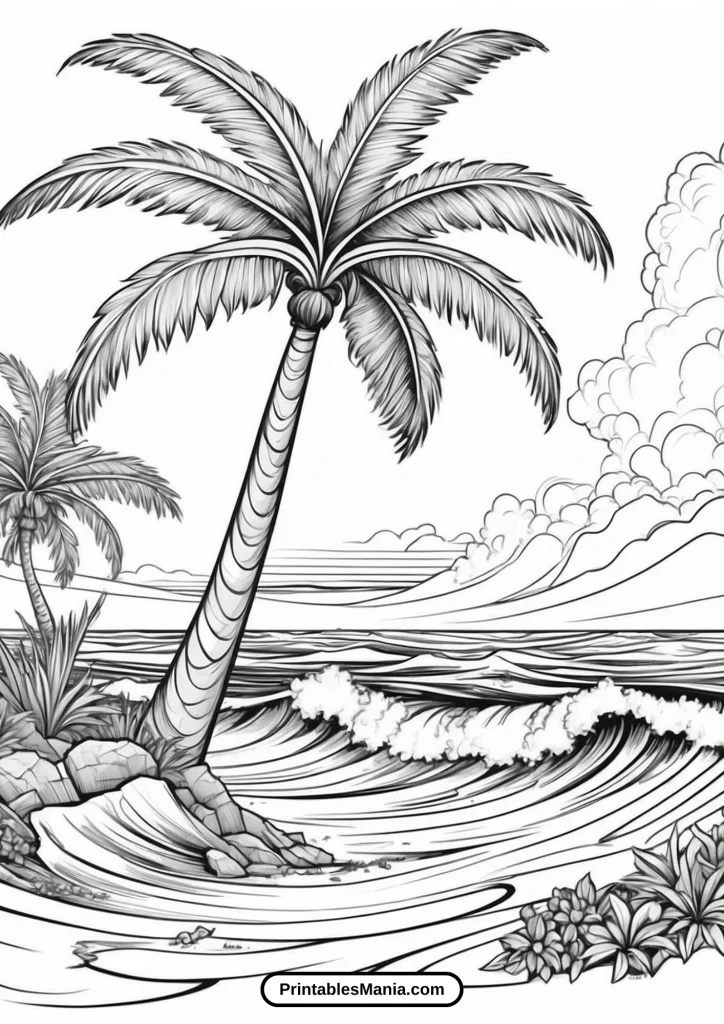
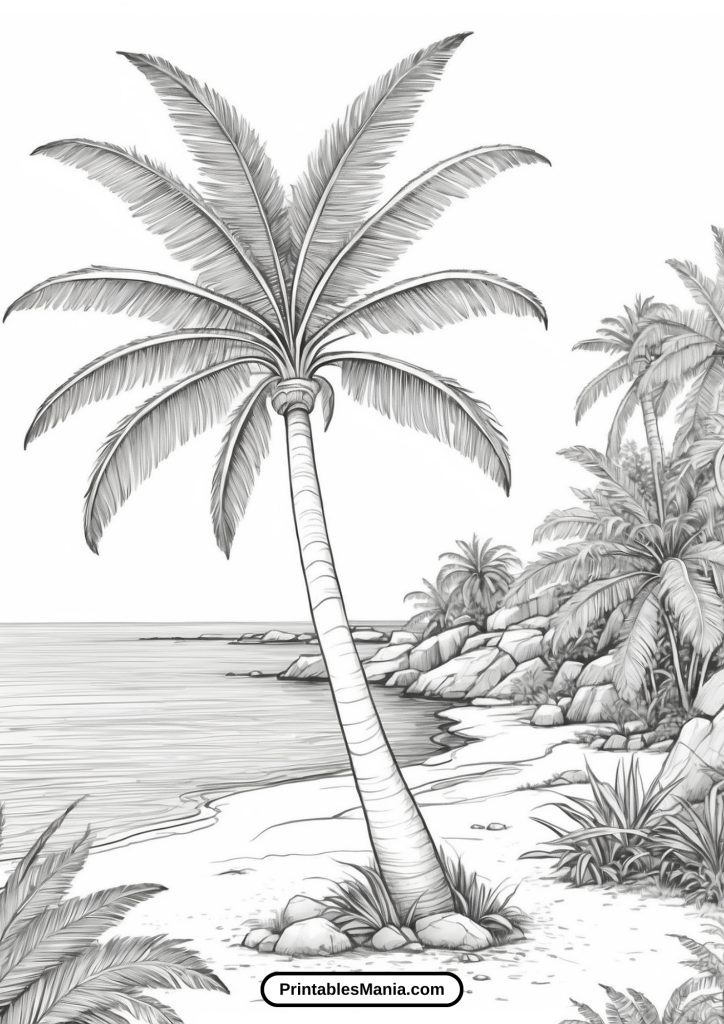
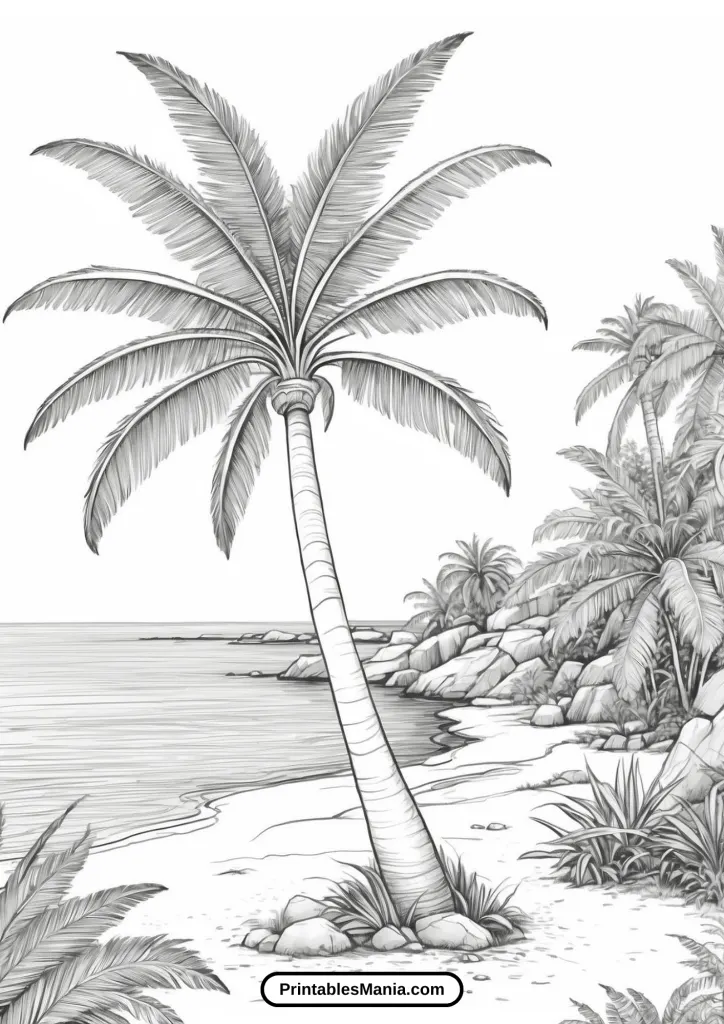
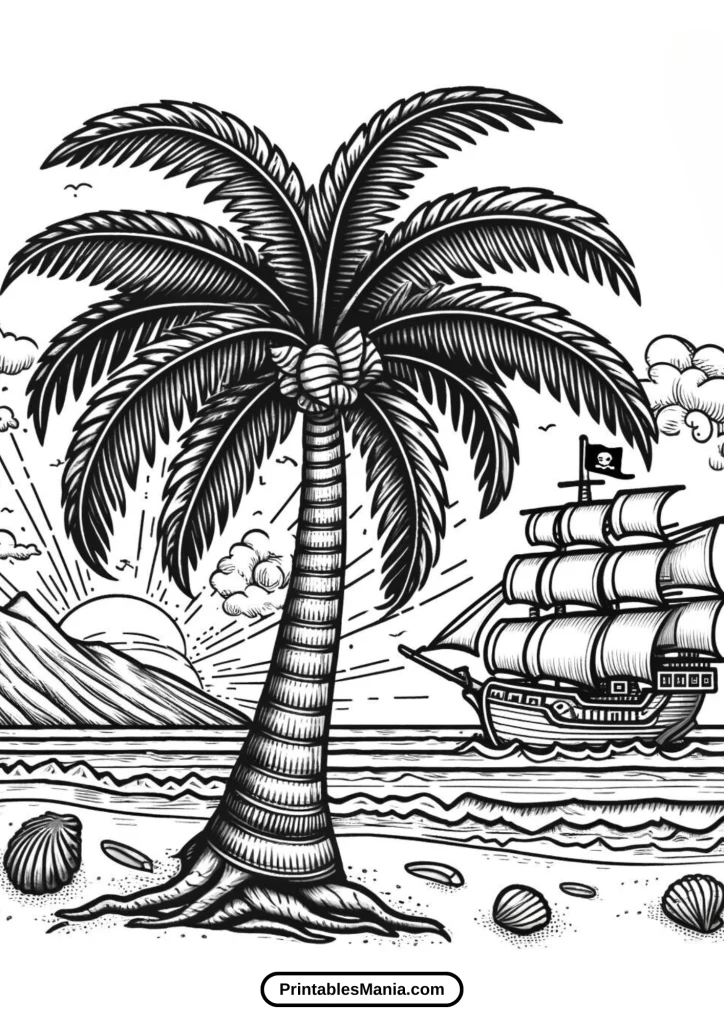
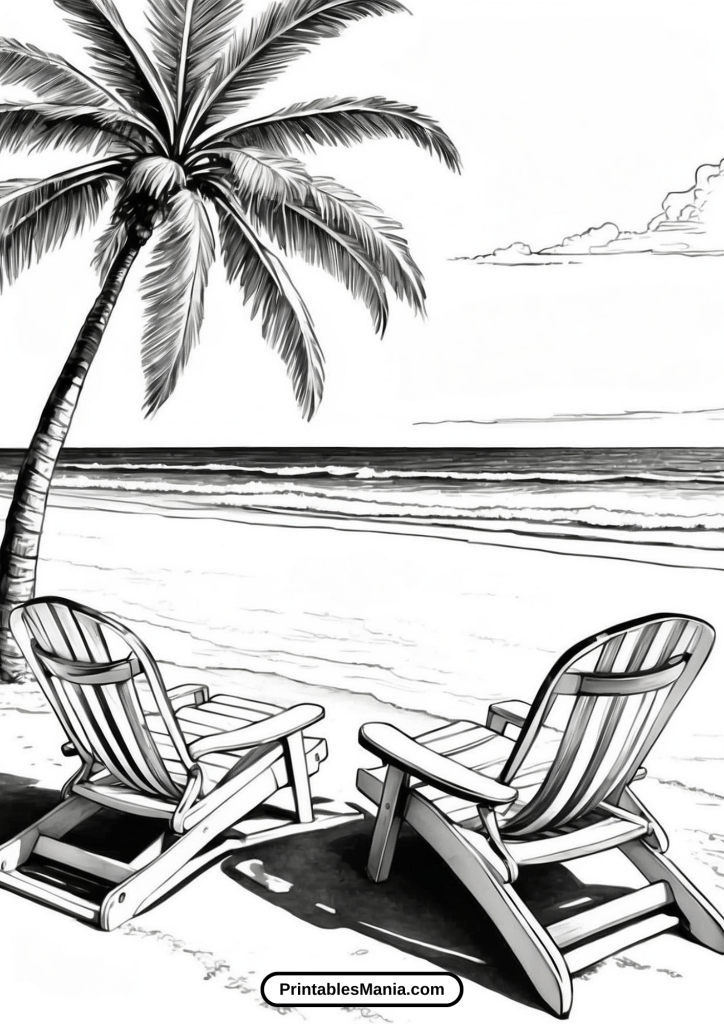
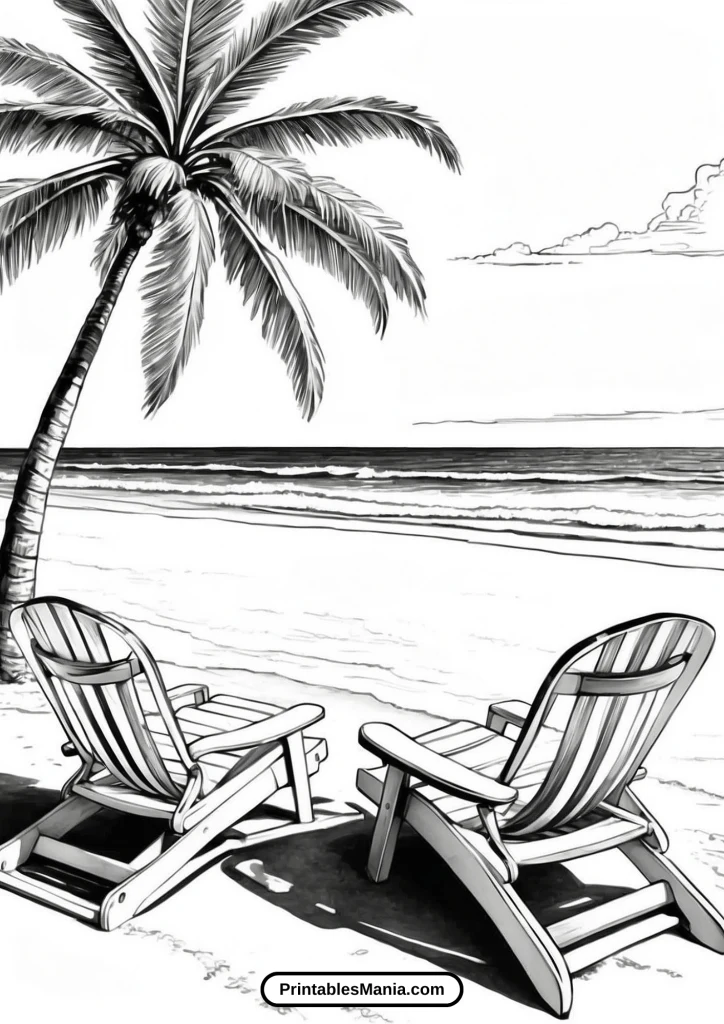
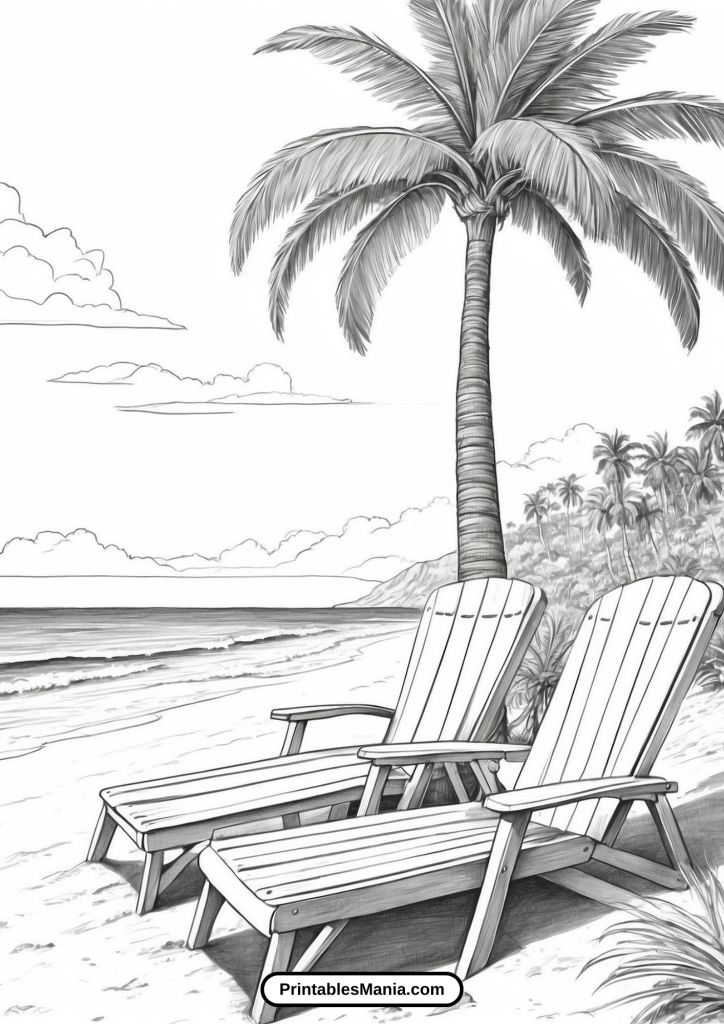
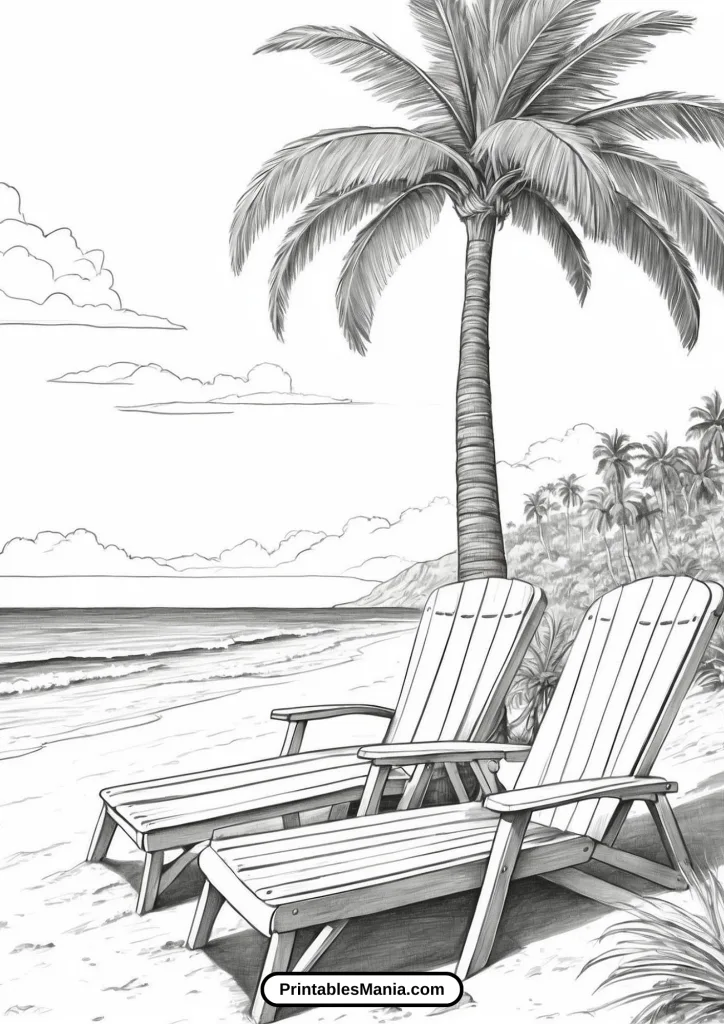
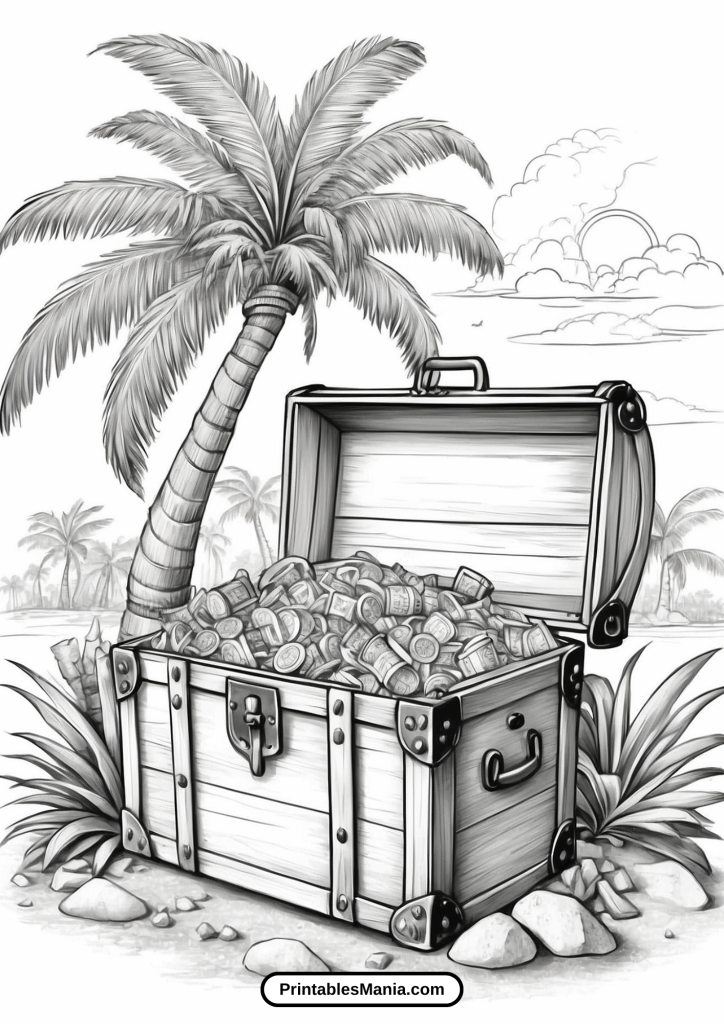
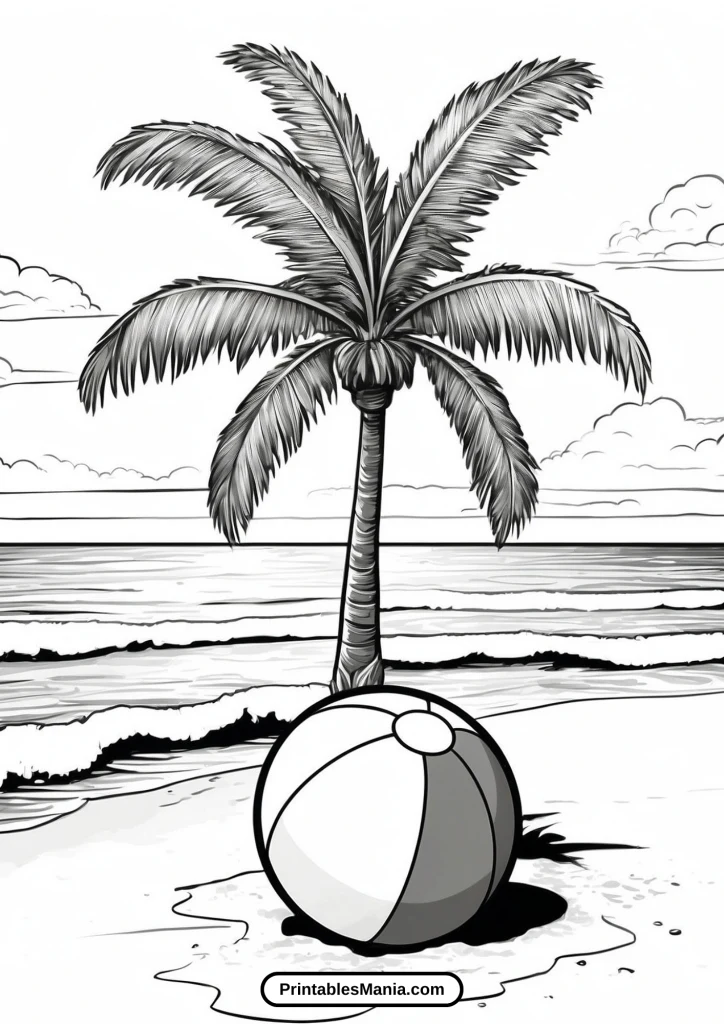
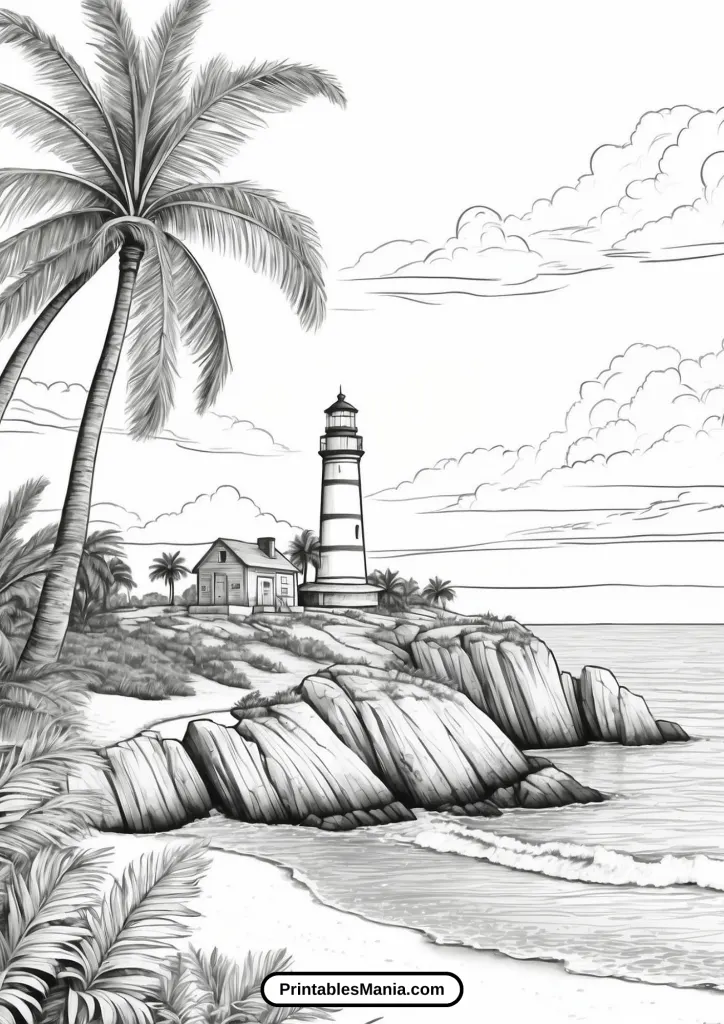
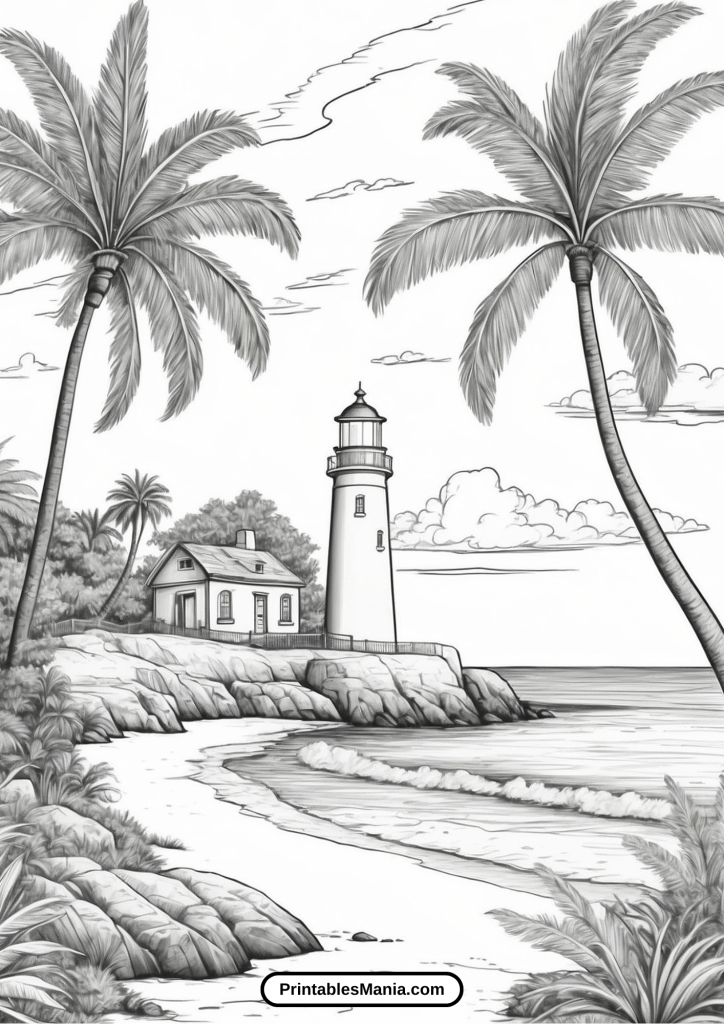
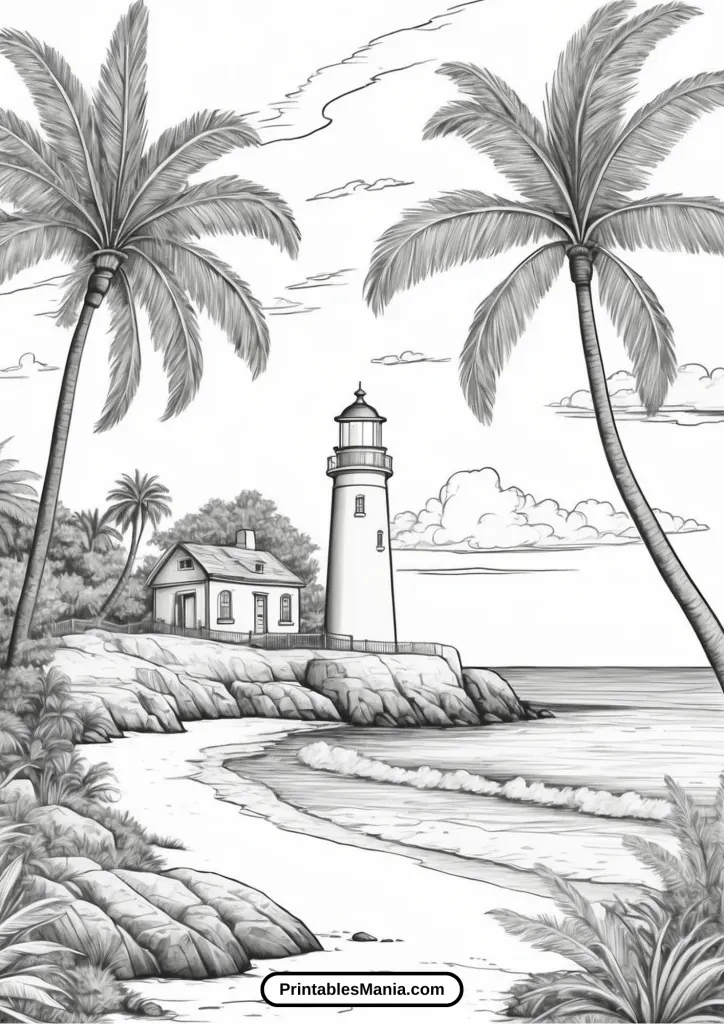
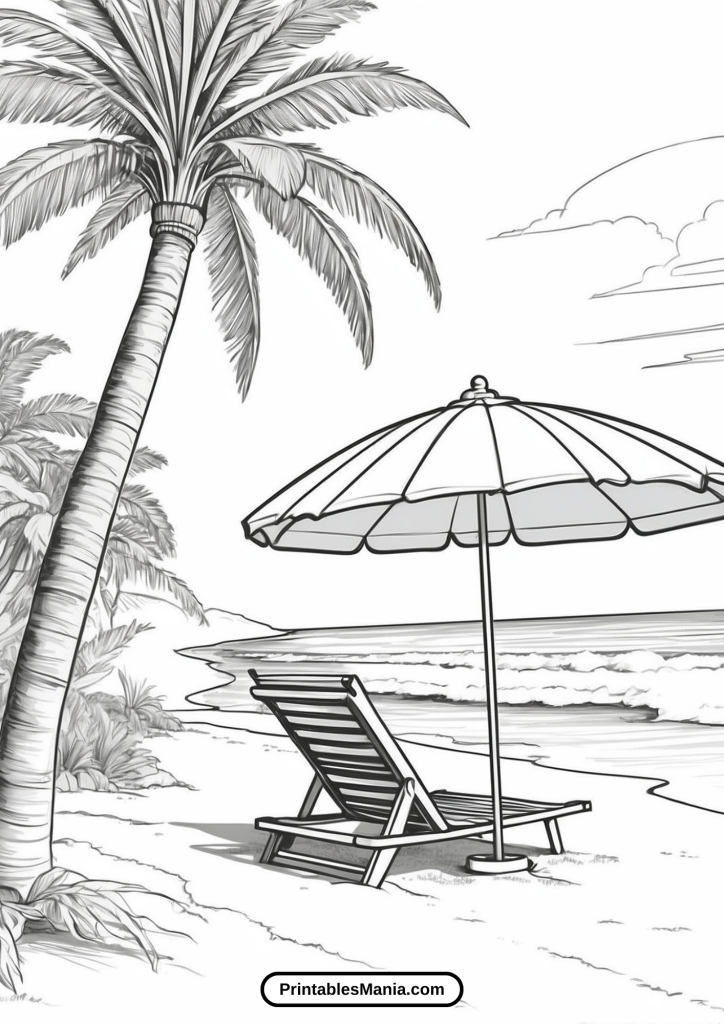
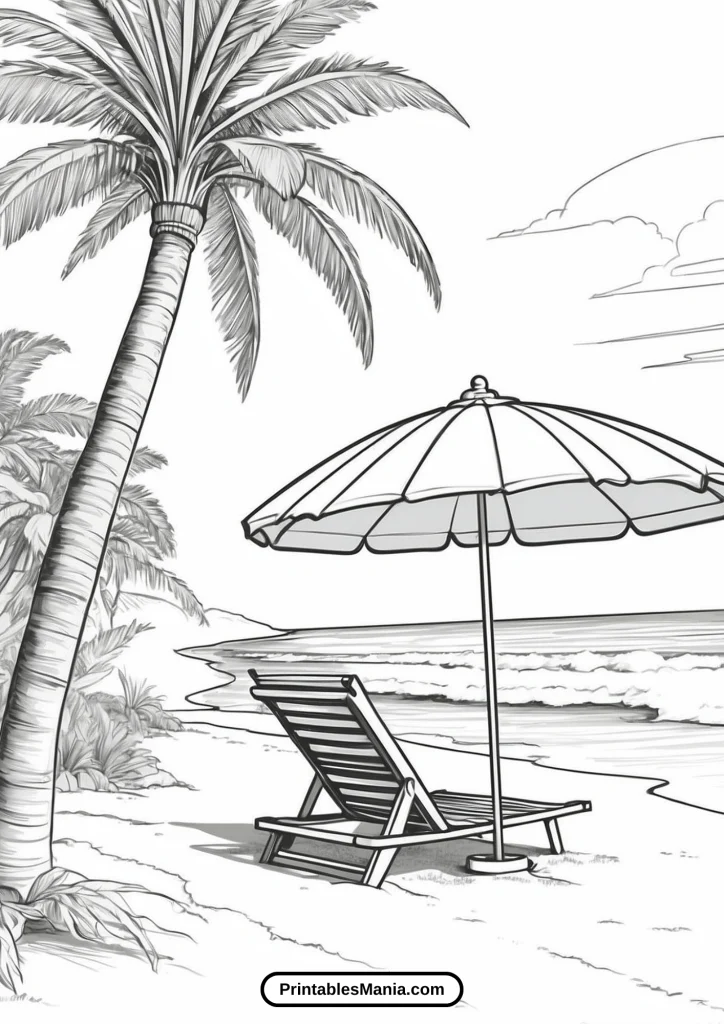
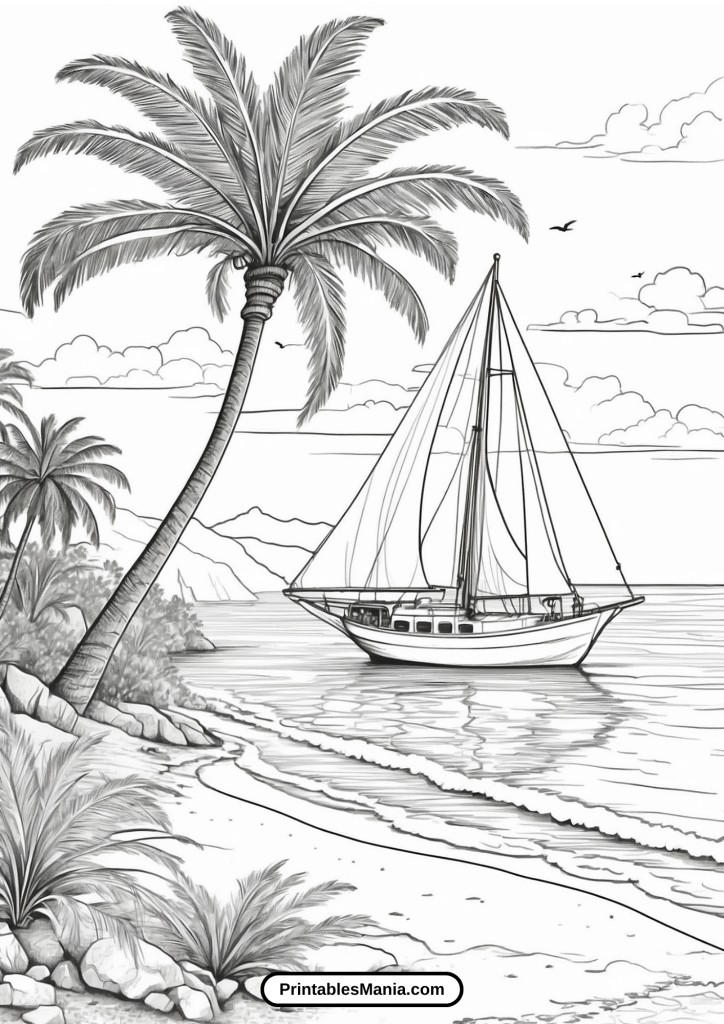
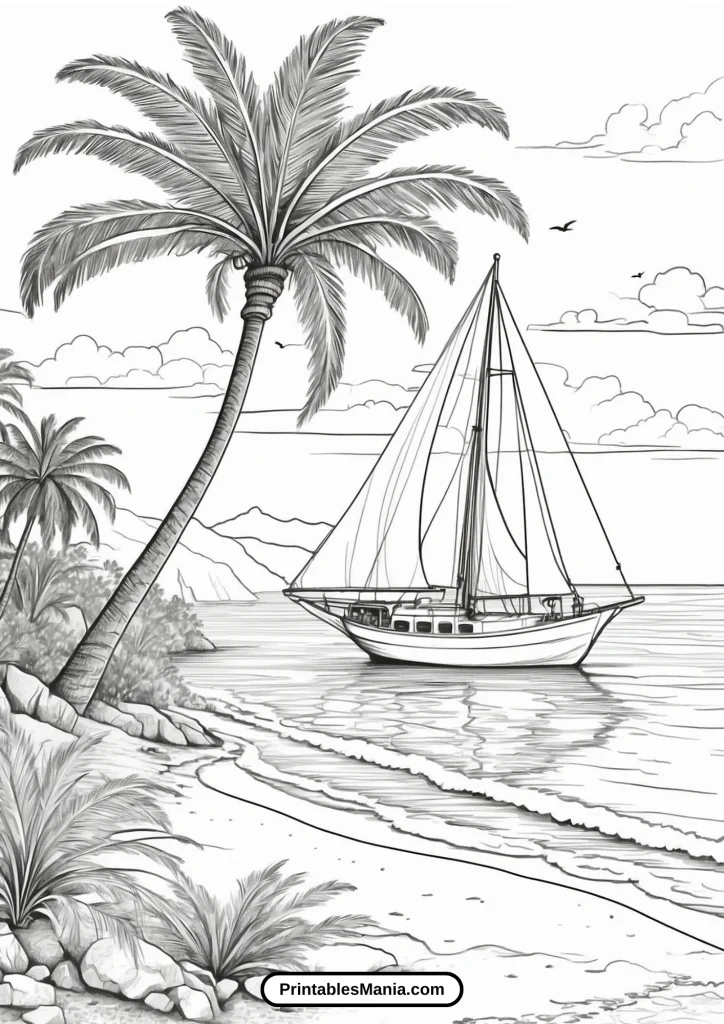
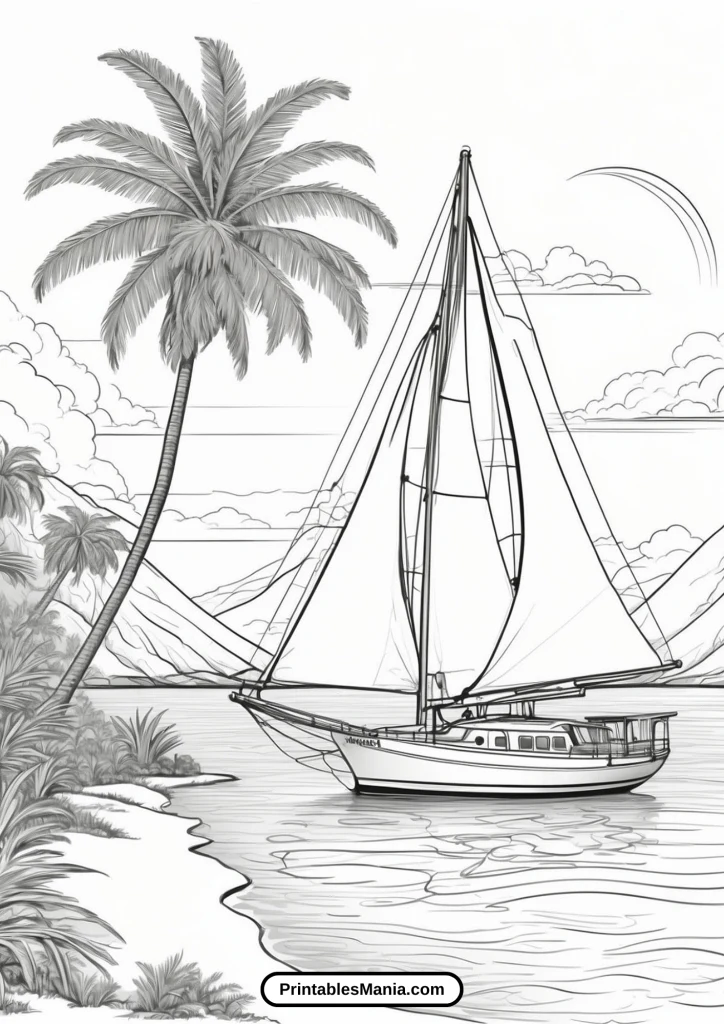
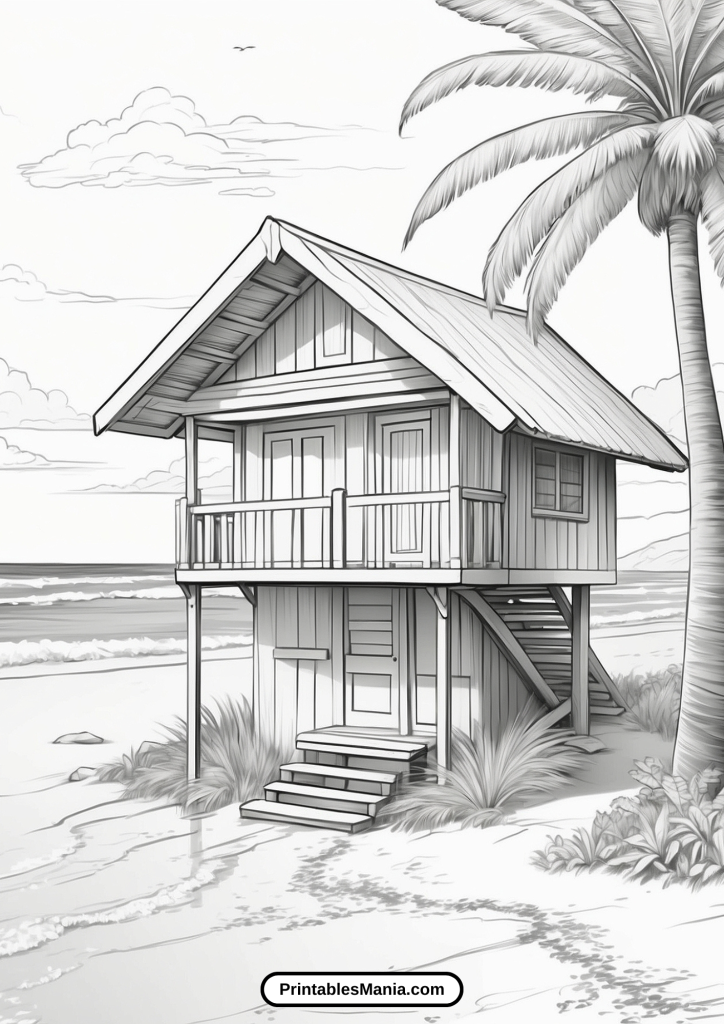
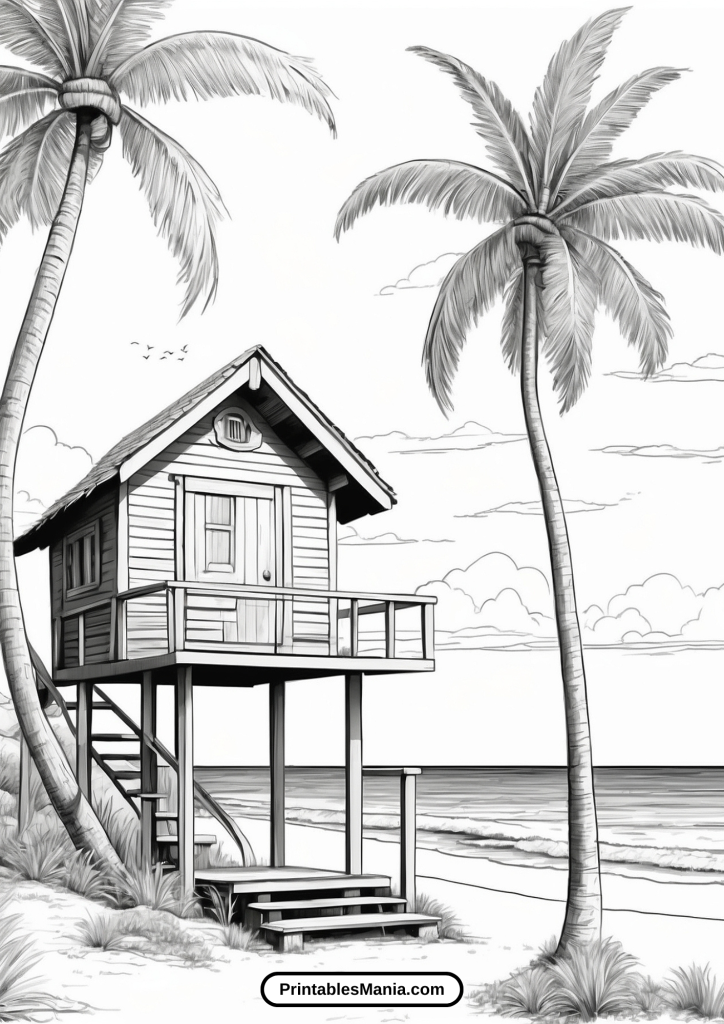
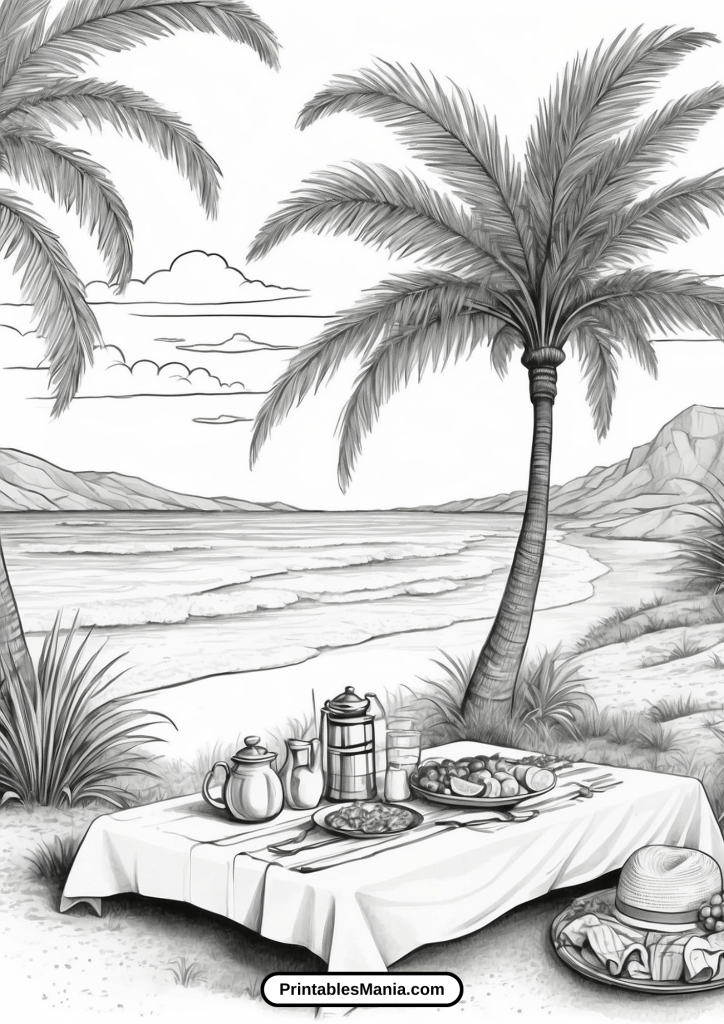
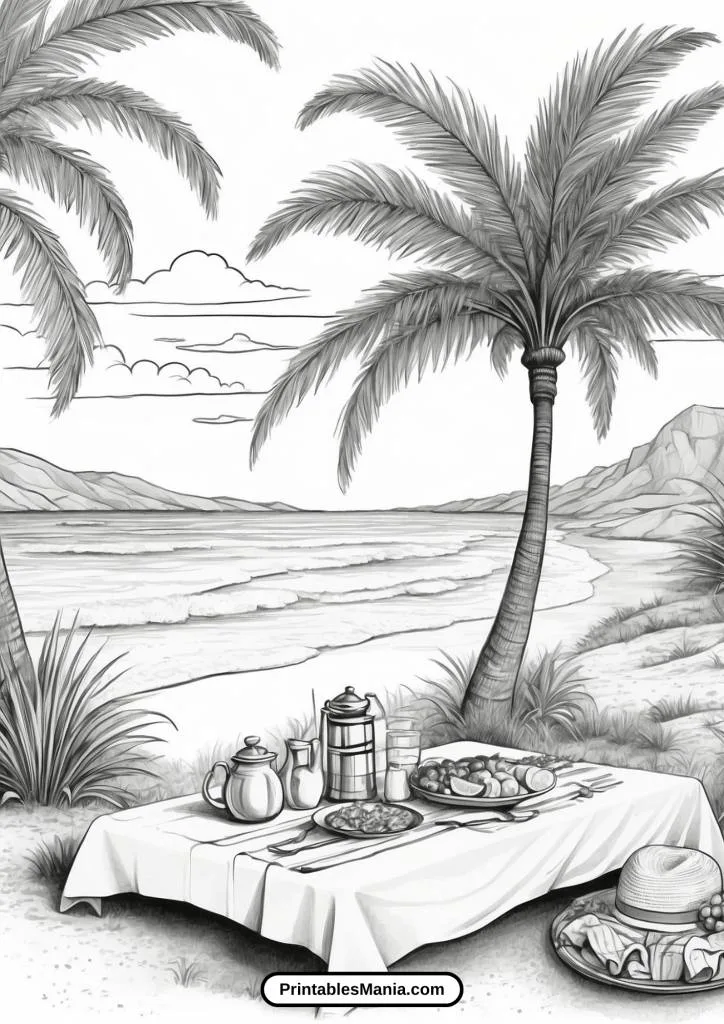
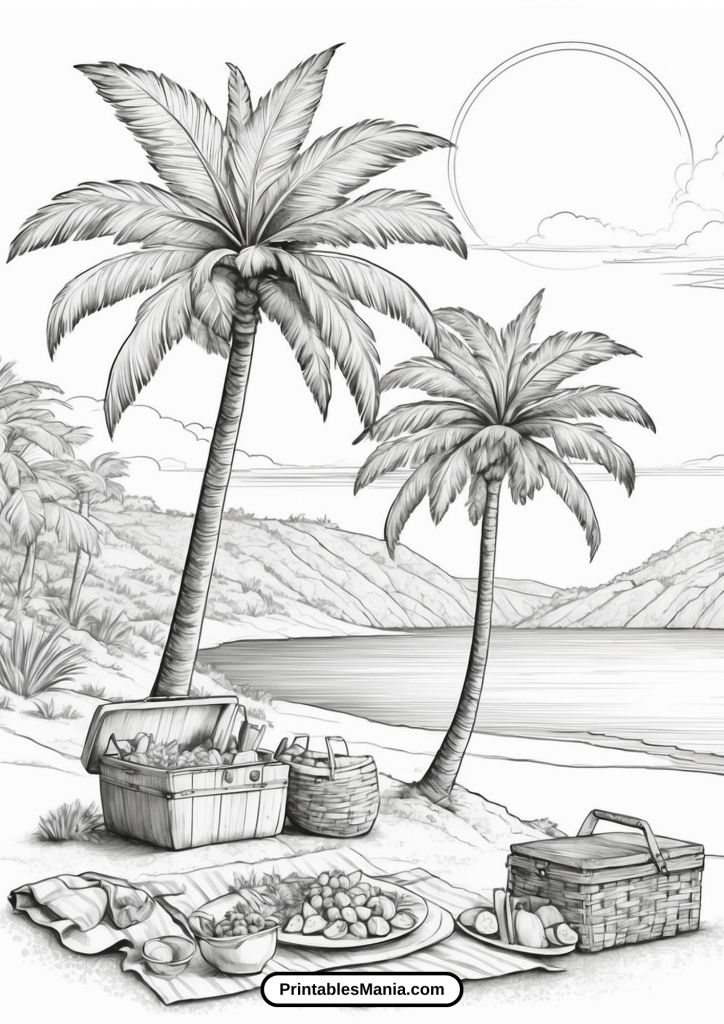
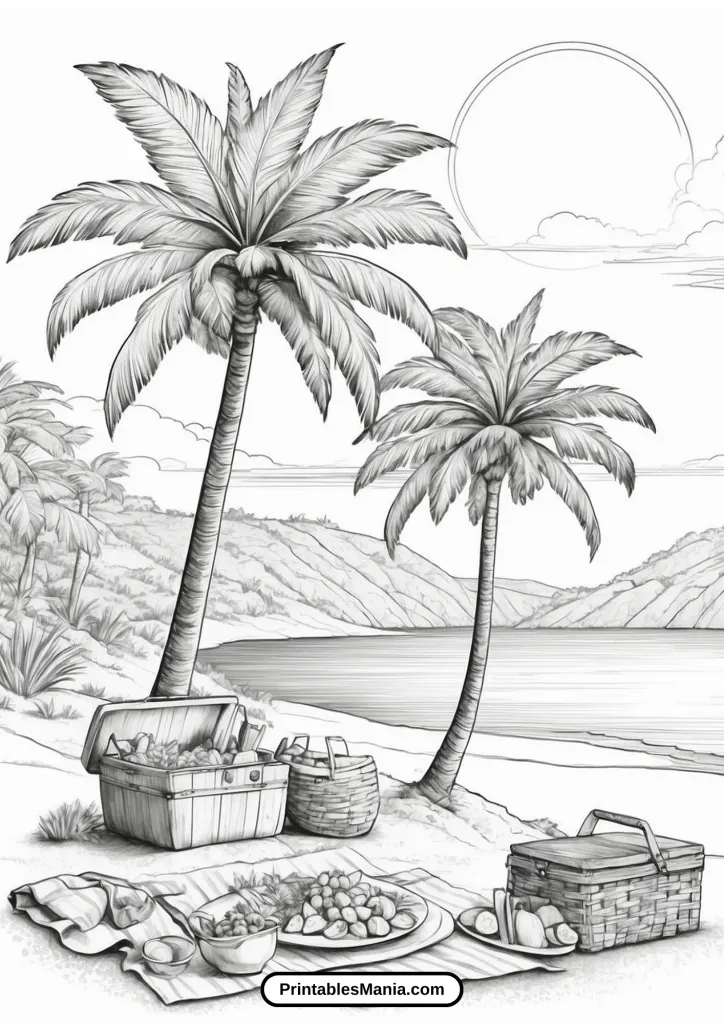
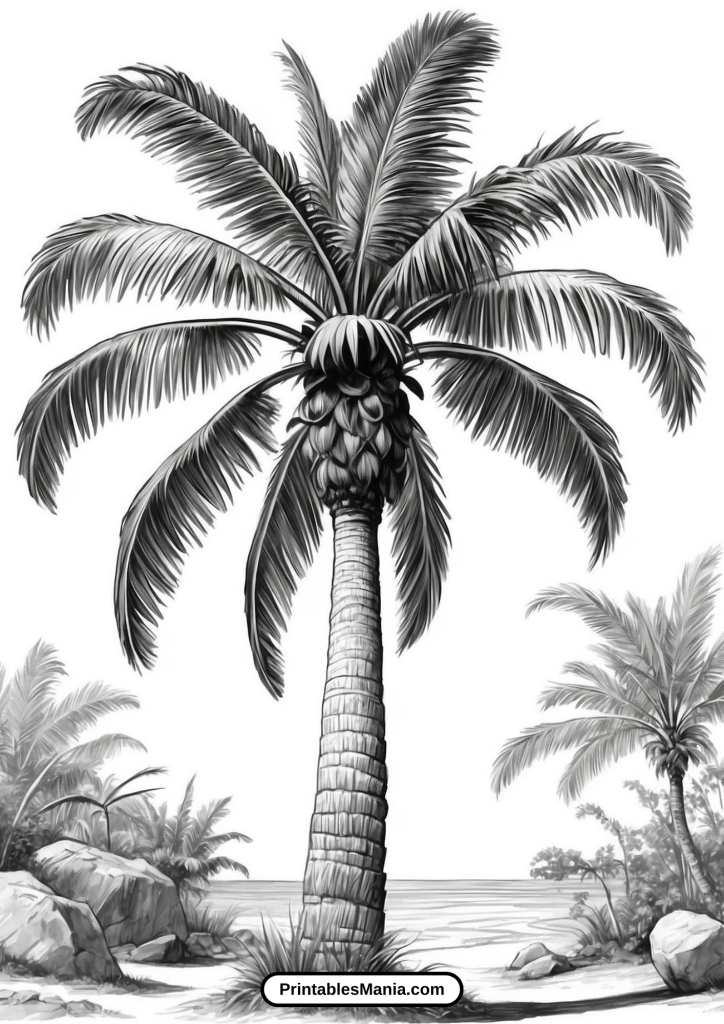
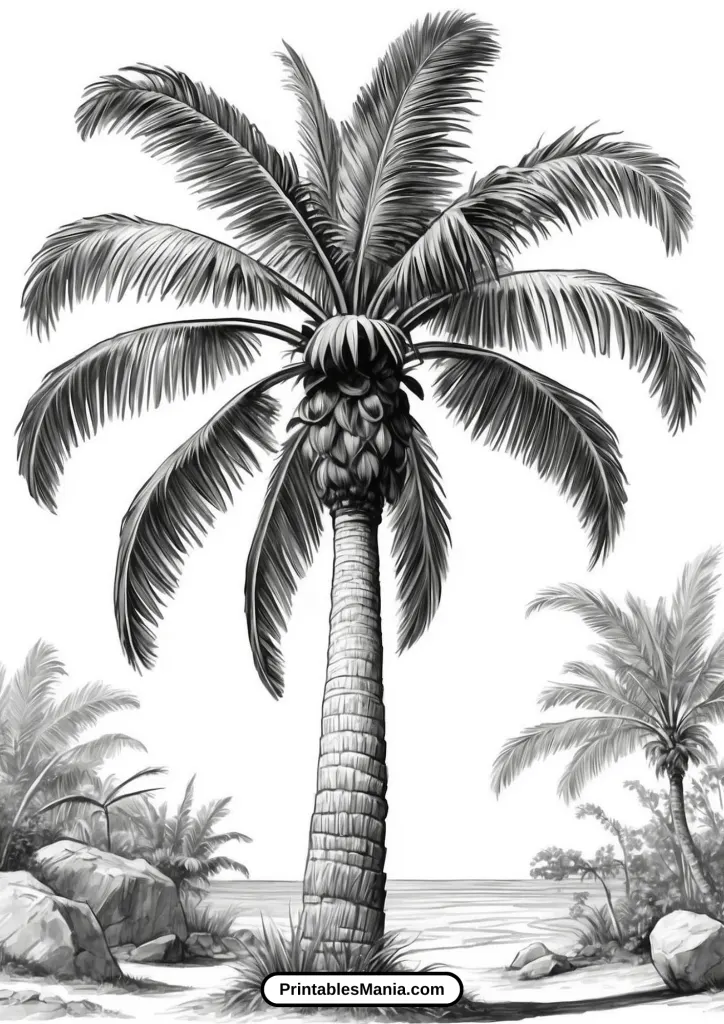
This page is designed to bring a touch of tropical paradise to your coloring activities. Whether you’re a child, a parent, or just someone who loves to color, our palm tree designs offer a fun and relaxing way to spend your time.
Why Coloring is Beneficial
Coloring is more than just a fun activity – it has numerous benefits for both kids and adults:
- Enhances Creativity: Coloring encourages creativity and imagination, allowing you to experiment with different colors and patterns.
- Reduces Stress: The repetitive action of coloring can be a great stress reliever, promoting mindfulness and relaxation.
- Improves Focus: Spending time on detailed coloring tasks helps improve concentration and attention to detail.
- Boosts Fine Motor Skills: For children, coloring helps develop fine motor skills and hand-eye coordination.
How to Use This Page
- Download and Print: Simply download the palm tree coloring page and print it out. You can use regular printer paper or opt for thicker cardstock for a more durable coloring sheet.
- Gather Your Supplies: Grab your favorite coloring tools – crayons, colored pencils, markers, or even watercolors.
- Start Coloring: Let your creativity flow as you bring the palm tree to life with vibrant colors. There’s no right or wrong way to color – just have fun!
- Share Your Artwork: We’d love to see your finished masterpiece! Share your colored palm tree on social media with the hashtag #PalmTreeColoringPage.
Explore More Coloring Pages
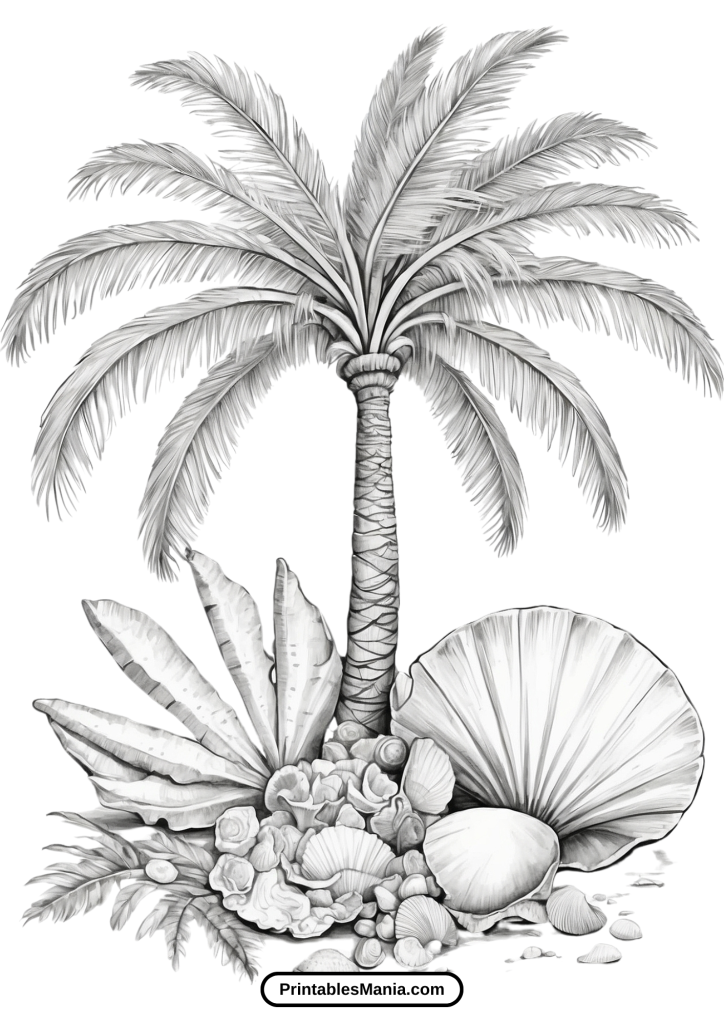
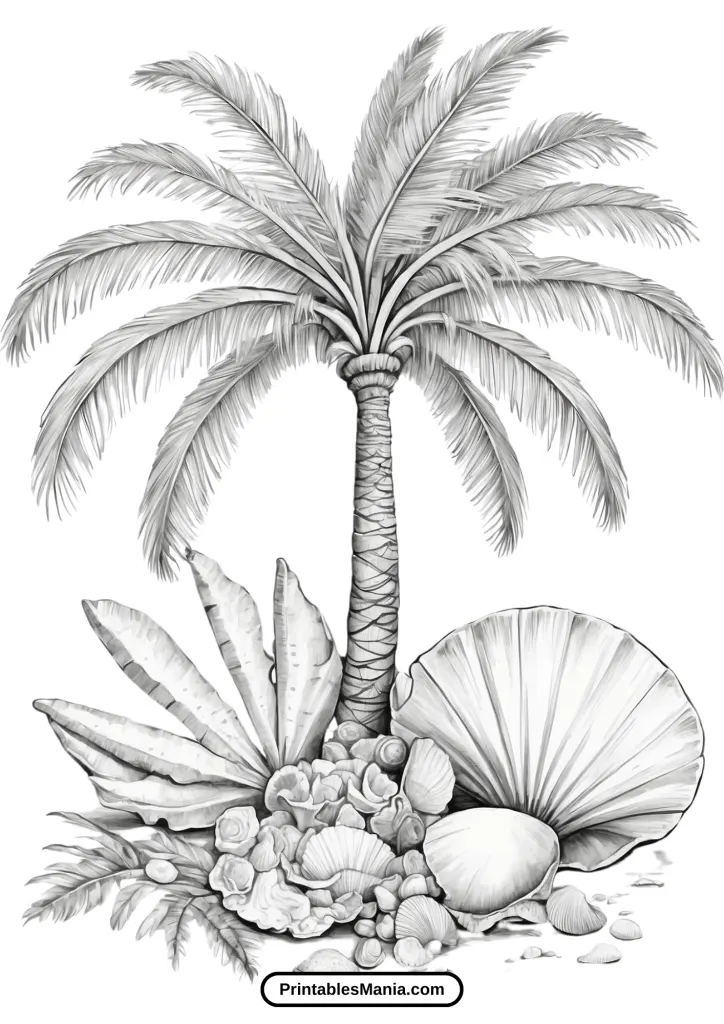
If you enjoyed this palm tree coloring page, be sure to check out our other designs. We offer a variety of themes, from animals and nature scenes to intricate mandalas and holiday motifs. There’s something for everyone! Happy coloring!


Art Tips and Techniques
Welcome to our Art Tips and Techniques section! Here, we offer you some valuable tips on coloring techniques that will help you bring your palm tree illustrations and other coloring pages to life. Whether you’re using crayons, markers, colored pencils, or digital tools, these tips will enhance your coloring experience and results.
Choosing Colors
Selecting the right colors is crucial for creating a visually appealing artwork. Here are some tips to help you choose:
- Nature Inspiration: Look at real palm trees for color inspiration. Use shades of green for the leaves and various browns for the trunk.
- Color Wheel: Use the color wheel to find complementary colors that go well together. This can make your artwork pop.
- Experiment with Palettes: Don’t be afraid to experiment with unconventional colors. Sometimes, using unexpected colors can create a striking and unique piece.
Blending Techniques
Blending can add depth and dimension to your coloring. Here are some techniques to try:
- Crayons and Colored Pencils: Use light, circular motions to layer colors. Start with the lightest color and gradually add darker shades. Use a colorless blender pencil or a white pencil to smooth out and blend the colors.
- Markers: Use alcohol-based markers for smooth blending. Start with the lightest shade and layer darker colors on top. Use a blending marker to soften edges.
- Digital Tools: Use digital brushes with varying opacity levels to blend colors seamlessly. Tools like Procreate or Photoshop have blending options that can mimic traditional media.
Different Mediums
Each coloring medium offers unique effects and possibilities. Here are some tips for different mediums:
Crayons
- Layering: Build up layers of color to create depth. Start with light pressure and increase as you add more layers.
- Texture: Utilize the texture of the paper for interesting effects. Rubbing the crayon on its side can create a textured look.
Colored Pencils
- Pressure Control: Vary the pressure to achieve different shades. Light pressure for soft colors and heavier pressure for intense colors.
- Blending Tools: Use blending stumps, tissues, or blending pencils to smooth out colors and eliminate harsh lines.
Markers
- Quick Strokes: Work quickly to blend colors while the ink is still wet.
- Layering: Use layering techniques to add shadows and highlights. Alcohol markers are excellent for this due to their quick-drying nature.
Digital Tools
- Brush Settings: Adjust brush settings for opacity, flow, and size to achieve different effects.
- Layers: Use multiple layers to separate different parts of your illustration. This allows you to edit and blend colors without affecting other areas.
Additional Tips
- Test Colors: Always test your colors on a separate piece of paper or a digital test area before applying them to your illustration.
- Keep Tools Sharp: Ensure your pencils are sharp and your markers have fine tips for detailed work.
- Stay Relaxed: Coloring should be a relaxing and enjoyable activity. Take your time and enjoy the process!
By applying these tips and techniques, you’ll be able to create stunning, vibrant illustrations. Happy coloring!
What to Do with the Colored Page?
Congratulations on completing your beautiful palm tree coloring page! Now that you’ve brought your artwork to life with vibrant colors, you might be wondering what to do next. Here are some creative and fun ideas to make the most of your colored page:
Display Your Art
Showcase Your Masterpiece: Frame your coloring page and hang it on the wall. It’s a wonderful way to decorate your space and show off your artistic skills.
Create a Gallery: Start a gallery wall with your favorite colored pages. Rotate them periodically to keep the display fresh and inspiring.
Bulletin Board: Pin your artwork on a bulletin board in your home, office, or classroom to add a touch of creativity and personal flair.
Share with Others
Gift It: Handmade gifts are always special. Give your colored page to a friend or family member. You can even write a personalized message on the back.
Greeting Cards: Fold your colored page into a greeting card. It’s a unique and heartfelt way to send well wishes for birthdays, holidays, or just because.
Post on Social Media: Share your artwork on social media platforms like Instagram, Facebook, or Pinterest. Use hashtags like #PalmTreeColoringPage and #ColoringArt to join the coloring community and inspire others.
Craft Projects
Scrapbooking: Incorporate your colored page into a scrapbook. It can serve as a beautiful background or a decorative element in your memory book.
Bookmarks: Cut your colored page into bookmark-sized strips. Laminate them for durability, and you’ve got a set of unique and colorful bookmarks.
Decoupage: Use your colored page in decoupage projects. Decorate items like picture frames, notebooks, or storage boxes by gluing pieces of your artwork onto them.
Educational Uses
Teaching Tool: Use your colored page as a teaching aid. Discuss the colors, techniques, and creative choices you made with students or children to inspire their own artistic journeys.
Storytelling: Create a story around your artwork. Use it as an illustration for a short story or poem that you write, and share it with others.
Personal Use
Journal Cover: Glue your colored page to the cover of a journal or notebook. It adds a personal touch and makes your journal stand out.
Planner Decoration: Cut out sections of your colored page to decorate your planner or calendar. It’s a fun way to personalize your organizational tools.
Recycle and Reuse
Wrapping Paper: Use your colored page as wrapping paper for small gifts. It’s eco-friendly and adds a personal touch to your presents.
Envelope Liners: Line the inside of envelopes with your artwork to add a pop of color when someone opens their mail.
These are just a few ideas to get you started. The possibilities are endless when it comes to showcasing and utilizing your beautiful coloring creations. Have fun experimenting and finding new ways to enjoy your artwork!