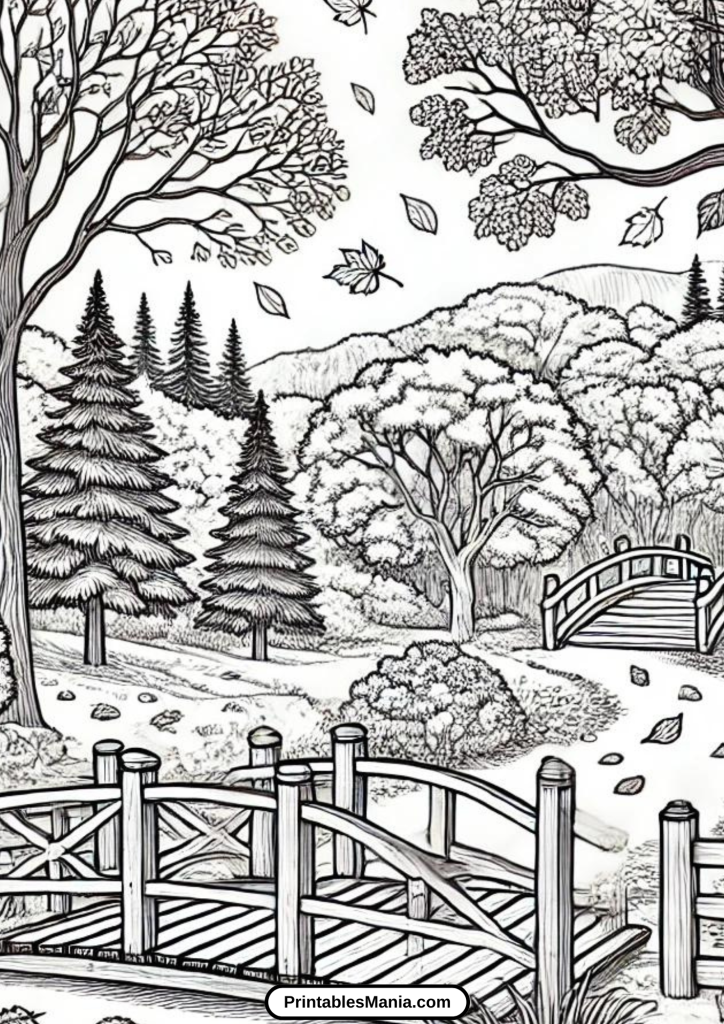
Dive into the beauty of nature with our diverse range of landscape designs, perfect for all ages. Whether you’re looking for a relaxing activity or a creative way to unwind, our coloring pages offer something for everyone.
Why Choose Landscape Coloring Pages?
Coloring landscapes is not only fun but also has numerous benefits:
- Relaxation: Coloring is a great way to de-stress and unwind.
- Creativity Boost: Enhance your artistic skills and experiment with colors.
- Focus and Concentration: Improve your attention to detail and patience.
- Fun for All Ages: Suitable for kids, teens, and adults alike.
What’s Inside?
Our collection features a variety of landscape themes, including:
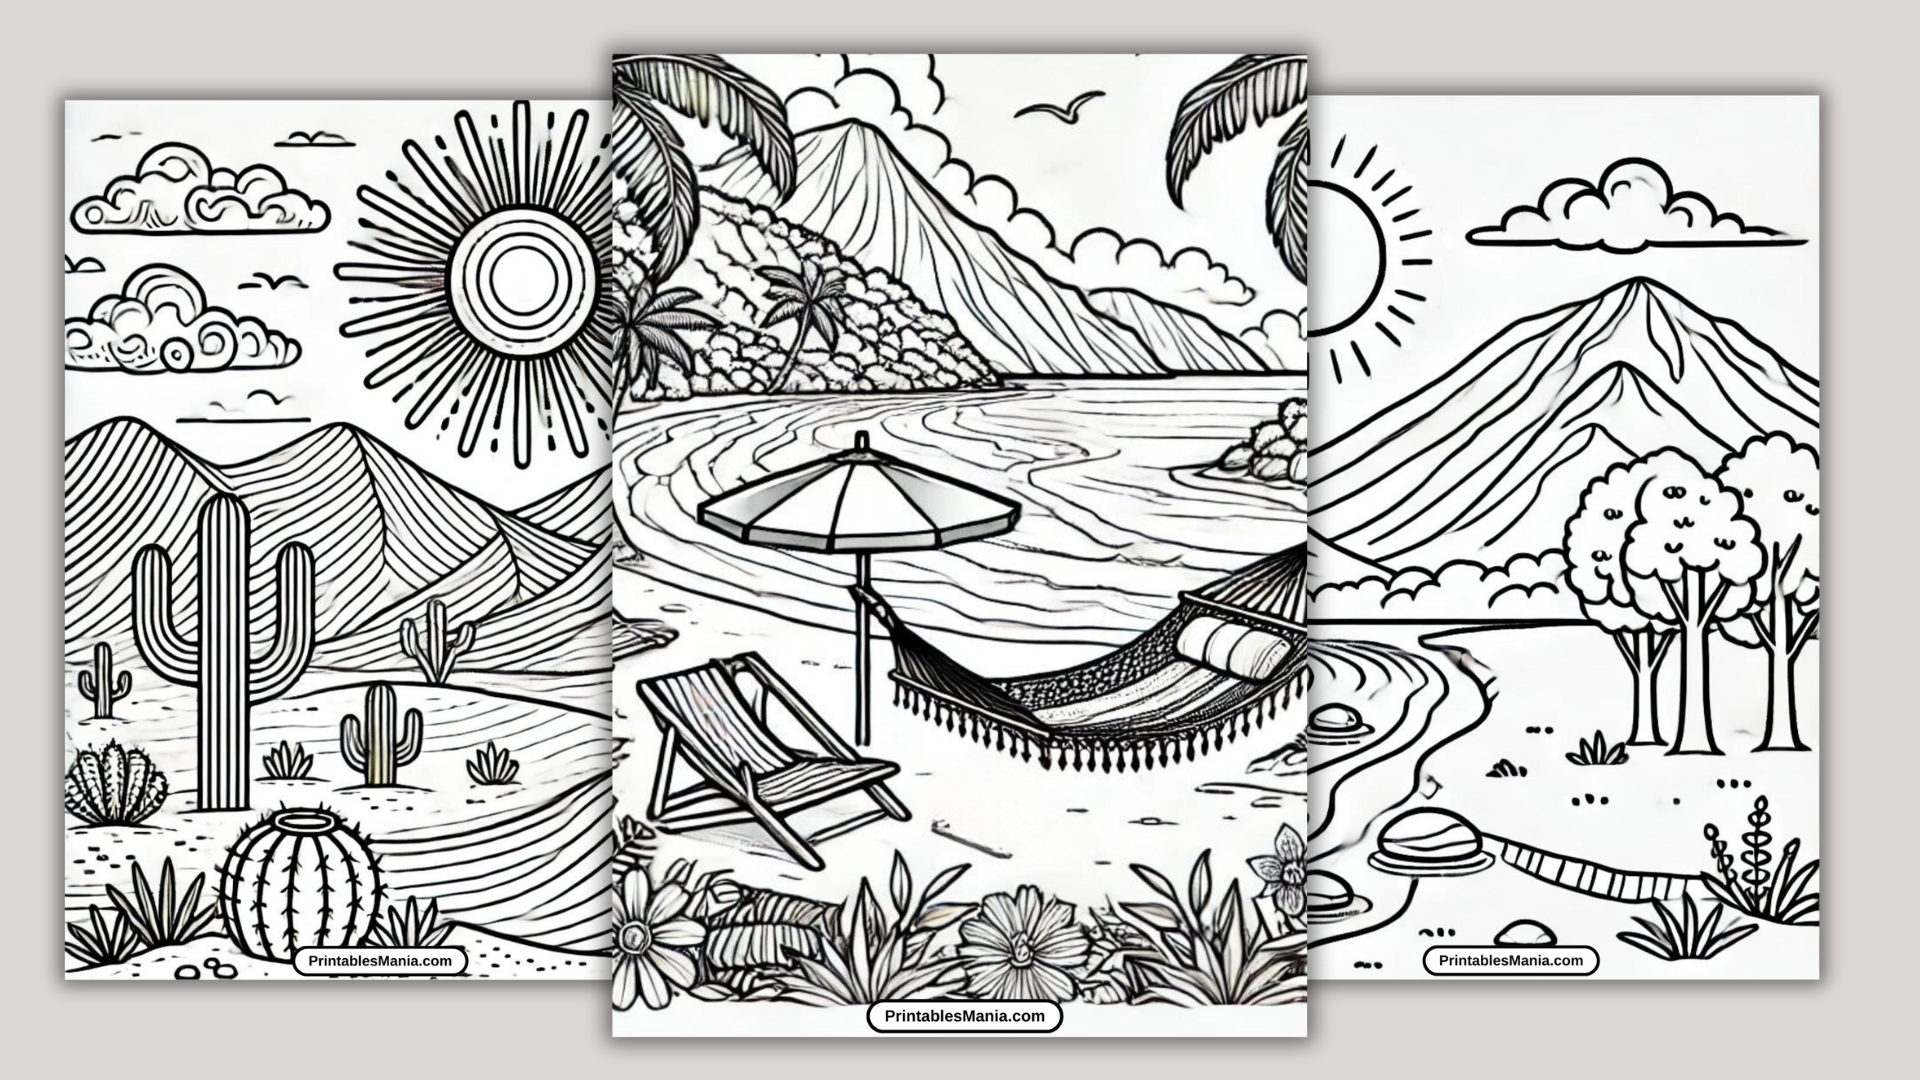
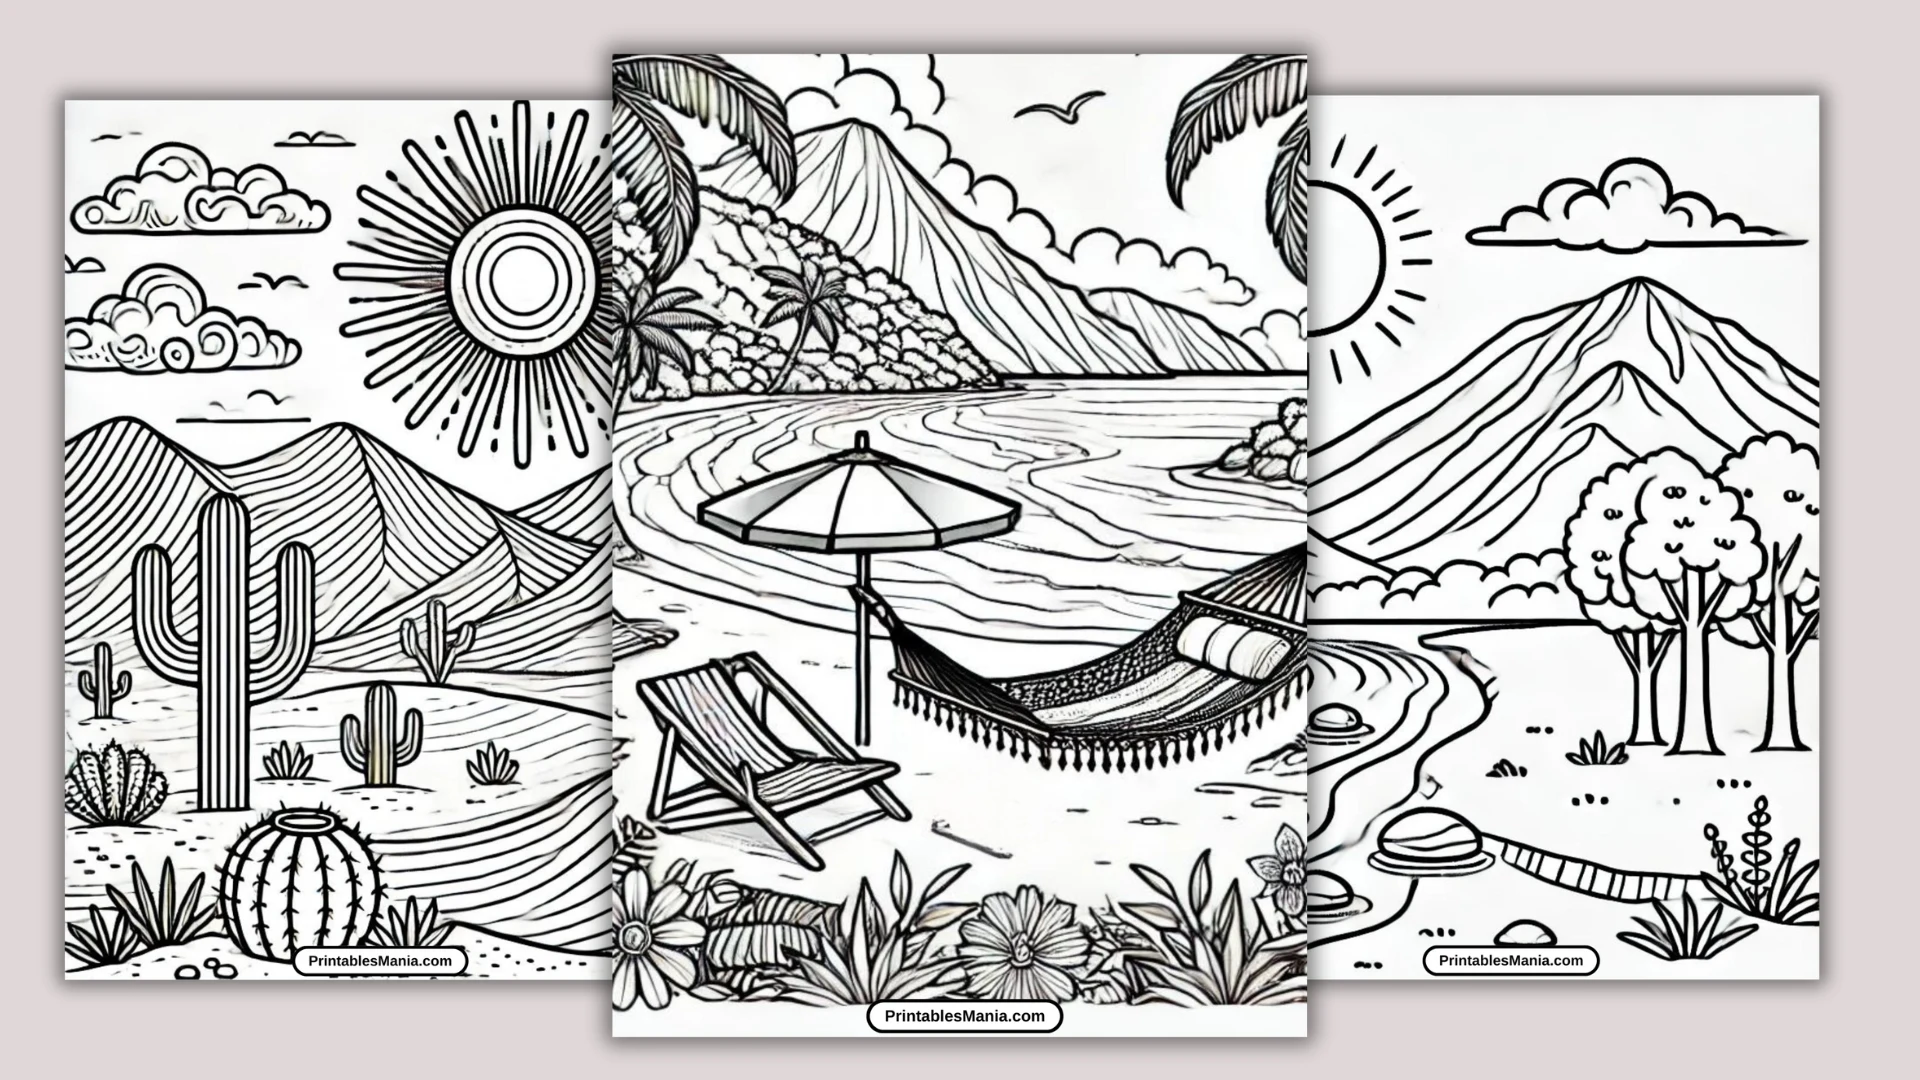
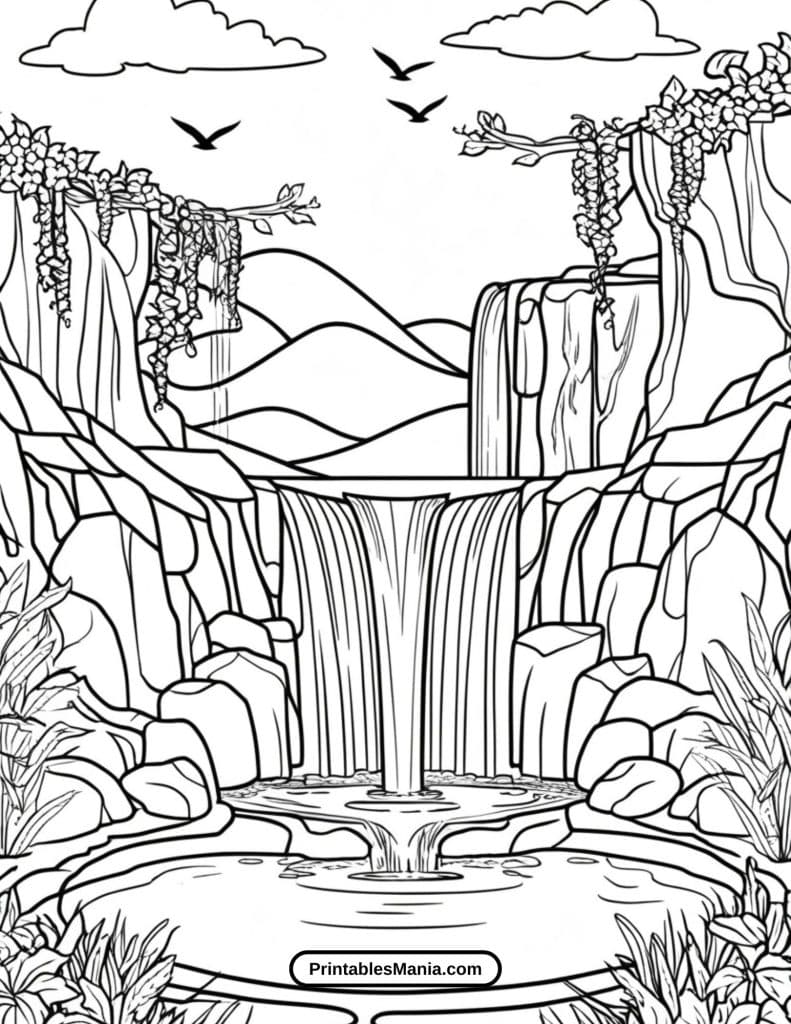
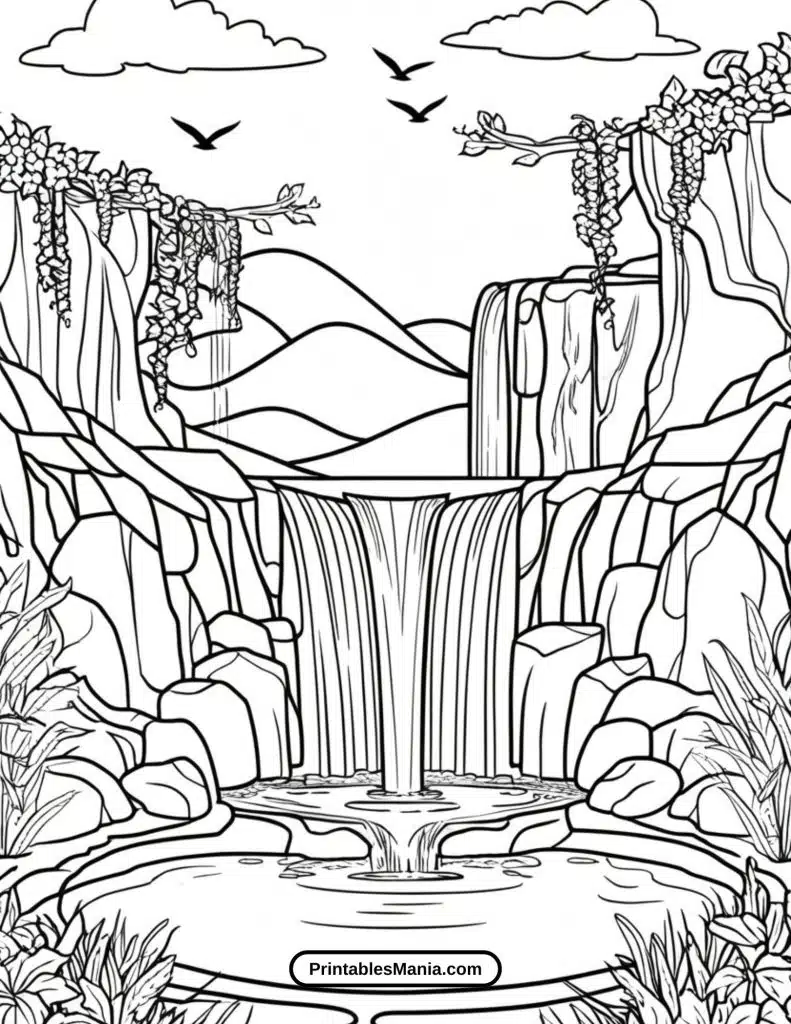
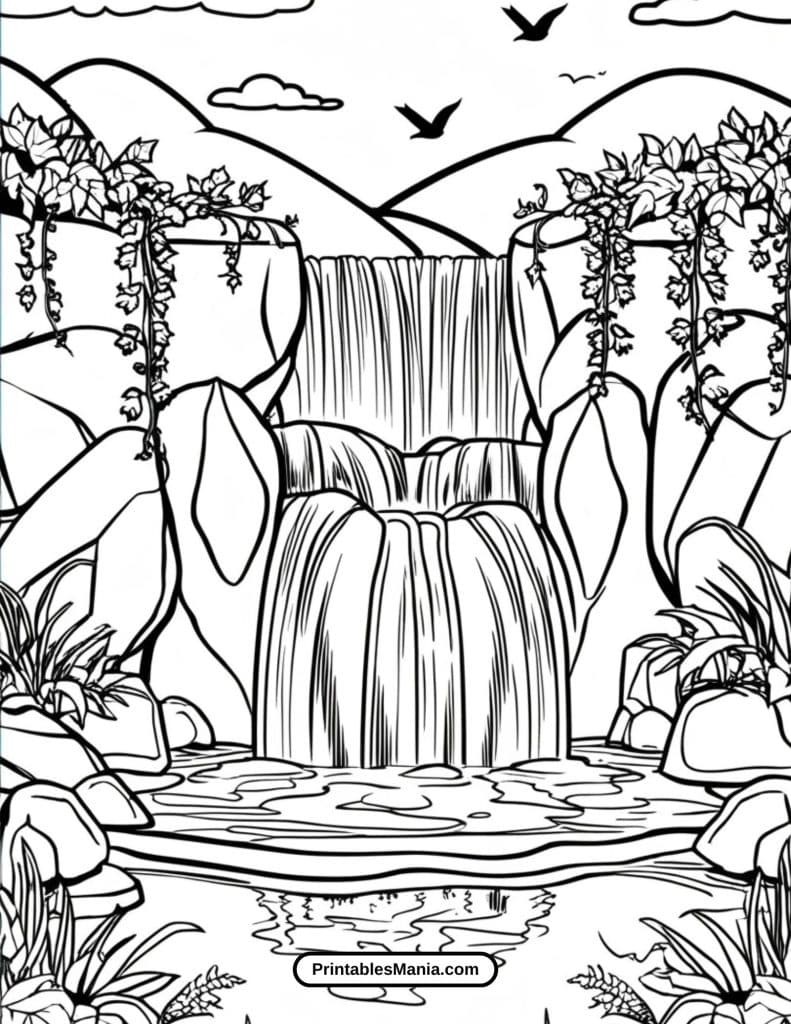
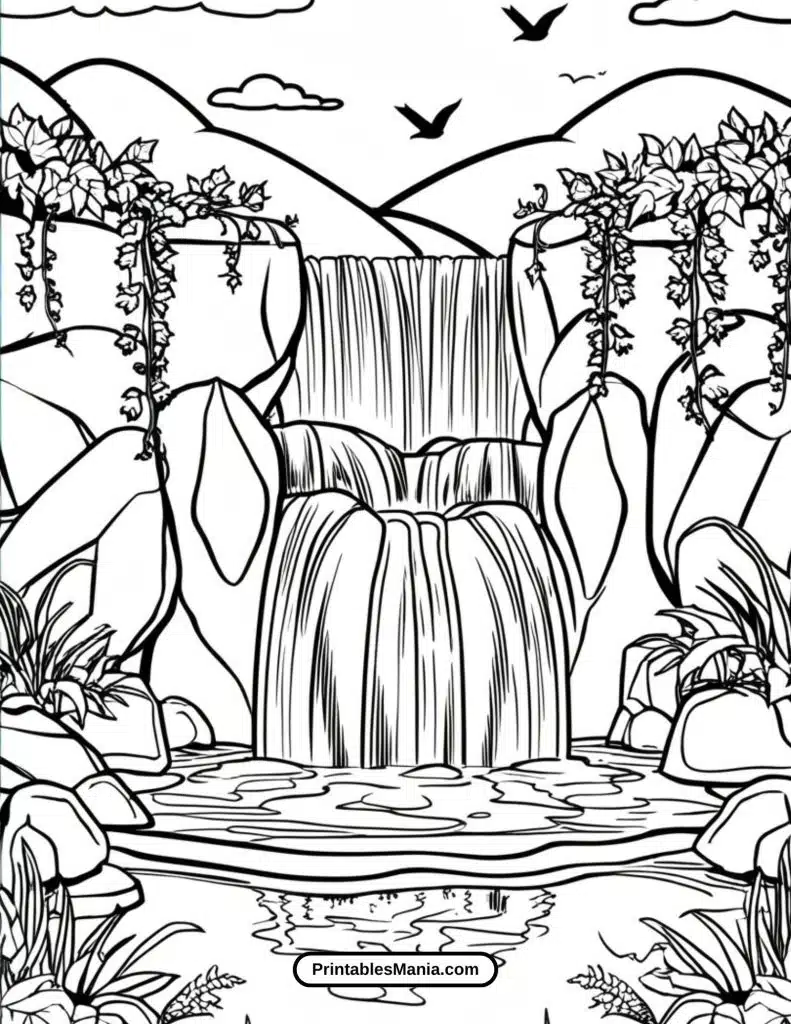
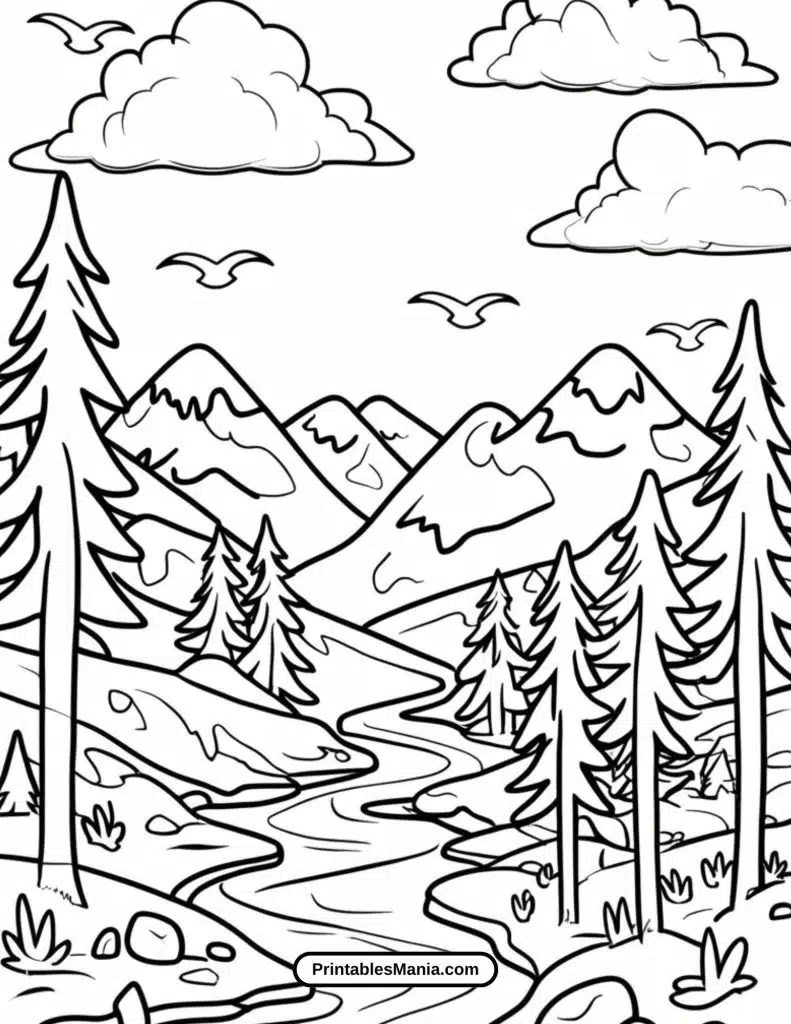
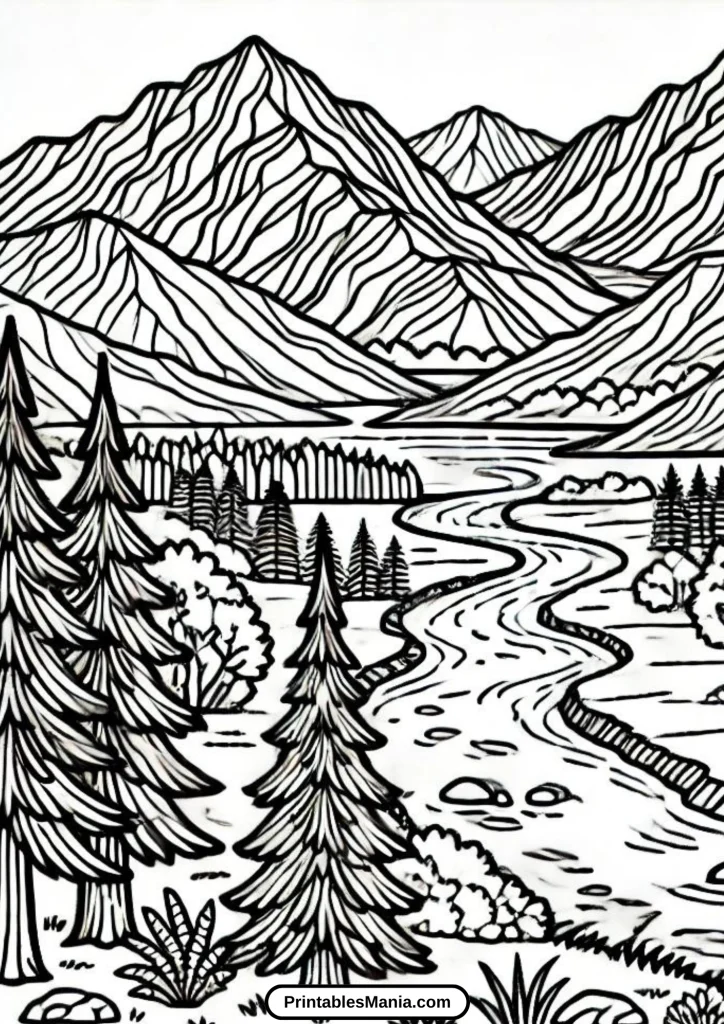
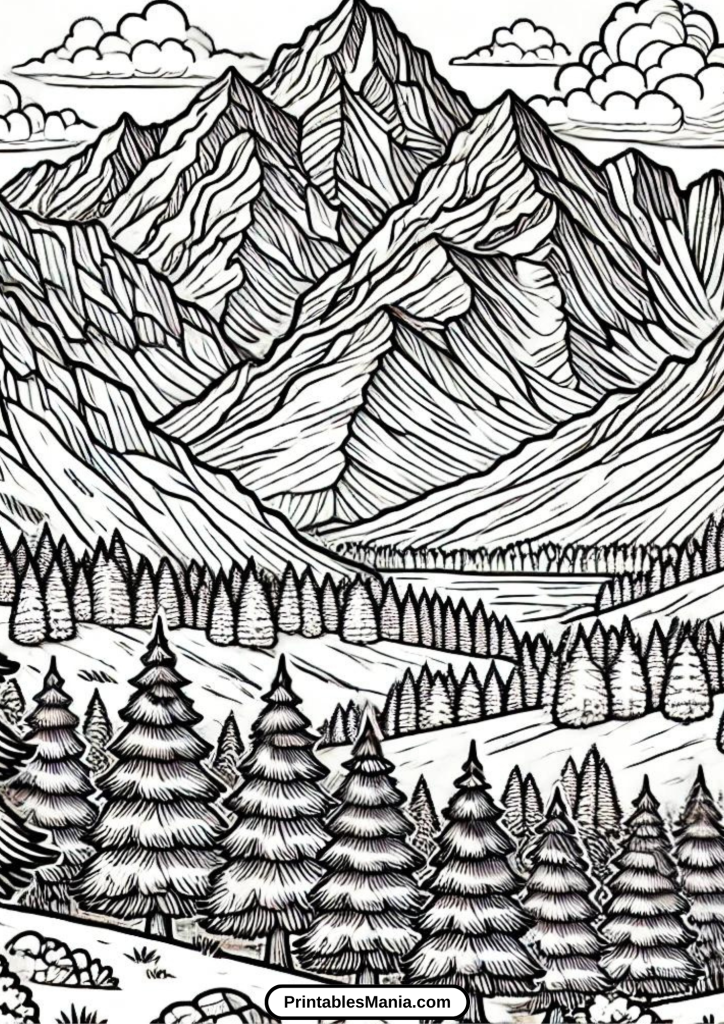
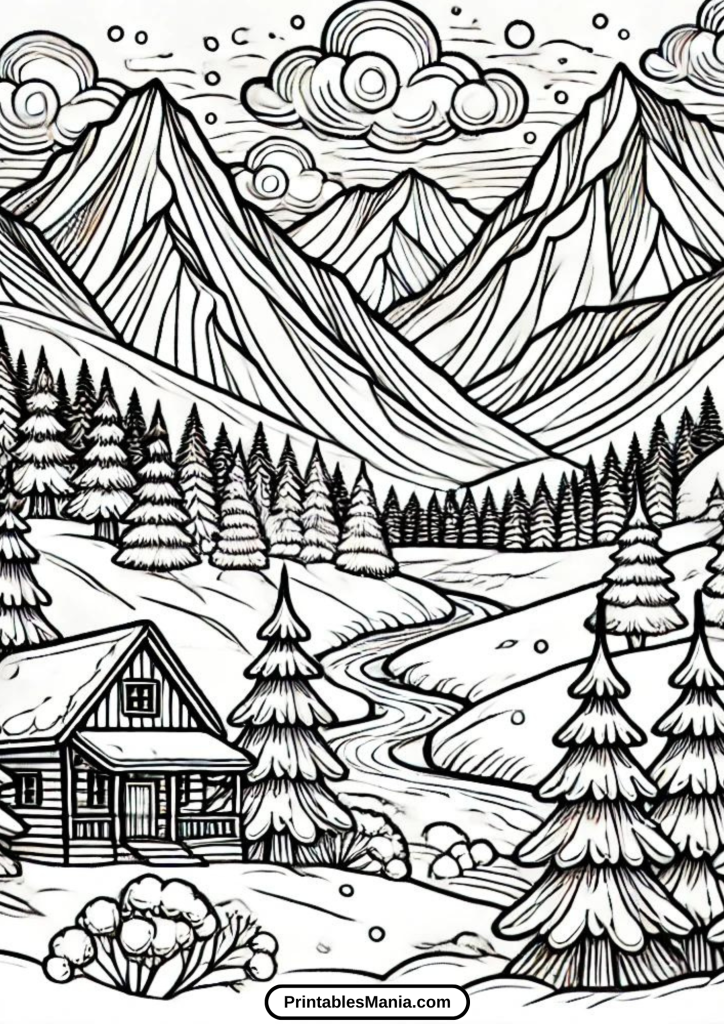
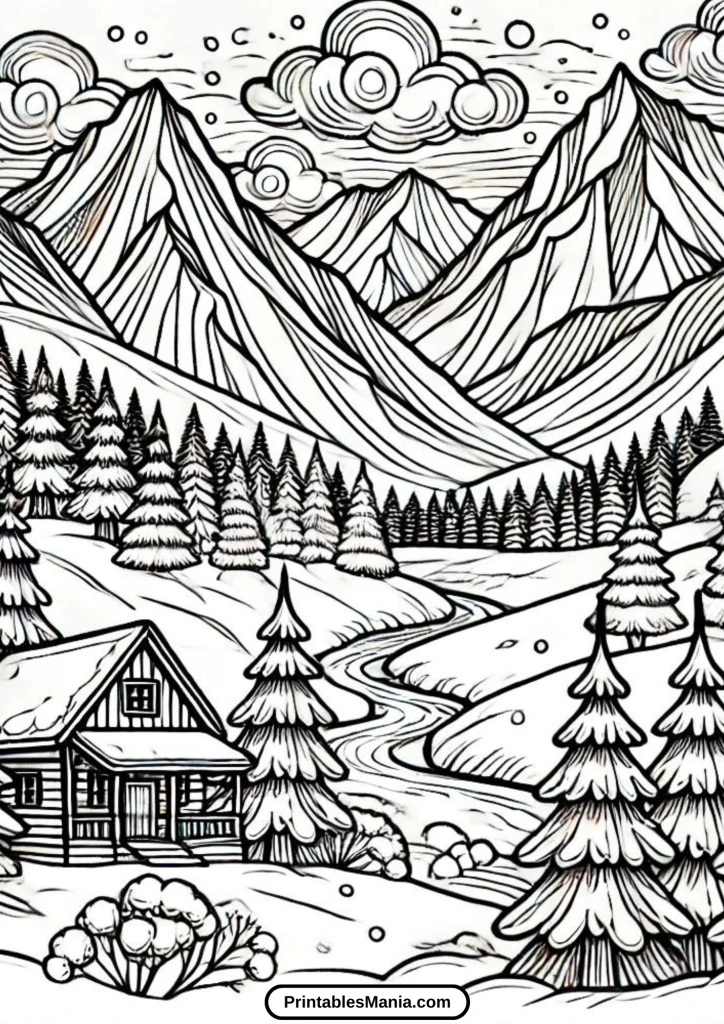
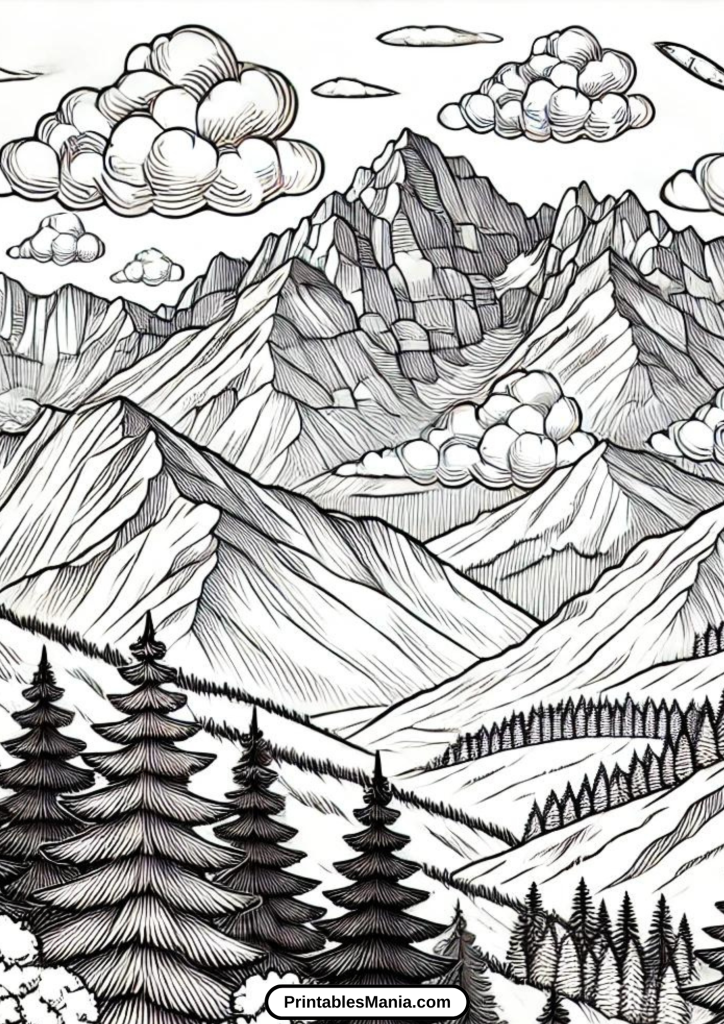
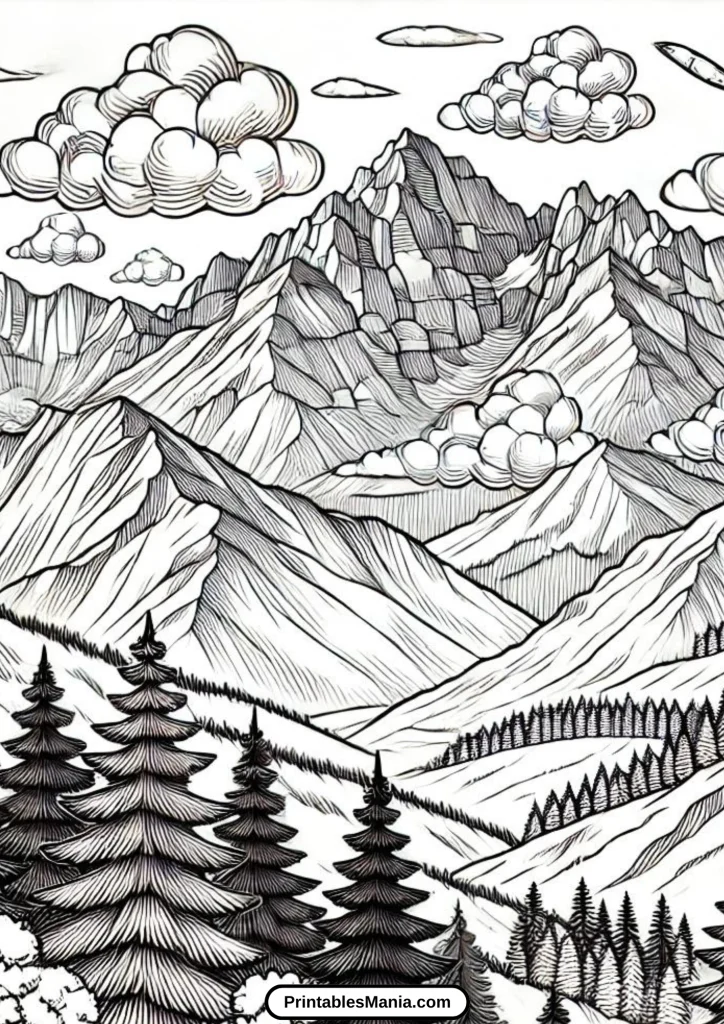
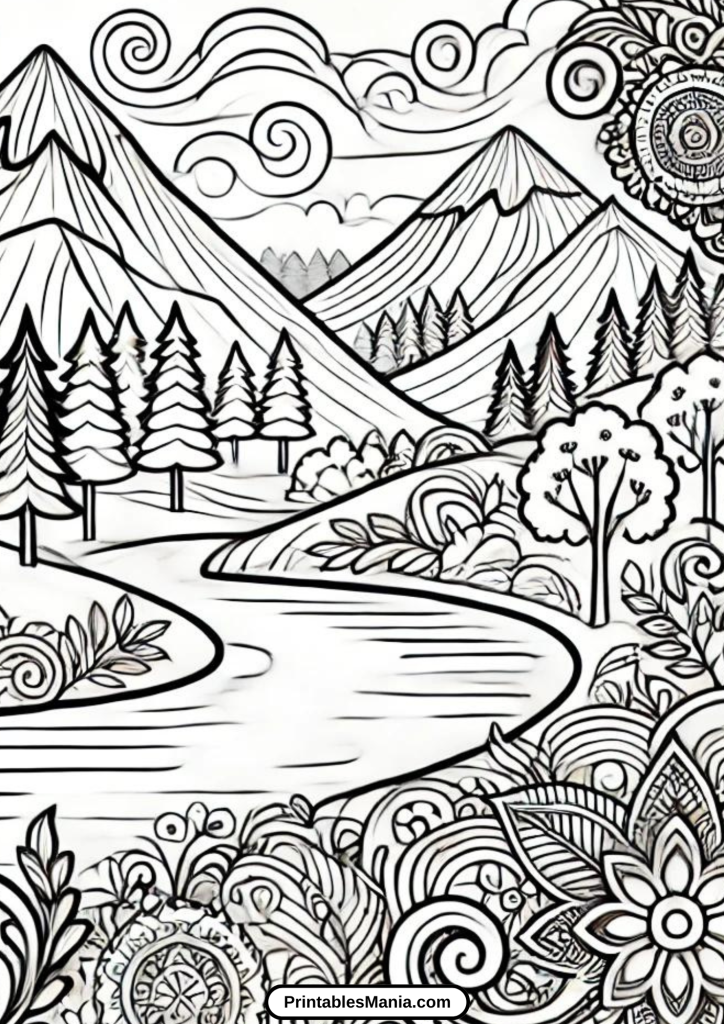
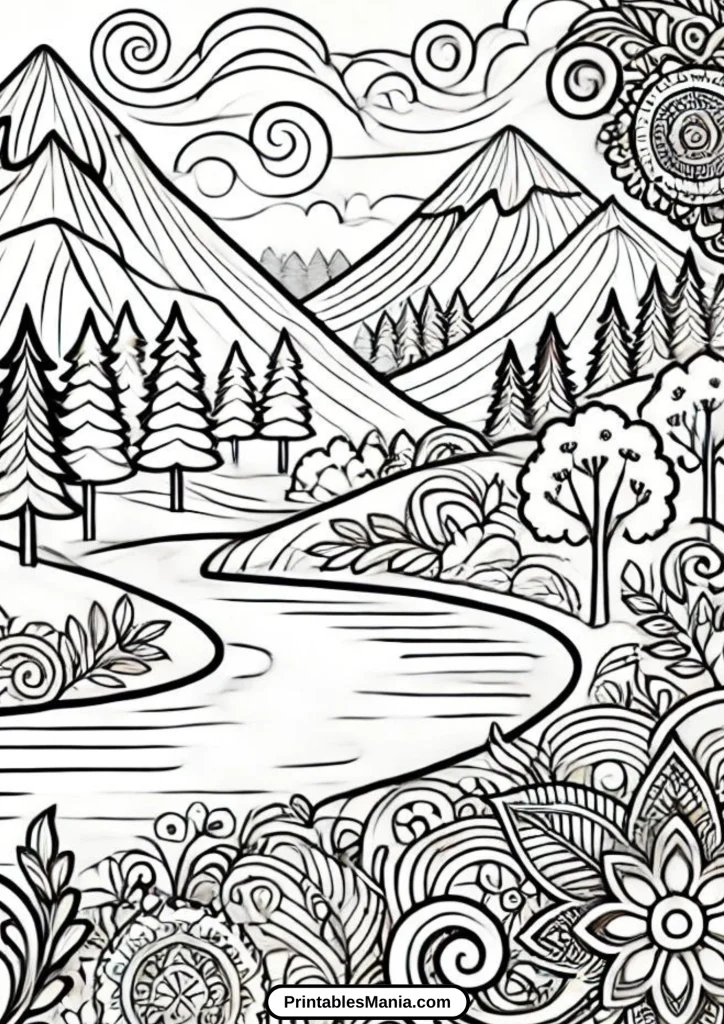
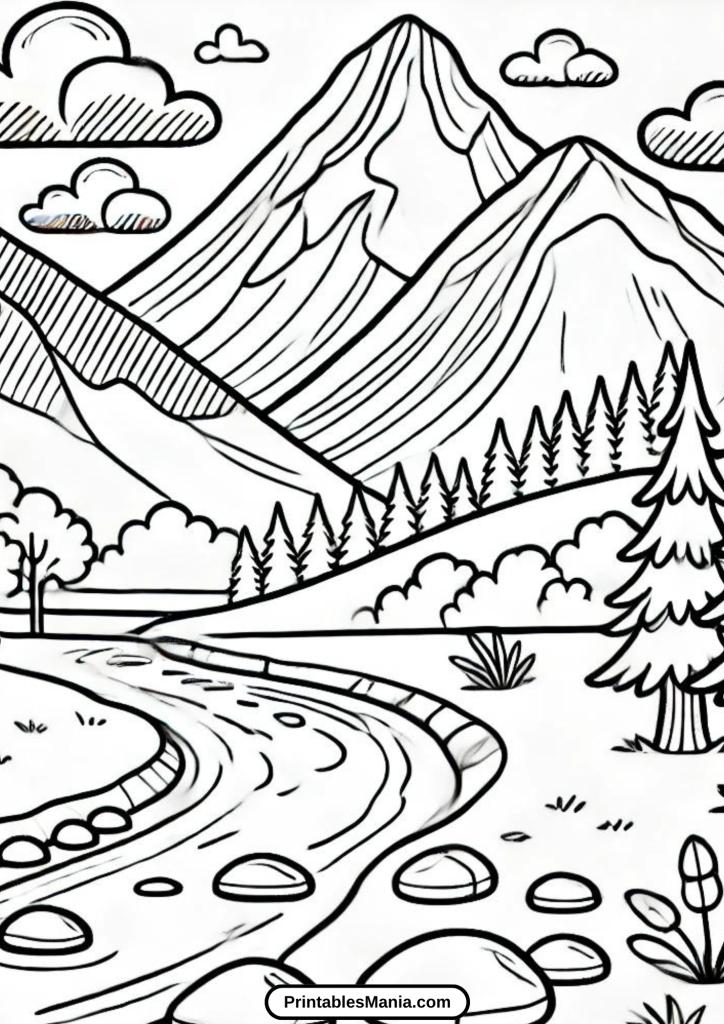
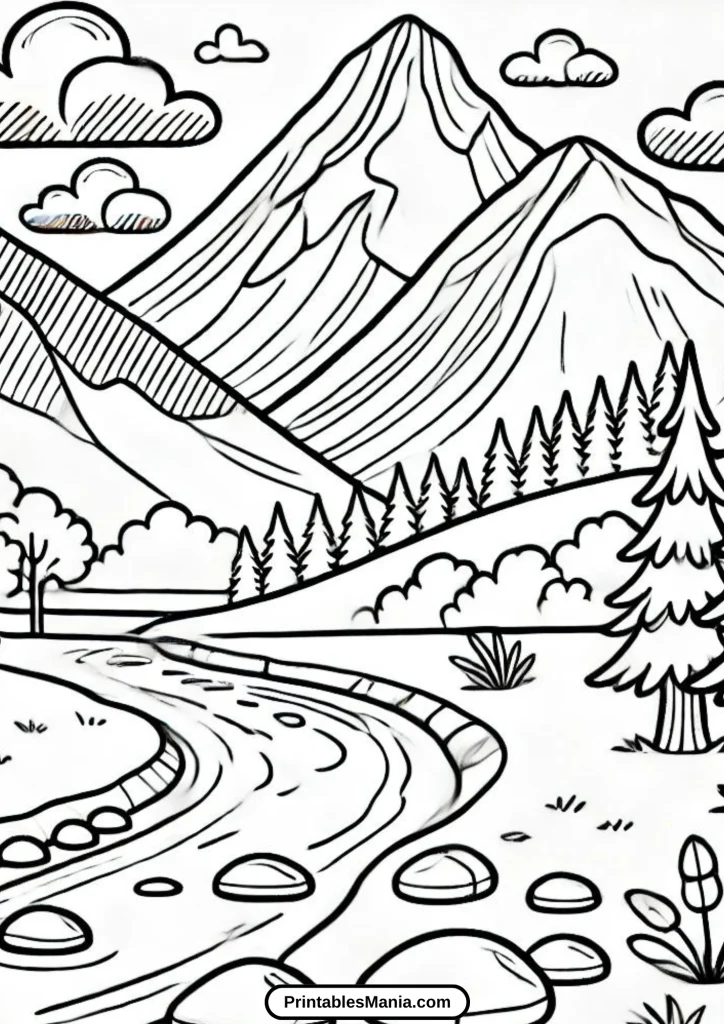
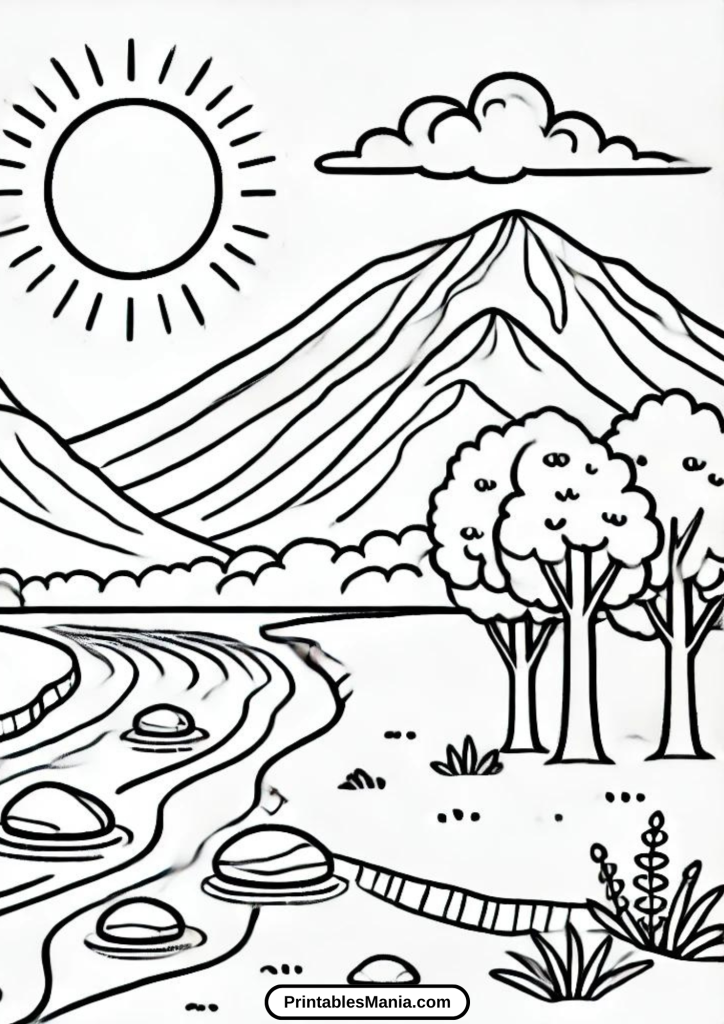
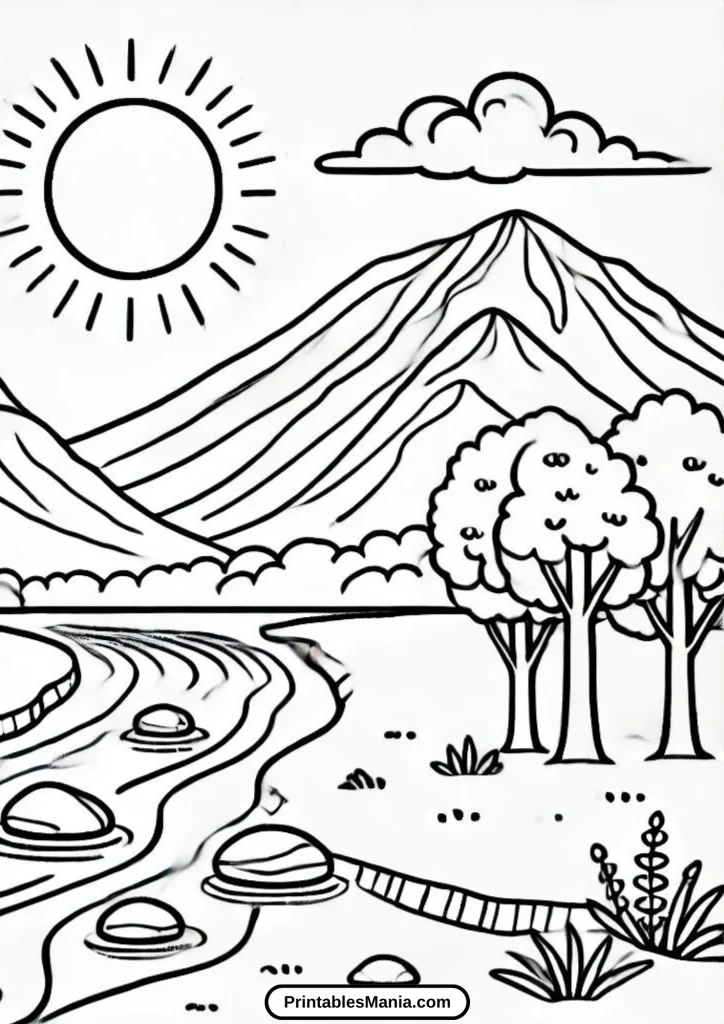
- Mountains and Rivers: Majestic mountain ranges and serene rivers.
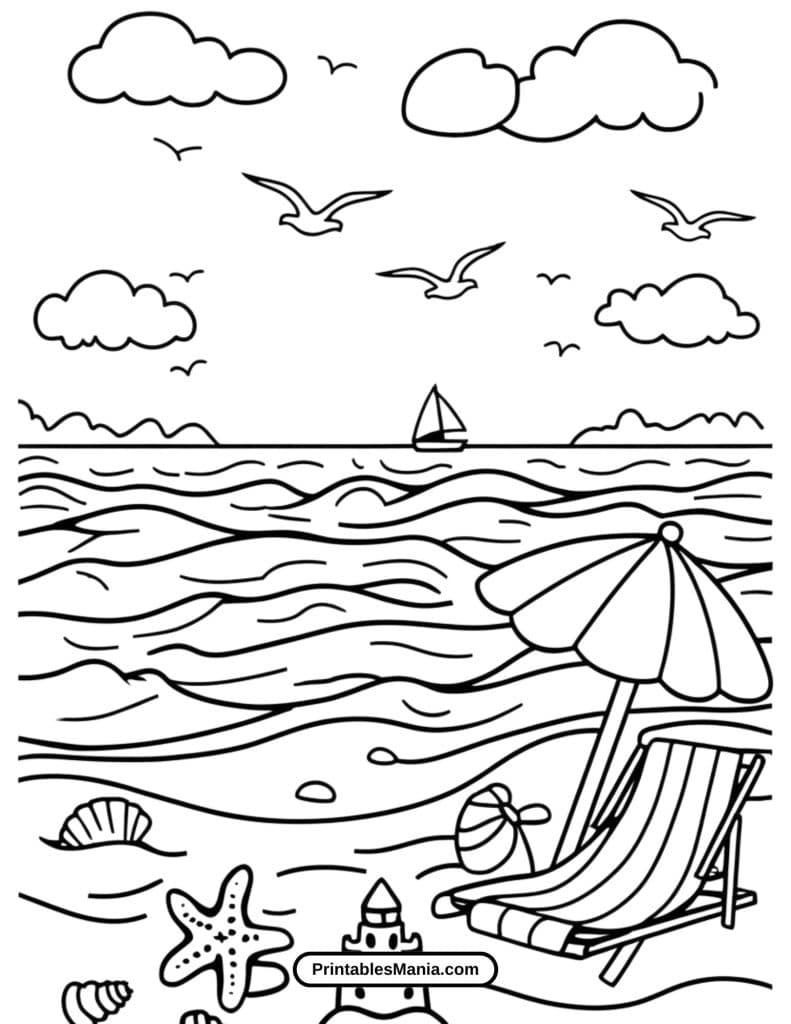
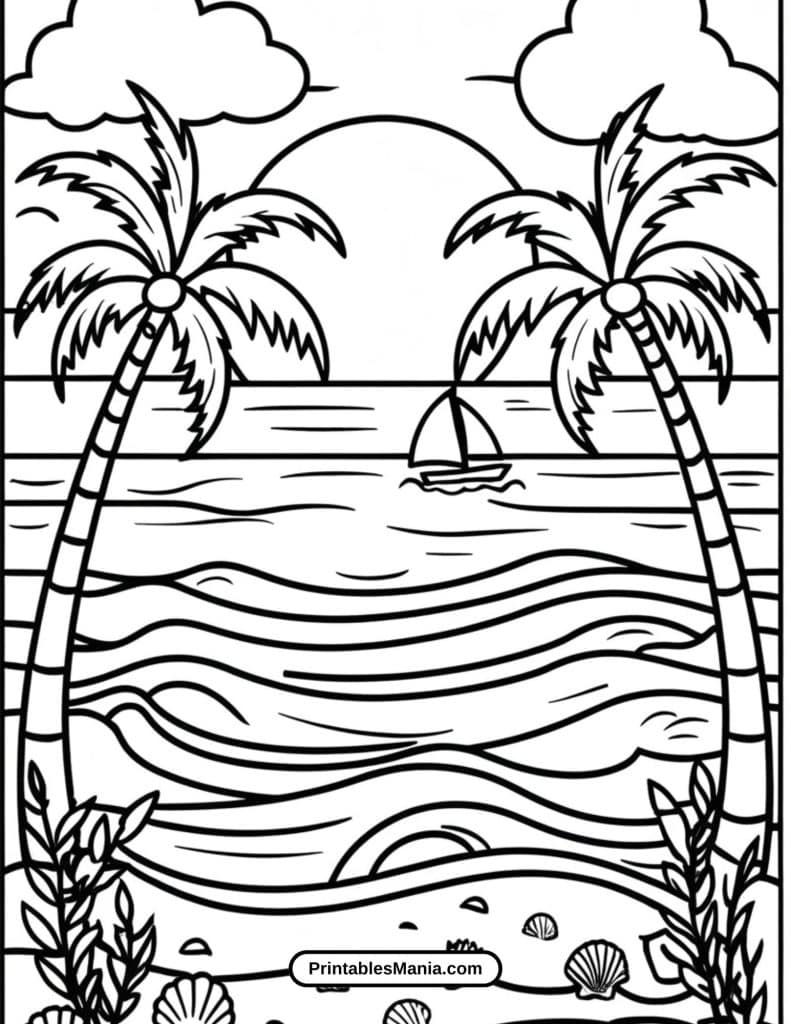
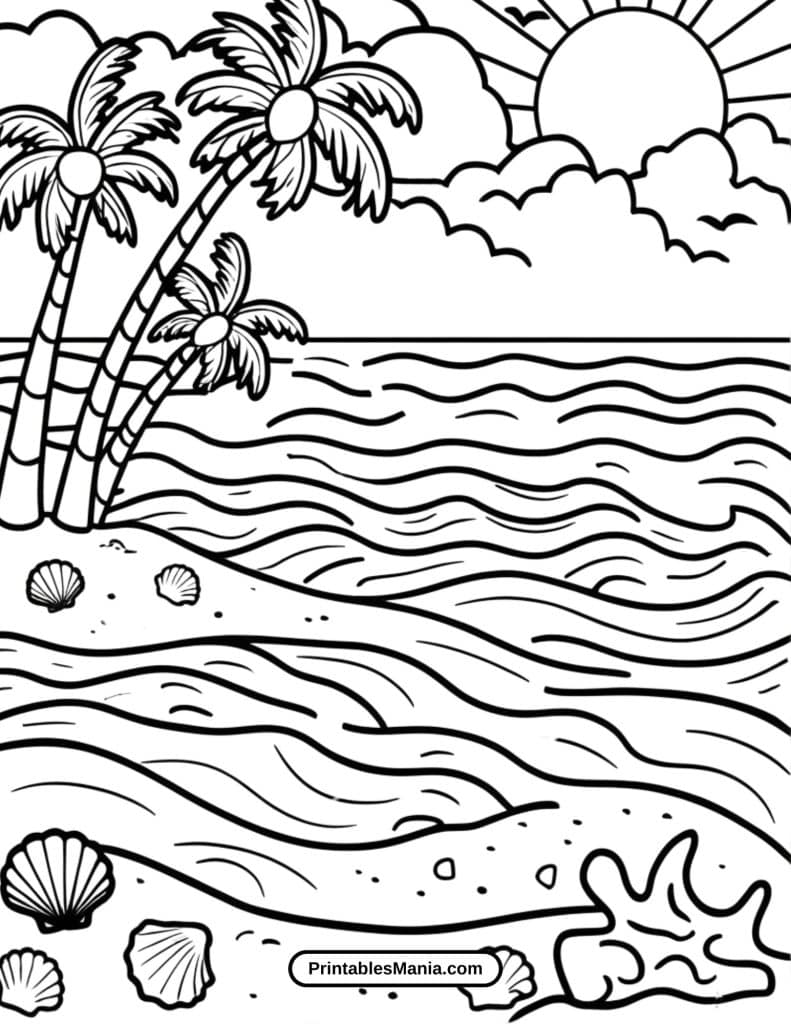
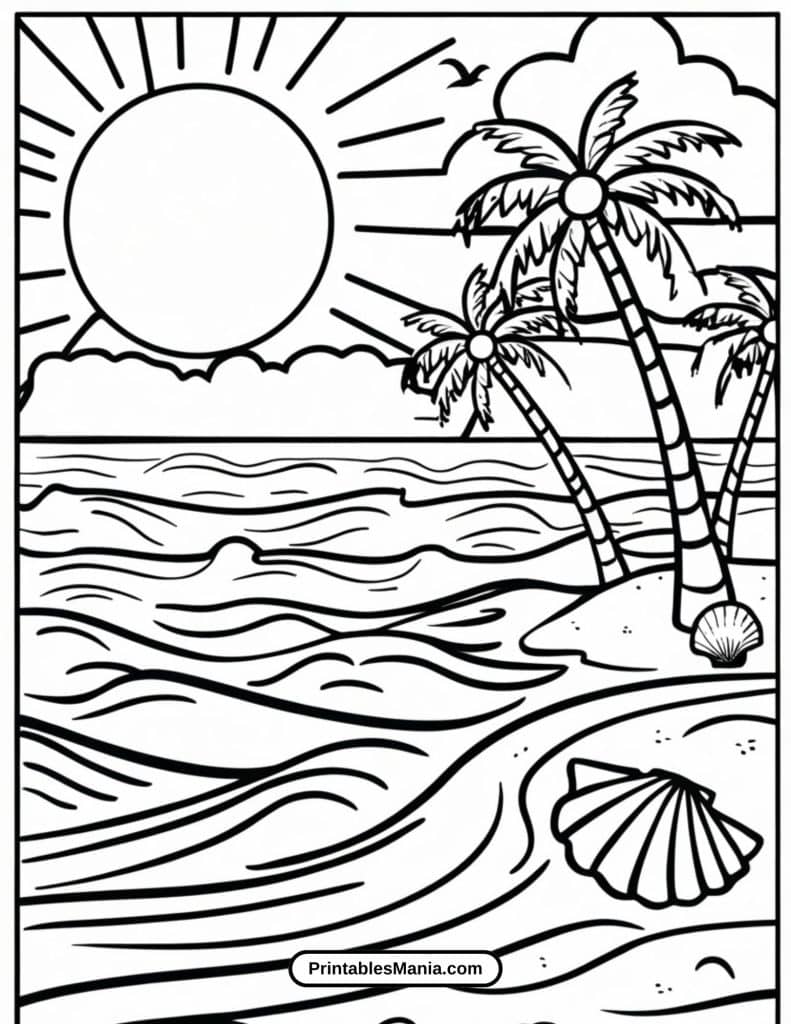
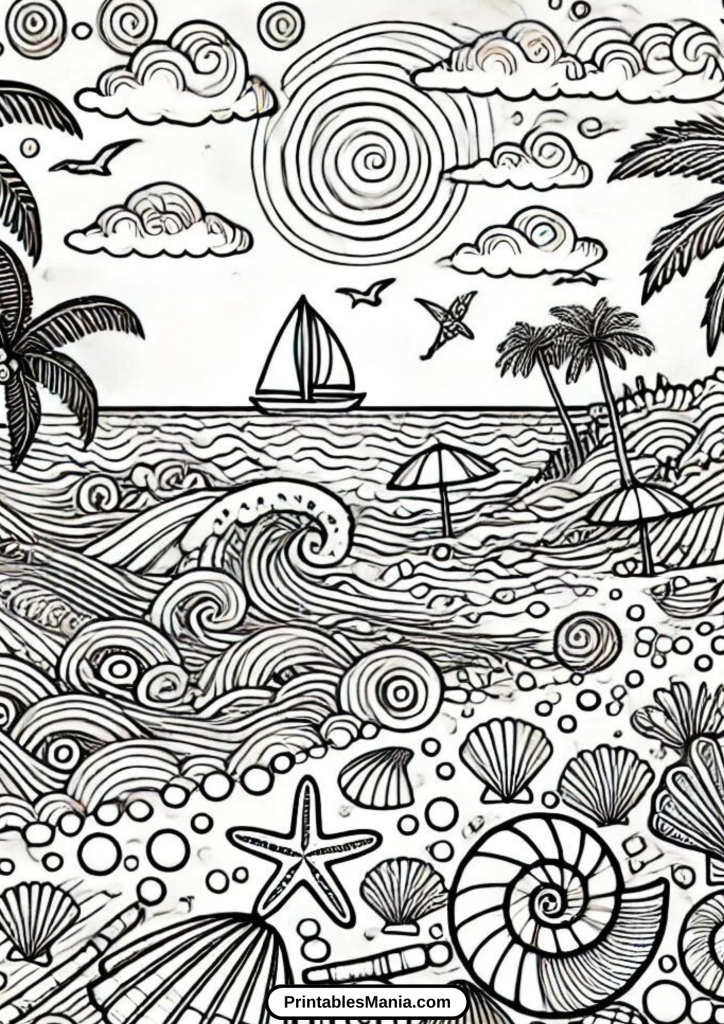
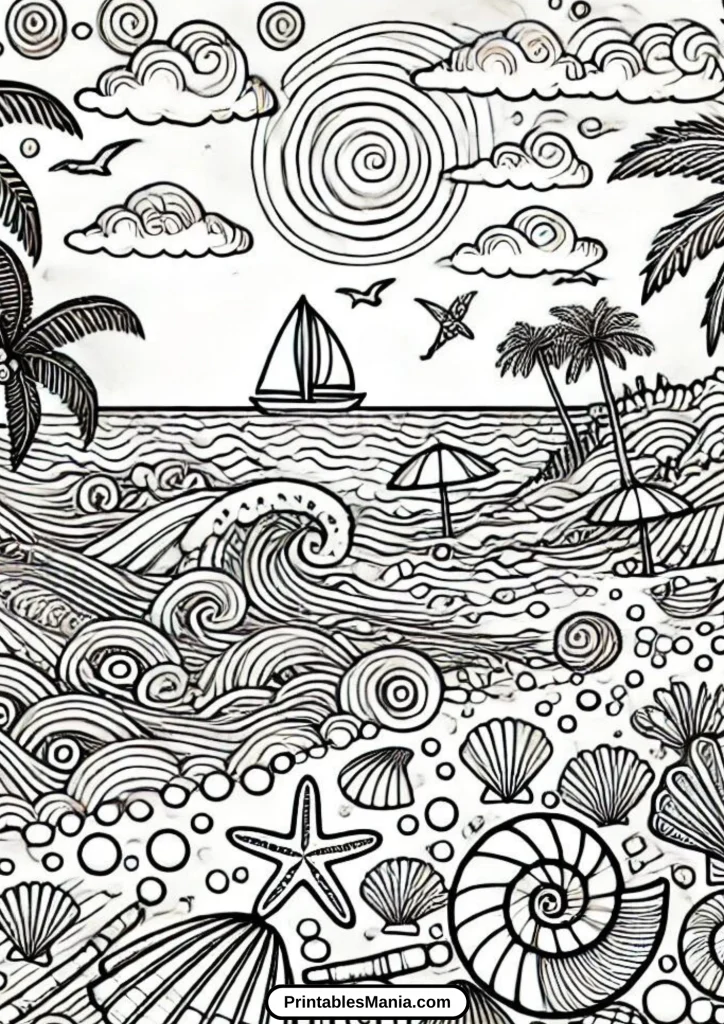
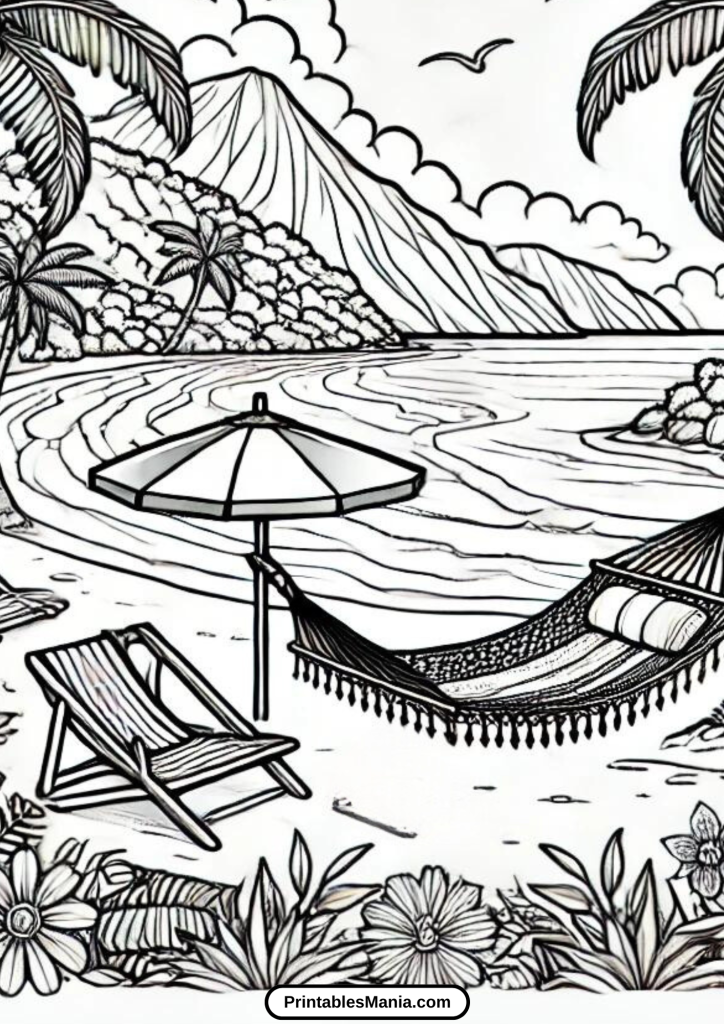
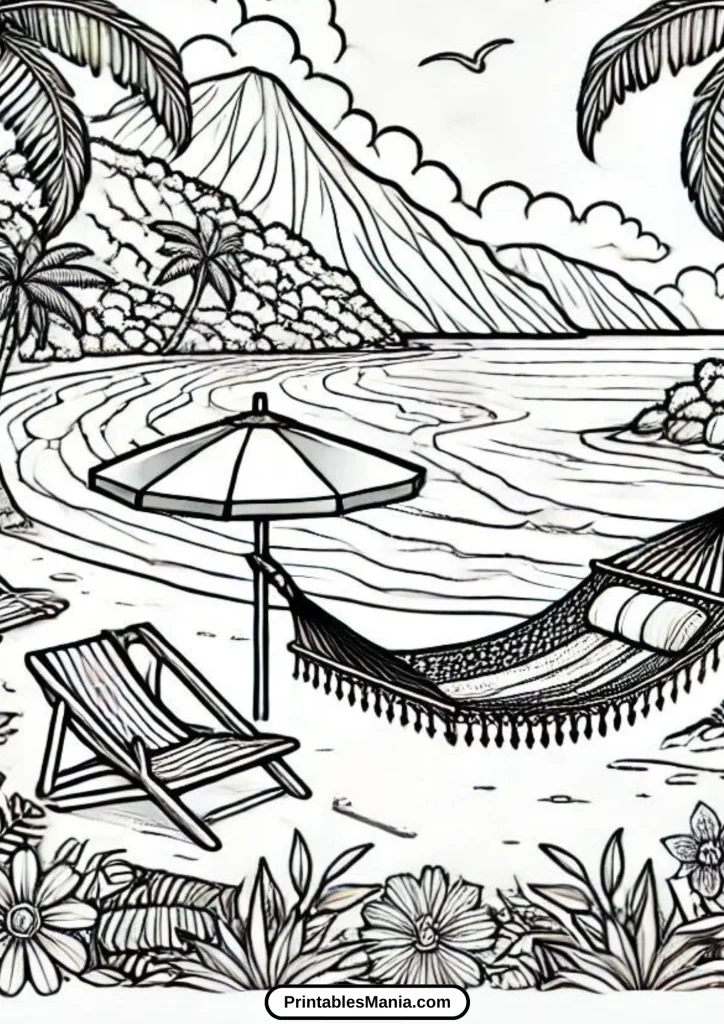
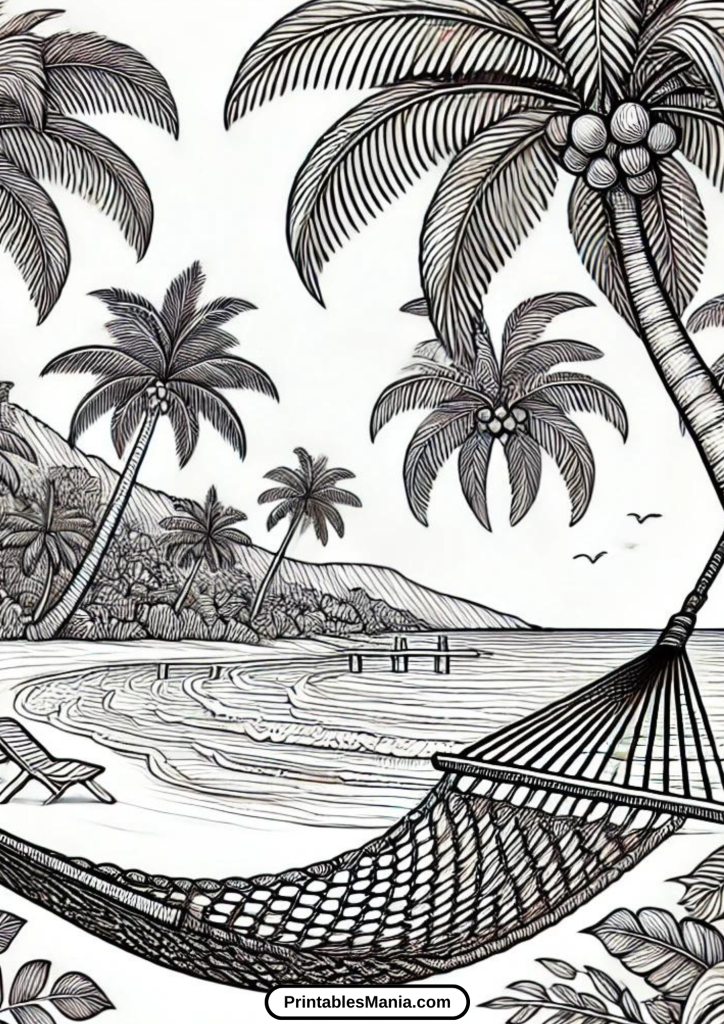
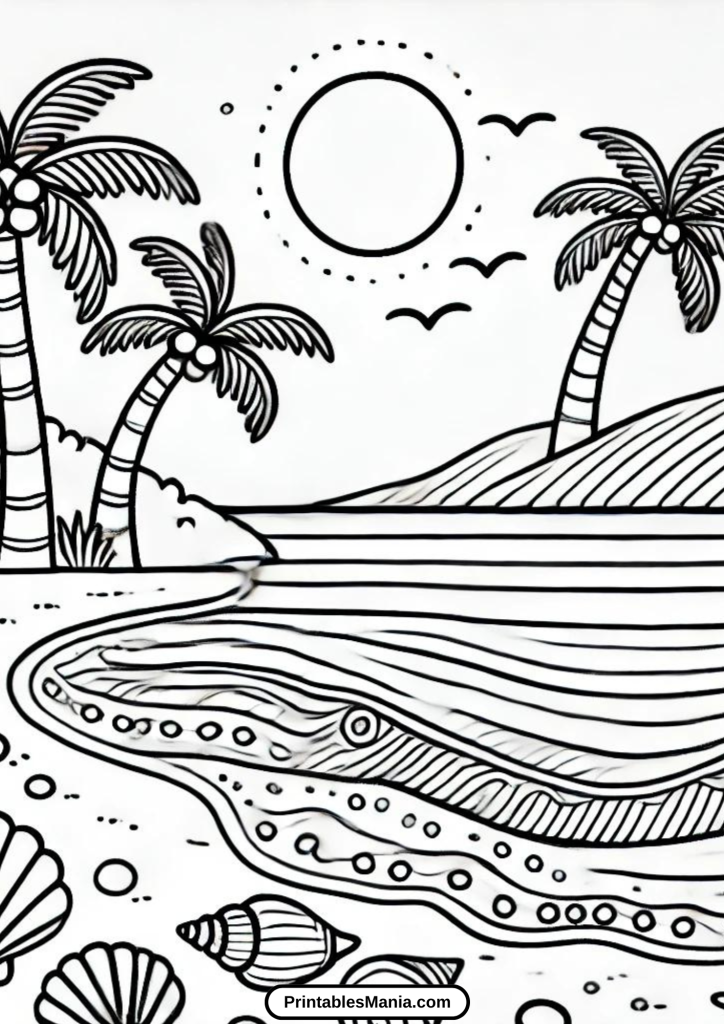
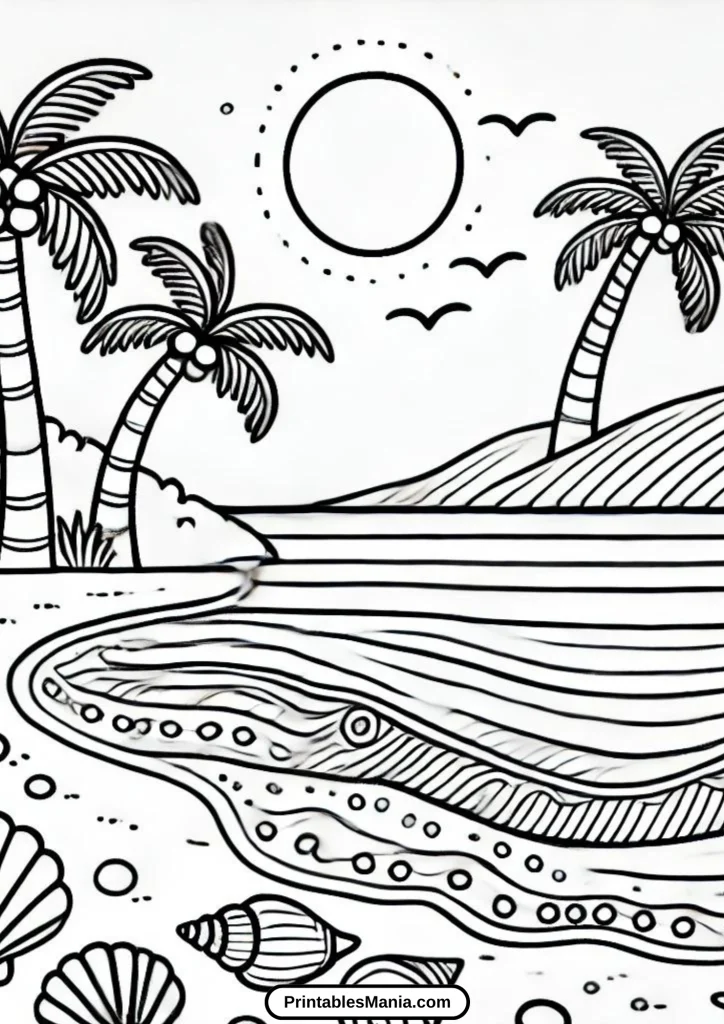
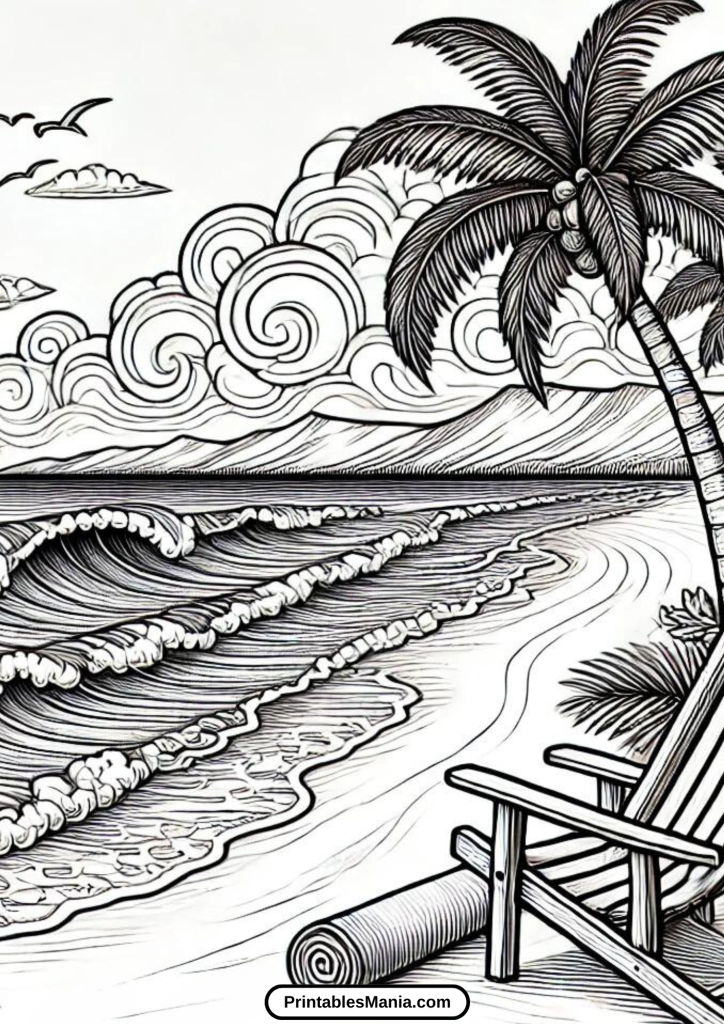
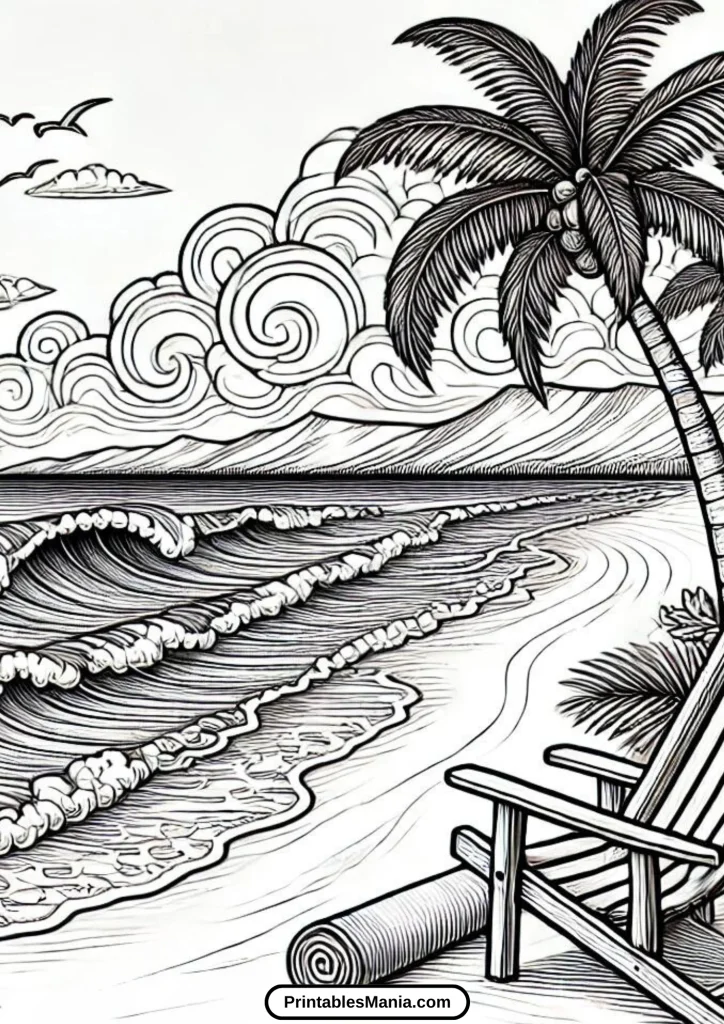
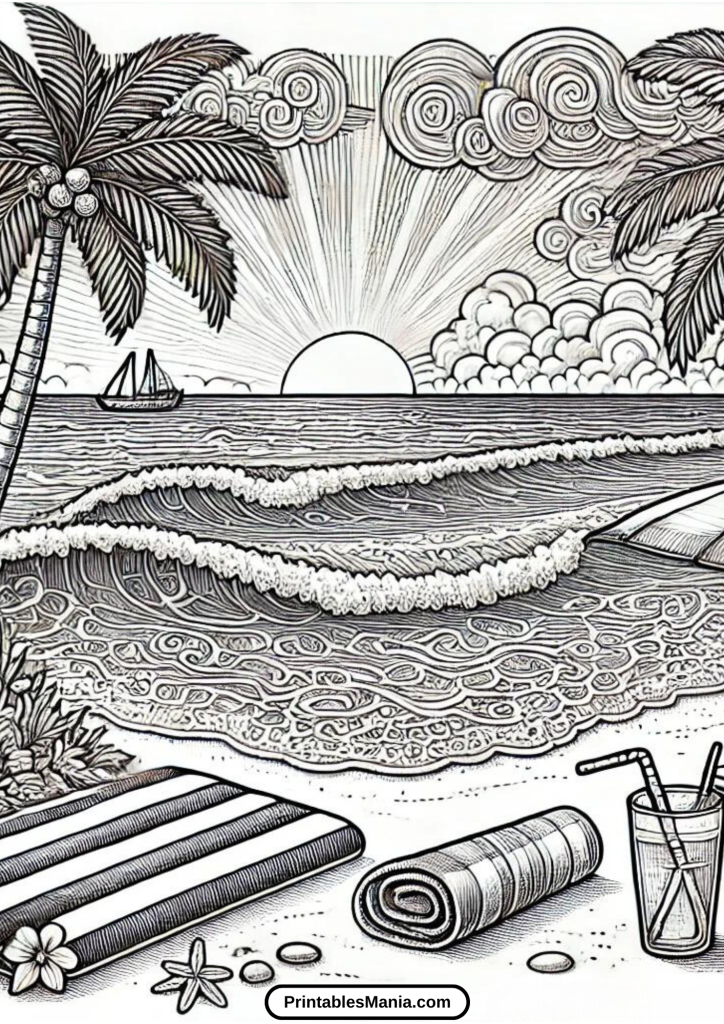
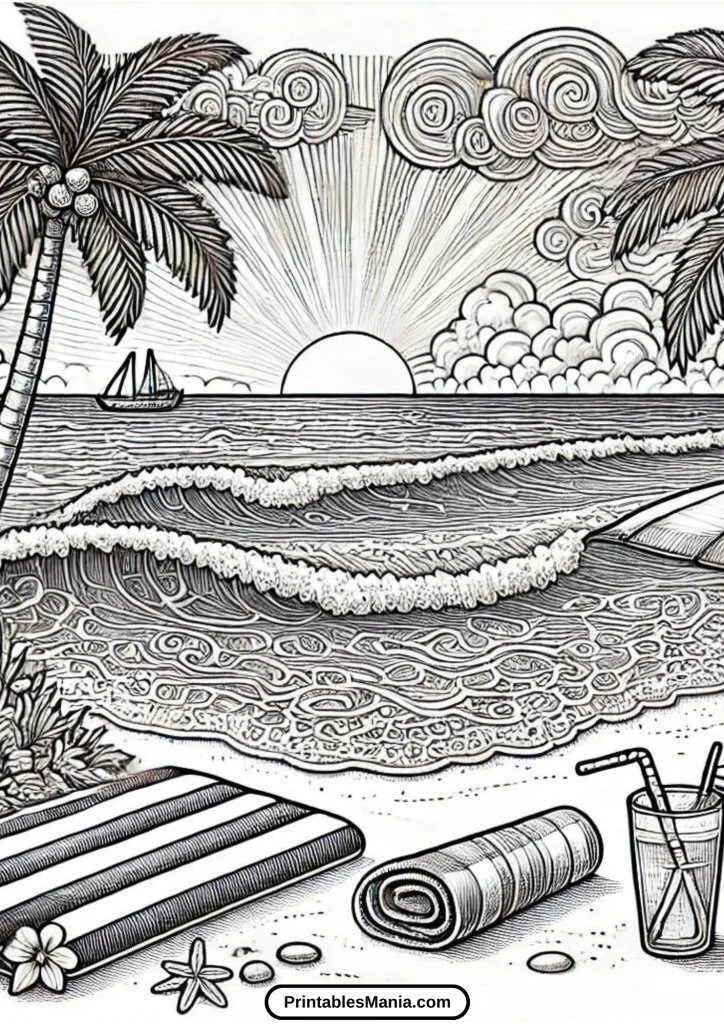
- Beach Scenes: Relaxing beach views with palm trees and waves.
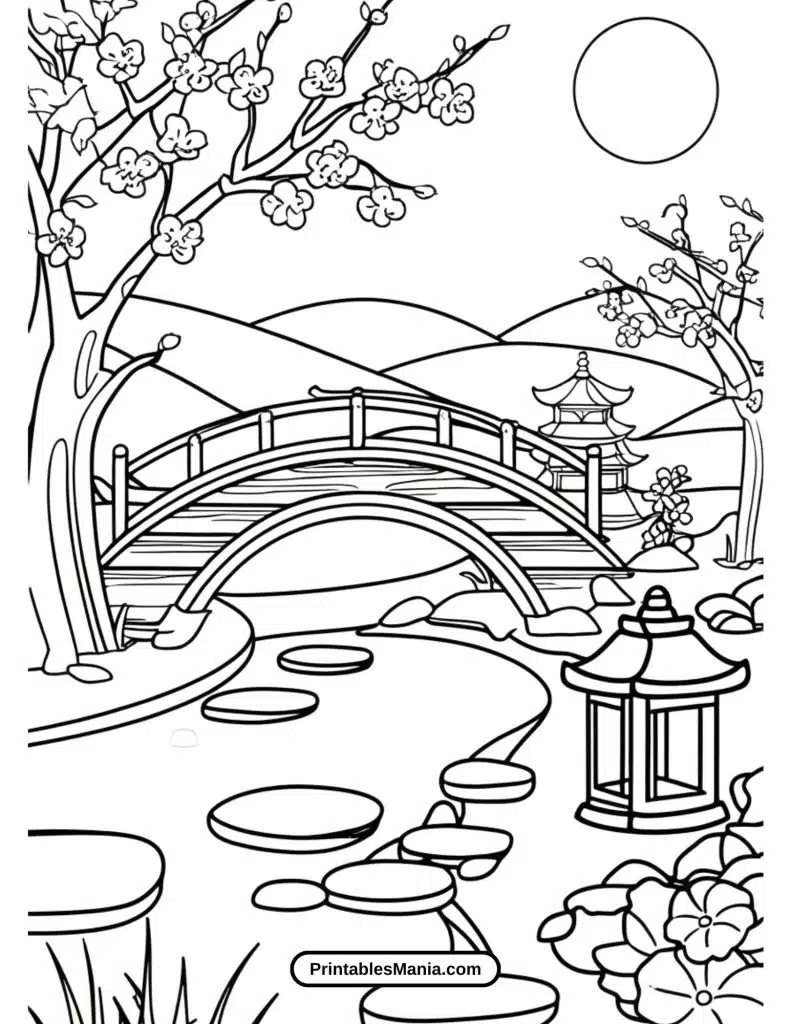
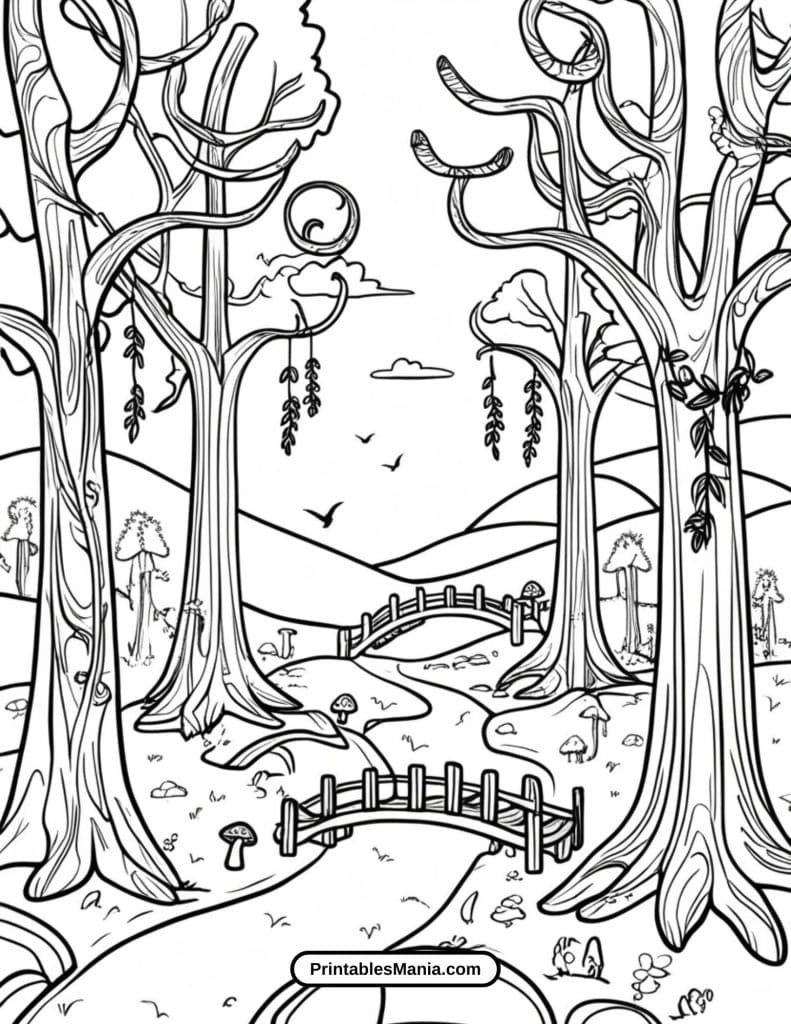
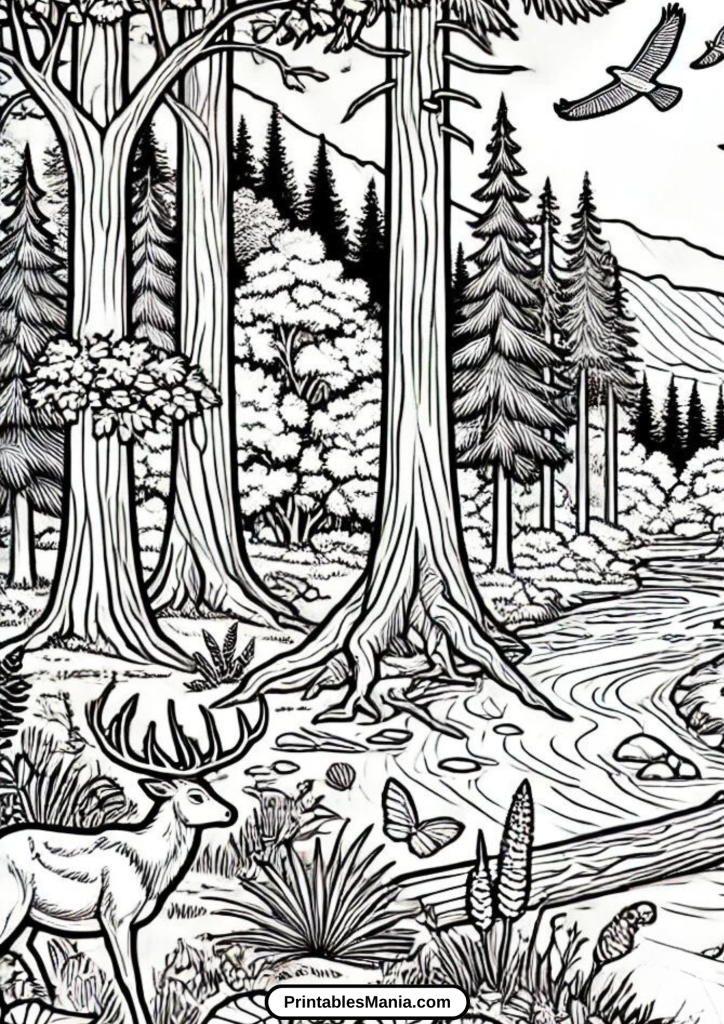
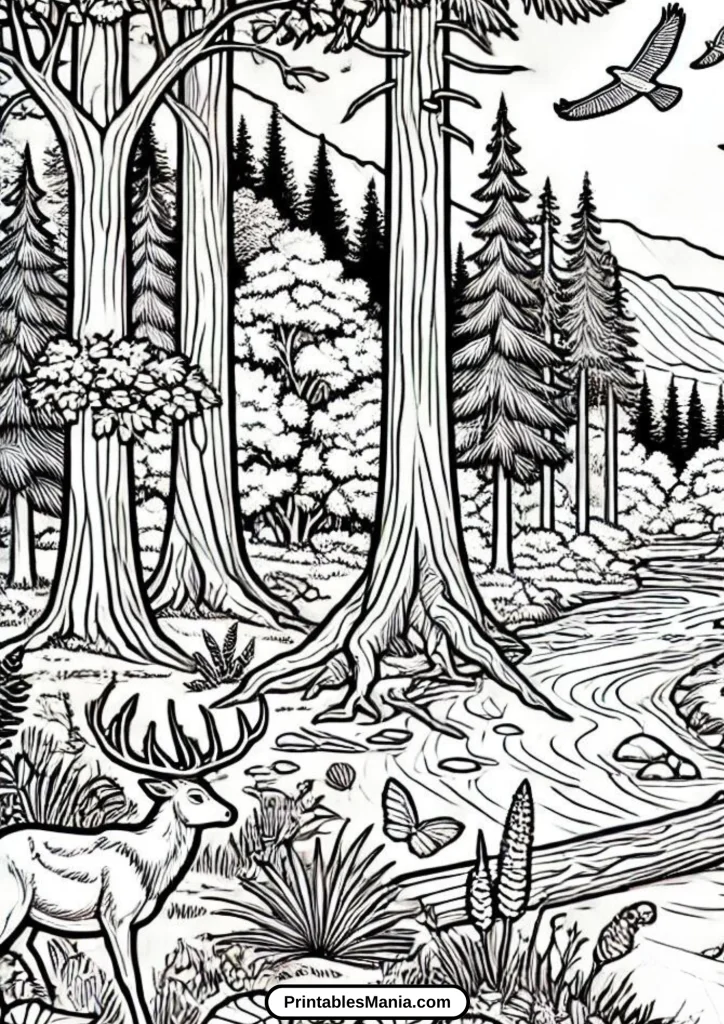
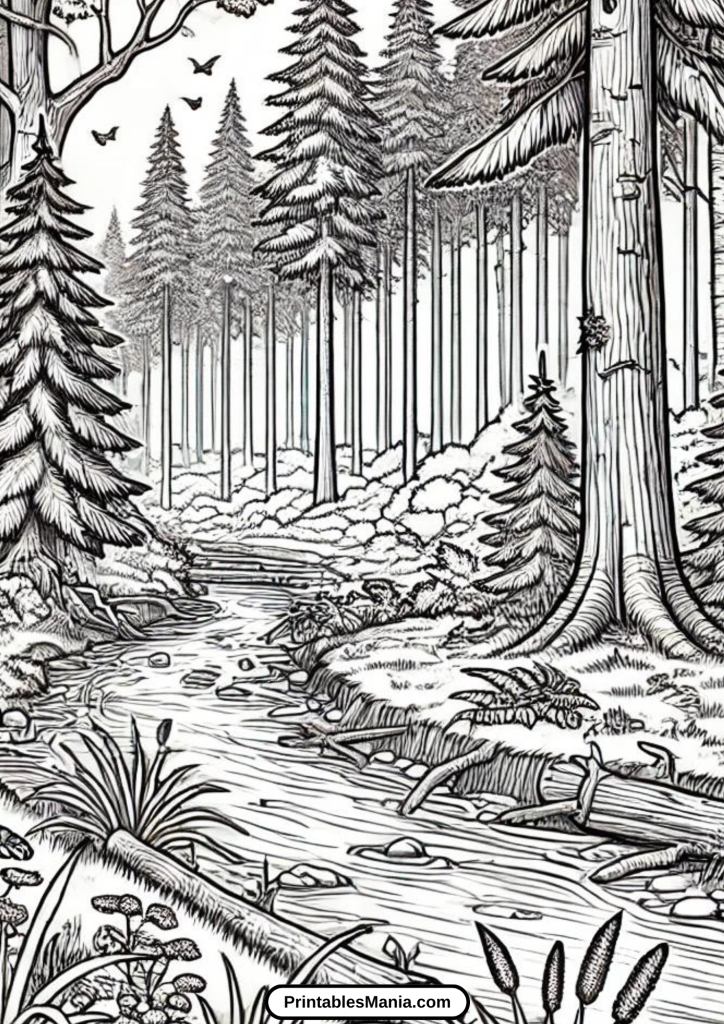
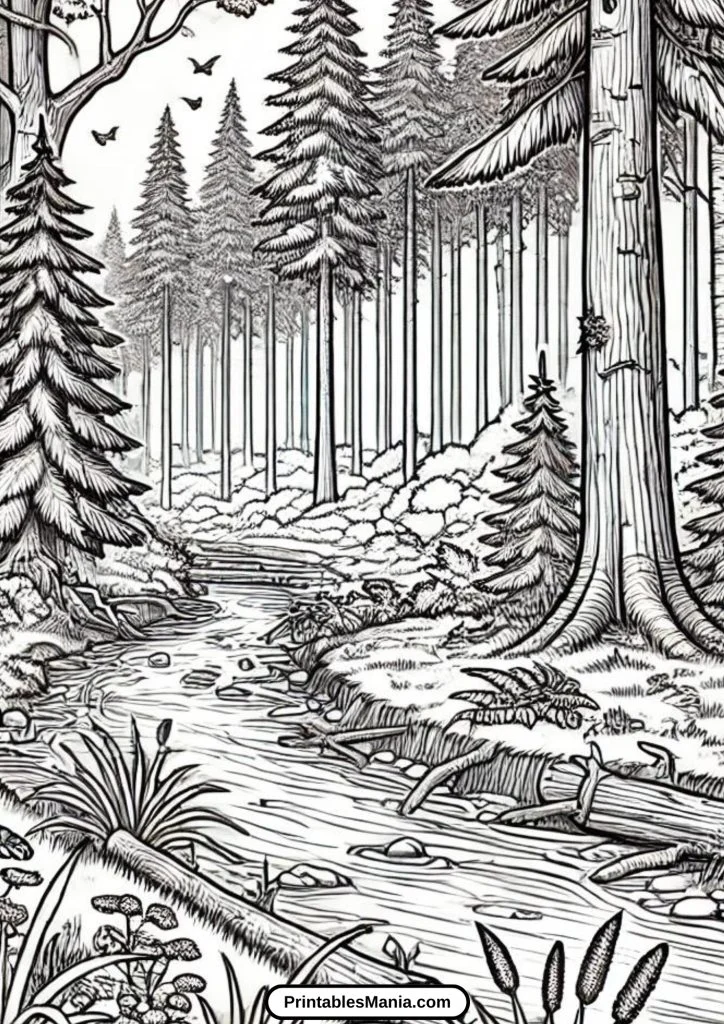
- Forest Landscapes: Enchanting forests with tall trees and wildlife.
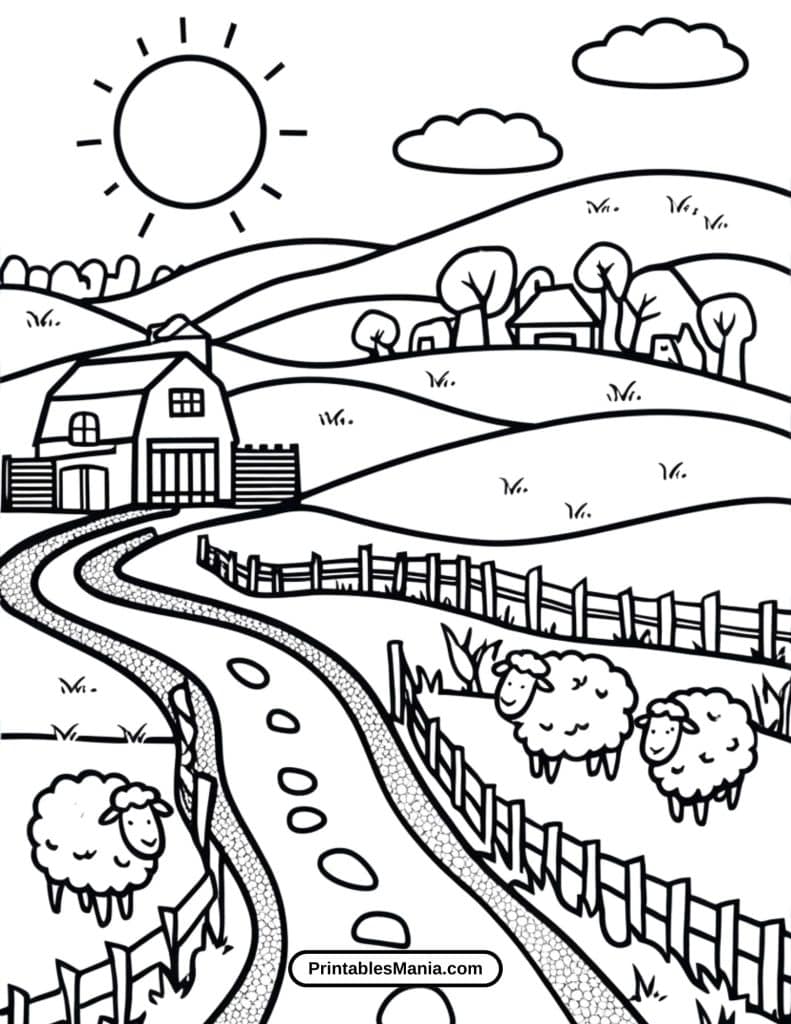
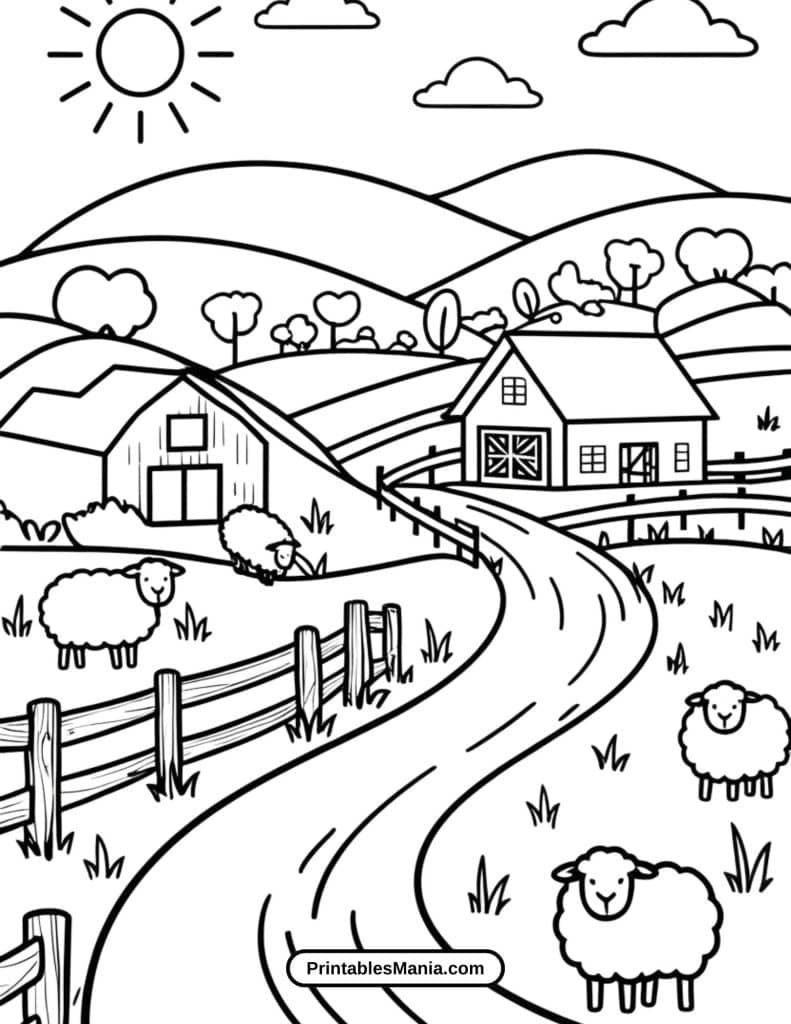
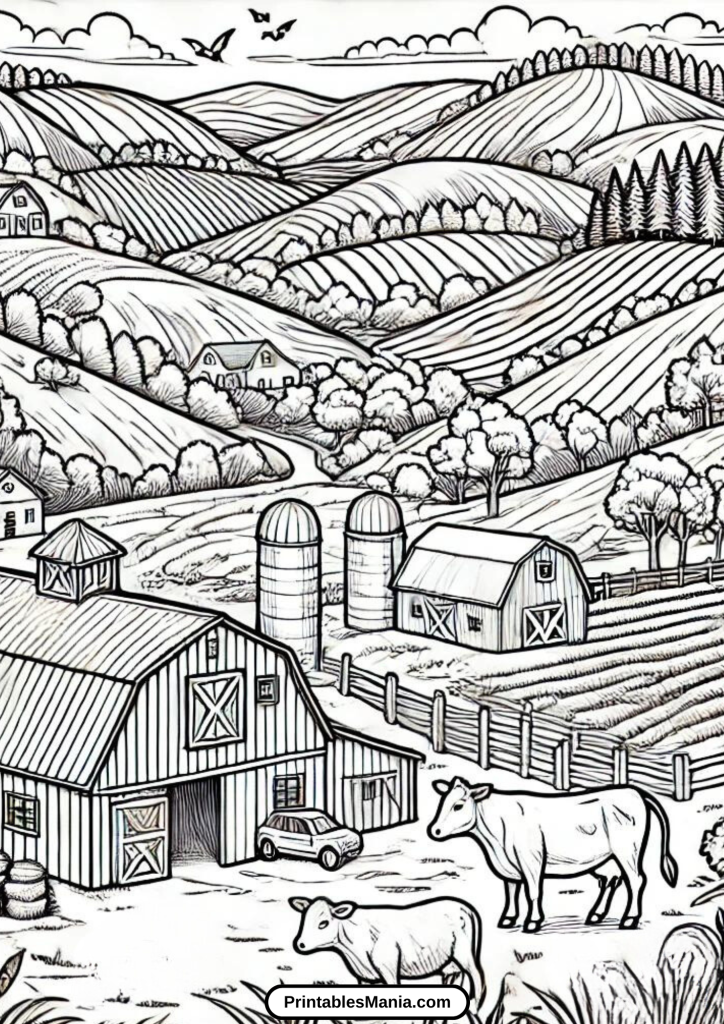
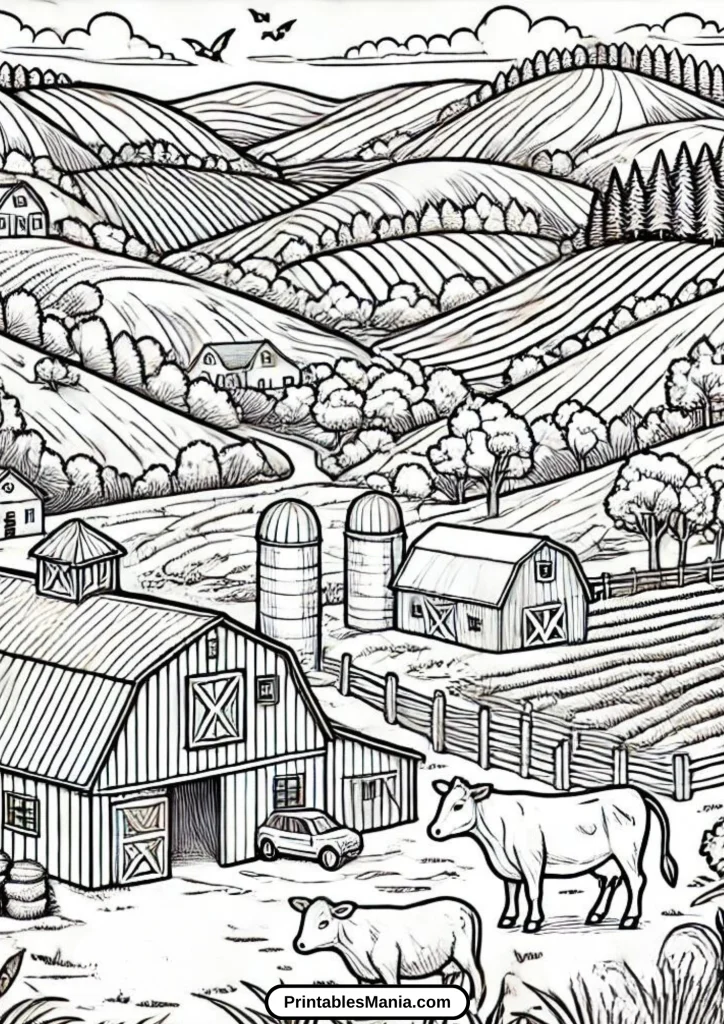
- Countryside Views: Rolling hills, barns, and farm animals.
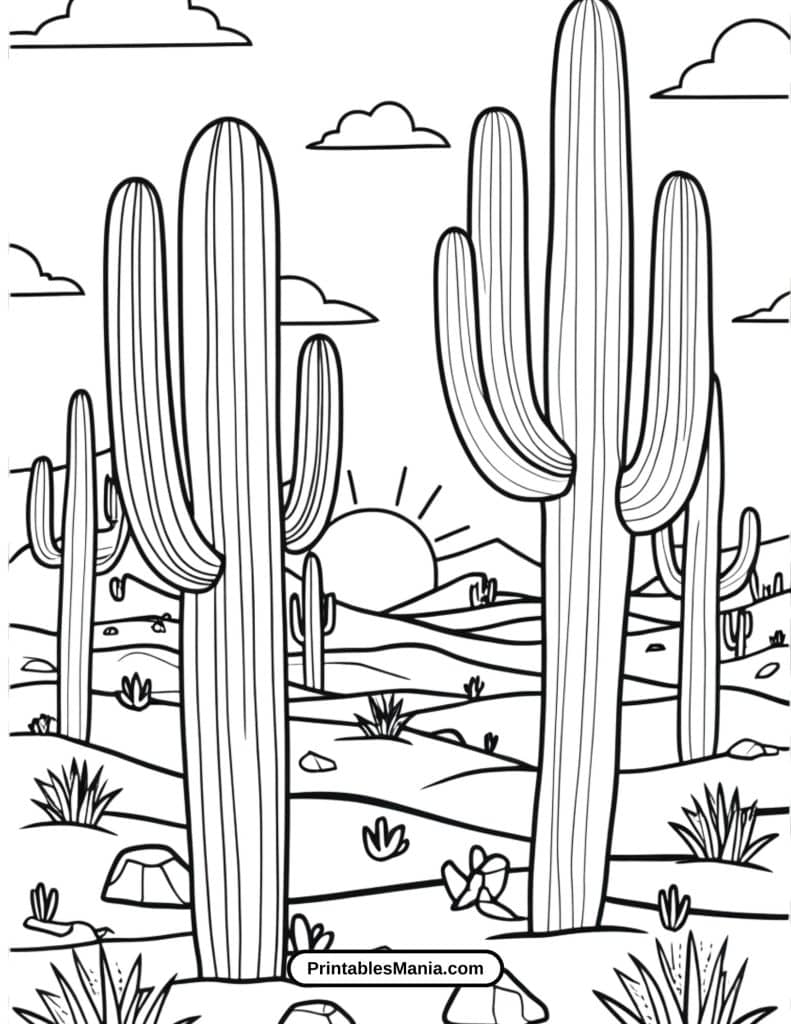
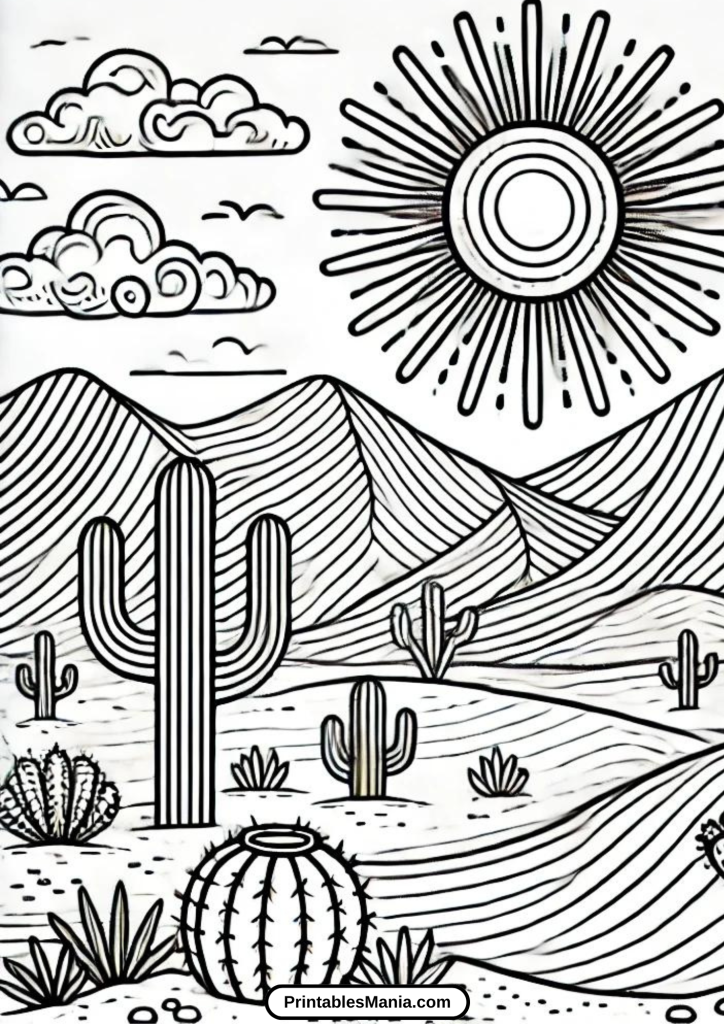
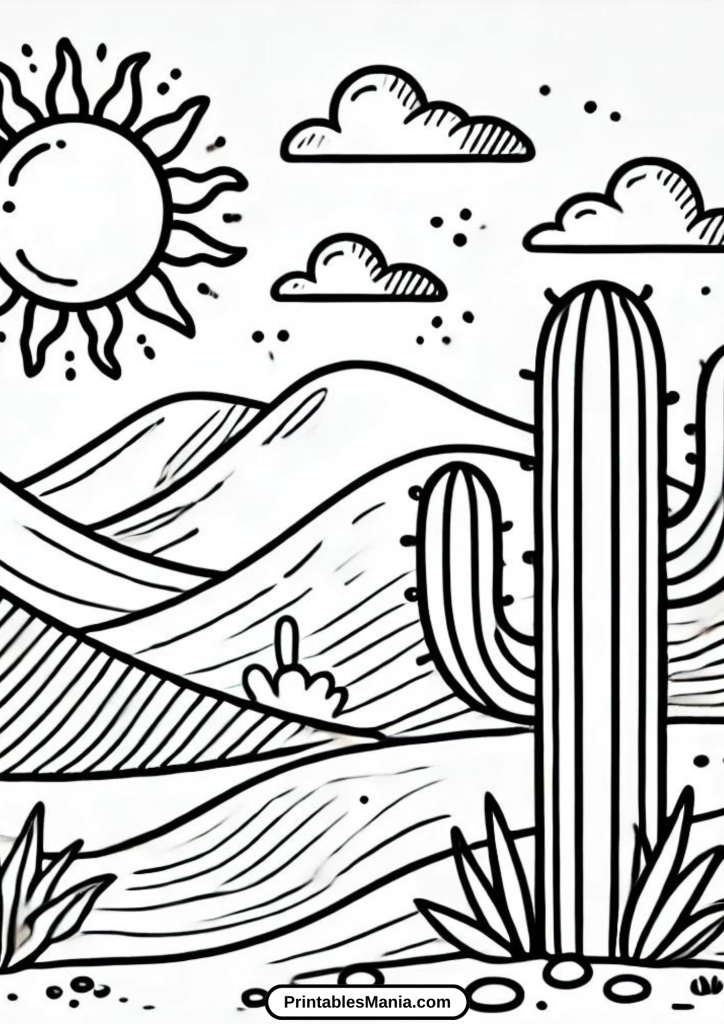
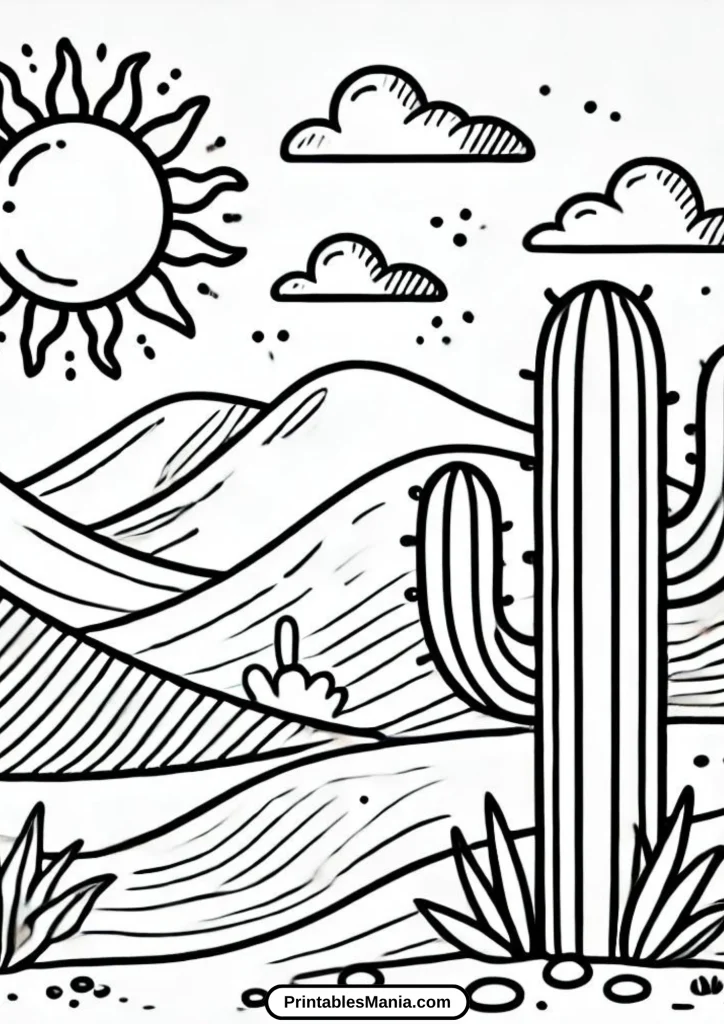
- Desert Vistas: Stunning sand dunes and cacti under the sun.
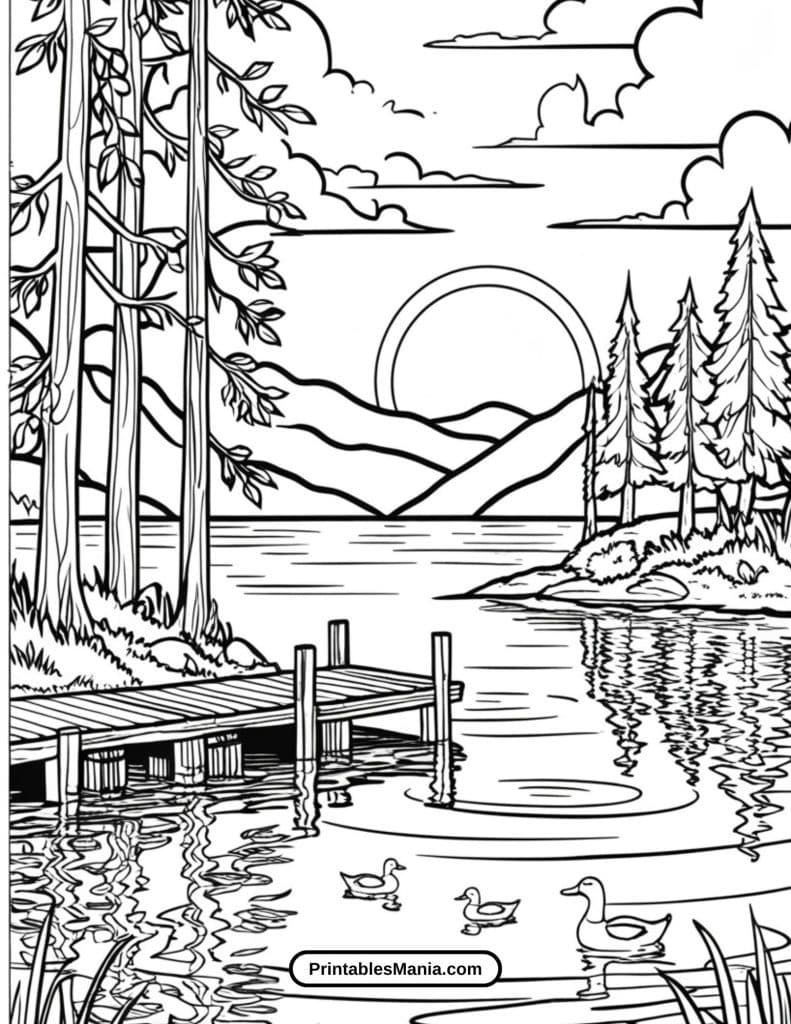
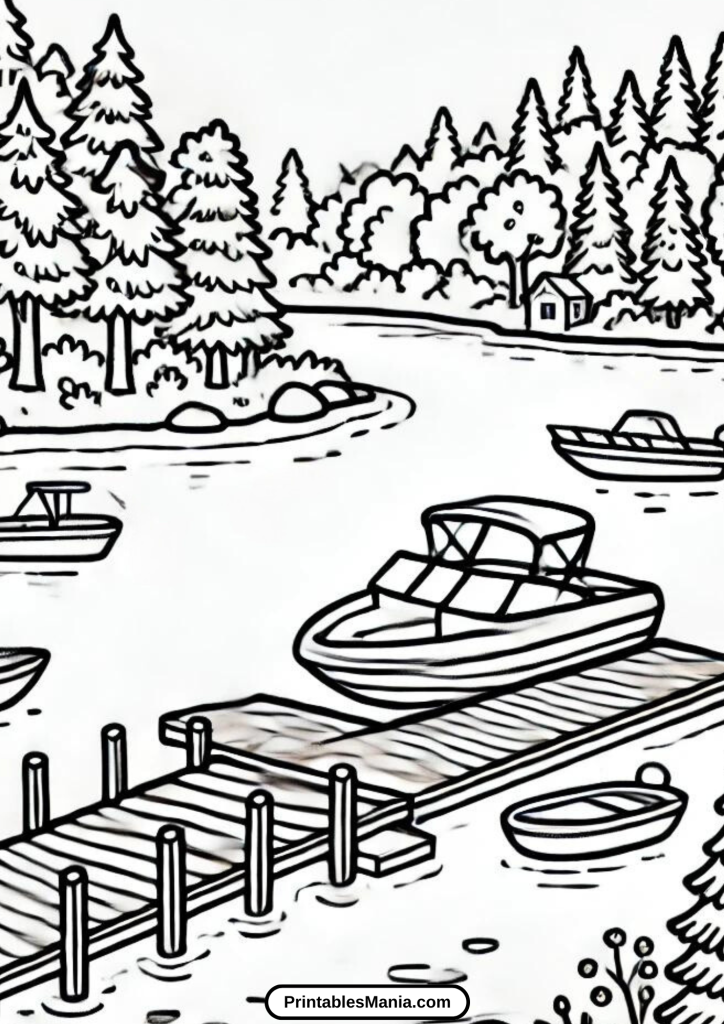
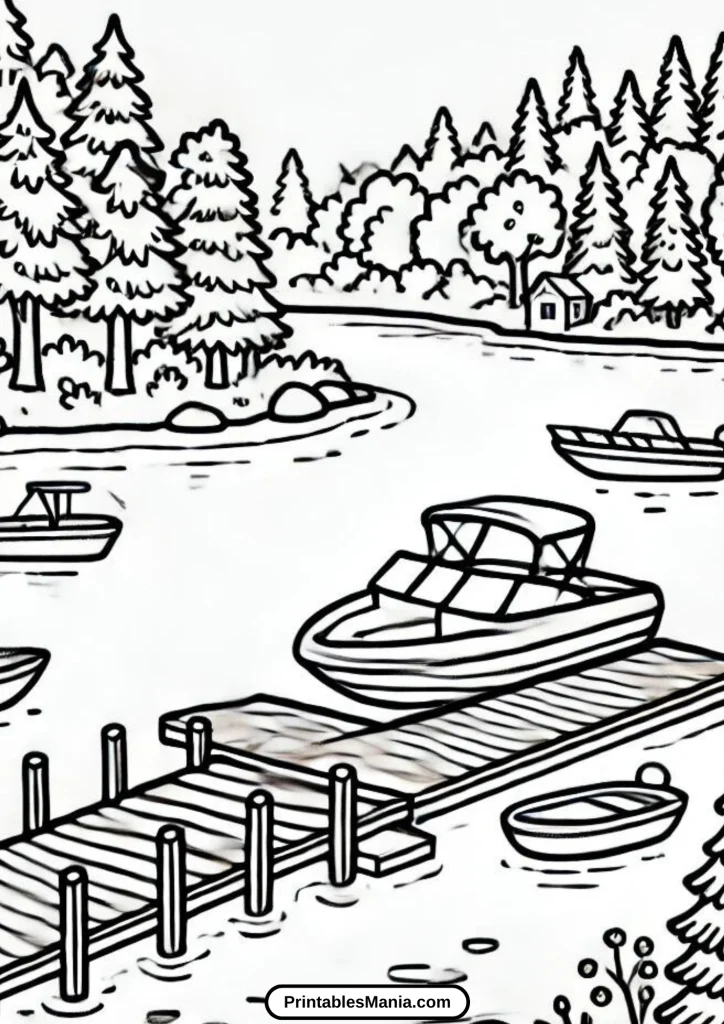
- Lake Views: Peaceful lakes with docks, boats, and surrounding trees.
How to Use Our Coloring Pages
- Download and Print: Select your favorite landscape design and print it out.
- Choose Your Medium: Use crayons, colored pencils, markers, or digital tools to color.
- Start Coloring: Let your creativity flow and bring the landscape to life.
- Share Your Artwork: Show off your masterpiece by sharing it with friends and family.
Tips for Coloring Landscapes
- Create a Color Palette: Choose colors that complement each other for a harmonious look.
- Layer Colors: Build depth and dimension by layering different shades.
- Blend Smoothly: Use blending techniques to create smooth transitions between colors.
- Add Details: Enhance your landscape with additional elements like shadows and highlights.


Art Tips and Techniques
Enhance your coloring experience with our expert tips and techniques! Whether you’re a beginner or an experienced artist, these suggestions will help you bring your landscape illustrations to life.
Choosing Colors
1. Create a Color Palette: Before you start coloring, select a color palette. Consider using colors that complement each other to create a harmonious look. For landscapes, think about natural colors like greens for trees, blues for water, and earthy tones for mountains and ground.
2. Use a Test Sheet: Keep a separate sheet of paper to test your colors. This will help you see how they look on paper and ensure they blend well together.
3. Consider the Mood: Think about the mood you want to convey. Warm colors (reds, oranges, yellows) create a vibrant and energetic feel, while cool colors (blues, greens, purples) give a calm and serene effect.
Blending Techniques
1. Gradual Shading: To create depth and dimension, use gradual shading. Start with the lightest color and slowly add darker shades. This technique works well with colored pencils and crayons.
2. Layering: Build up layers of color to create a rich, vibrant look. Apply one color lightly and then add another color on top. Repeat until you achieve the desired effect. This is effective with markers and colored pencils.
3. Blending Tools: Use blending tools like blending stumps, cotton swabs, or even your finger to smooth out colors and eliminate harsh lines. This is especially useful when using pastels or colored pencils.
Suggested Mediums
1. Crayons: Crayons are perfect for young artists. They are easy to use and great for bold, vibrant colors. Use crayons for broad areas and simple blending techniques.
2. Colored Pencils: Colored pencils offer precision and control. They are excellent for detailed work and layering techniques. Use different pressures to create light and dark shades.
3. Markers: Markers provide bright and consistent color. They are great for bold designs and large areas. Be mindful of the type of paper you use, as markers can bleed through thin paper.
4. Watercolors: Watercolors can add a beautiful, soft look to your illustrations. Use watercolor pencils for more control or traditional watercolors for a more fluid effect. Be sure to use watercolor paper to prevent warping.
5. Digital Tools: Digital coloring offers endless possibilities. Use apps like Procreate or Adobe Fresco with a stylus for precise control. Experiment with different brushes and layers to achieve various effects.
Additional Tips
1. Start with Light Colors: Begin with lighter colors and gradually add darker shades. This approach allows for easier correction and layering.
2. Keep Your Tools Sharp: Sharpen your colored pencils and replace the nibs on your markers as needed. Sharp tools allow for more precise coloring and detail work.
3. Take Your Time: Coloring is a relaxing activity, so take your time and enjoy the process. There’s no rush—focus on each section and let your creativity flow.
4. Protect Your Work: If using traditional mediums, consider spraying a fixative on your completed piece to protect it from smudging and fading.
5. Practice Makes Perfect: The more you color, the better you’ll get. Try different techniques and mediums to find what works best for you.
We hope these tips and techniques help you create beautiful and vibrant landscape illustrations. Happy coloring!
What to Do with the Colored Page?
Congratulations on completing your landscape coloring page! Now that you’ve finished your masterpiece, here are some creative ideas on what you can do with your colored page.
Display Your Artwork
1. Frame It: Place your colored page in a stylish frame and hang it on the wall. This can add a personal touch to any room and showcase your artistic talents.
2. Create a Gallery Wall: If you have multiple colored pages, create a gallery wall. Arrange your artwork in a pattern or collage to make a vibrant display.
3. Use a Bulletin Board: Pin your coloring pages to a bulletin board. This is a great way to keep your artwork visible and easily change or add new pieces.
Gift Your Art
1. Personalized Gifts: Turn your coloring page into a unique gift. Frame it or use it as a personalized card for friends and family.
2. Custom Bookmarks: Cut your colored page into strips to create beautiful, custom bookmarks. Laminate them for durability.
3. Handmade Greeting Cards: Fold your colored page into a greeting card. Add a personal message inside and give it to someone special.
Create Functional Items
1. Decorative Placemats: Laminate your colored page and use it as a decorative placemat. It’s a fun way to add color to your dining table.
2. Notebook Covers: Use your colored page as a cover for a notebook or journal. Simply glue it to the front cover and trim the edges.
3. Artful Envelopes: Create unique envelopes by folding and gluing your colored page into an envelope shape. Use them for special letters or invitations.
Digital Sharing
1. Share on Social Media: Take a photo of your colored page and share it on social media platforms like Instagram, Facebook, or Pinterest. Use hashtags like #ColoringArt and #LandscapeArt to connect with other coloring enthusiasts.
2. Send as E-Cards: Scan your colored page and use it to create e-cards. Send them to friends and family for special occasions.
3. Digital Portfolio: Create a digital portfolio of your artwork. Store high-quality images of your colored pages on your computer or an online platform to keep a record of your progress and creativity.
Creative Projects
1. Art Journals: Include your colored pages in an art journal. Write about your coloring process, the techniques you used, and any inspiration behind your color choices.
2. Scrapbooking: Use your colored page as a background or embellishment in a scrapbook. Combine it with photos and other memorabilia to create a unique and personal keepsake.
3. Wall Art Collages: Cut out sections of your colored page and combine them with other materials to create a mixed-media collage. This can add depth and interest to your artwork.
Educational Uses
1. Teach Coloring Techniques: Use your completed page to teach others about coloring techniques. Show how you blended colors, created shading, or added details.
2. Classroom Displays: If you’re a teacher, display your colored pages in the classroom. It can inspire students and create a vibrant learning environment.
3. Art Contests: Enter your colored pages in art contests. Many communities and online platforms host coloring contests that you can participate in.
These are just a few ideas to help you make the most of your colored landscape page. Be creative and think outside the box—there are endless possibilities for displaying and sharing your artwork!