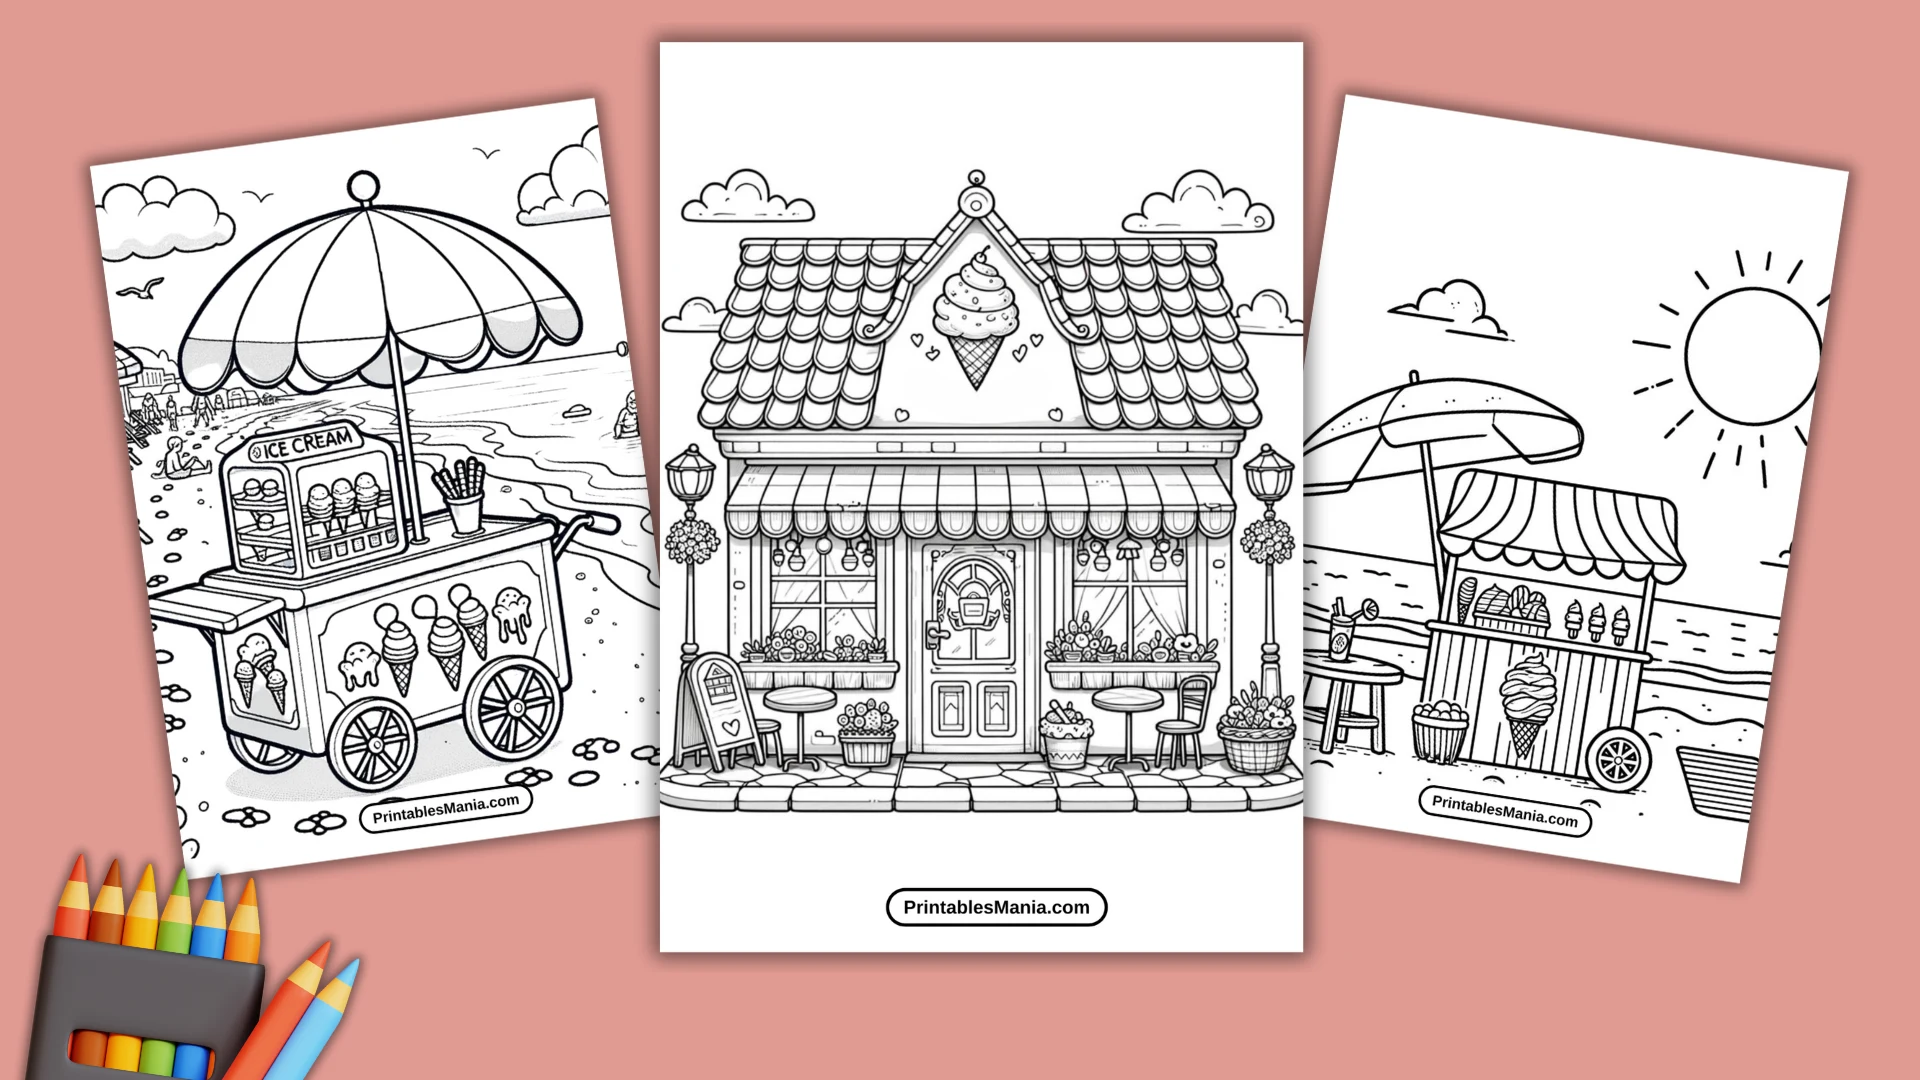
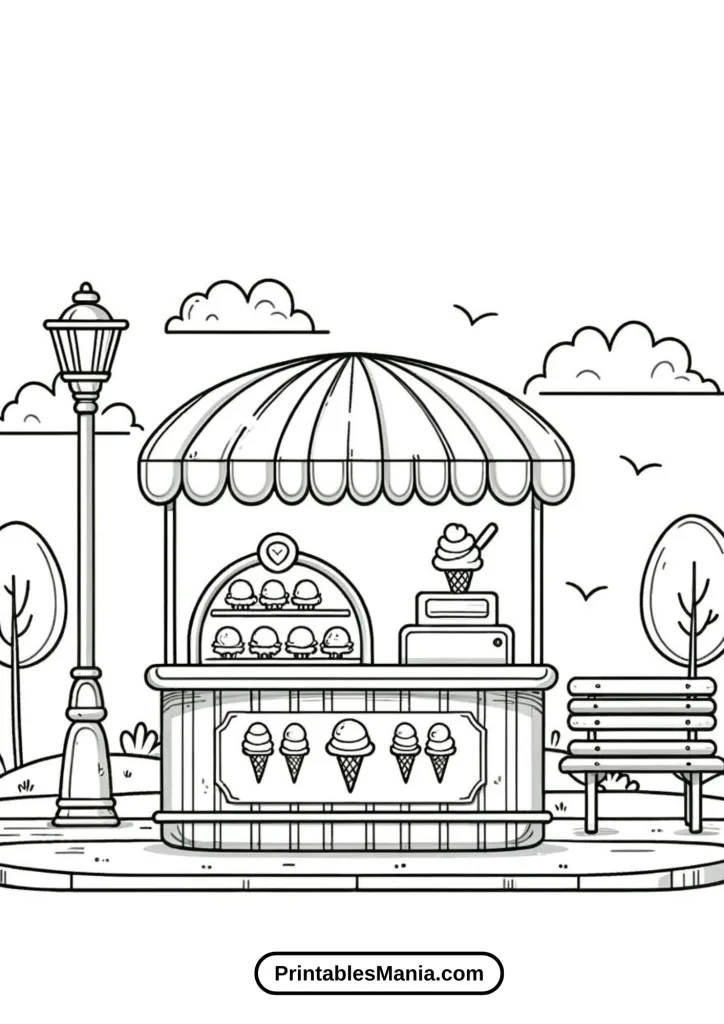
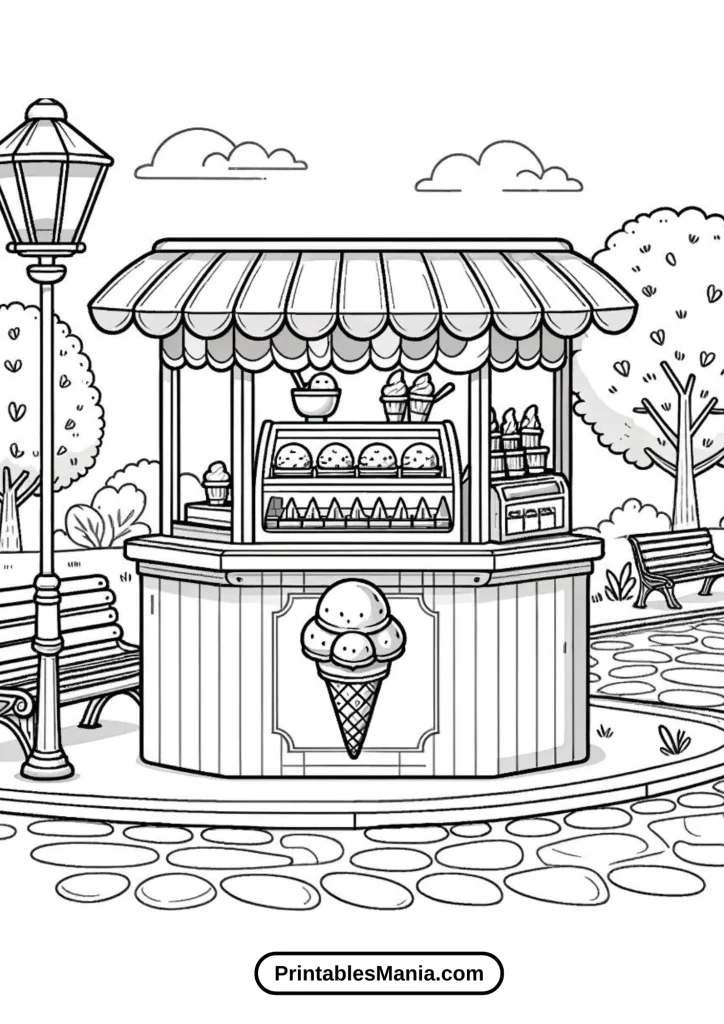
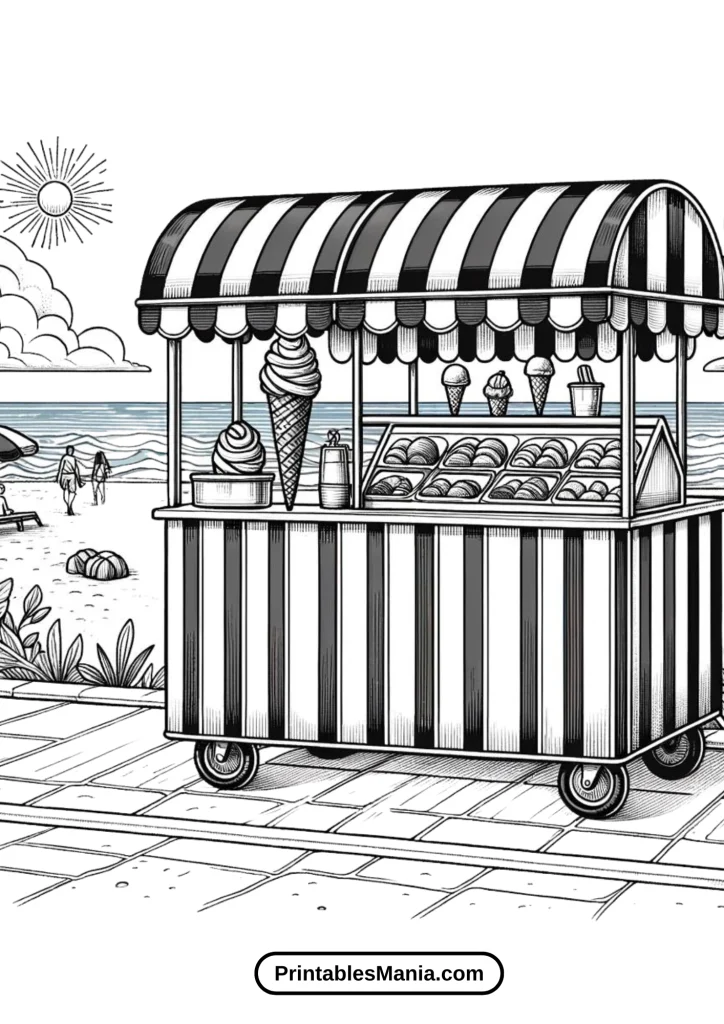
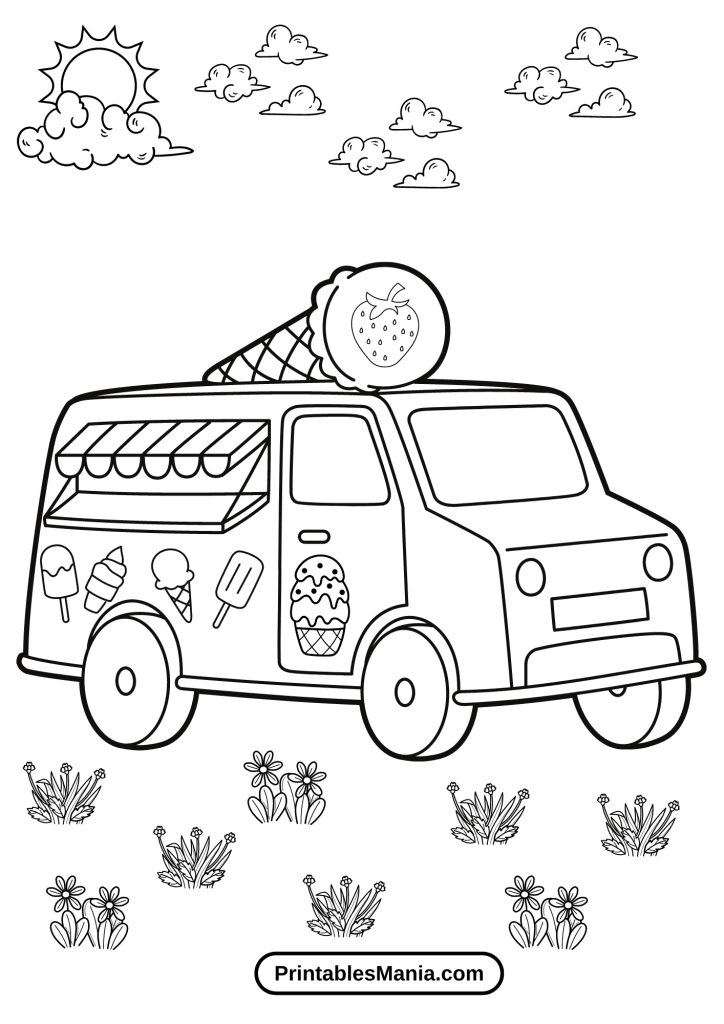
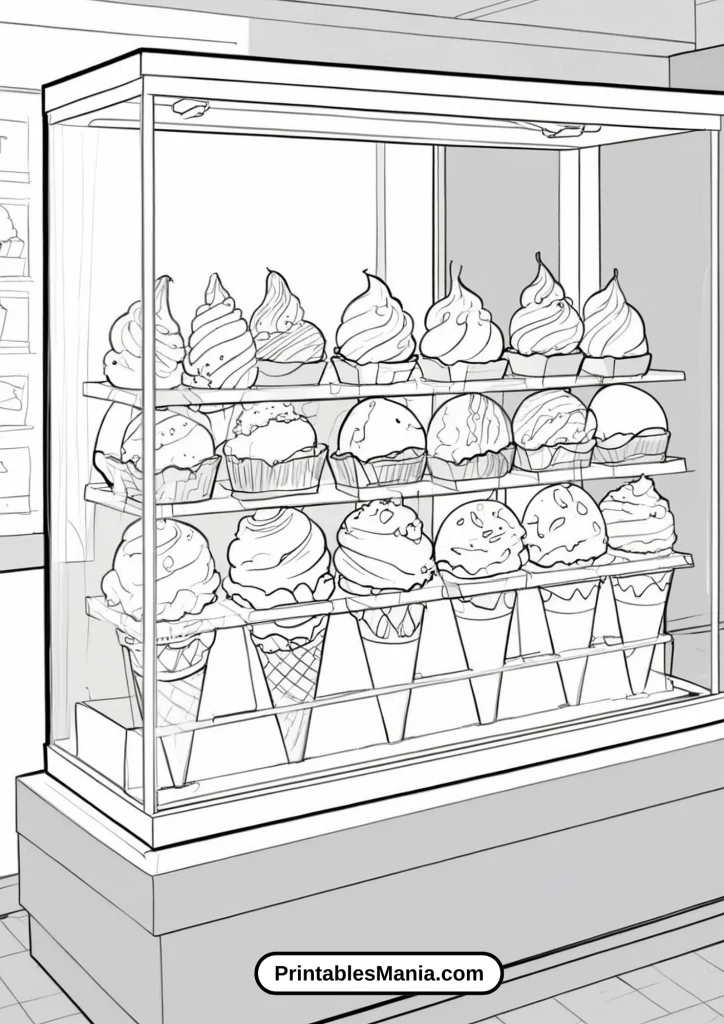
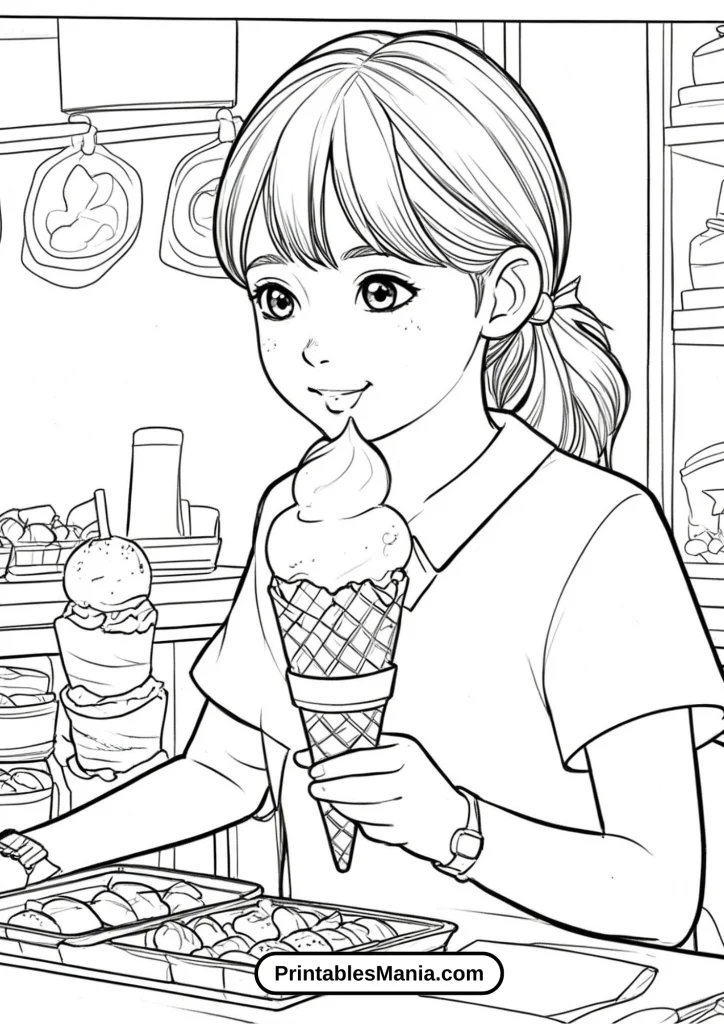
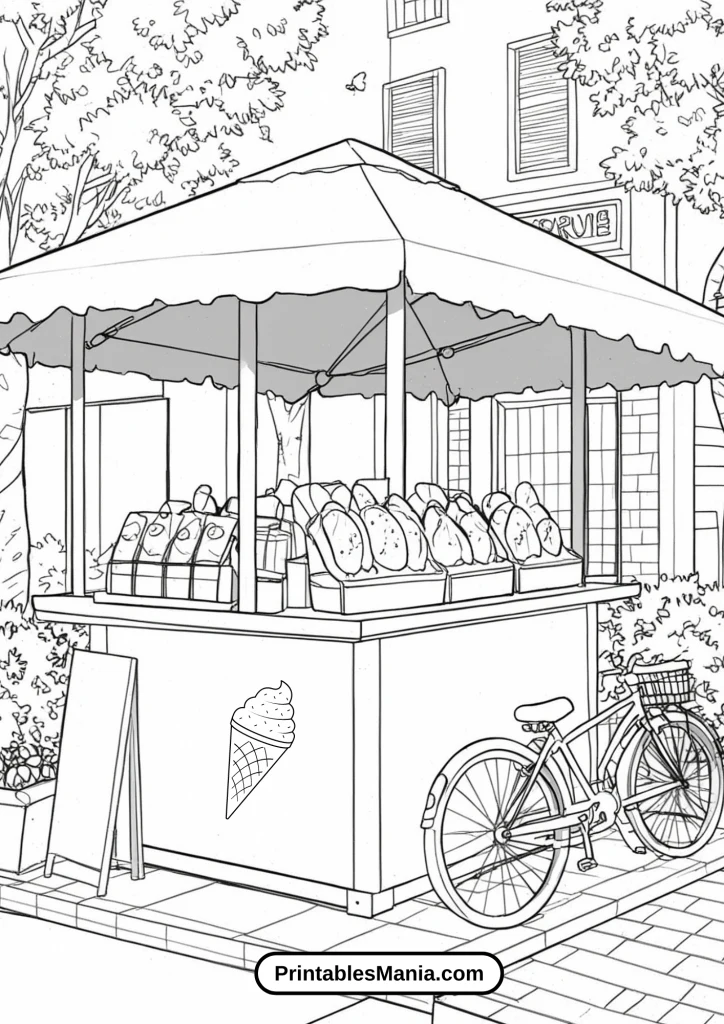
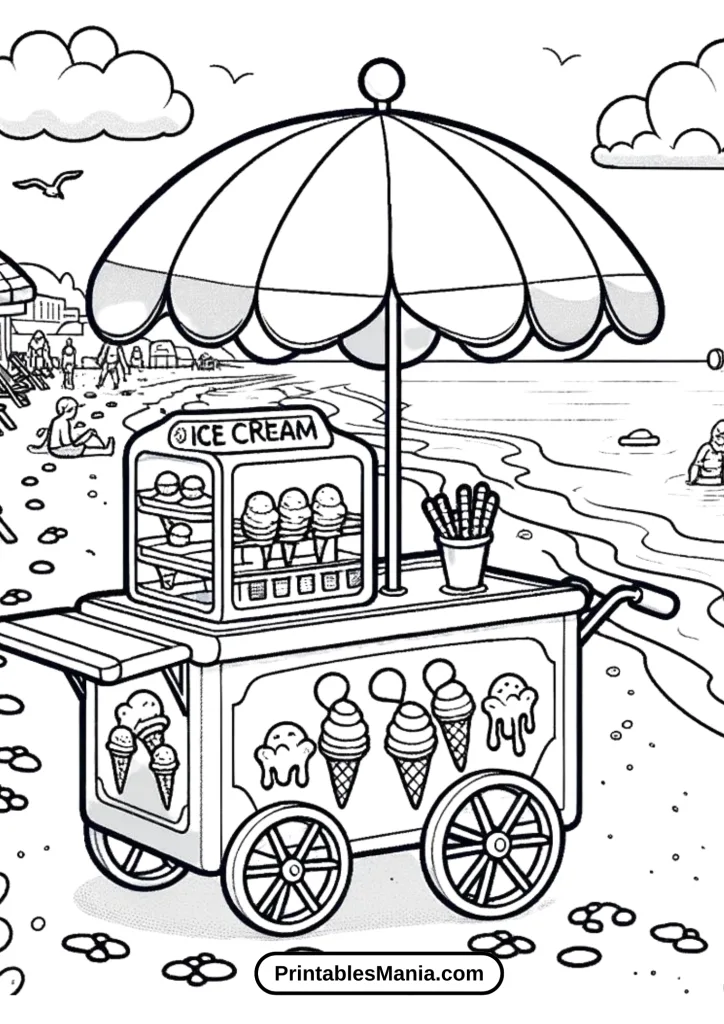
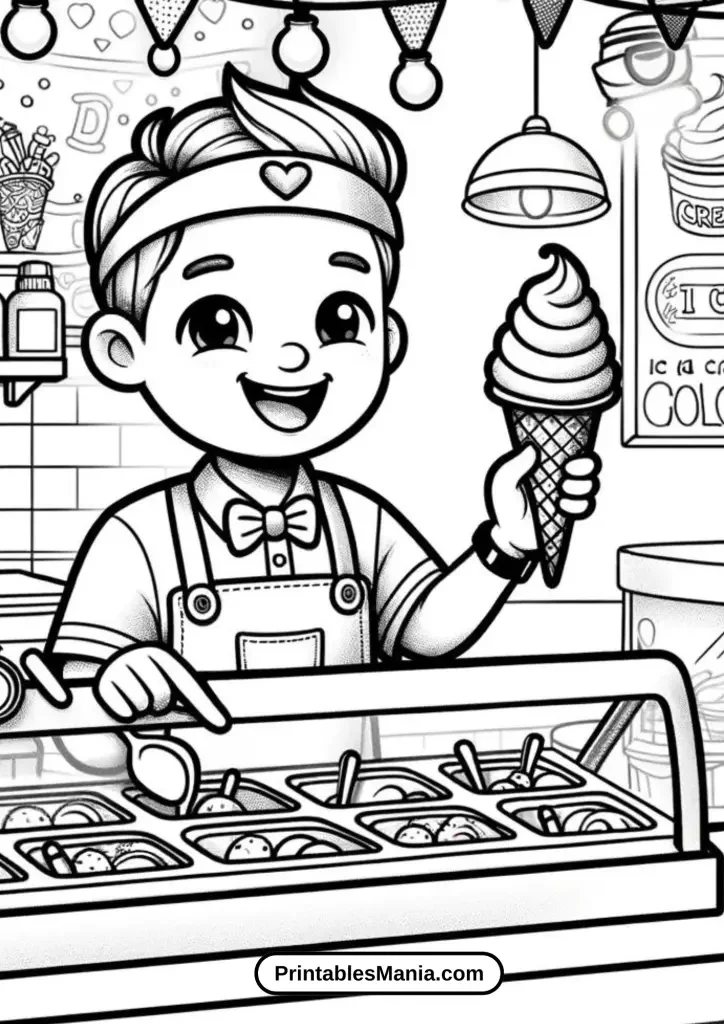
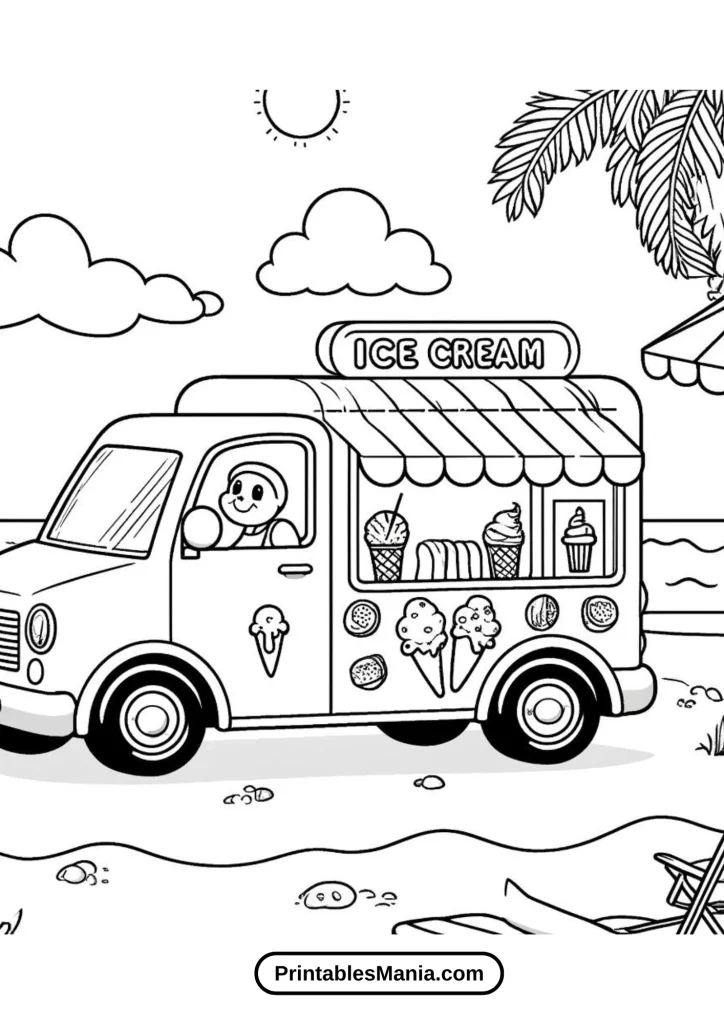
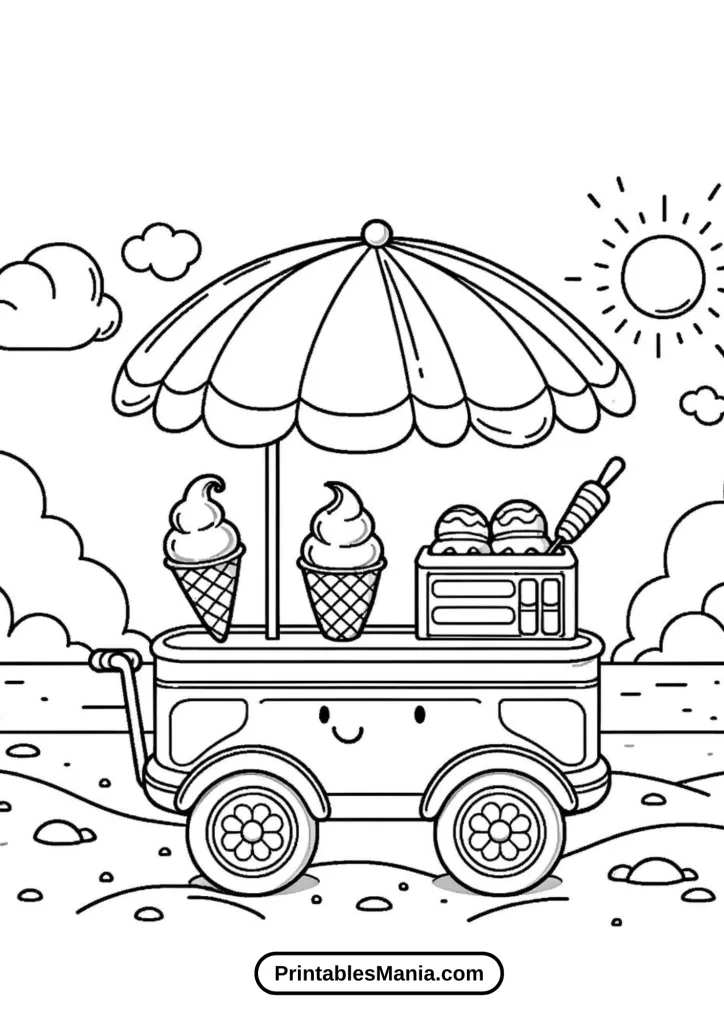
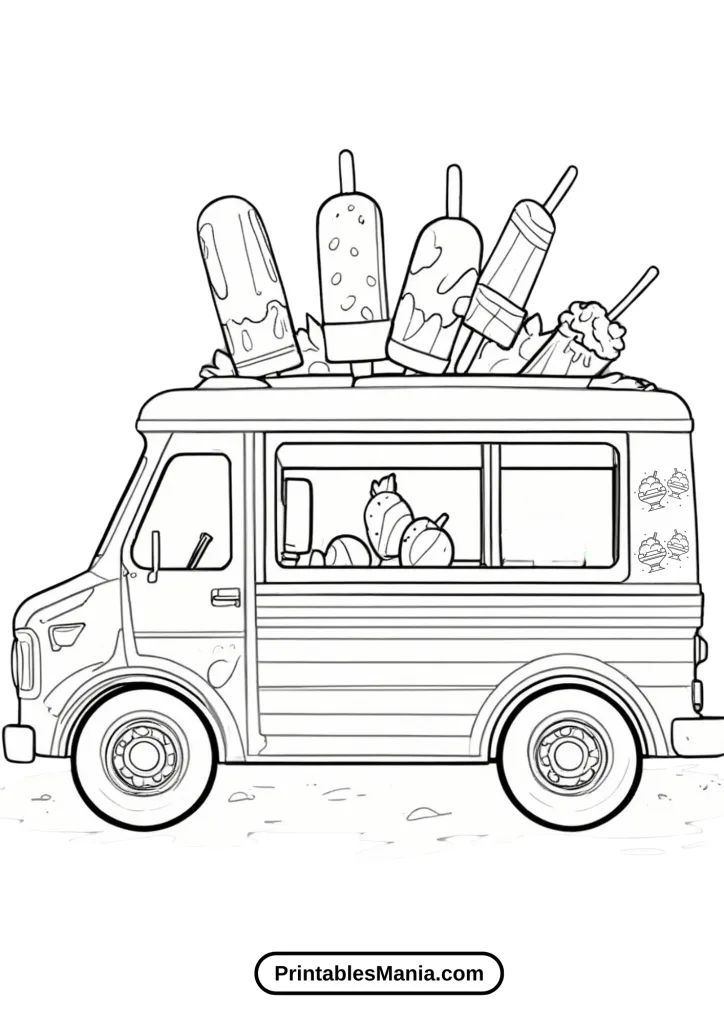
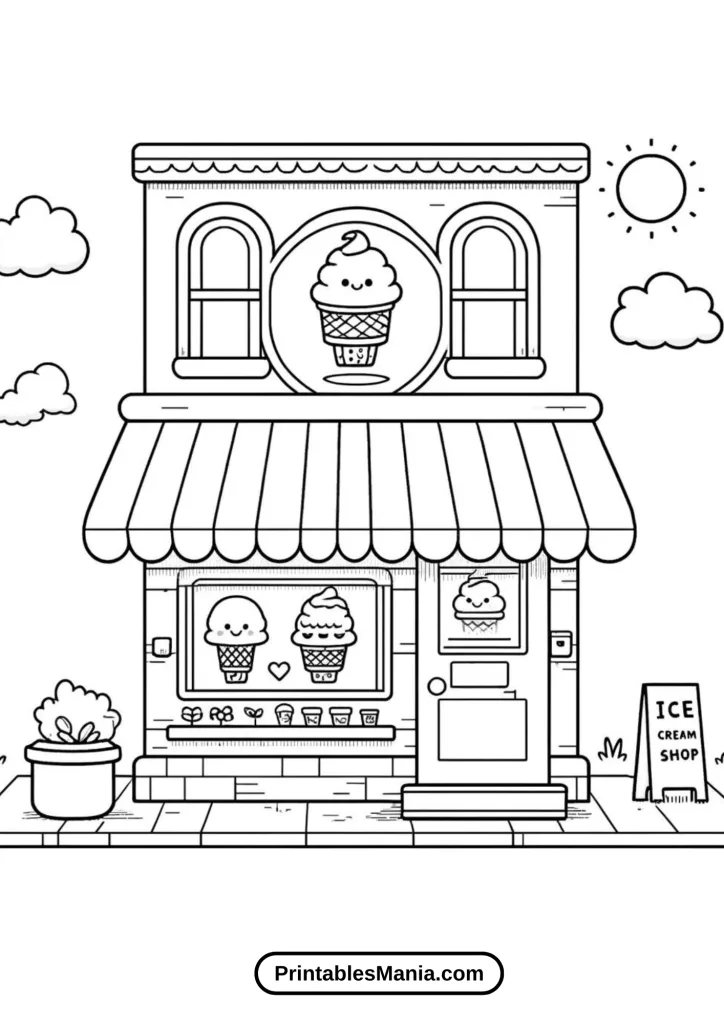
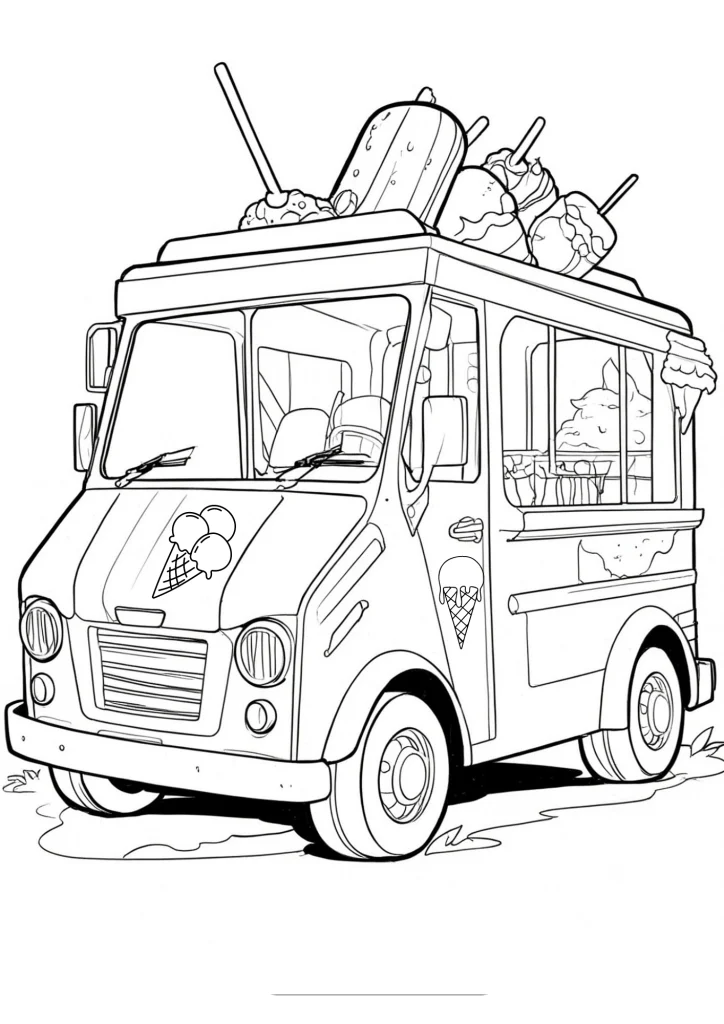
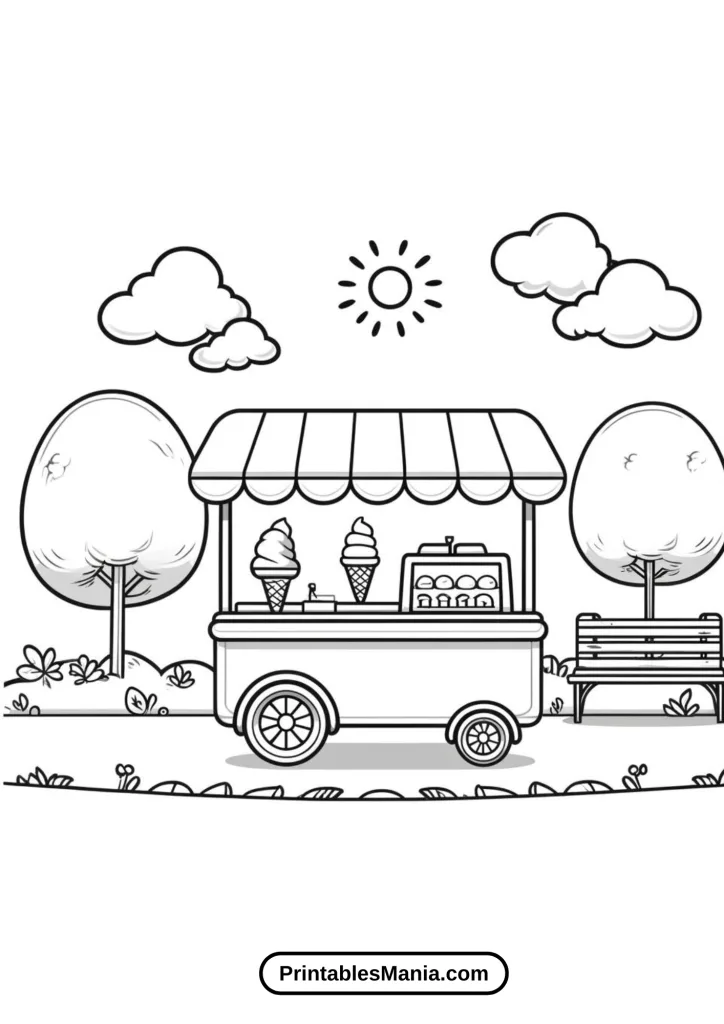
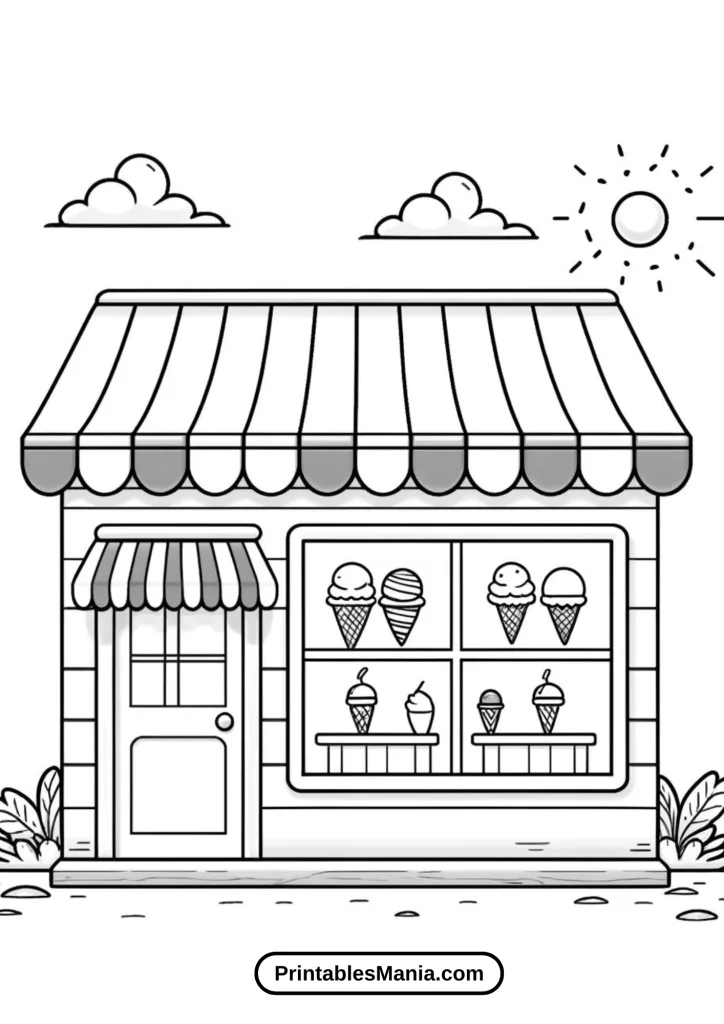
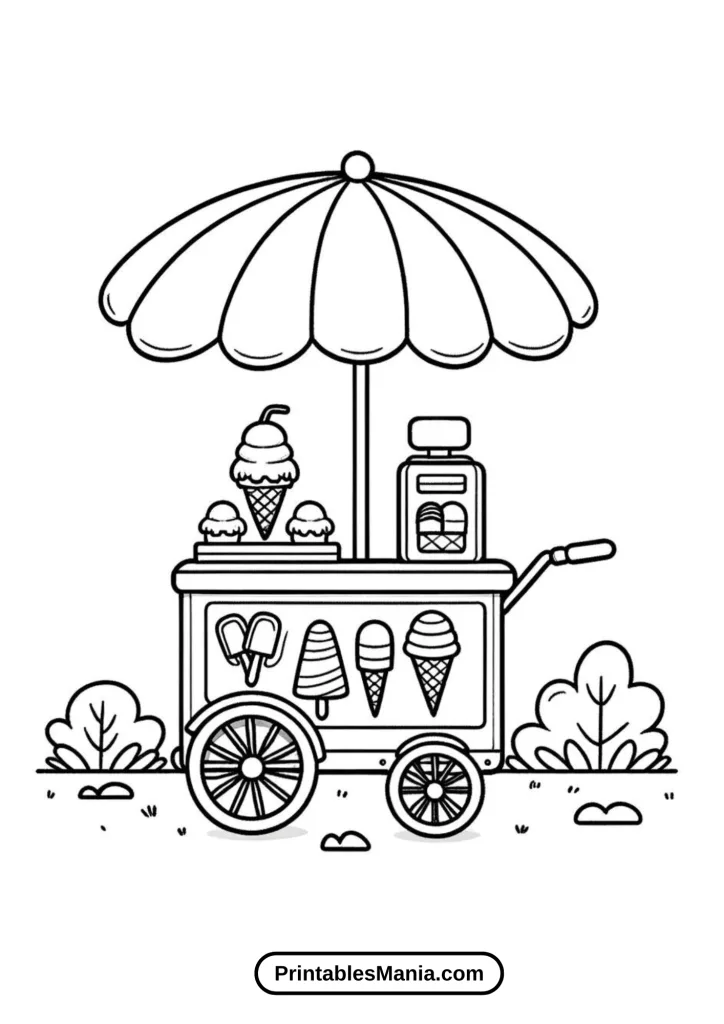
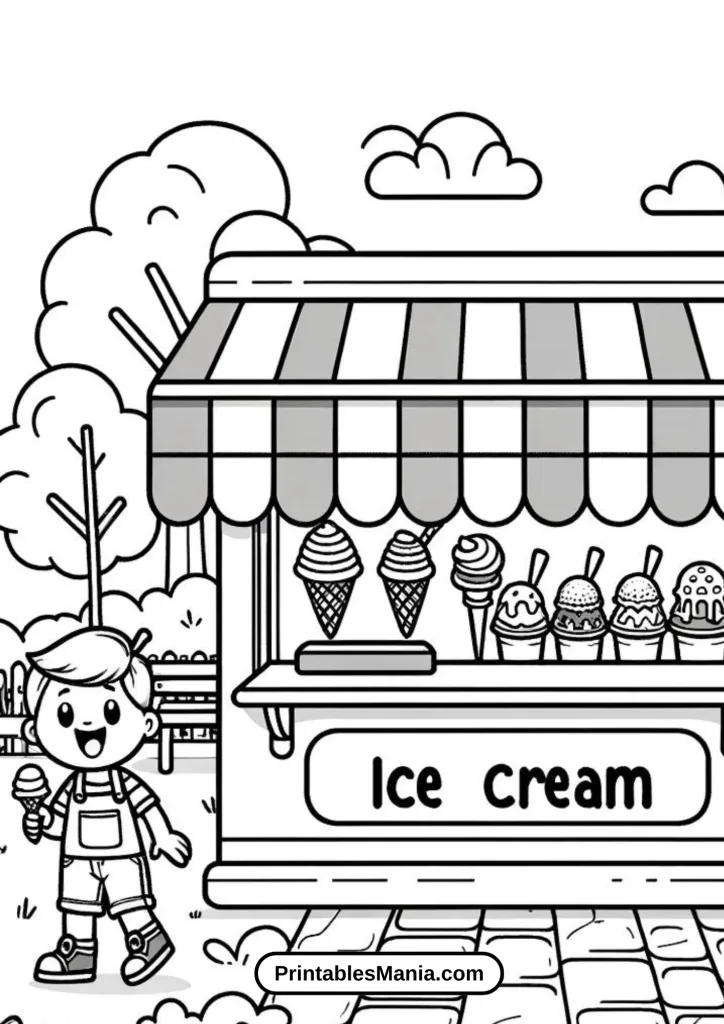
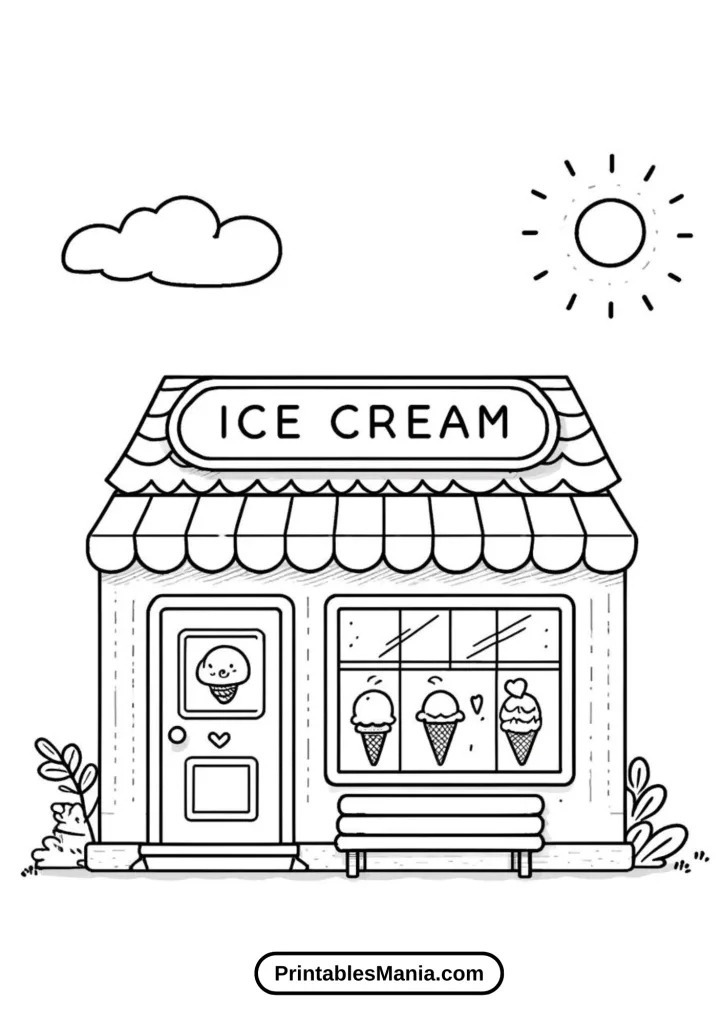
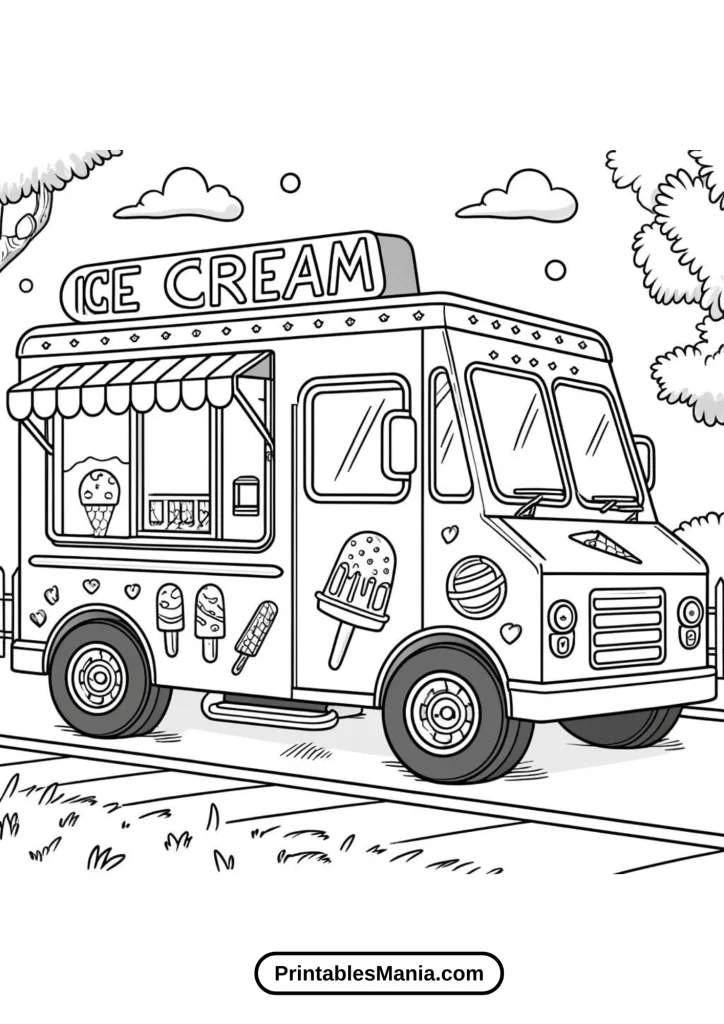
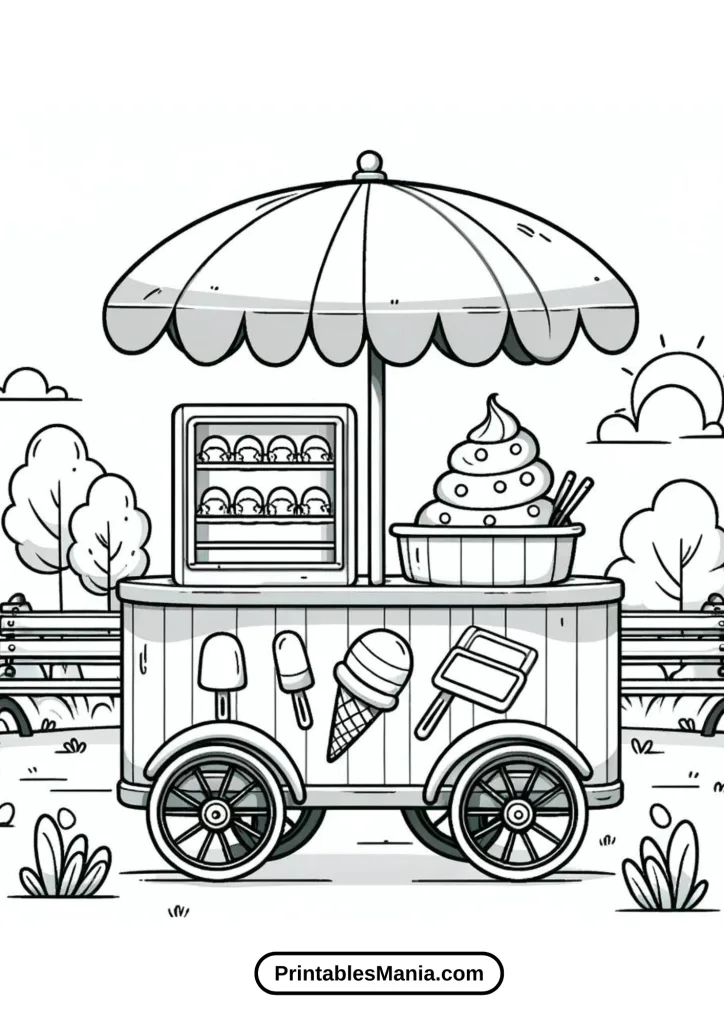
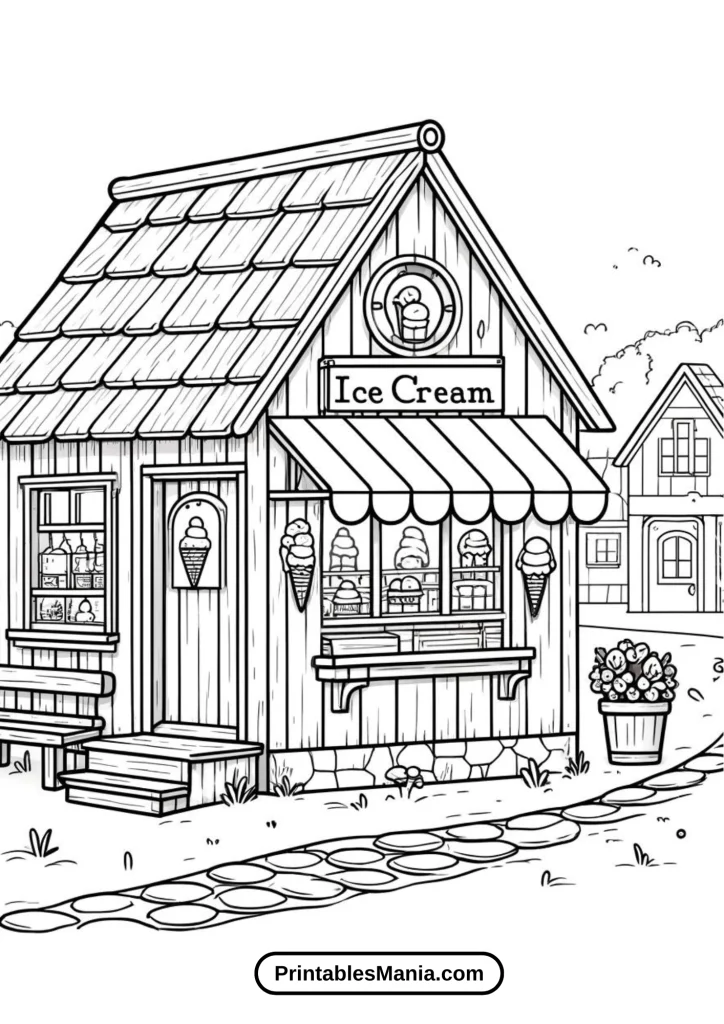
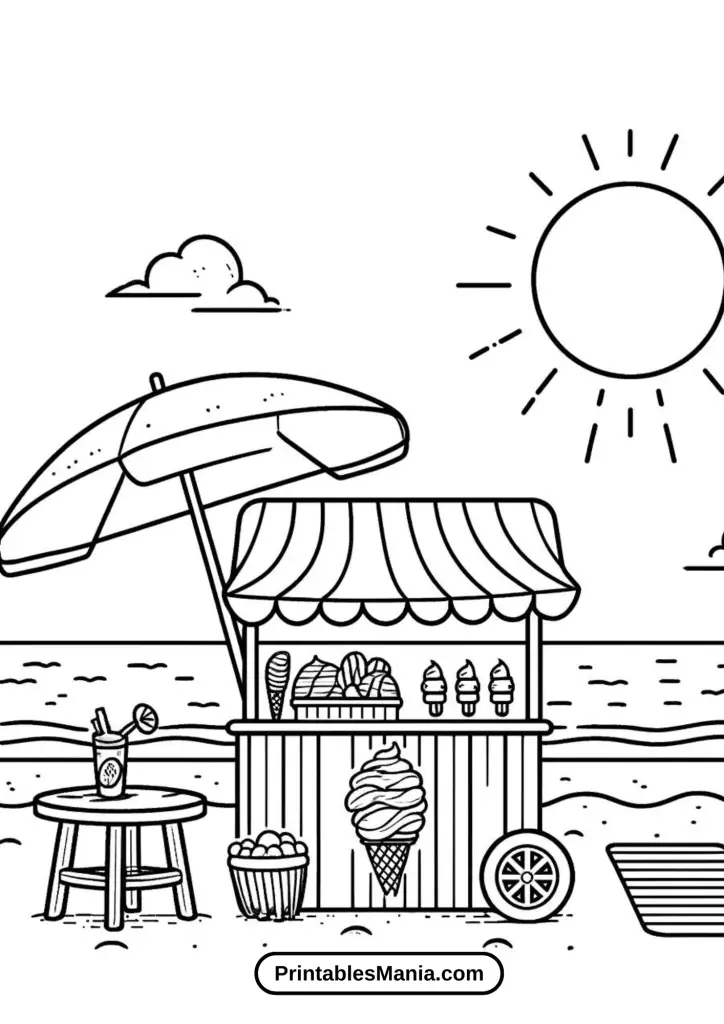
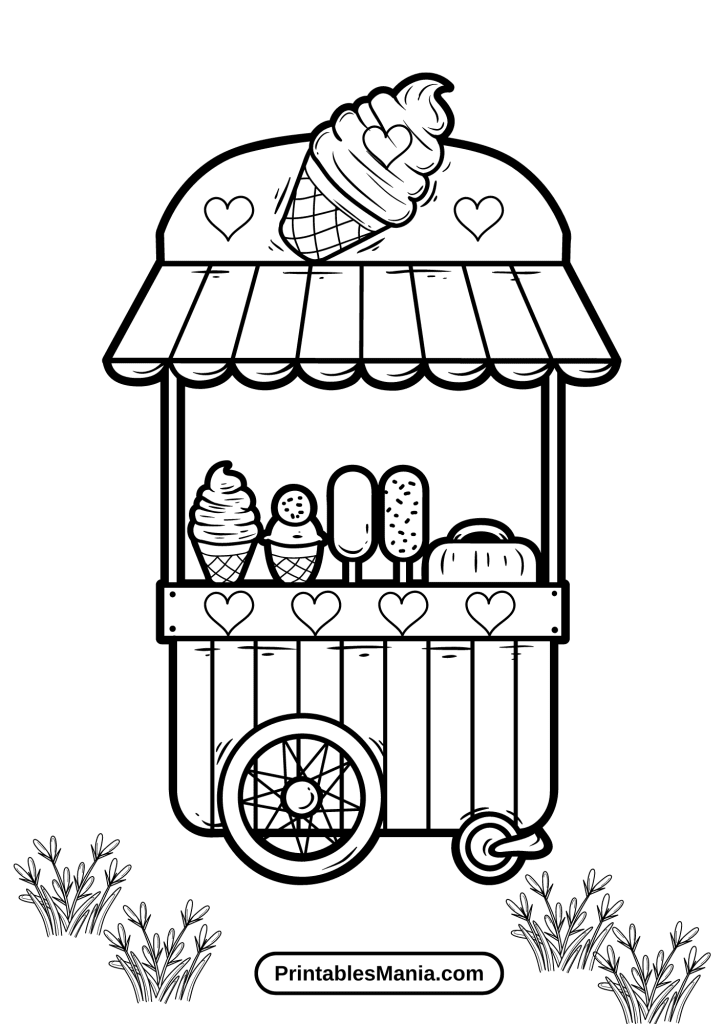
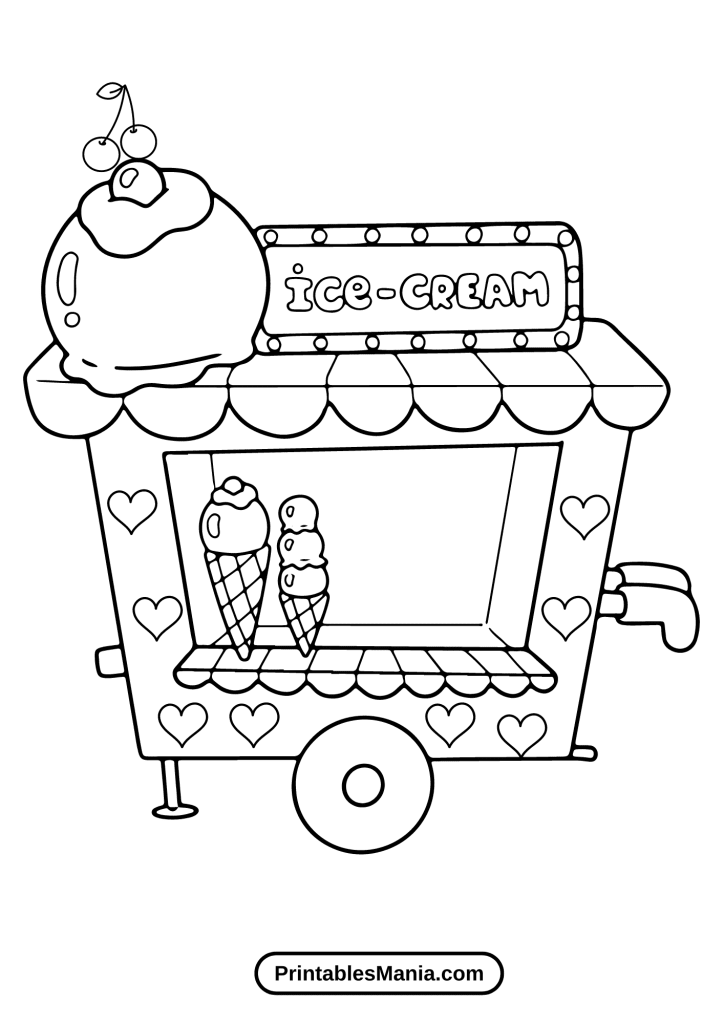
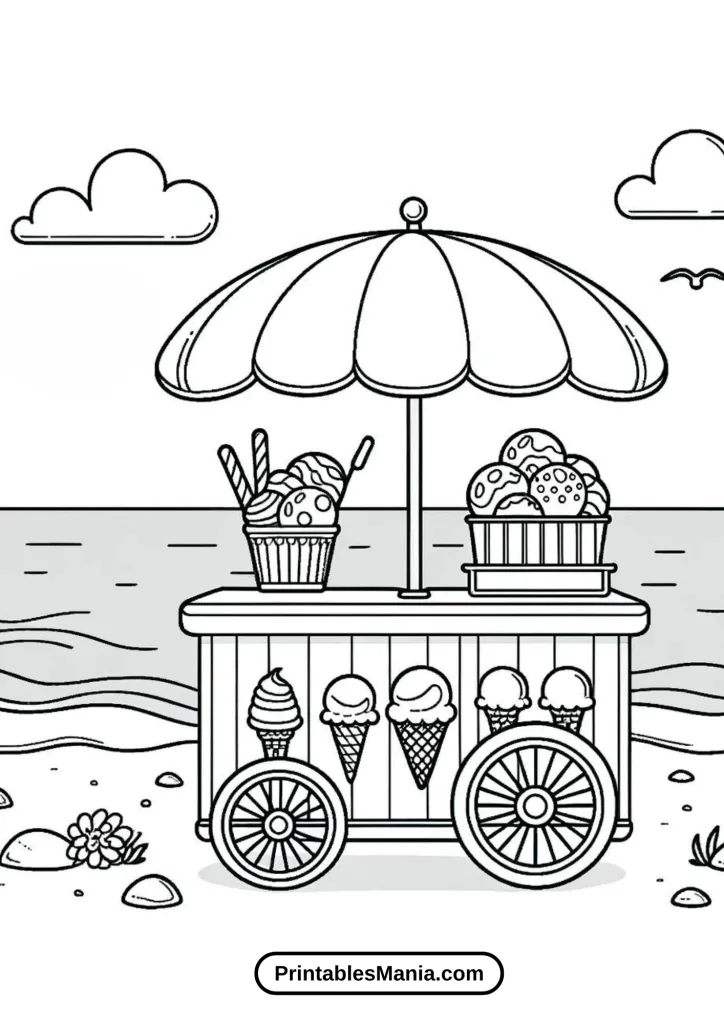
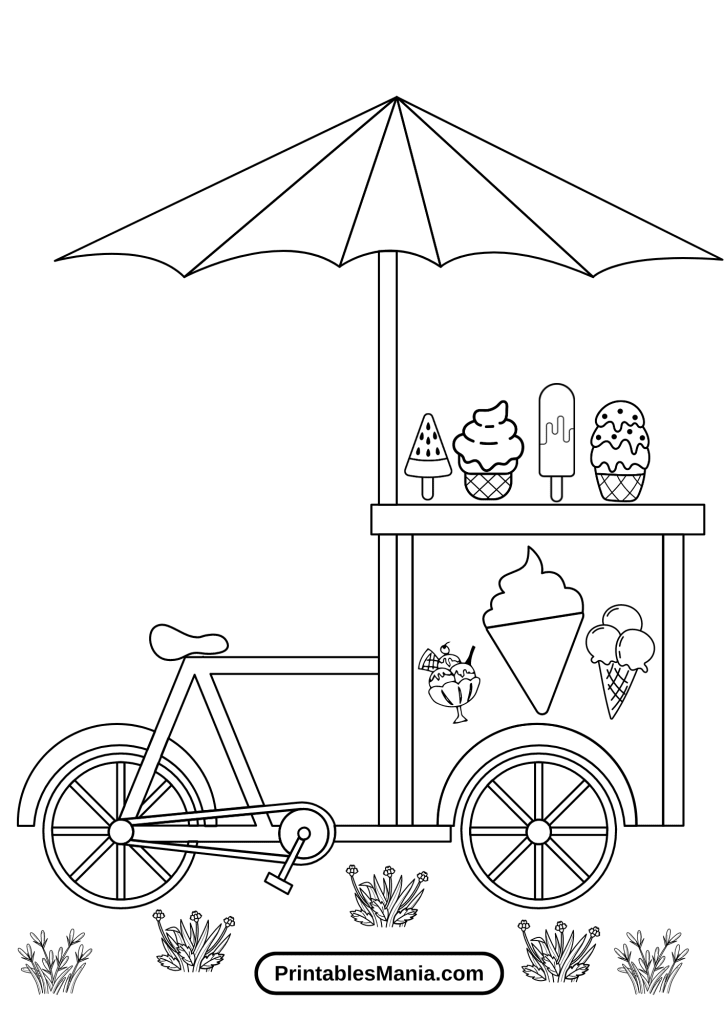
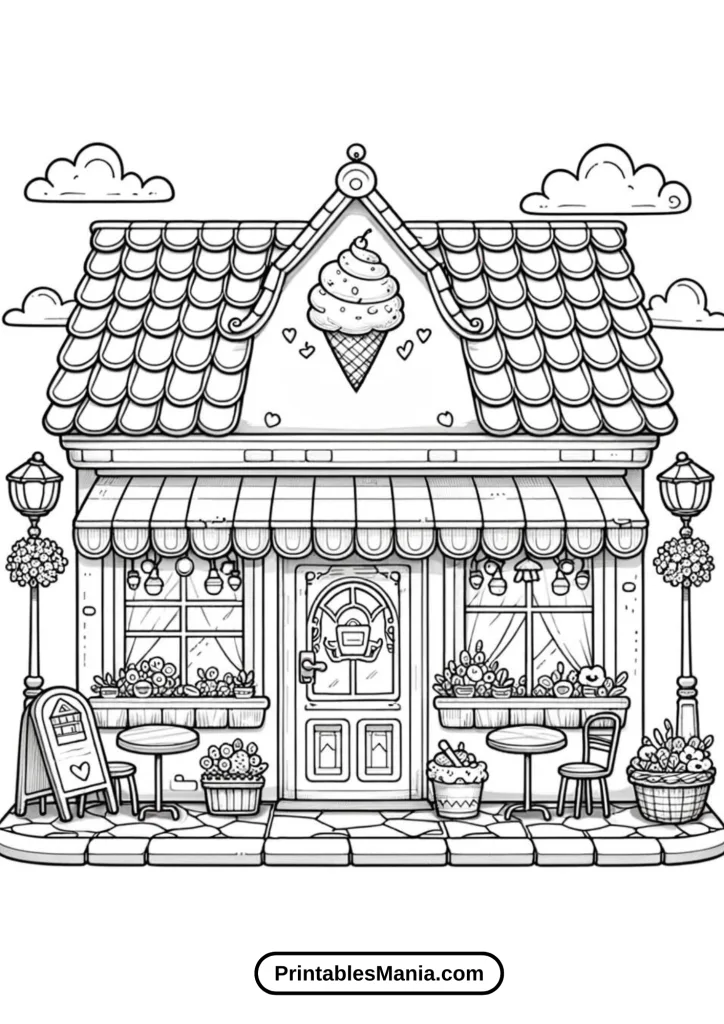
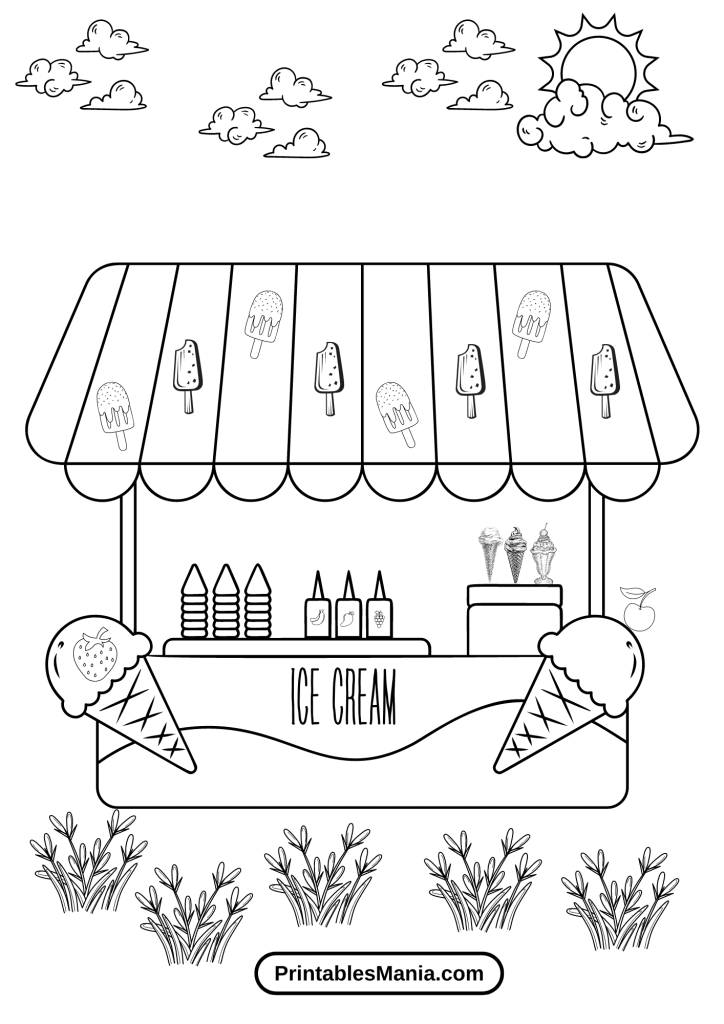
Welcome to a world of sweet treats and colors! Our Ice Cream Shop Coloring Page invites children and adults alike to add their personal touch to a charming ice cream shop scene. Perfect for those warm days or when you’re craving a bit of sweetness, these coloring pages will spark joy and inspire creativity in everyone.
Fun for All Ages!
Whether you’re a young artist or just young at heart, our Ice Cream Shop Coloring Page provides an enjoyable and relaxing activity. Filled with deliciously detailed ice creams, friendly servers, and happy customers, each page is a new opportunity to create your own colorful dessert paradise.
Unleash Your Imagination
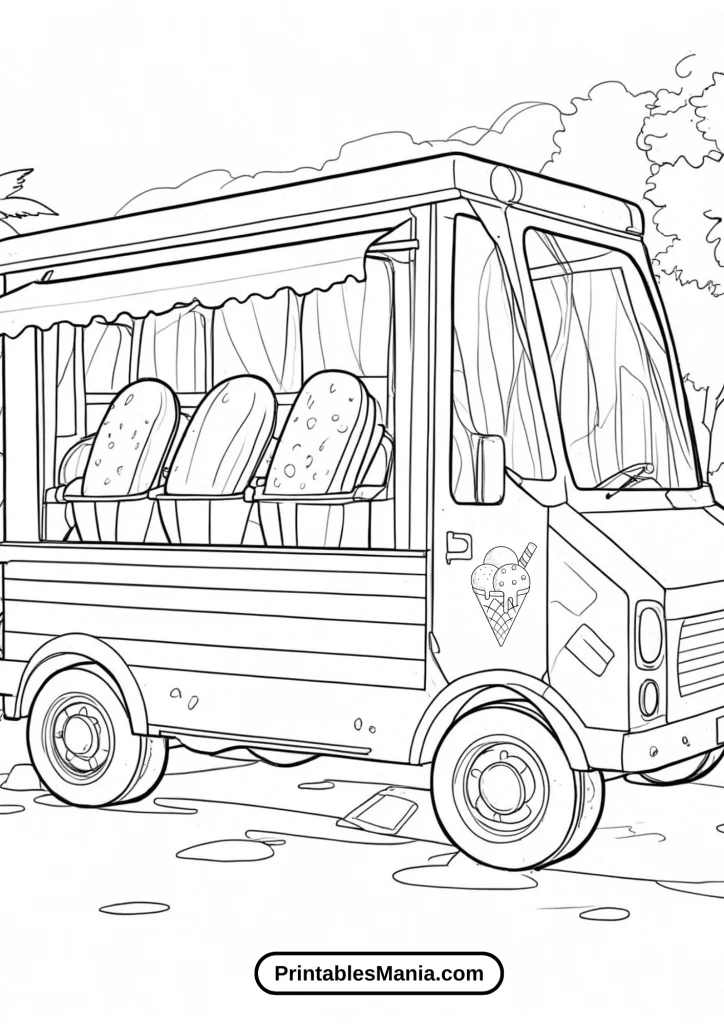
Grab your crayons, markers, or colored pencils and dive into the delightful world of our Ice Cream Shop. With various ice cream cones, sundaes, and popsicles to color, you can mix and match flavors and toppings as wildly as you like. What will your ice cream shop look like? Pastel and pretty? Bright and bustling? The choice is deliciously yours!
Start coloring today and make your ice cream dreams come to life!
Art Tips and Techniques for Coloring
Welcome to our guide on how to bring your coloring pages to life with vibrant colors and expert techniques! Whether you’re working on the Ice Cream Shop Coloring Page or any other creative project, these tips will help you enhance your coloring skills using various mediums like crayons, markers, and digital tools. Let’s dive in and make your artwork stand out!
Choosing the Right Colors
1. Color Theory Basics: Start by understanding the basics of color theory. Complementary colors (colors directly opposite each other on the color wheel) make each other pop when used together, while analogous colors (colors next to each other on the color wheel) create a more harmonious and soothing look.
2. Mood and Atmosphere: Think about the mood you want to convey. Bright and vibrant colors can evoke a sense of happiness and energy, perfect for the lively atmosphere of an ice cream shop. Softer pastels might suggest a sweet, calm day at the shop.
Crayon Techniques
1. Layering Colors: Build up color gradually with light layers. This allows more control over the intensity and can help in blending different colors smoothly.
2. Impressions: Use the edge of a crayon for broader strokes or the point for finer details. You can also make impressions in the crayon wax before coloring over with another color to create interesting textures.
Marker Techniques
1. Stippling: Use dots of different colors close together to blend shades or create texture. This works great for adding depth to areas like the interior of the ice cream shop or the surfaces of ice creams.
2. Hatching and Cross-Hatching: Create shading and texture with parallel lines or crossed lines. This technique is excellent for adding shadows under tables, chairs, or even texture on the cones.
Digital Tools Techniques
1. Layering: Just like with traditional mediums, start with lighter colors and build up to the darker tones for a more controlled finish. Use layers in digital programs to test colors before committing.
2. Custom Brushes: Explore different brush types available in digital tools. Brushes that mimic watercolor or pastel can give your digital coloring a unique, realistic texture that stands out.
Blending Techniques
1. Wet on Wet with Markers: Apply a light color with a marker and while it’s still wet, add another color to blend them naturally on the page.
2. Crayon Blending: After coloring with crayons, use a cotton swab dipped in baby oil to blend the wax smoothly, creating a painterly effect.
3. Digital Blending: Use blending tools in digital art software to mix colors seamlessly on your canvas, which can be particularly effective for creating gradients in the sky or reflective surfaces.
These techniques can be adapted to your personal style and the materials you have at hand. Experiment with different approaches to see what works best for you and most importantly, have fun with your coloring! Whether you are working on paper or digitally, each method and technique offers a unique avenue to express your artistic vision. Enjoy the process of bringing your ice cream shop—and other scenes—to colorful life!
What to Do with the Colored Page?
Once you’ve put the finishing touches on your coloring page, you might wonder what’s next. Instead of letting your beautiful artwork sit in a pile or tuck it away in a drawer, why not showcase or repurpose it in creative and fun ways? Here are some fantastic ideas on what to do with your colored pages:
Create Home Decor
1. Wall Art: Frame your completed coloring page and hang it as a unique piece of art. This is especially effective with thematic pieces like the Ice Cream Shop, which can add a playful touch to kitchens or children’s rooms.
2. Customized Stationery: Use your colored artwork to create personalized stationery items such as greeting cards, gift tags, or wrapping paper. It’s a special way to share your art with others.
Make Gifts
3. DIY Coasters: Laminate your coloring pages and turn them into durable and artistic coasters. These make fantastic gifts and are great conversation starters at parties.
4. Decorative Magnets: Cut out pieces of your colored page to fit inside small, clear glass magnets. These colorful magnets can brighten up your fridge or be a perfect handmade gift for friends and family.
Educational and Fun Uses
5. Story Starters: Use your colored page as a story starter for a creative writing session. This works especially well with vibrant scenes like an ice cream shop where you can imagine the characters and stories behind the drawing.
6. Learning Tool: For parents and teachers, colored pages can be tools to teach children about colors, designs, and even art appreciation. Discussing why certain colors were chosen can lead to insightful conversations with young learners.
Reuse and Recycle
7. Scrapbooking: Incorporate colored pages into a scrapbook as a background or as embellishments. This adds a personal touch to your memory keeping, especially with pages that mark special occasions or seasons.
8. Book Covers: Use the pages to cover books or journals, giving them a fresh and custom look. This not only recycles your artwork but also makes your stationery items uniquely yours.
Display Options
9. Rotating Art Gallery: Set up a rotating art display in your home where you can change out your colored pages regularly. This keeps your decor fresh and allows you to display seasonal themes or latest creations.
10. Community Sharing: Consider donating your colored pages to local community centers, nursing homes, or hospitals where they can be used to brighten up rooms and bring joy to others.
By finding new purposes for your colored pages, you not only give your artwork a second life but also can share your creativity with others in meaningful ways. Whether it’s turning them into household items, gifts, or educational materials, the possibilities are as limitless as your imagination.

