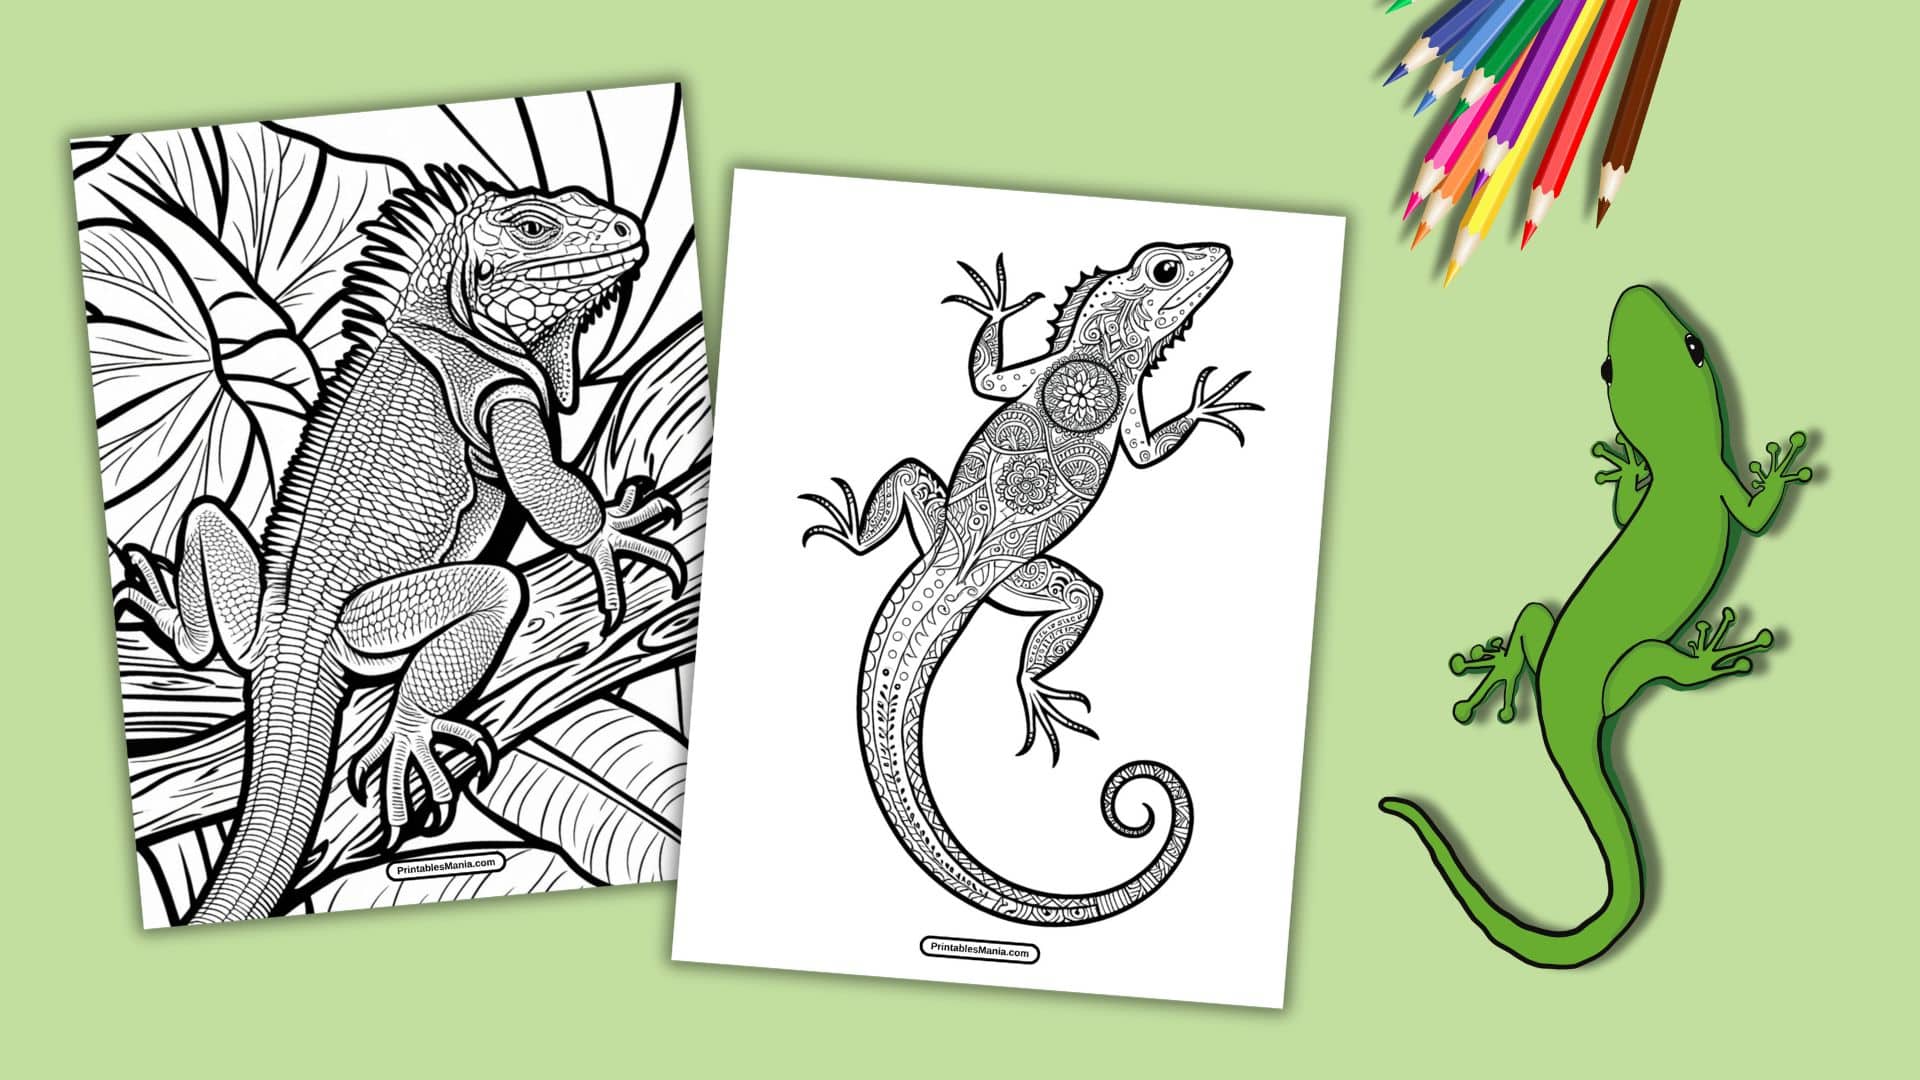
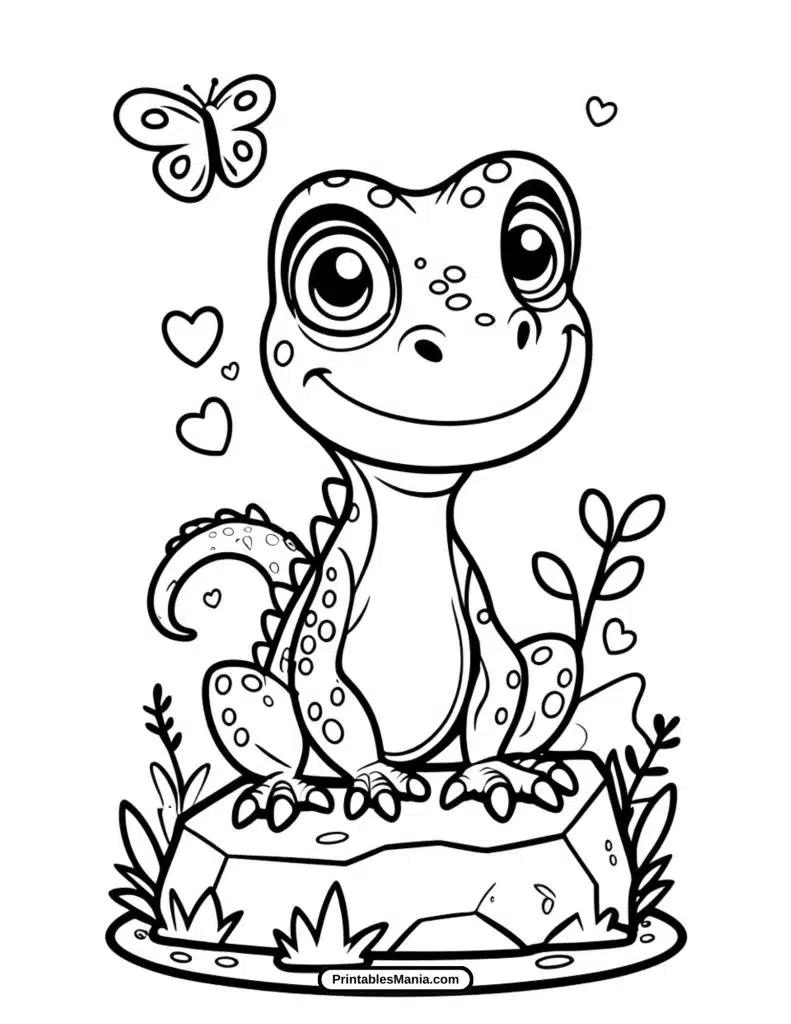
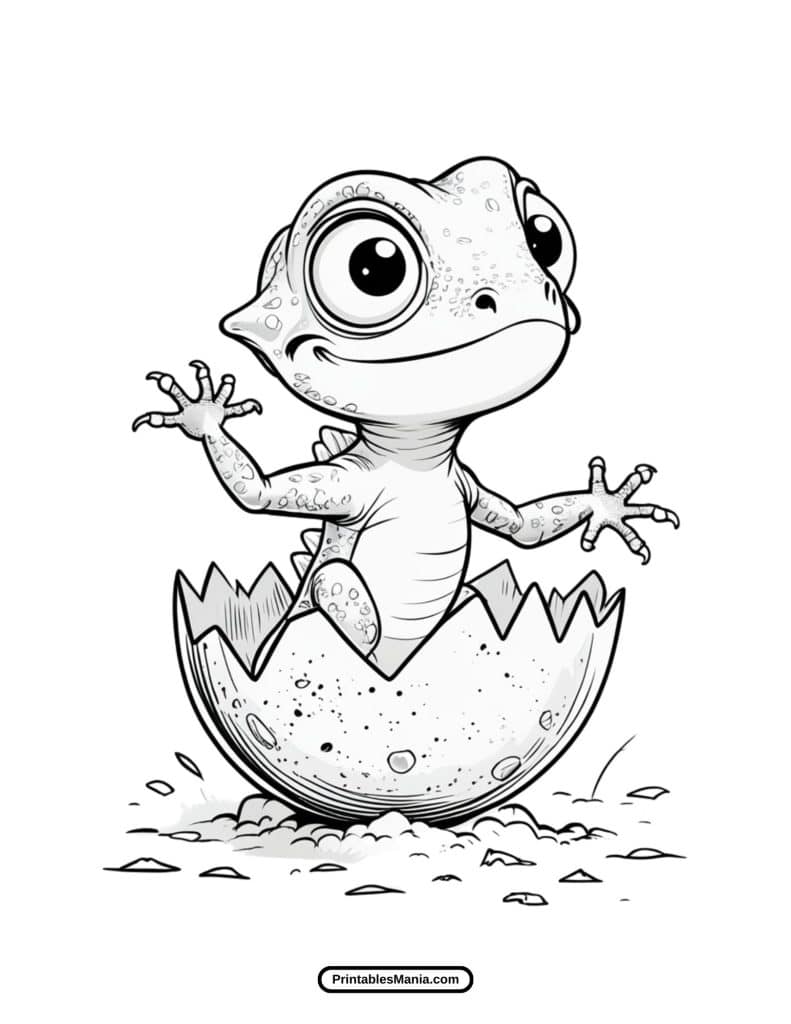
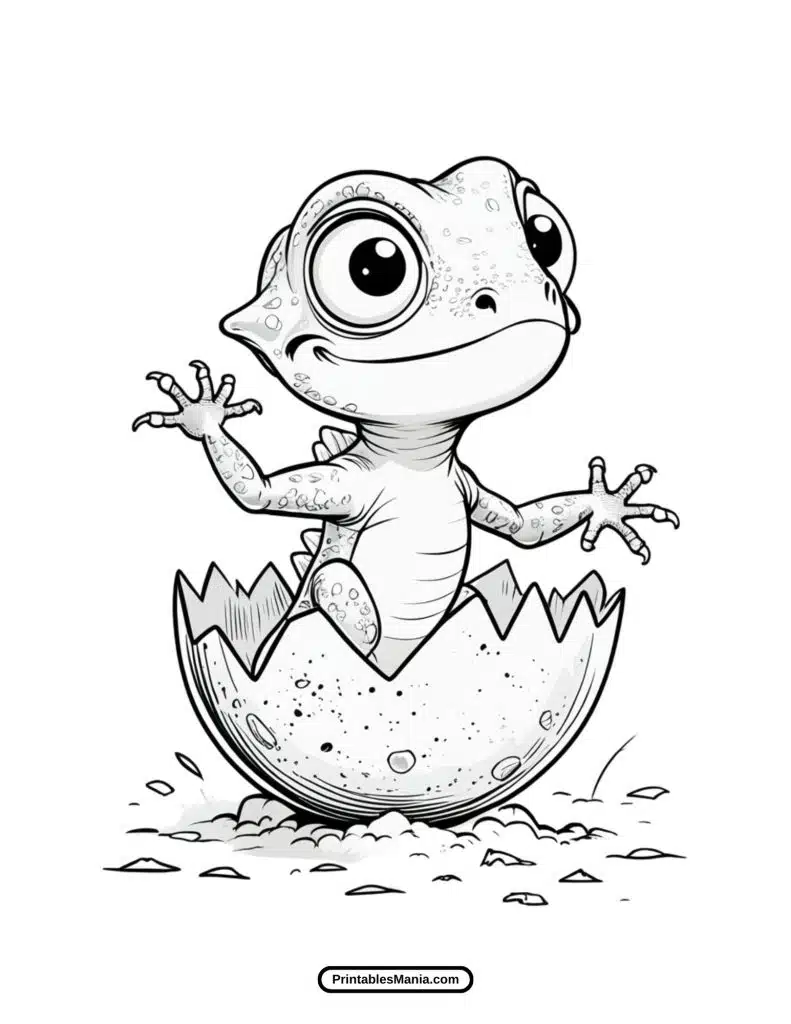
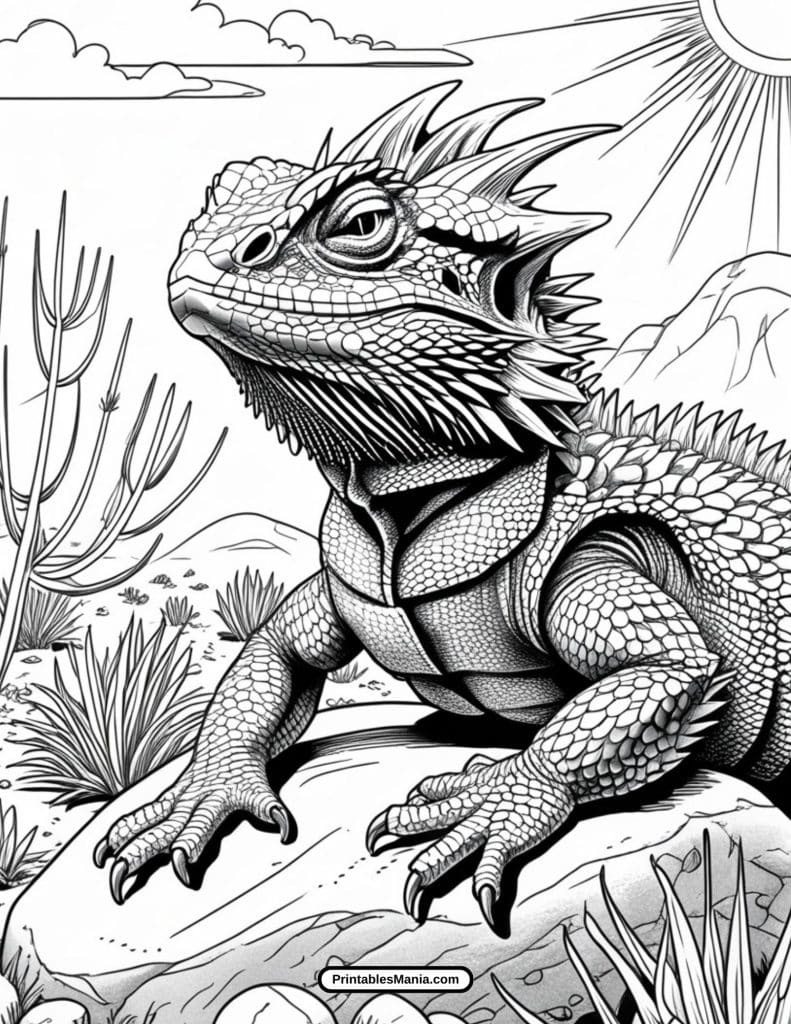
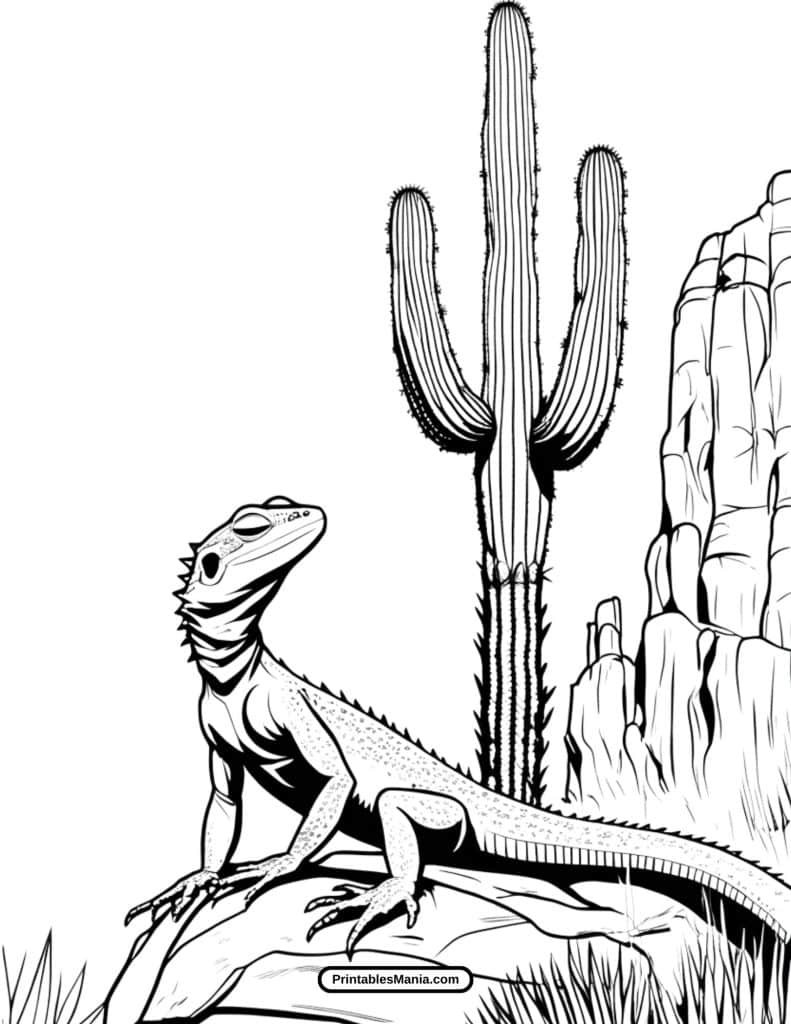
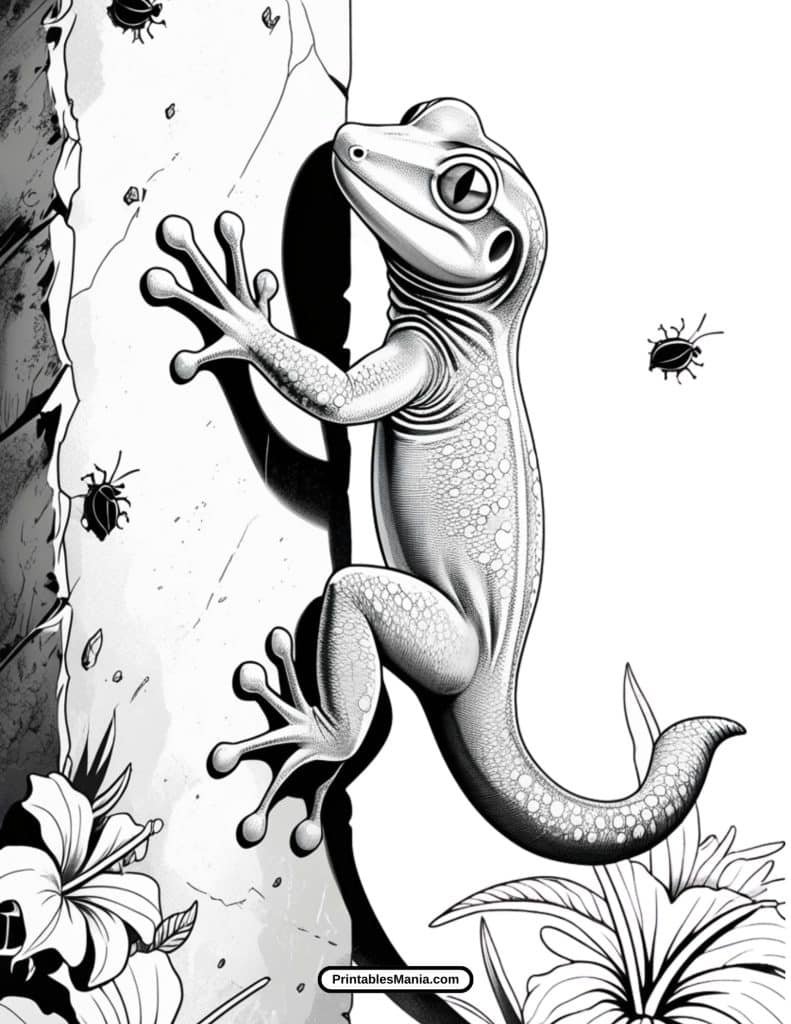
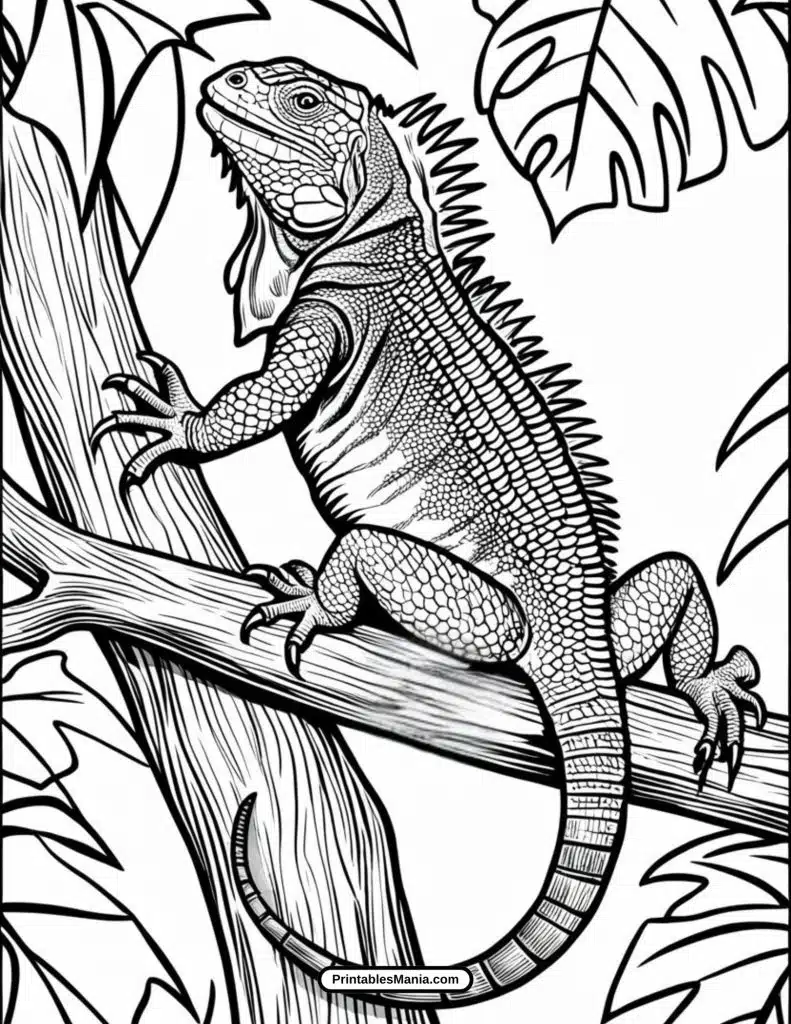
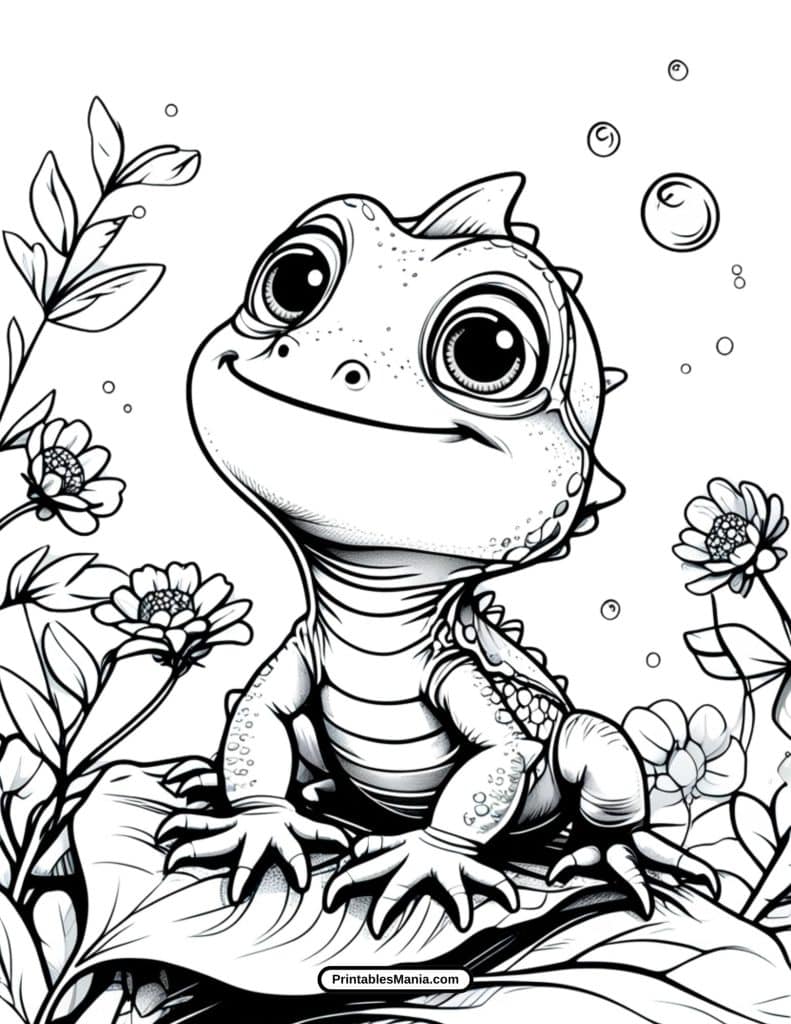
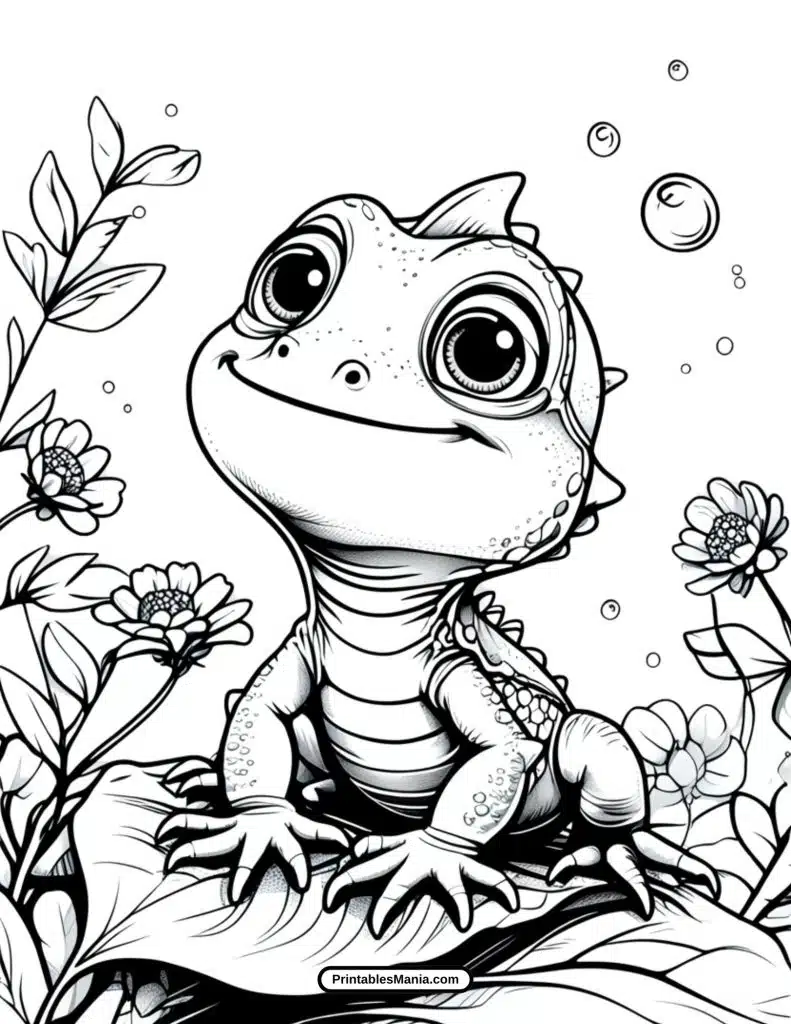
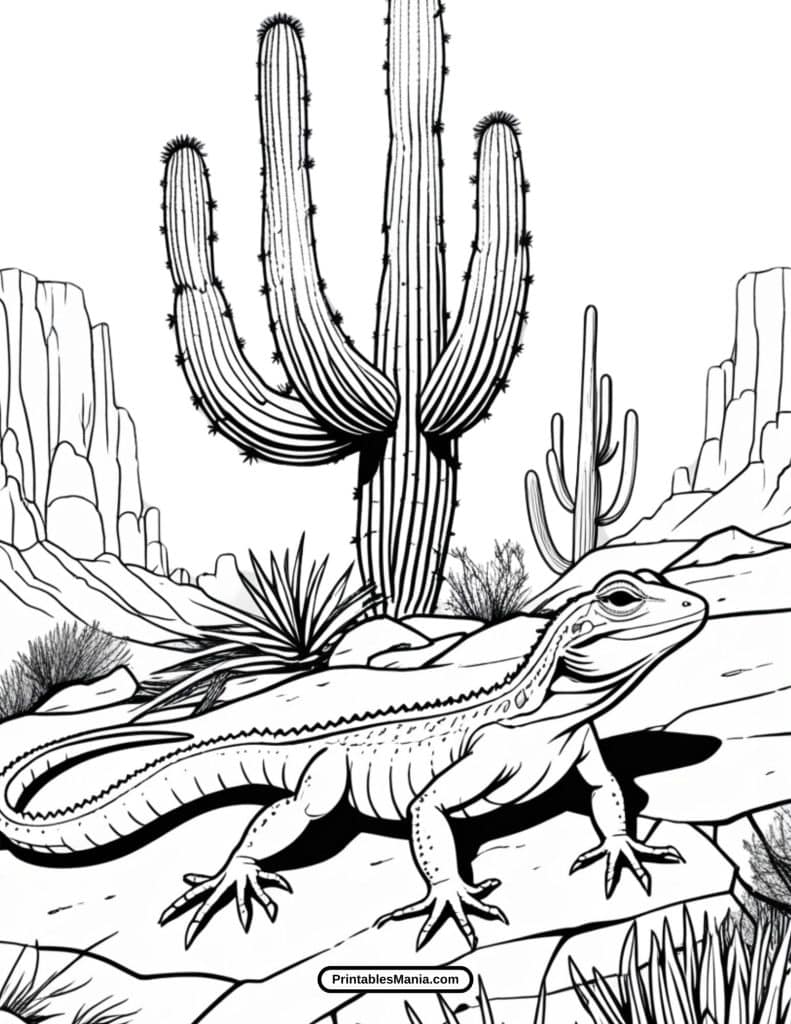
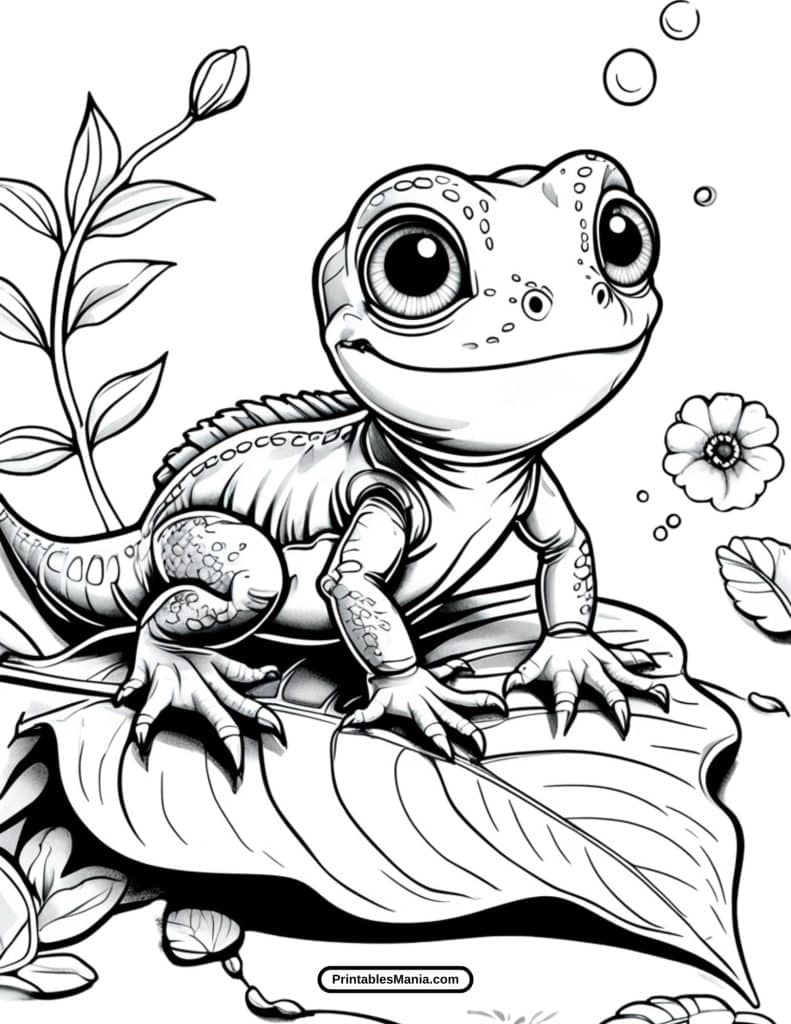
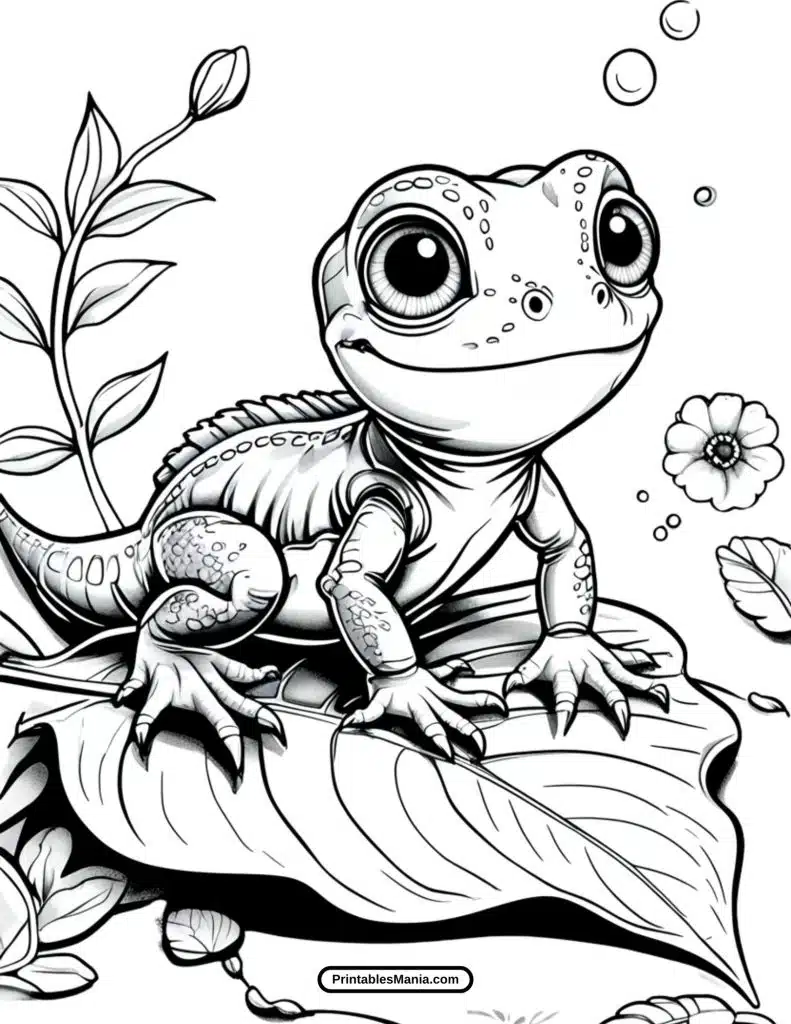
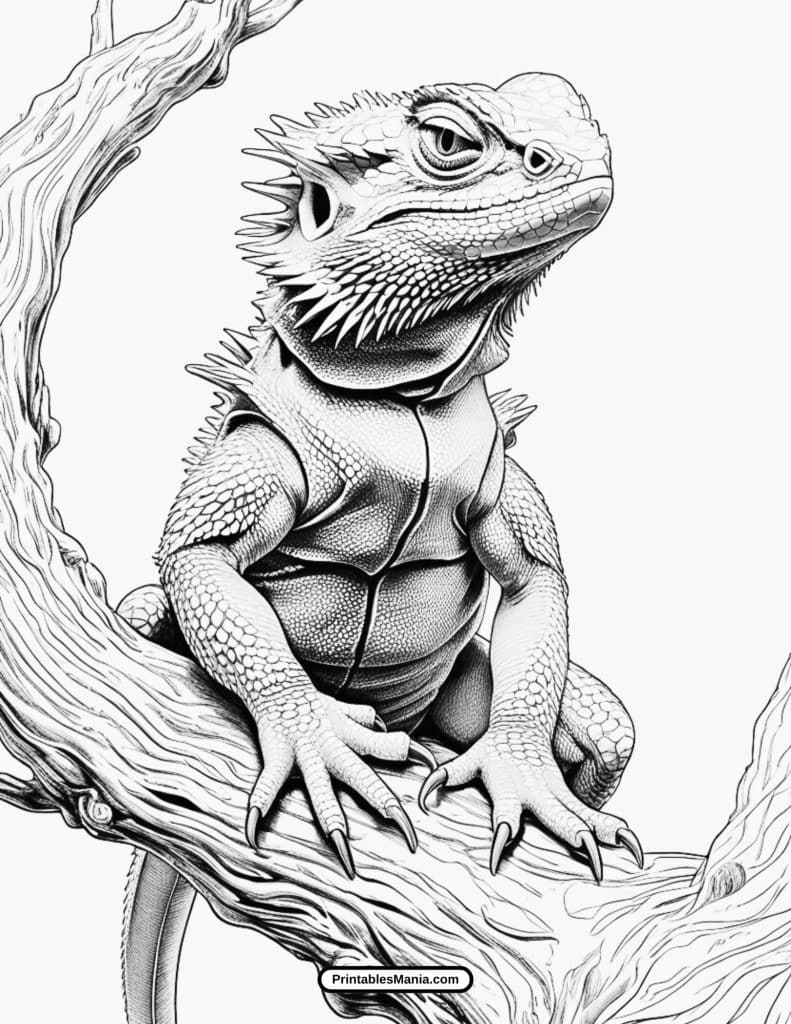
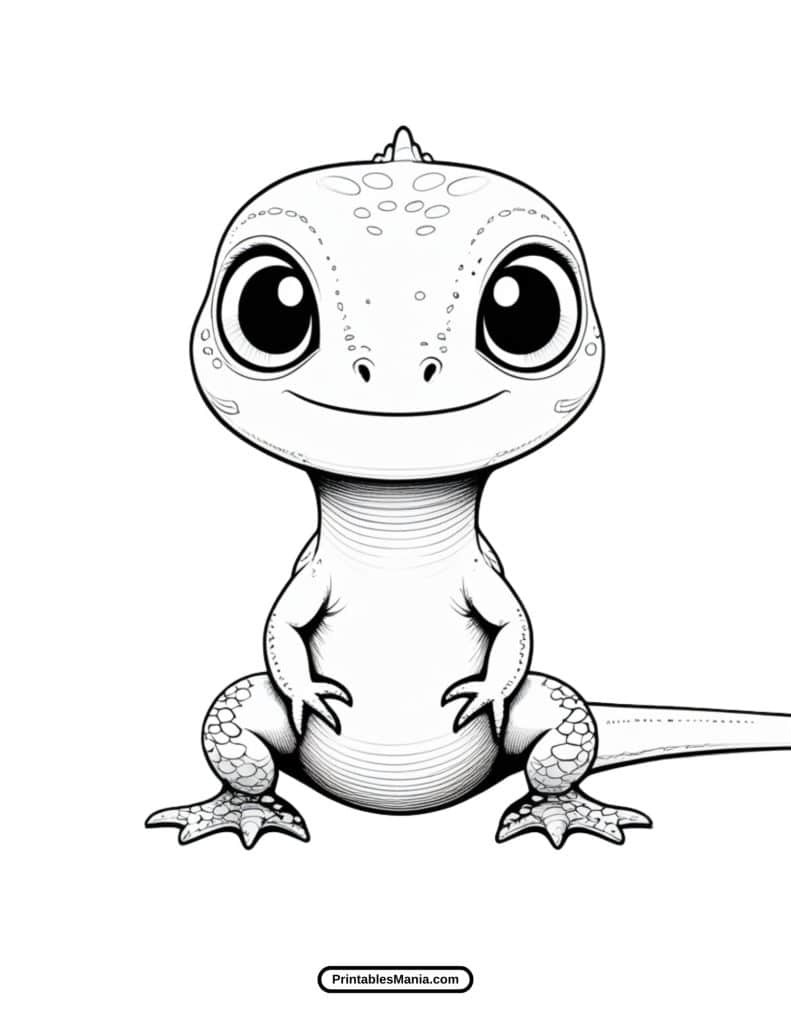
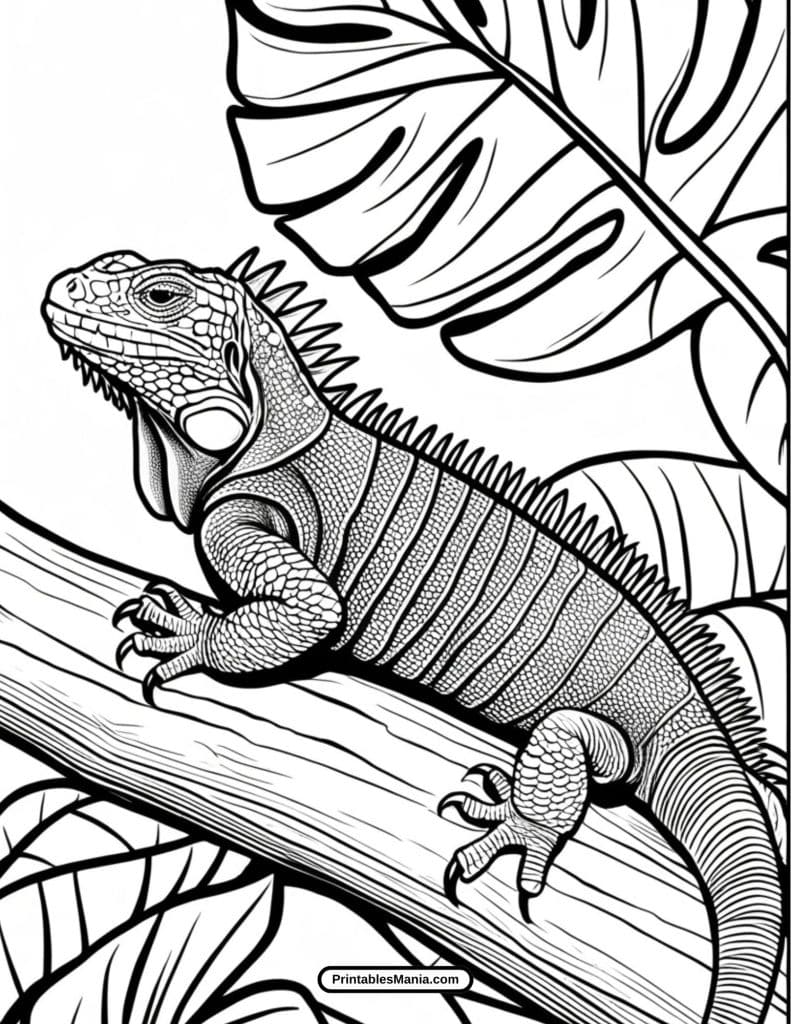
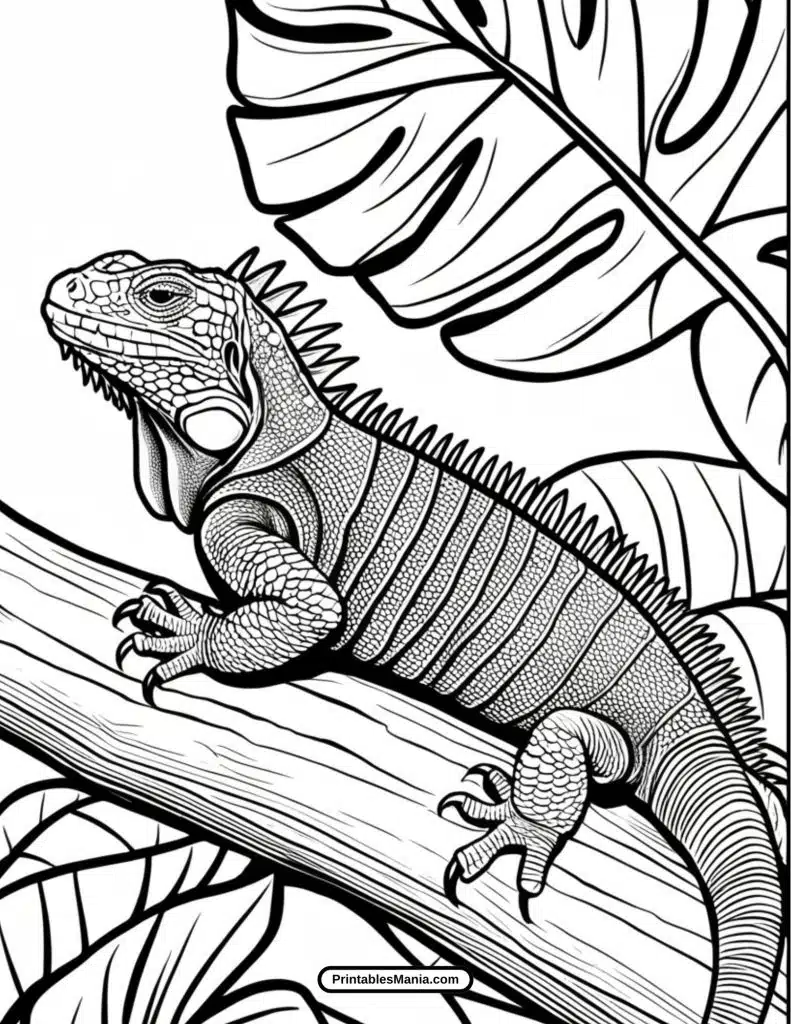
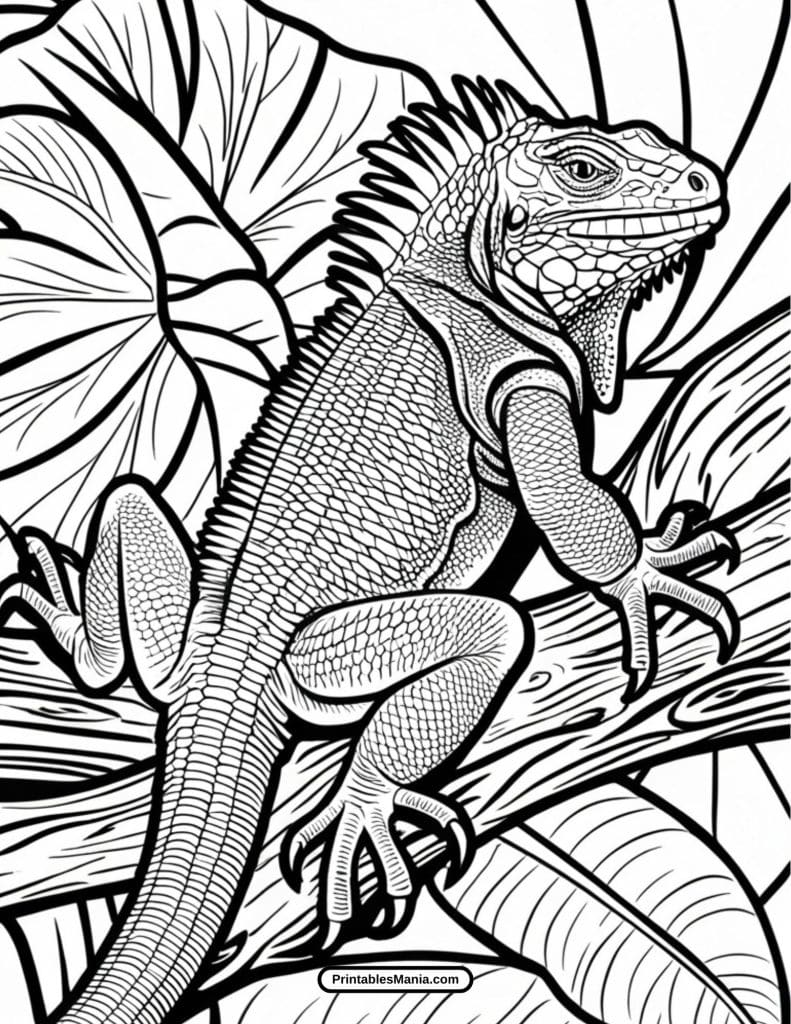
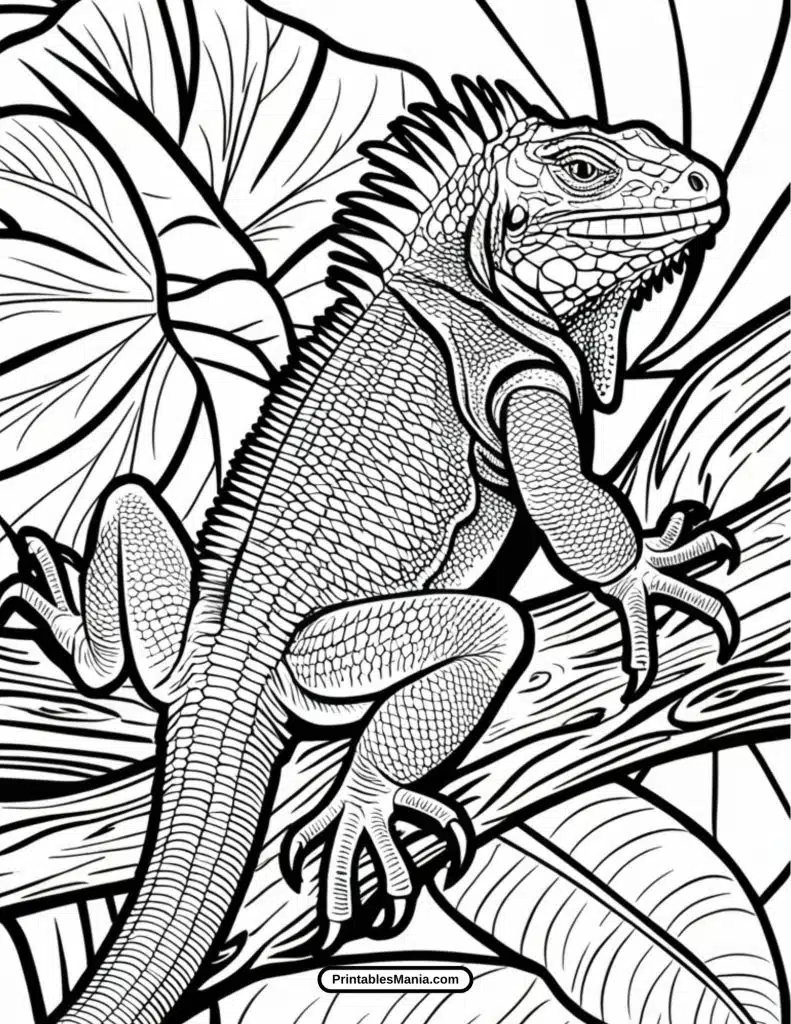
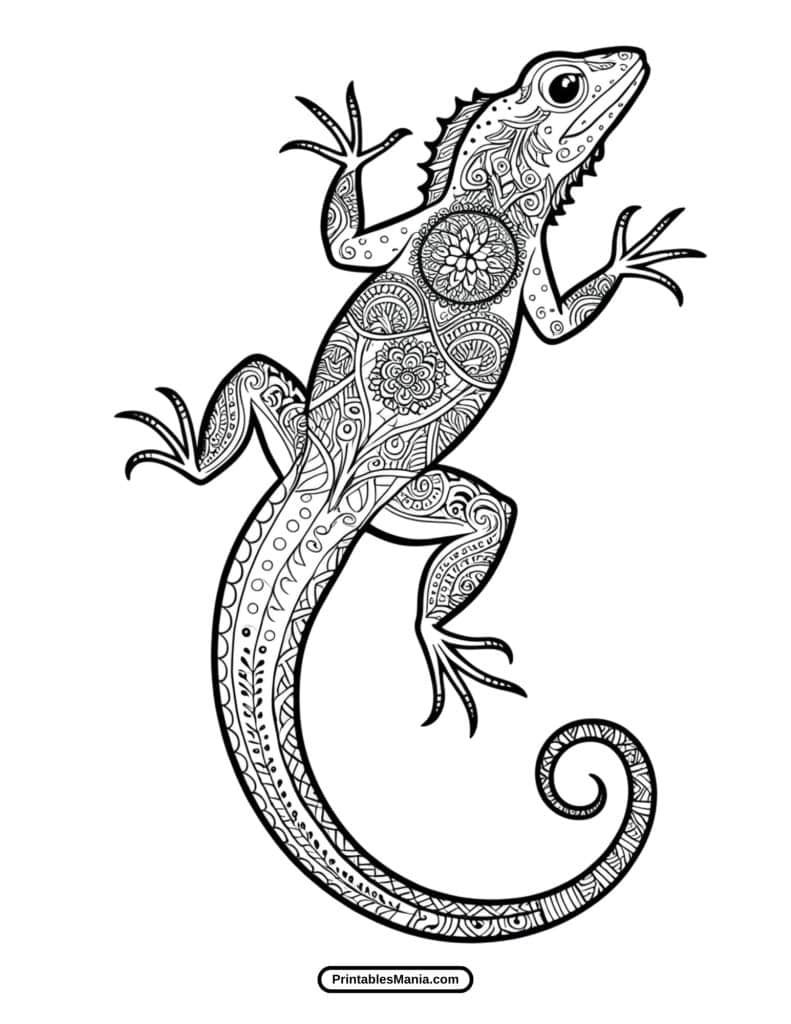
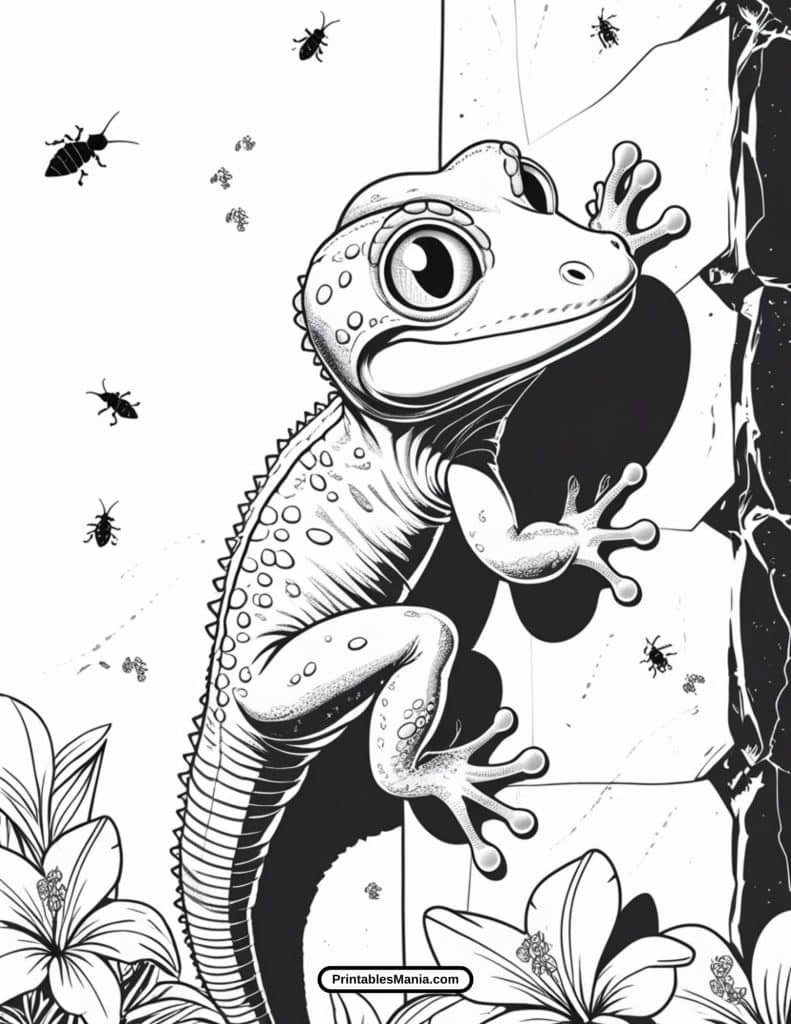
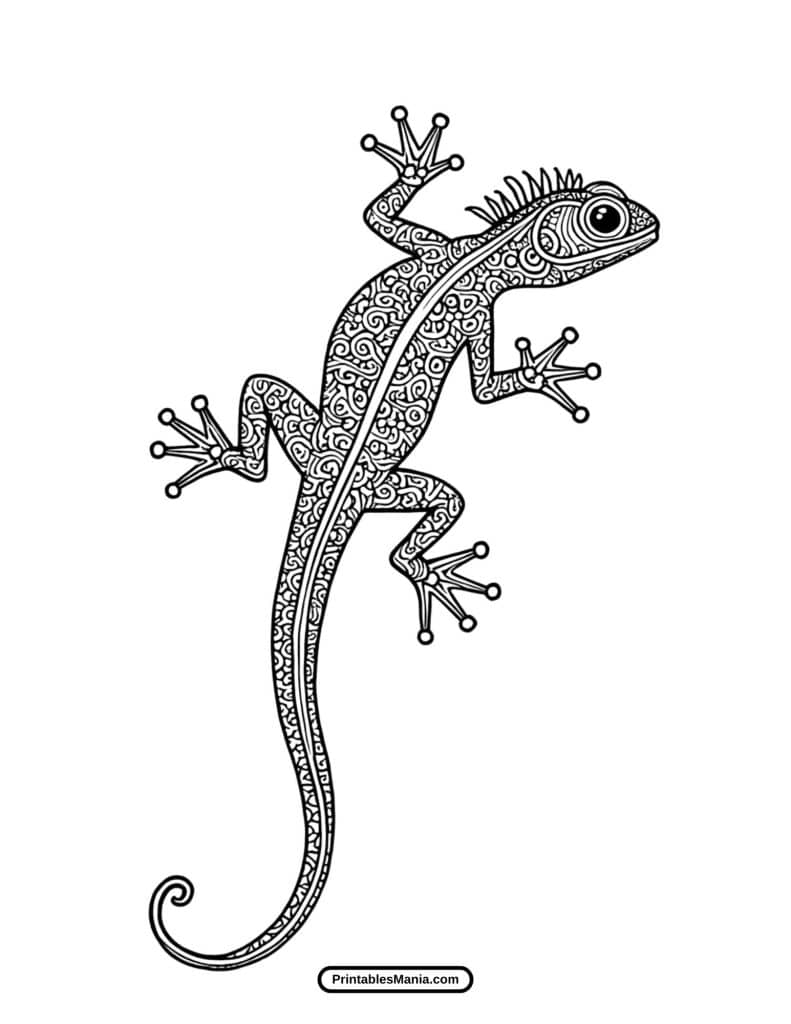
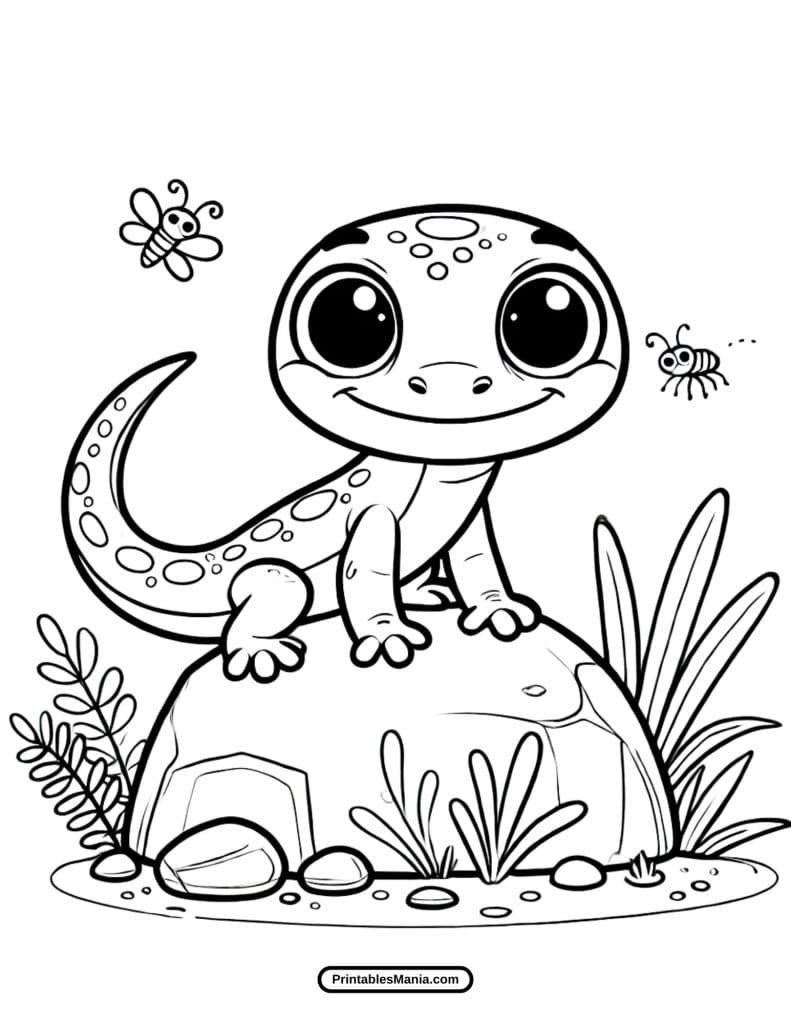
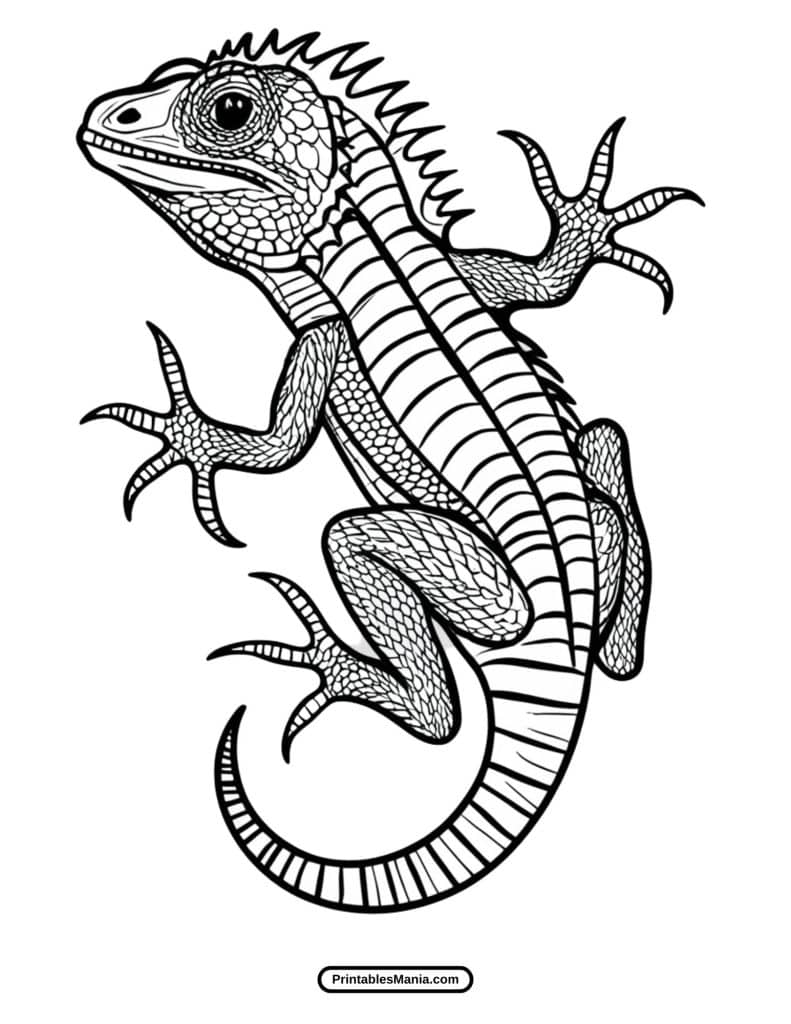
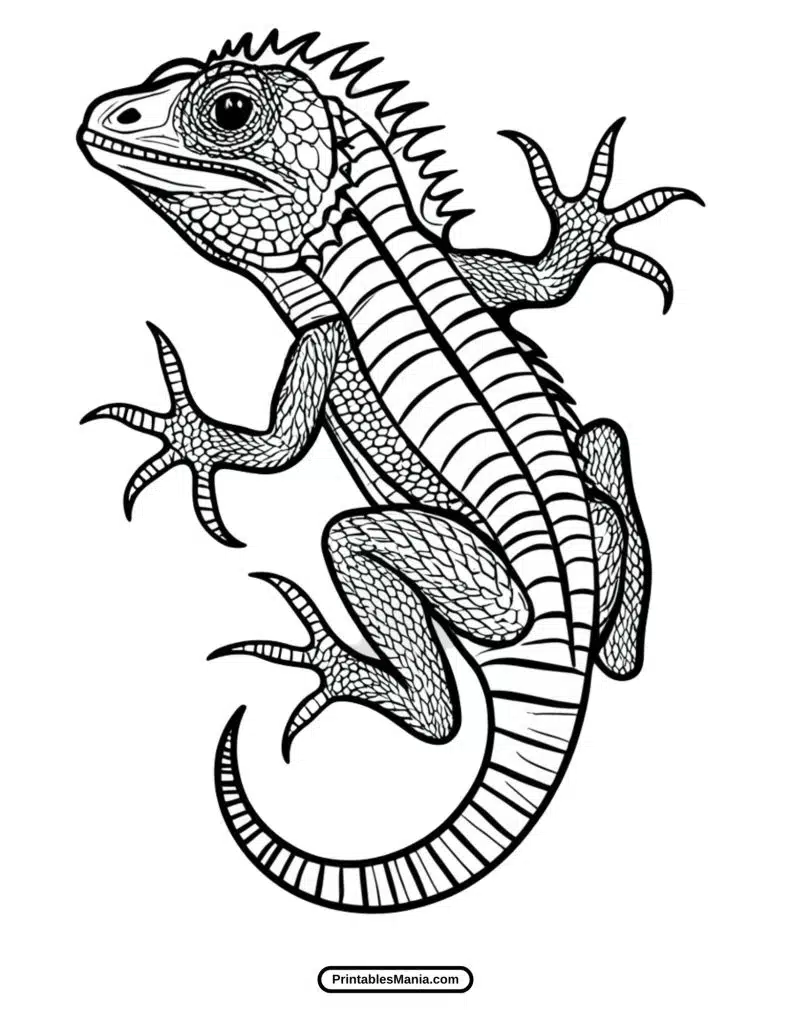
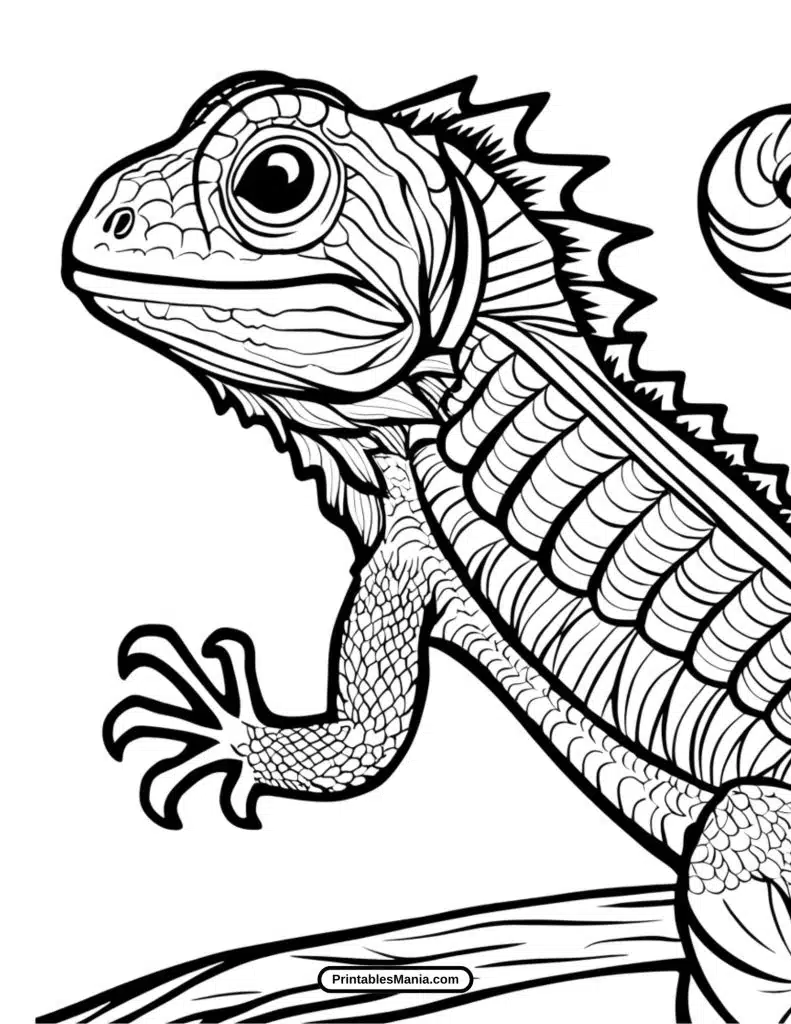
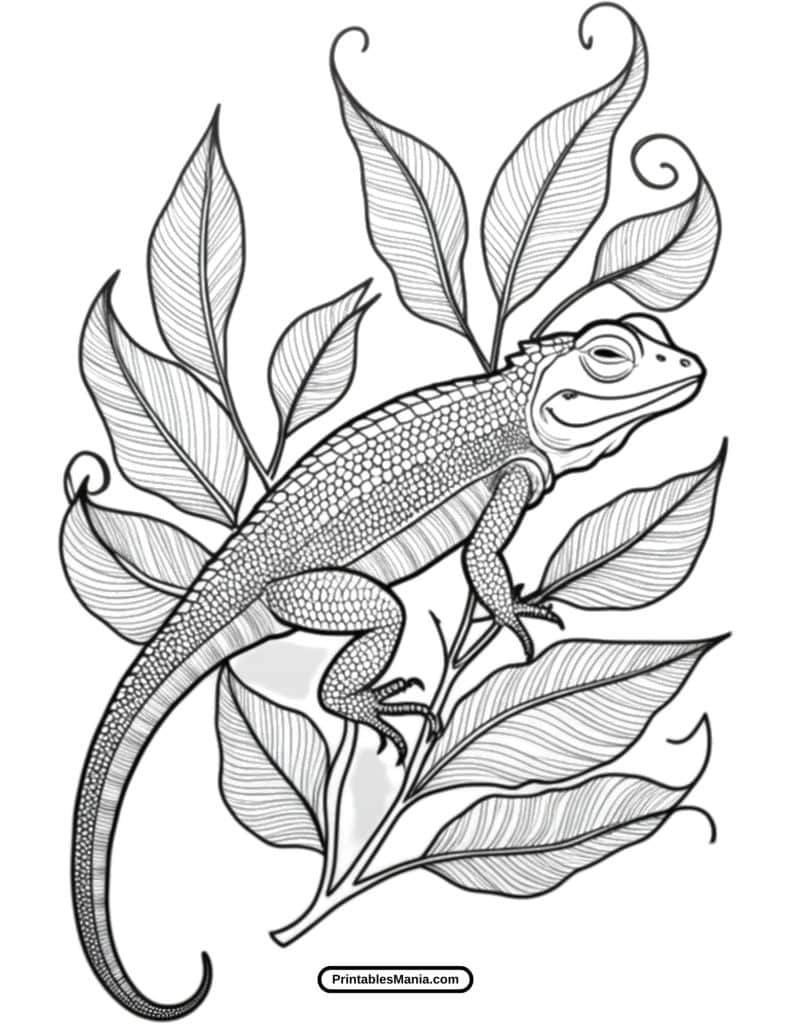
Explore the fascinating world of lizards with this fun and creative coloring page! These amazing reptiles come in all shapes, sizes, and patterns, making them the perfect subject for an artistic adventure.
Use your favorite colors to bring this lizard to life. Will it blend into its surroundings, or will it stand out with bright, bold hues? The choice is yours!
Coloring is a great way to relax, improve focus, and express creativity. Whether for kids or adults, this page offers an enjoyable escape into the world of reptiles.
Lizards are incredible creatures found in deserts, forests, and jungles. While coloring, imagine the habitat and special features of your lizard—scaly skin, long tail, or even a curly tongue ready to catch an insect!
Grab your pencils, markers, or crayons and start coloring!


Art Tips and Techniques
Enhance your lizard coloring pages with these fun and easy techniques! Whether you’re using crayons, colored pencils, markers, or digital tools, these tips will help bring your artwork to life with depth, texture, and creativity.
Choosing the Right Colors
Lizards come in a wide variety of colors and patterns, so don’t be afraid to experiment! Here are some ideas to get started:
- Realistic Colors: Use greens, browns, and grays for a natural look, especially for geckos, iguanas, and chameleons.
- Vibrant & Exotic: Try bright blues, reds, and oranges to create a bold, eye-catching reptile. Some lizards, like poison dart frogs and tropical geckos, have striking hues!
- Fantasy Lizard: Have fun with rainbow colors, neon shades, or even metallics to create a unique, magical lizard.
Blending and Shading Techniques
To add depth and dimension, try these shading methods:
- Colored Pencils: Use light pressure for soft colors and layer multiple shades to create smooth blends. For shadows, press harder in darker areas and lighten up for highlights.
- Markers: Start with a light base color, then add darker shades along the edges for a blended effect. Alcohol-based markers work best for smooth blending.
- Crayons: Layer colors gently and use a cotton swab or tissue to blend for a softer look.
- Digital Tools: Use a soft airbrush tool for shading and a smudge tool to blend colors seamlessly.
Adding Texture
Lizards have scaly, rough, and bumpy skin, so try these tricks to make your coloring page look more realistic:
- Colored Pencil Stippling: Lightly dot different shades to mimic natural patterns.
- Marker Layering: Use a darker color to draw small scales or textures over a lighter base.
- Sponge Painting (Traditional Art): Dab a dry sponge or crumpled tissue with watercolor or paint for a textured effect.
- Digital Texture Brushes: Use a skin or scale brush to create realistic textures in drawing apps.
Experimenting with Different Mediums
Each coloring tool offers a different effect, so try combining them!
- Crayons + Markers: Use markers for a bold outline and crayons for a soft, blended fill.
- Watercolor Pencils: Color first, then use a wet brush to blend for a watercolor effect.
- Gel Pens + Colored Pencils: Add shiny highlights with gel pens after coloring.
Final Touches
- Outline with a Darker Color to make your lizard stand out.
- Use a White Pen or Pencil to add highlights on the eyes, nose, or scales for a realistic touch.
- Background Ideas: Add rocks, leaves, or a desert scene to complete your masterpiece!
Have Fun and Be Creative!
Coloring is all about expressing yourself, so don’t worry about making it perfect—just enjoy the process! Whether you stick to nature-inspired shades or go wild with fantasy colors, your lizard coloring page will be a work of art! 🎨✨
What to Do with the Colored Page?
Once you’ve finished your lizard coloring page, don’t just set it aside—turn it into something fun and creative! Here are some great ideas to make the most of your artwork.
1. Display Your Masterpiece
Show off your hard work by:
- Framing it and hanging it on a wall.
- Creating a coloring book gallery in your room.
- Using a clipboard to swap out different pages as you complete them.
2. Make a Fun Craft
Turn your colored page into:
- A DIY bookmark – Cut a strip from your artwork, laminate it, and punch a hole for a ribbon.
- A greeting card – Fold it in half and write a special message inside.
- A lizard mask – Cut out the lizard, attach it to a stick, and use it as a fun prop.
3. Use It for Scrapbooking or Journaling
Add your lizard coloring page to a scrapbook, notebook, or art journal to save and reflect on your creativity over time.
4. Create a 3D Paper Lizard
- Cut out the lizard and fold it slightly to make it stand up.
- Attach small paper strips underneath as “legs” to give it a more realistic look.
5. Make a Personalized Gift
Give your colored page to a friend, family member, or teacher as a thoughtful handmade present.
6. Digitize and Share Online
- Scan or take a photo of your page and share it on social media, art communities, or with friends.
- Use a coloring app to enhance your drawing digitally and create a new version.
7. Turn It into a Puzzle
- Glue your coloring page to cardboard and cut it into puzzle pieces.
- Challenge yourself or friends to put it back together!
8. Decorate Your Space
- Use it as a cover for a notebook or folder.
- Stick it on a bulletin board or fridge for daily inspiration.
9. Combine It with Other Artwork
- Color multiple lizard pages and create a collage.
- Add a hand-drawn background to bring your lizard to life in a fun setting.
10. Color It Again!
- Try a new color scheme or technique next time.
- Print another copy and challenge yourself to improve or experiment with different materials.
No matter what you choose, your lizard coloring page can be more than just a drawing—it can be a fun and creative project! 🦎