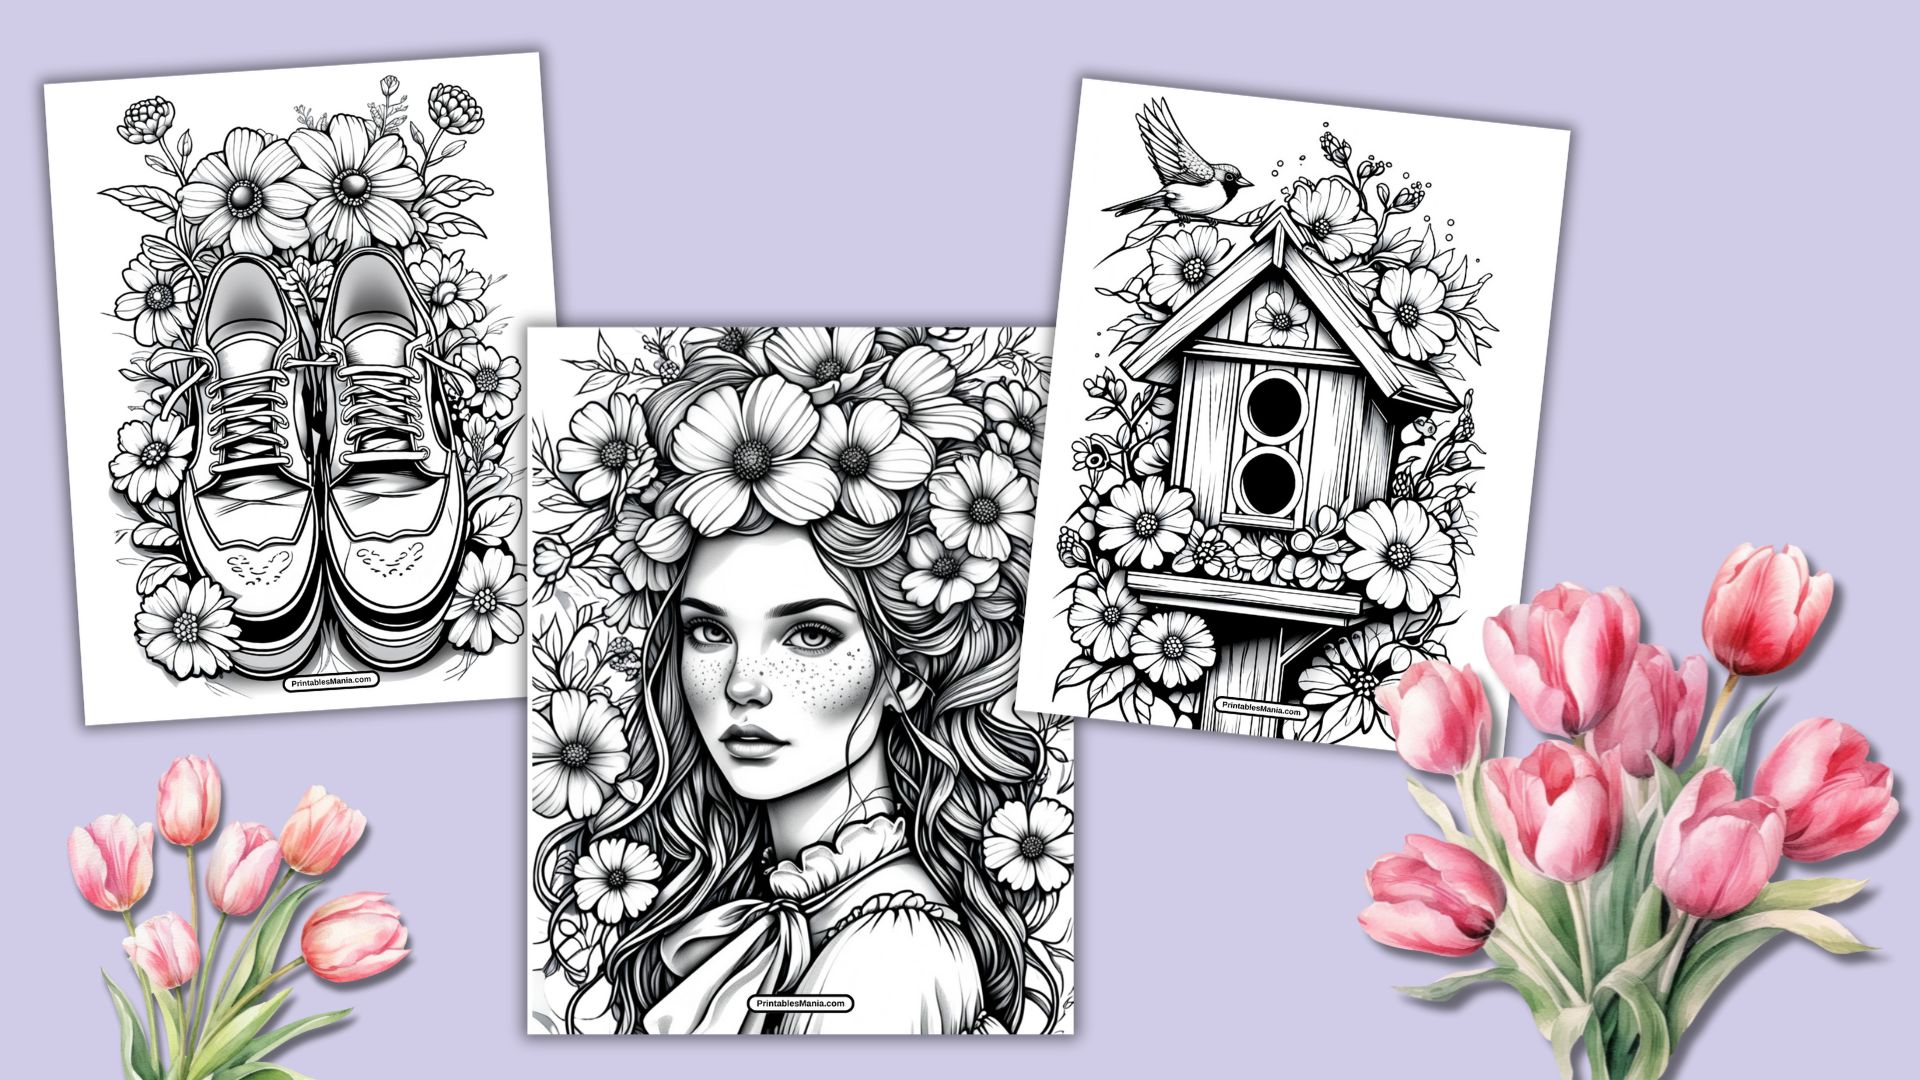

Spring is a season of renewal, growth, and vibrant colors bursting to life after the quiet slumber of winter. Our collection of Spring Coloring Pages for Adults invites you to immerse yourself in the delicate details of the season, transforming simple line art into a personal masterpiece of relaxation and creativity.
A Journey of Mindfulness and Color
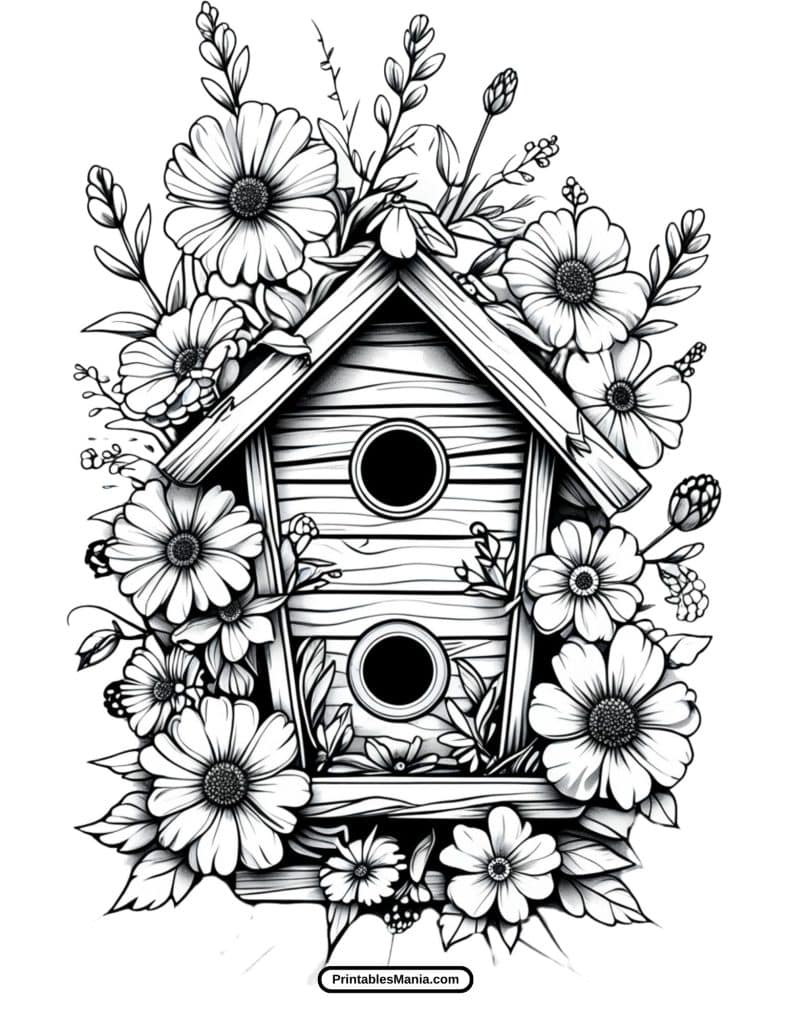
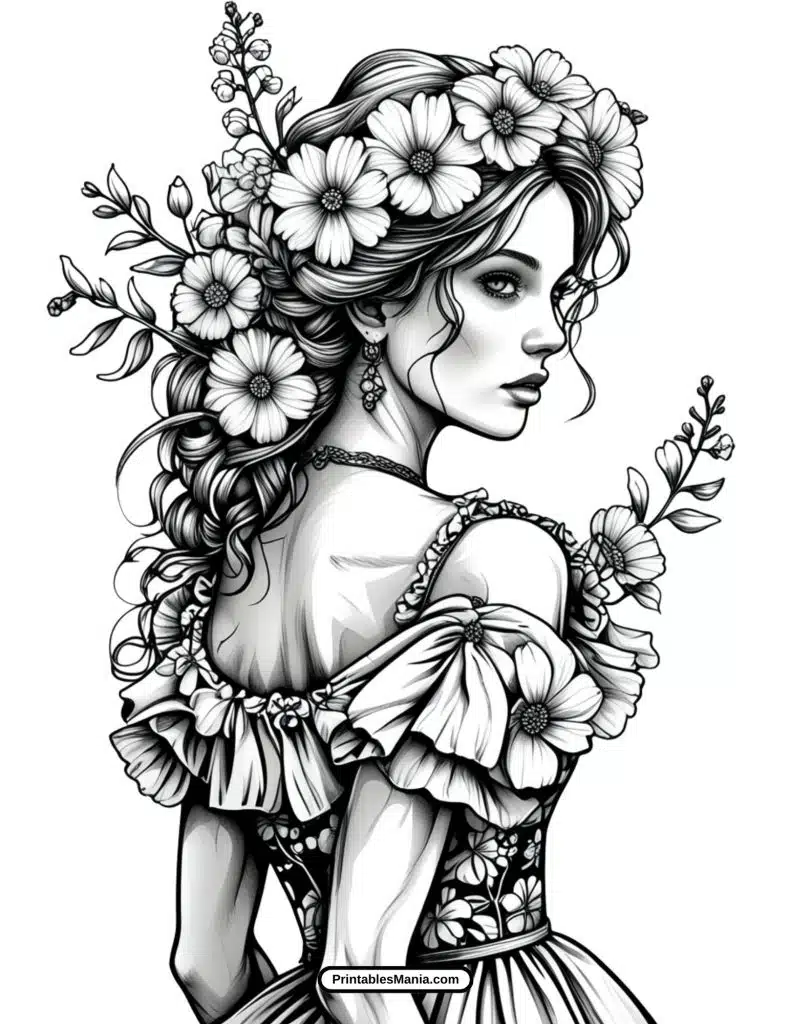
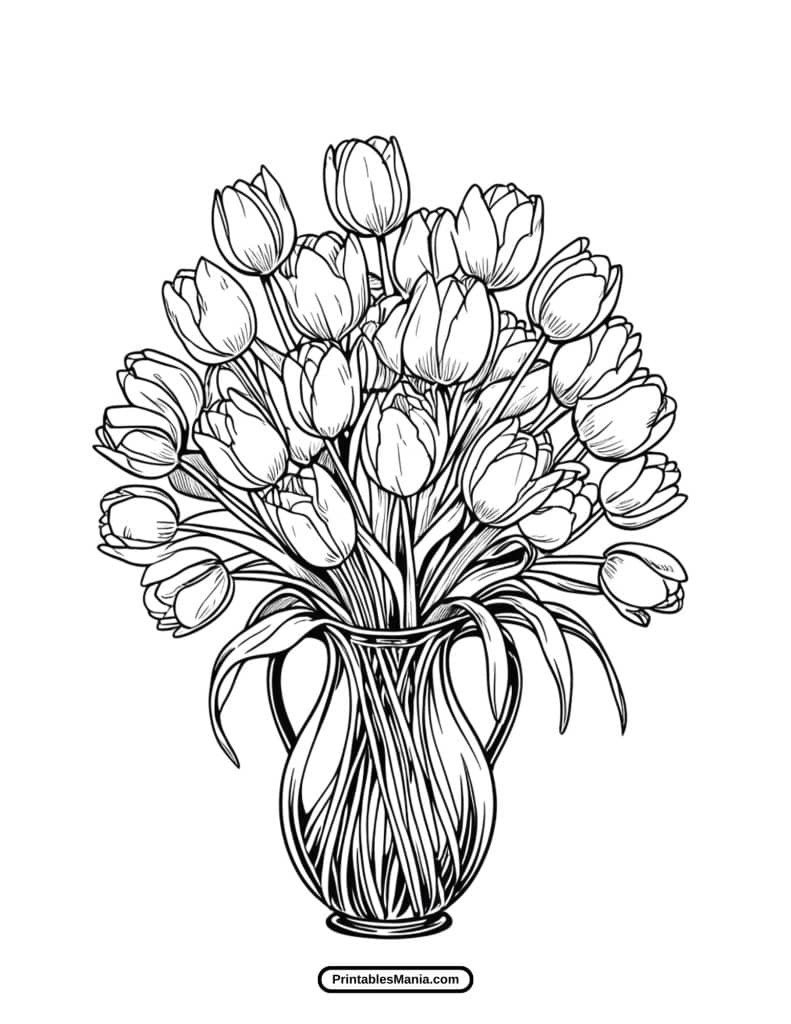
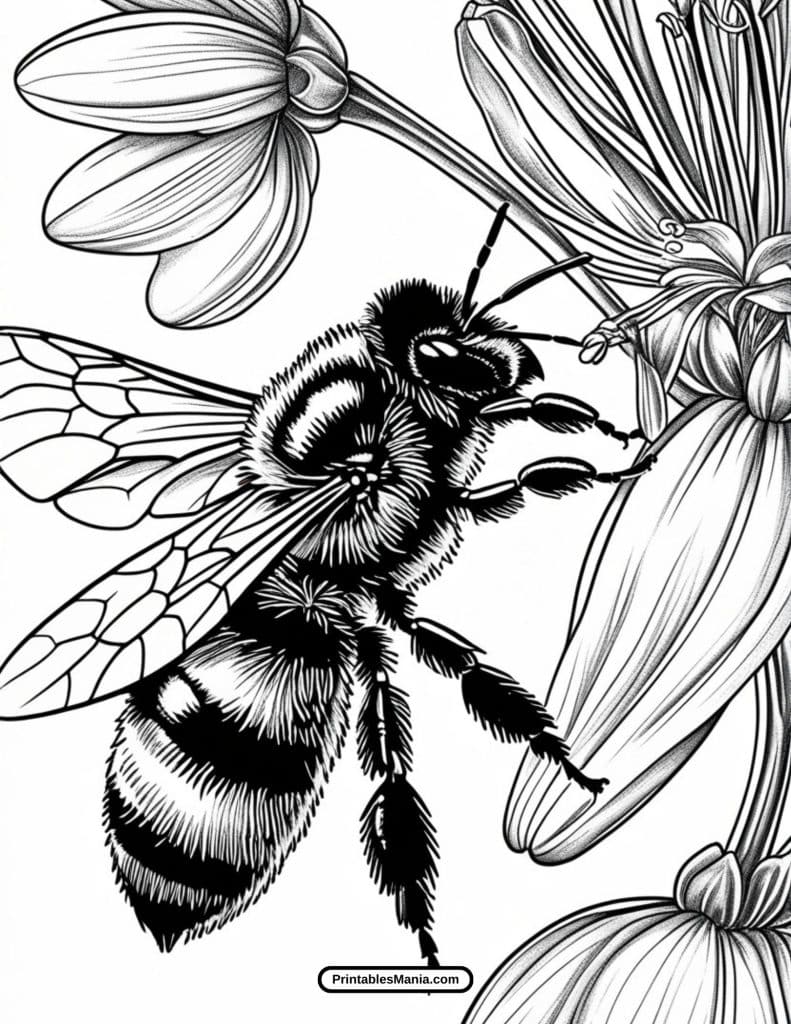
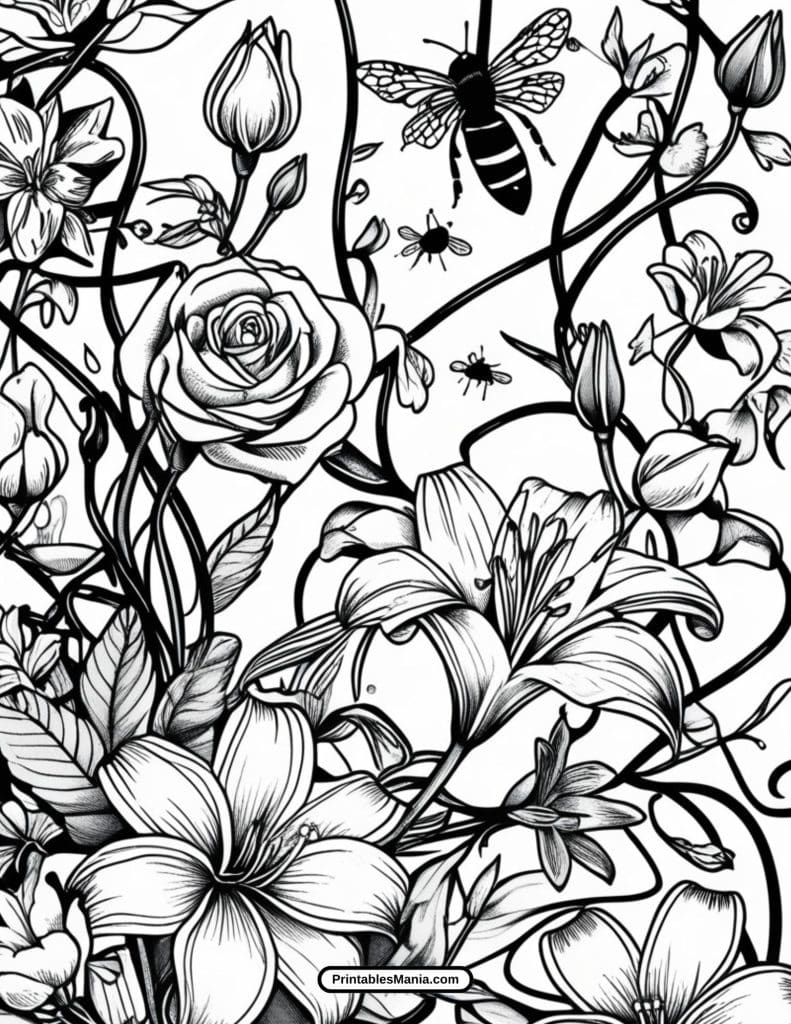
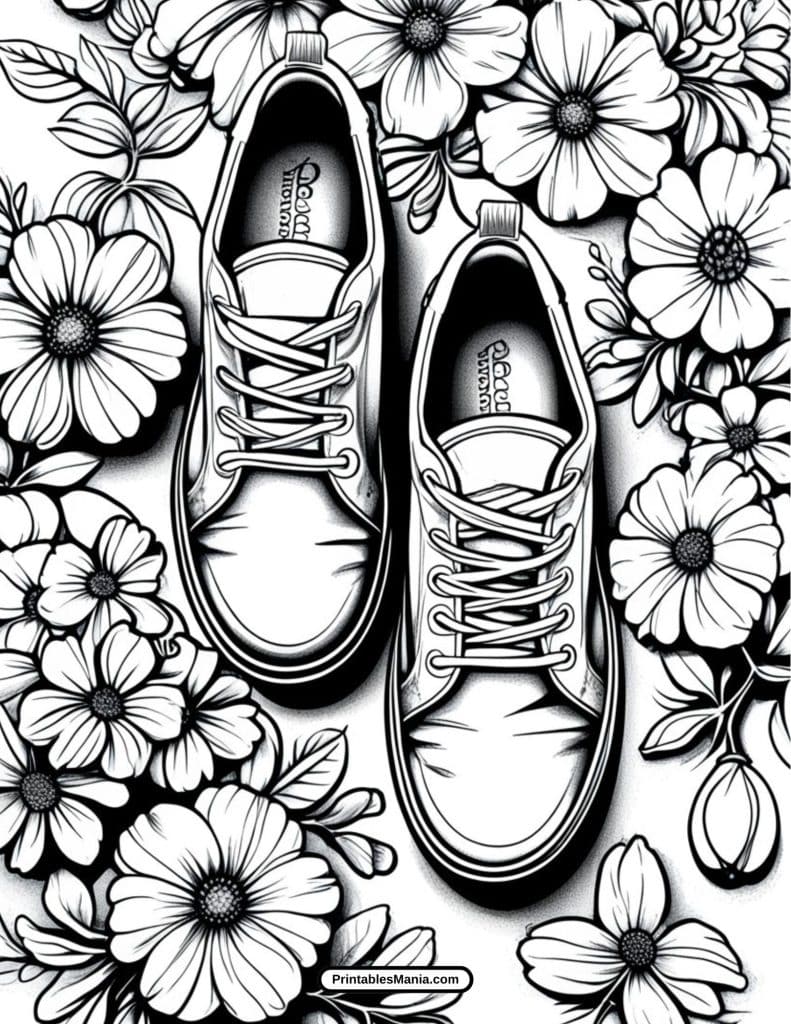
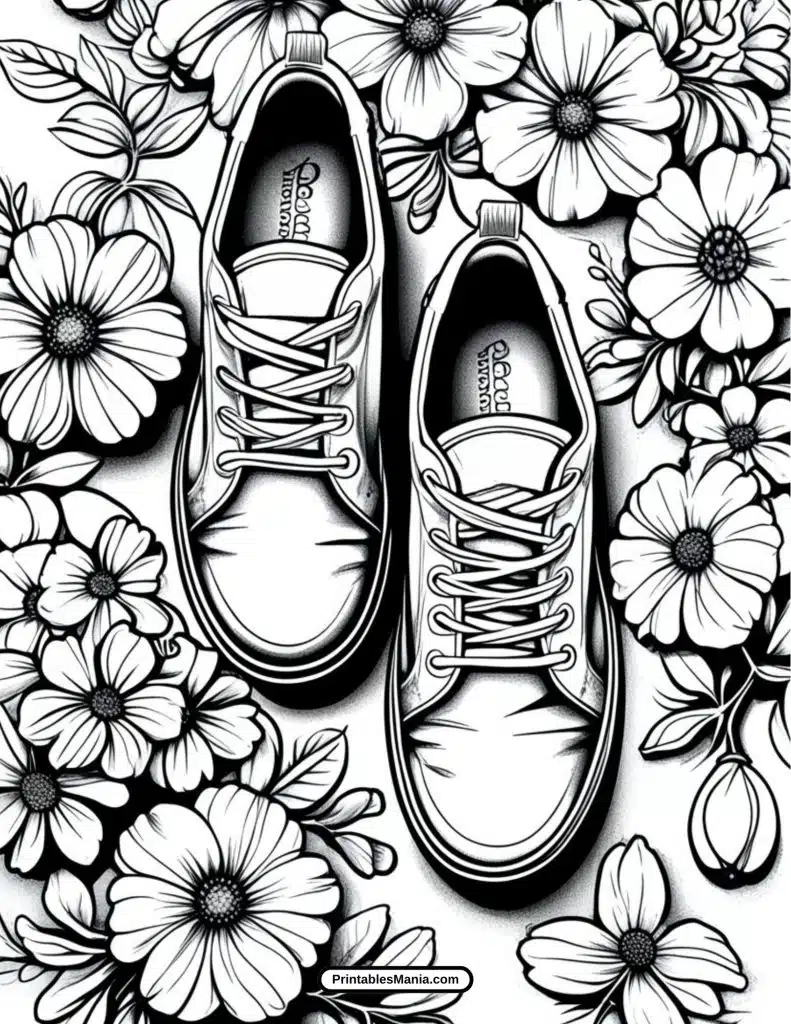
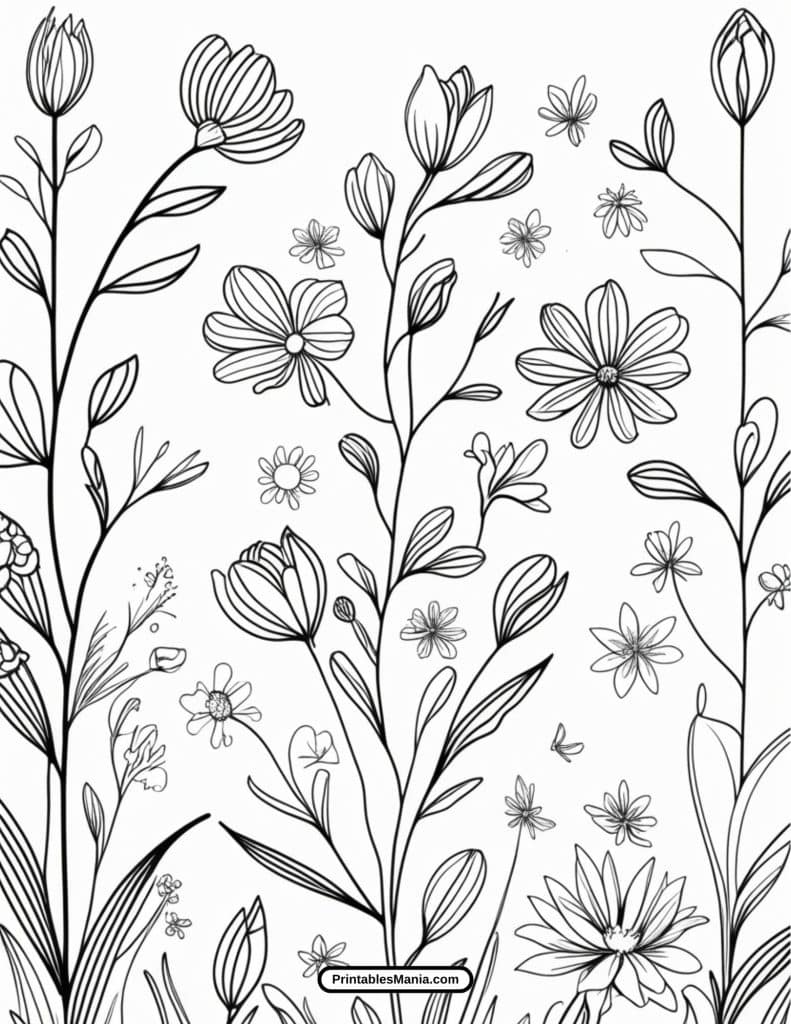
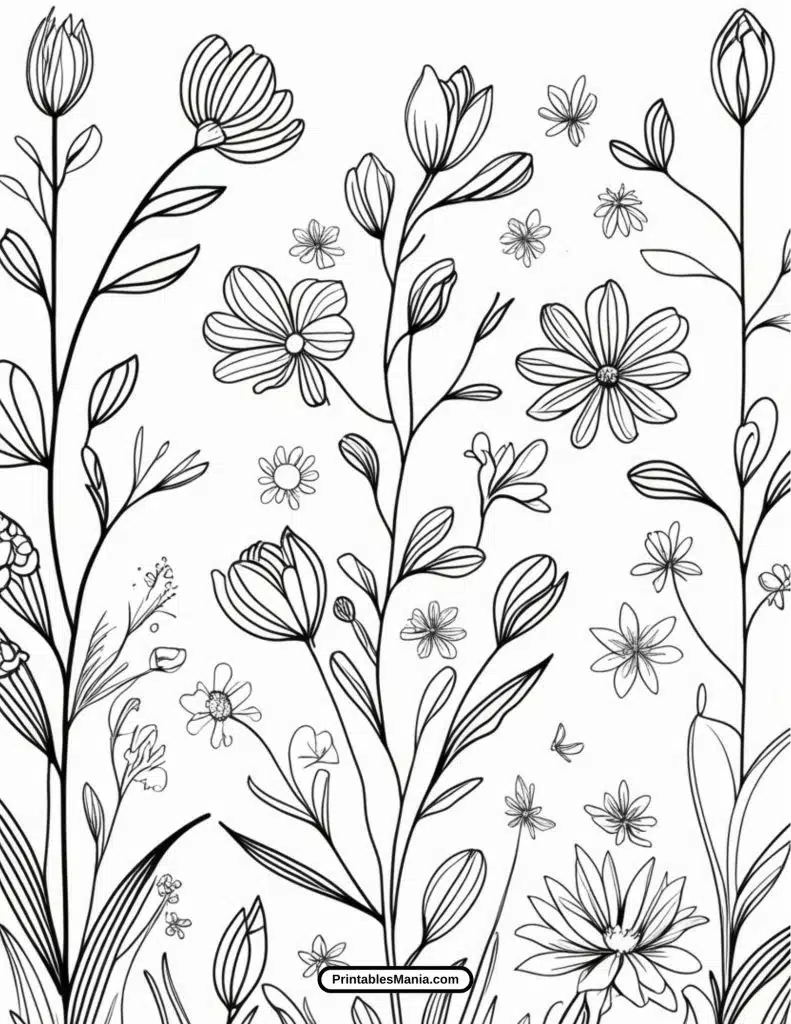
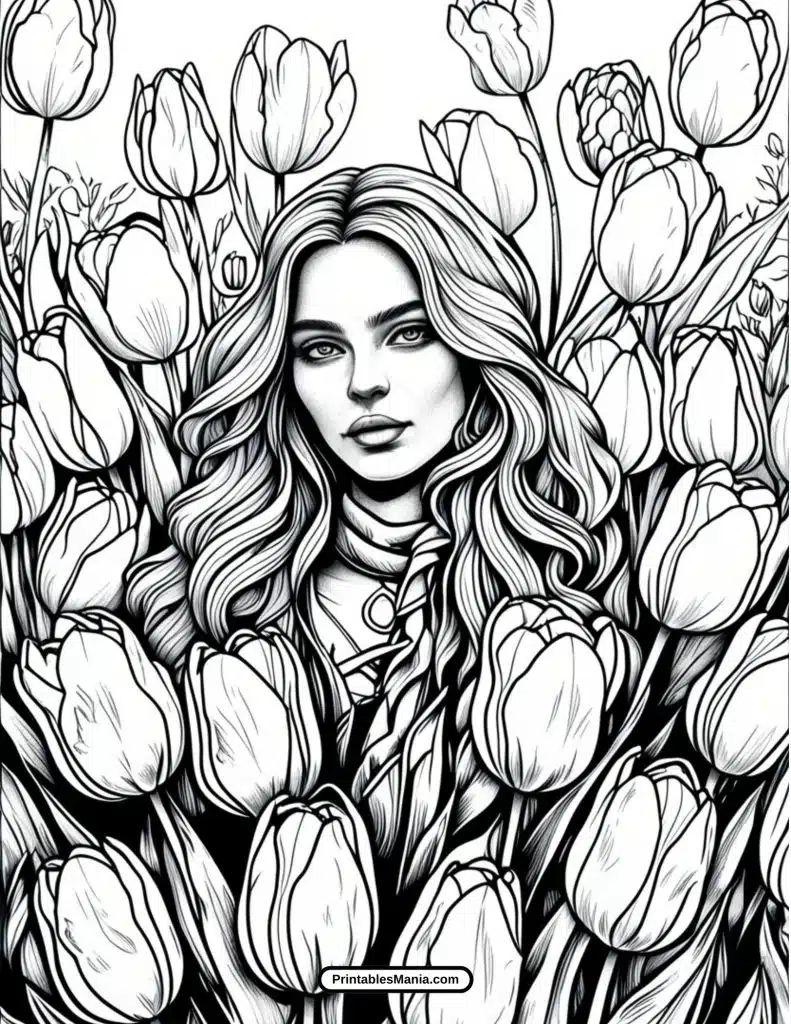
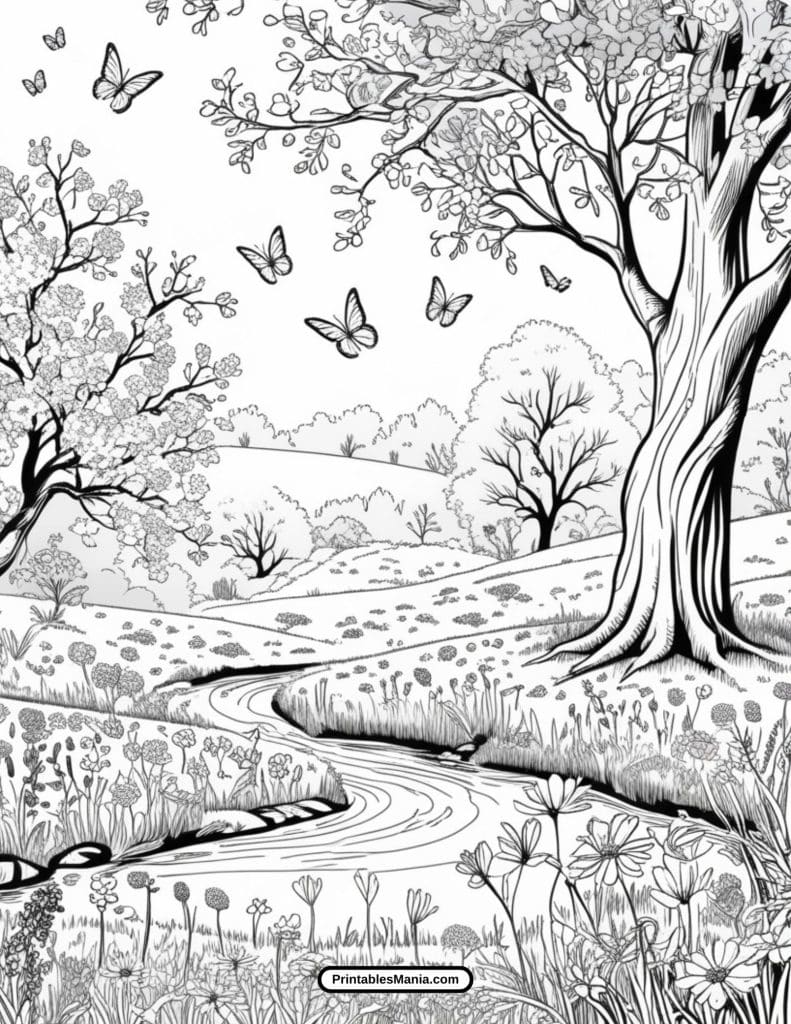
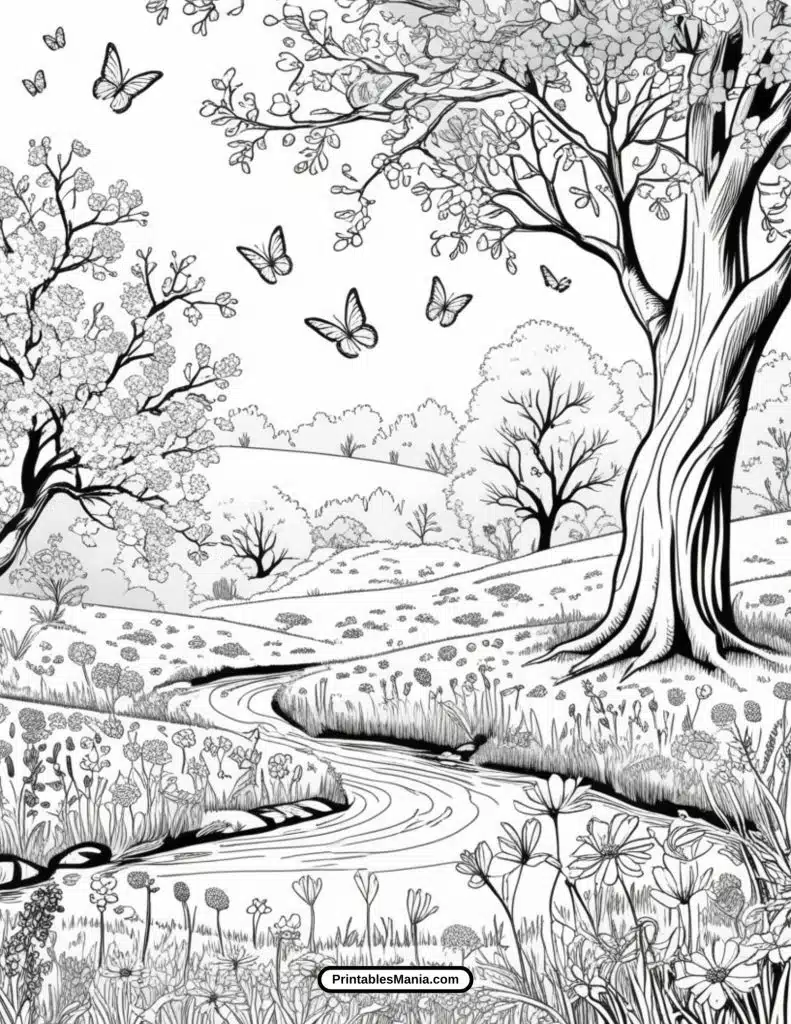
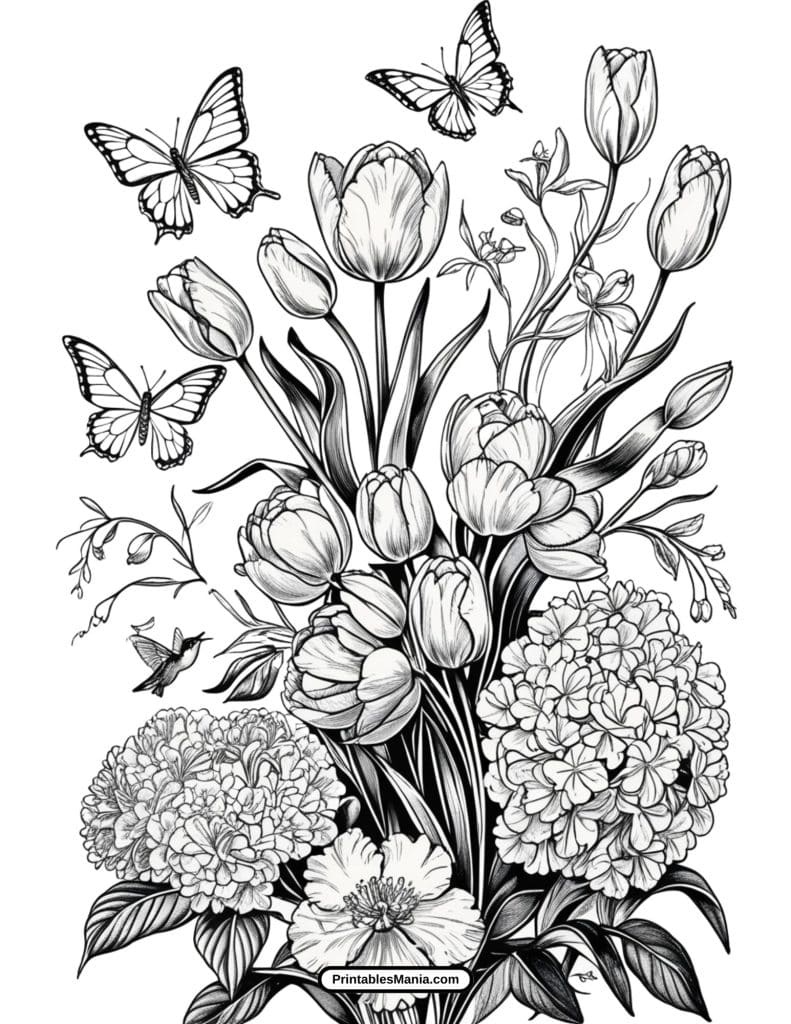
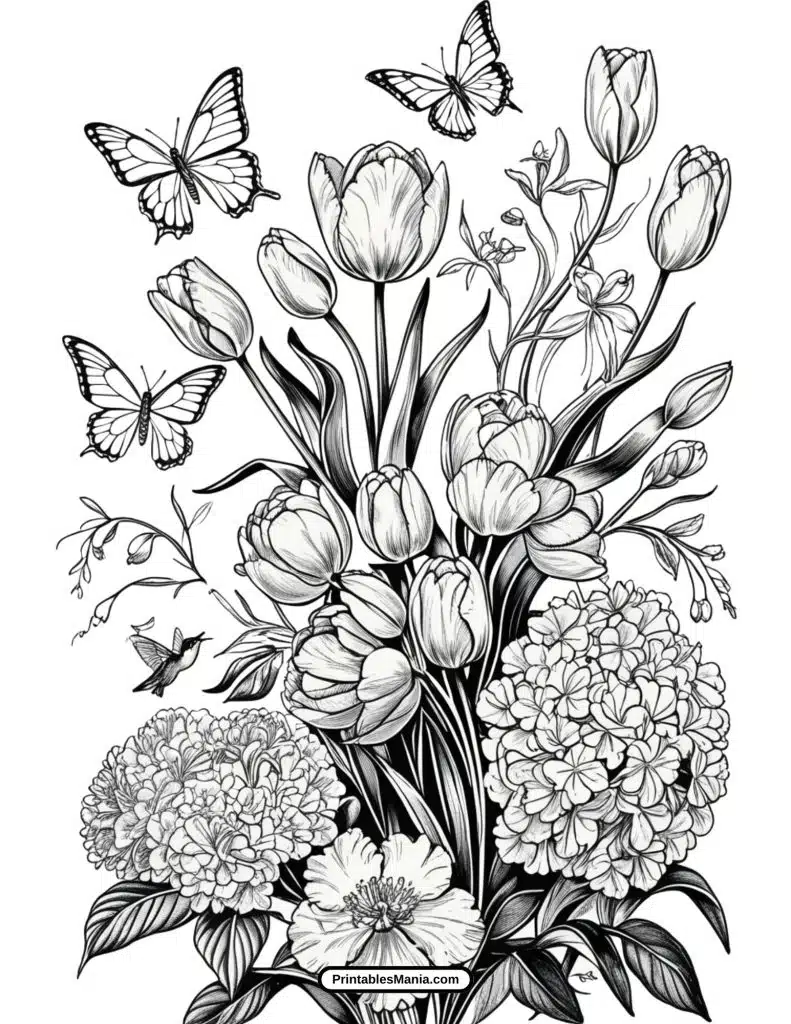
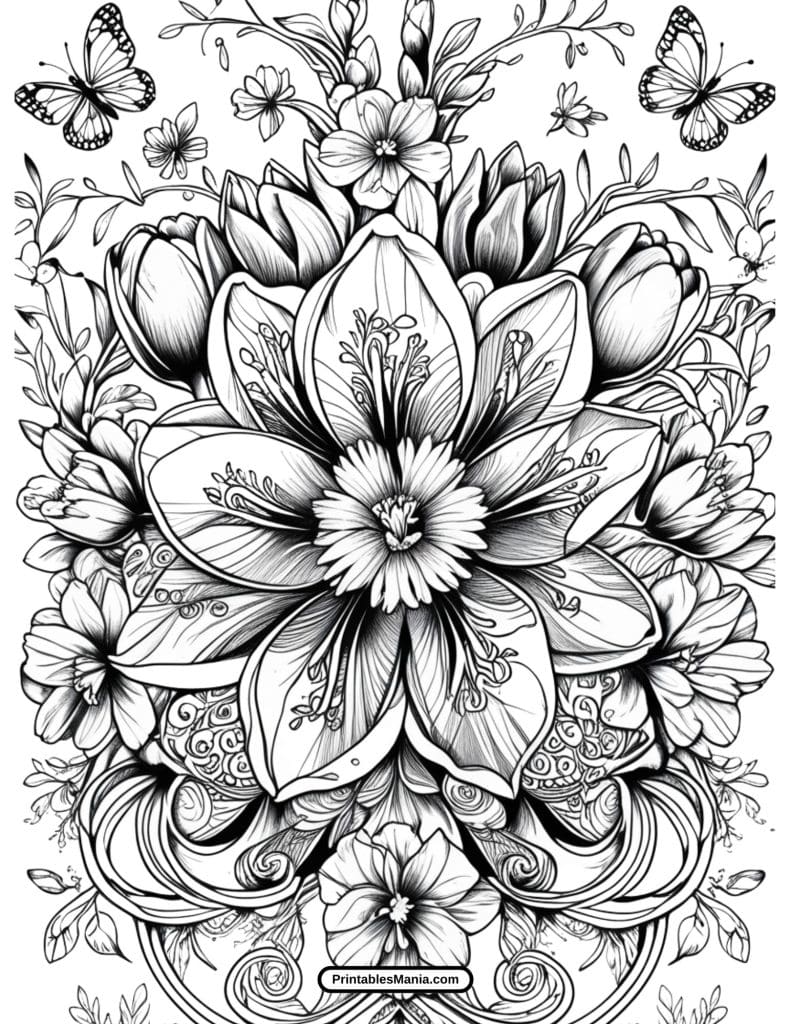
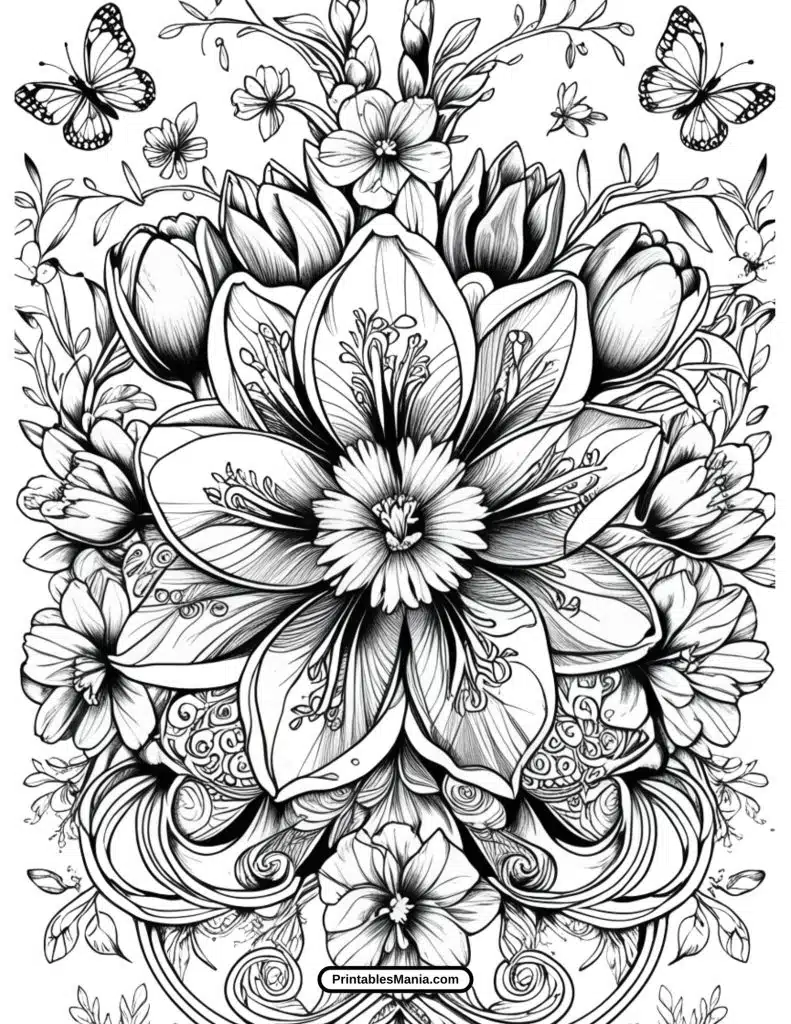
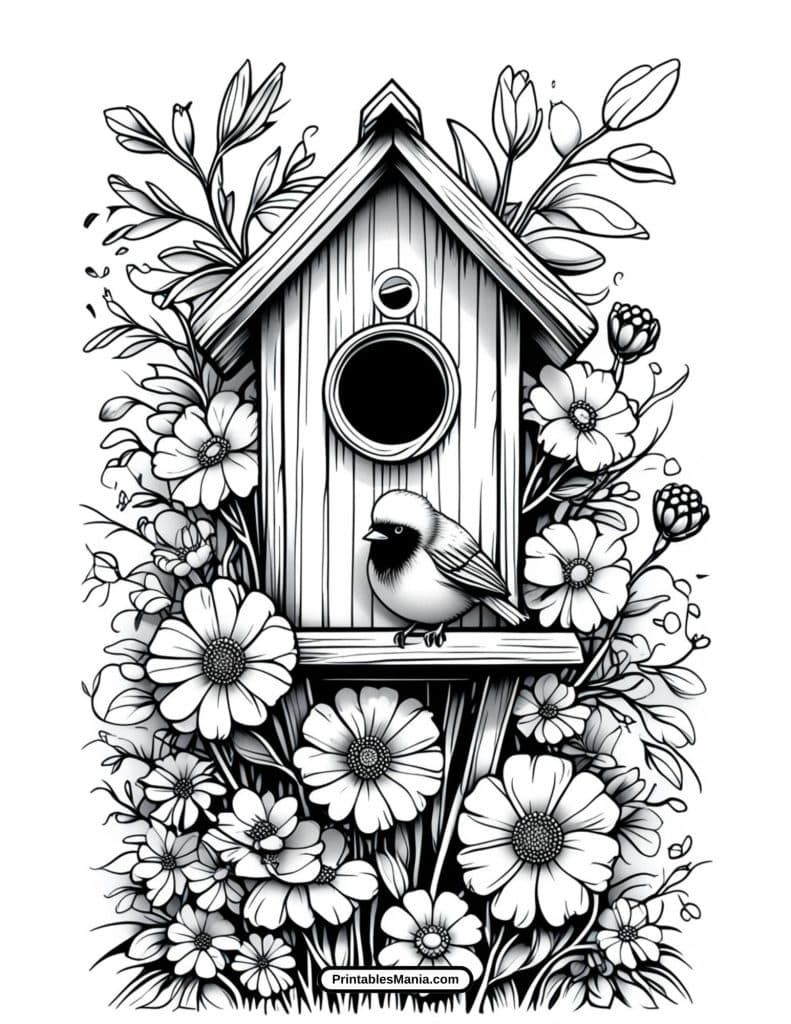
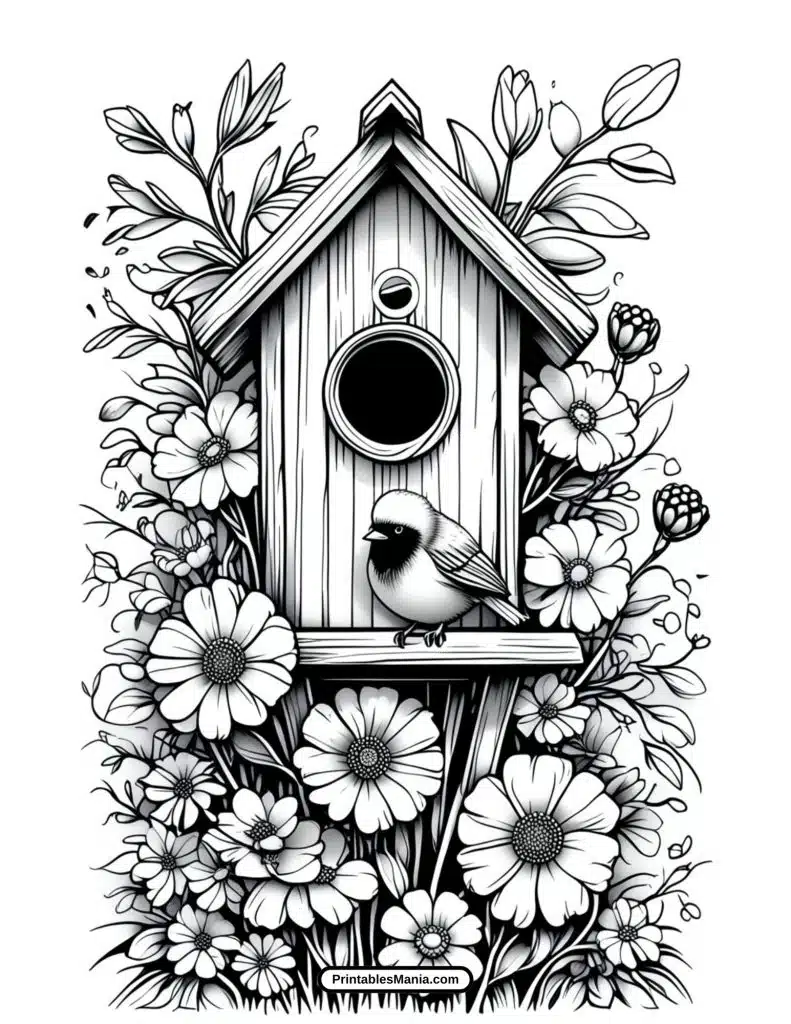
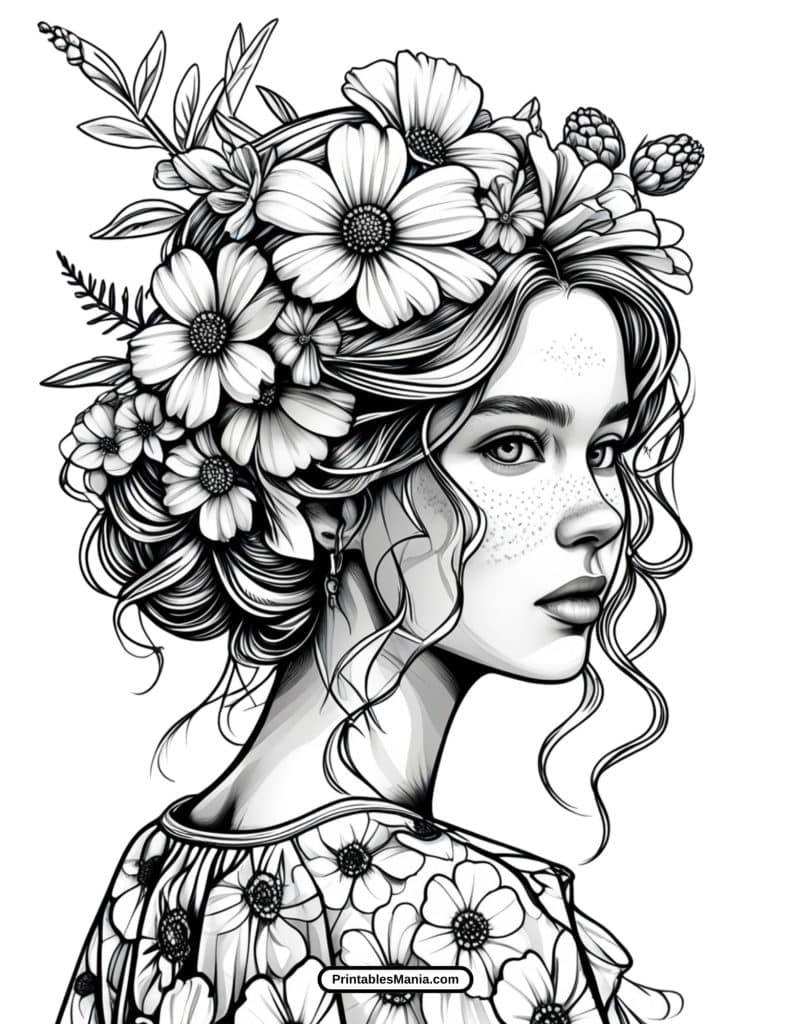
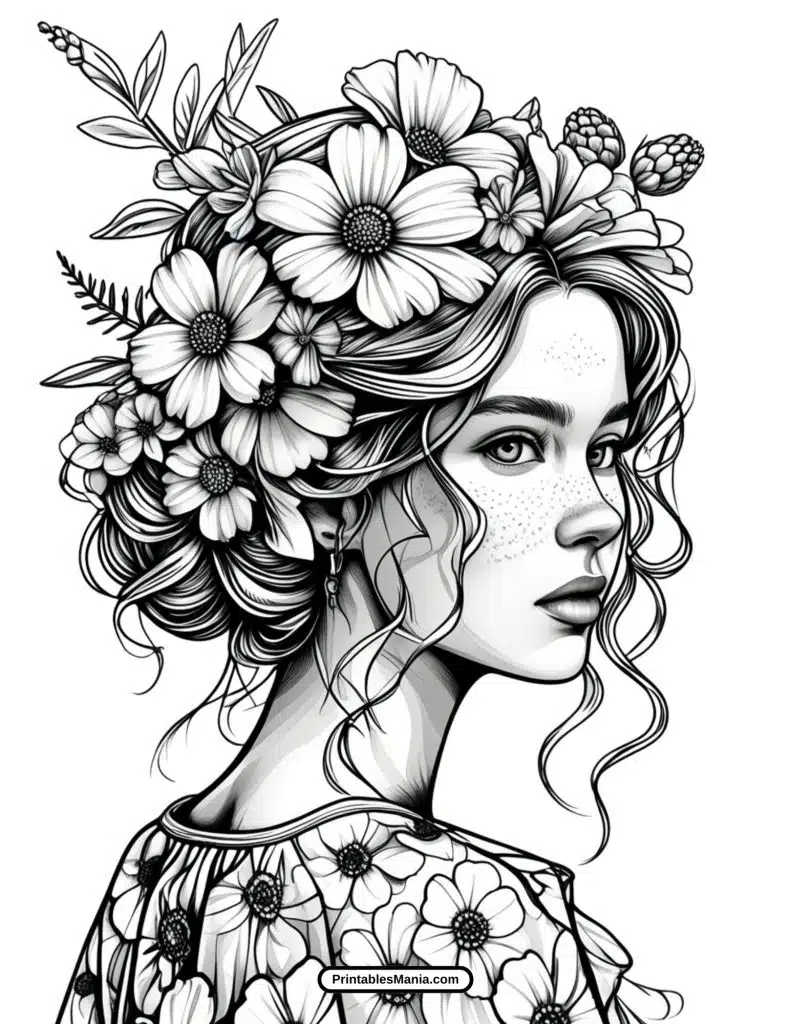
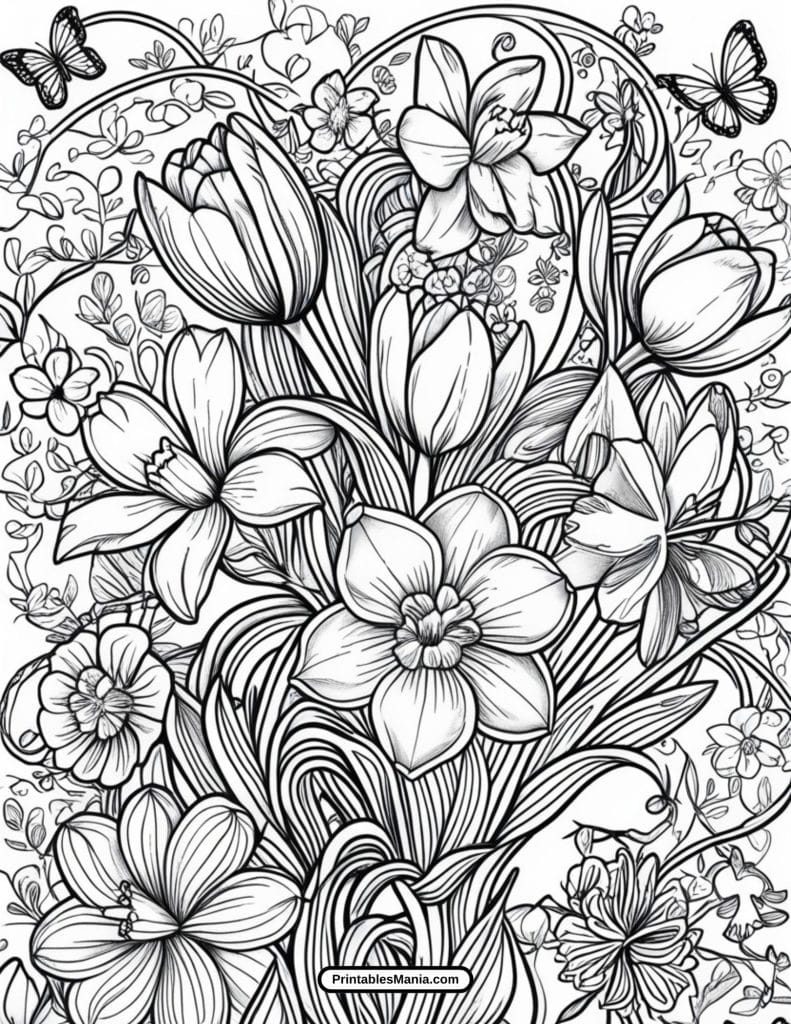
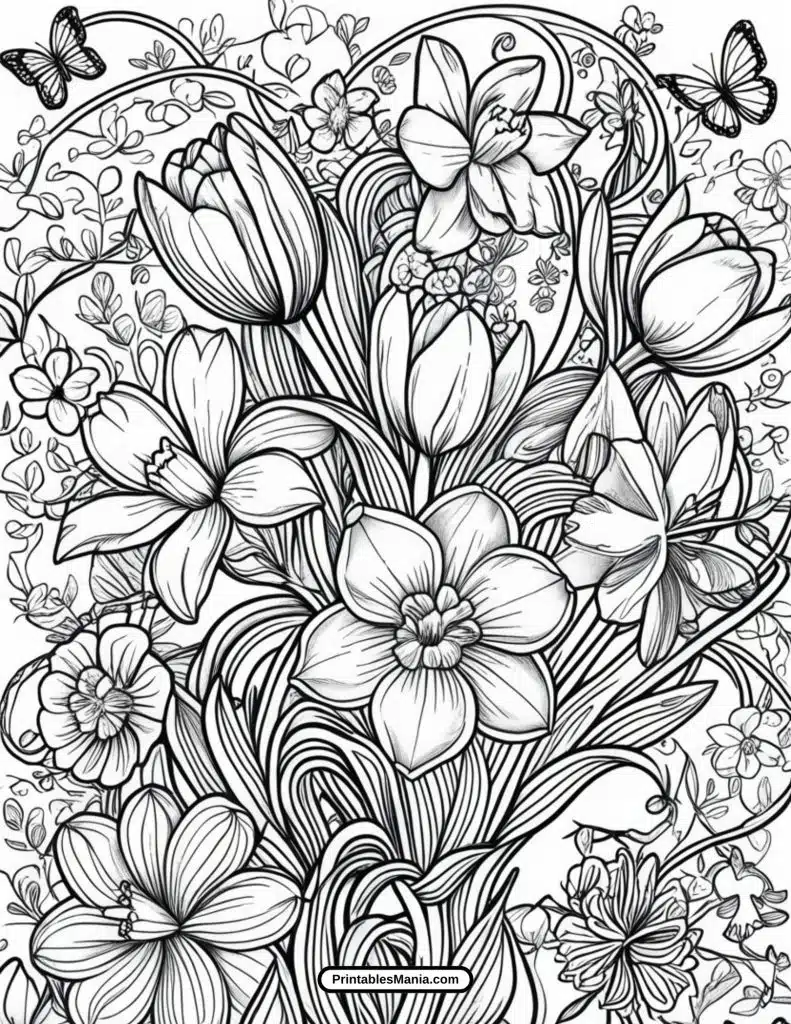
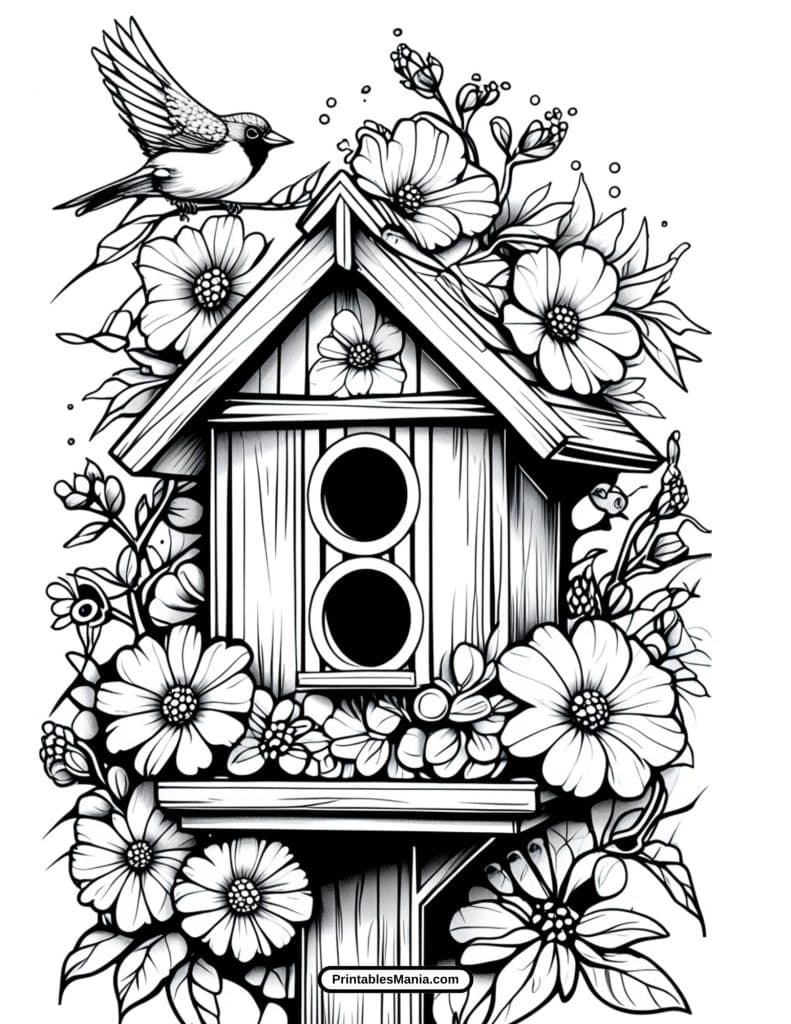
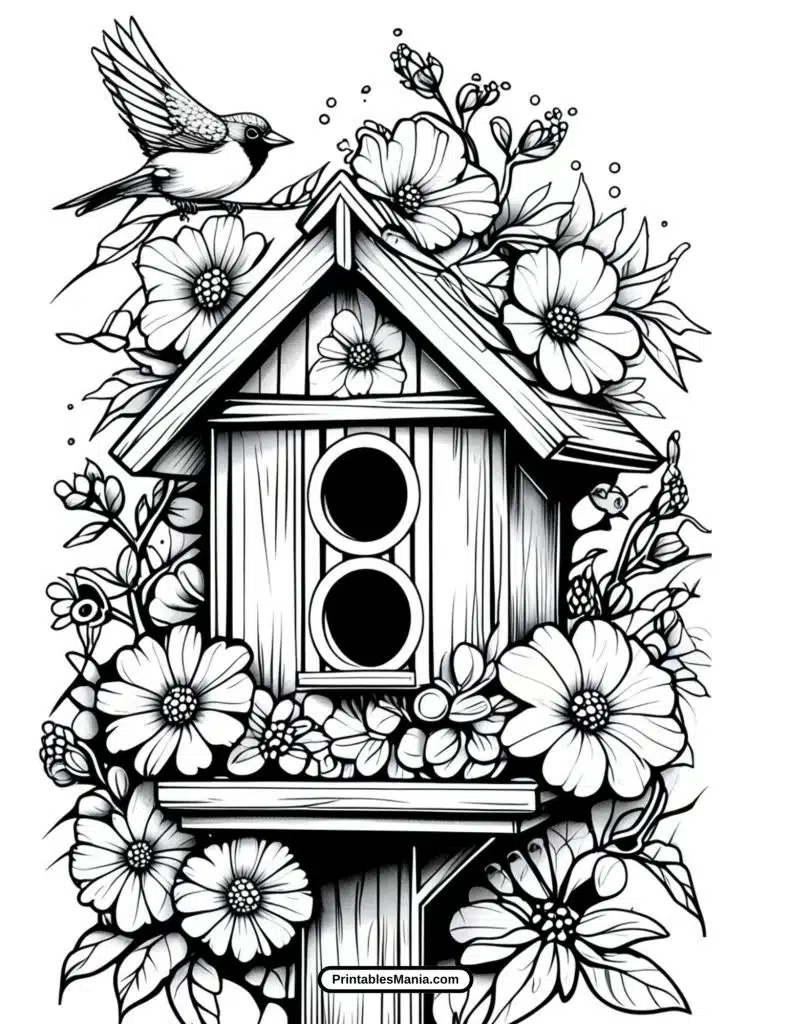
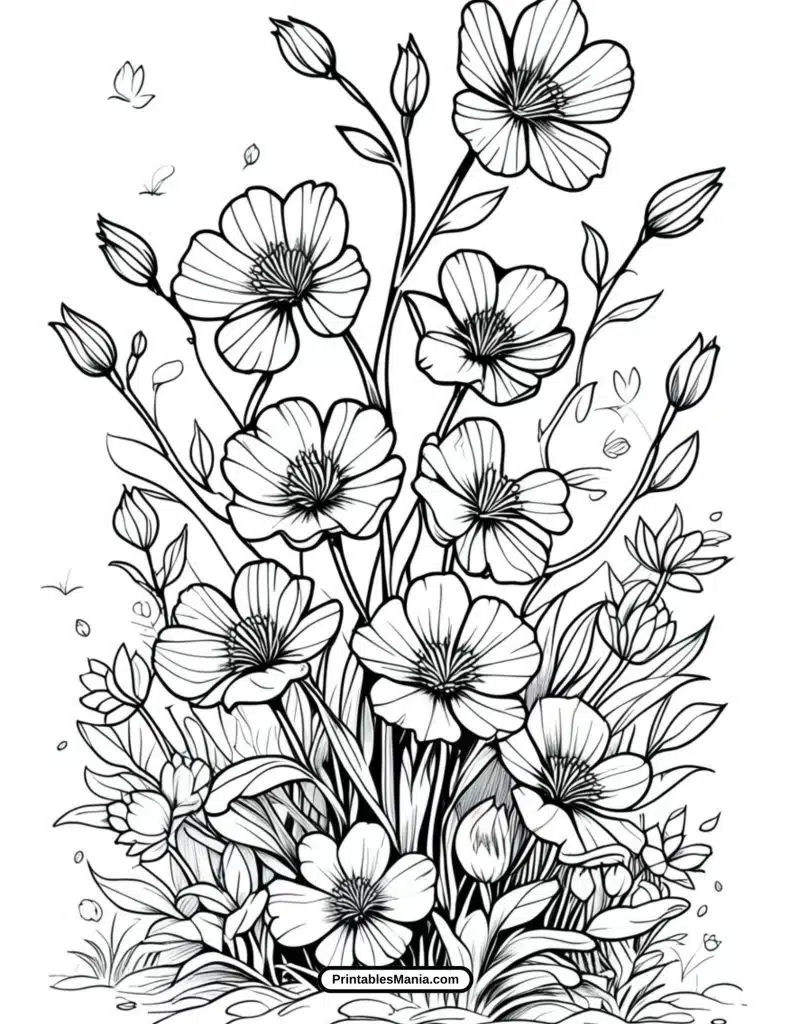
Each page is carefully designed to capture the essence of spring – from delicate cherry blossoms and gentle butterfly wings to intricate garden scenes and blooming landscapes. These aren’t just coloring pages; they’re gateways to meditation, stress relief, and artistic expression.
What Makes Our Spring Coloring Pages Special
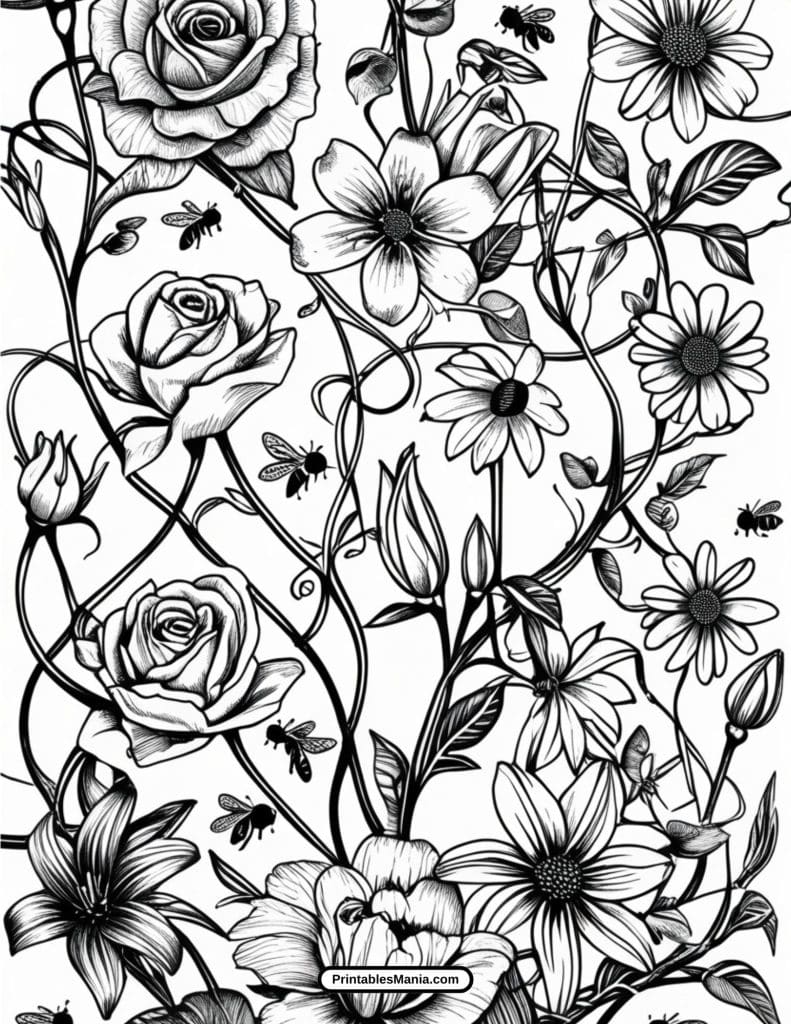
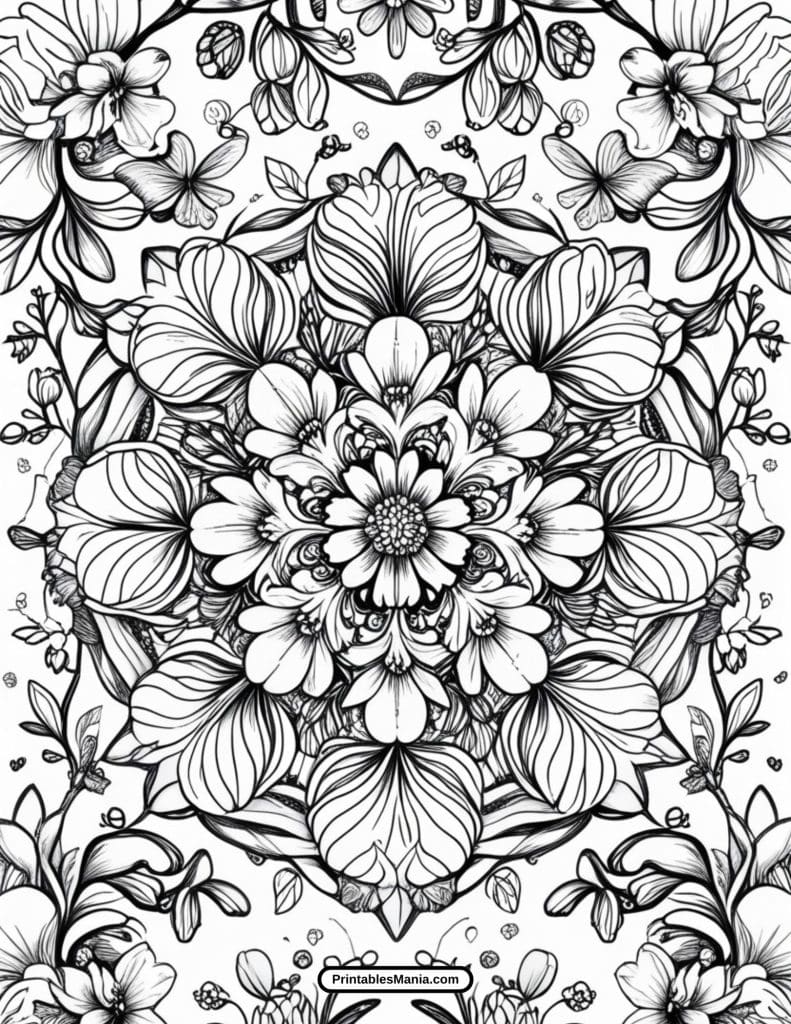
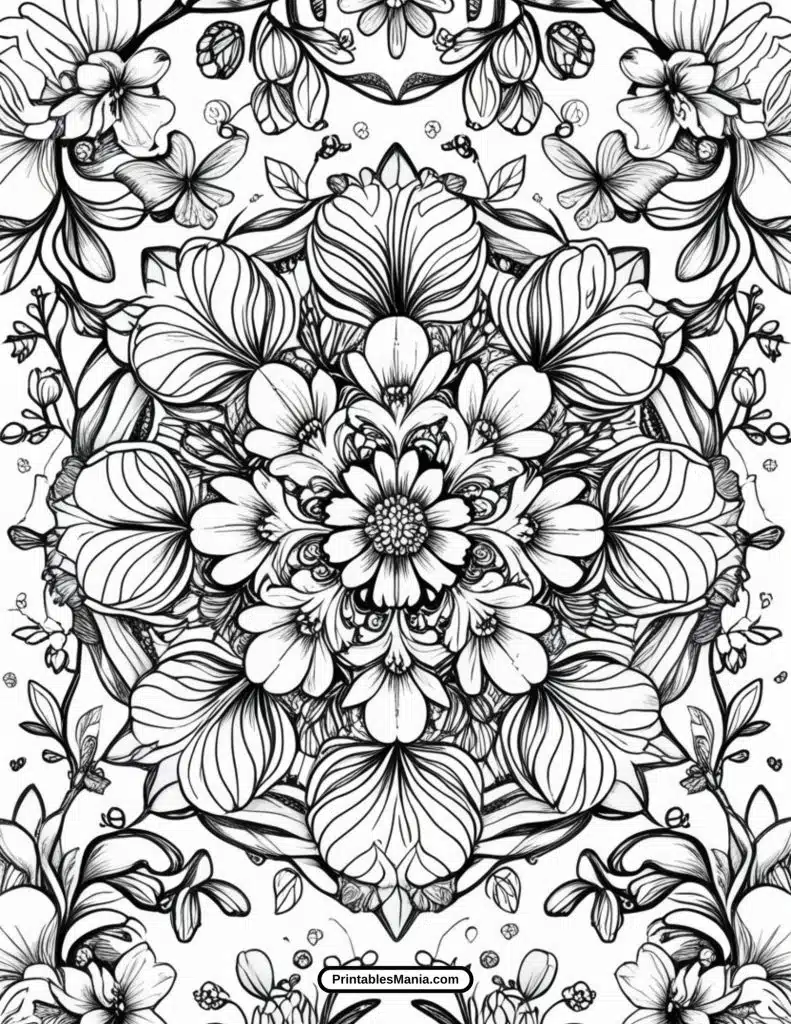
- Intricate Designs: Detailed illustrations that challenge and delight even experienced colorists
- Therapeutic Experience: Each page offers a moment of calm in your busy day
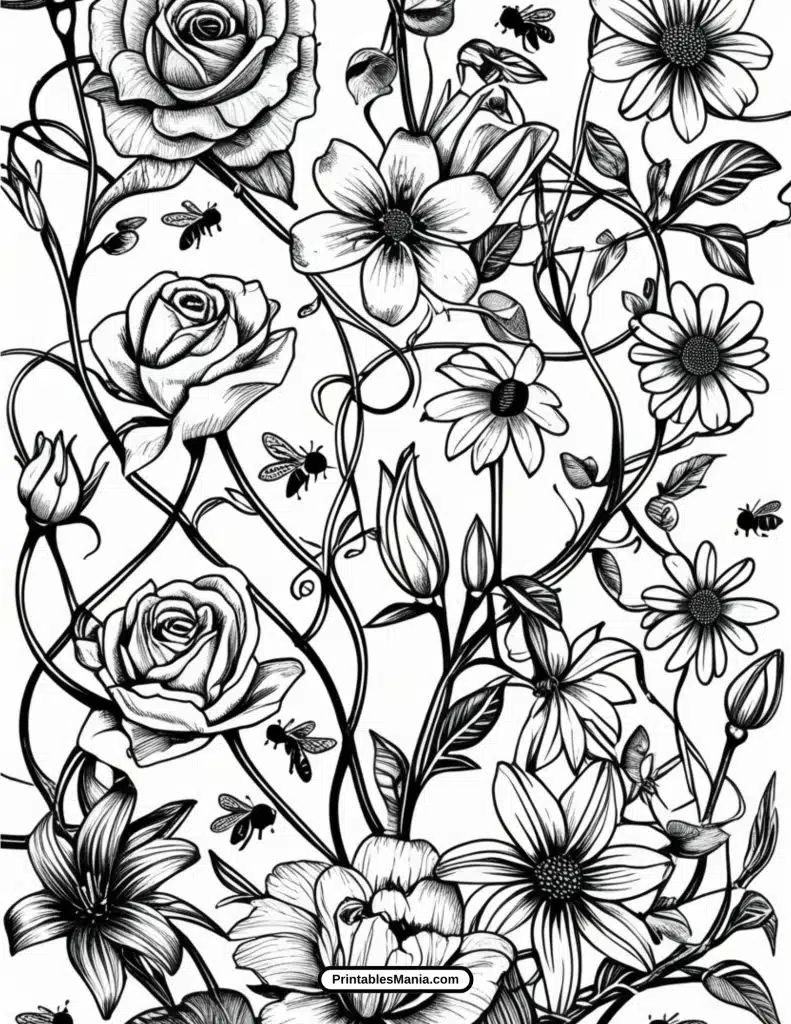
- Versatile Complexity: Patterns range from simple to highly elaborate, catering to all skill levels
- High-Quality Artwork: Printed on premium paper perfect for markers, colored pencils, and watercolors


Art Tips and Techniques for Spring Coloring Pages
Coloring is a relaxing and creative activity, and with the right techniques, you can bring your Spring Coloring Pages for Adults to life! Whether you’re using colored pencils, markers, crayons, or digital tools, here are some expert tips to enhance your artwork.
1. Choosing the Right Colors 🌼
Spring is all about fresh, vibrant colors. Here’s how to select the best shades:
✅ Floral Colors – Soft pastels like pink, lavender, yellow, and peach create a delicate look.
✅ Natural Greens – Use multiple shades of green for leaves and grass to add depth.
✅ Bright Accents – Blues and purples add contrast to make flowers pop.
✅ Sunlight Effects – Warm yellows and oranges can bring warmth and vibrancy to your scene.
📌 Tip: Use a color palette generator or take inspiration from real flowers in nature!
2. Blending Techniques for Smooth Transitions 🎨
Blending adds depth and realism to your coloring. Here’s how:
✨ Colored Pencils – Use light pressure and layer colors gradually. Blend with a colorless blender or white pencil.
✨ Markers – Work quickly while the ink is wet for smooth transitions. Use alcohol markers for best results.
✨ Crayons – Blend using a tissue or cotton swab for a softer look.
✨ Digital Coloring – Use gradient tools and soft brushes for seamless blending.
📌 Tip: For a glowing effect, blend colors from dark to light in circular motions!
3. Adding Depth with Shading ✏️
To make your illustrations more realistic:
🖌 Use a darker shade of the same color on one side of the object to create shadows.
🌞 Decide on a light source and shade the opposite side accordingly.
✨ Cross-hatching (light, small lines) adds texture for a more natural feel.
📌 Tip: Try layering colors instead of pressing too hard—this prevents waxy buildup and gives a richer effect.
4. Experimenting with Different Mediums 🖍️
Want to try something new? Here’s how different tools affect your coloring:
🎨 Colored Pencils – Great for fine details and soft gradients.
🖊 Markers – Ideal for bold, vibrant colors with smooth coverage.
🖍 Crayons – Perfect for textured and playful coloring styles.
🖥 Digital Tools – Unlimited color choices, layering effects, and easy corrections!
📌 Tip: Mix media! Try colored pencils over markers for added details and texture.
5. Creating Stunning Backgrounds 🌄
A beautiful background enhances your main illustration:
🌸 Soft Pastels – Use chalk pastels or a sponge to create dreamy skies and soft clouds.
🖌 Watercolor Washes – Lightly apply watercolors for a soft, airy effect.
✨ Gradient Blends – Use colored pencils or digital tools for smooth color transitions.
📌 Tip: If you’re unsure, start with light colors—you can always add depth later!
Final Touches: Make Your Artwork Stand Out! 🌟
✔ Add highlights using a white gel pen or eraser to create a glowing effect.
✔ Outline certain areas with darker shades to enhance depth.
✔ Use glitter pens or metallic markers for a magical touch!
📌 Tip: Step back and look at your work from a distance to see where you might need adjustments.
Now that you have these expert coloring tips, grab your favorite tools and bring your Spring Coloring Pages for Adults to life! 🌿🐦💐
What to Do with Your Colored Page?
After spending time carefully coloring your Spring Coloring Pages for Adults, you might be wondering what to do with your beautiful artwork. Instead of keeping it in a drawer, here are some creative and fun ideas to showcase and repurpose your masterpiece!
1. Frame and Display It 🖼️
Turn your coloring page into wall art by placing it in a frame. This is a great way to add a personal and artistic touch to your home décor.
📌 Tip: Use a decorative frame or a clipboard-style display to switch out new coloring pages seasonally!
2. Create Handmade Cards & Stationery 💌
Your finished page can be transformed into:
✉️ Greeting Cards – Cut and fold it into a unique card for birthdays, Easter, or special occasions.
📜 Bookmarks – Trim a section, laminate it, and add a ribbon for a custom bookmark.
📖 Journal Covers – Glue it onto the cover of your notebook or planner for a personalized look.
📌 Tip: Use metallic markers or glitter pens to add extra sparkle before gifting!
3. Make DIY Gift Wrap or Tags 🎁
Give your gifts a personal touch by using your coloring pages as:
🎀 Gift Wrap – For small gifts, use your page as wrapping paper.
🏷 Gift Tags – Cut out shapes, punch a hole, and tie with a ribbon.
📌 Tip: Add a handwritten message for a warm, personal touch!
4. Turn It into Home Decor 🏡
Your coloring art can bring a cozy spring vibe to your home. Try these ideas:
🕯 Tray or Coaster Liner – Place it under glass for a decorative tray or coaster.
🖼 Canvas Transfer – Scan and print it onto a canvas for a professional look.
🌿 DIY Wall Hanging – String multiple colored pages together for a seasonal wall banner.
📌 Tip: Mod Podge (a crafting glue) can help seal your artwork onto different surfaces!
5. Scrapbooking & Journaling 📔
Use your finished page in a scrapbook, bullet journal, or planner for a creative memory-keeping idea.
📌 Tip: Cut out small elements like flowers or butterflies to use as stickers or decorations.
6. Share It Online & Inspire Others 📱✨
If you’re proud of your work, why not share it with the world?
📷 Post it on Instagram, Pinterest, or Facebook groups for coloring enthusiasts.
💡 Join coloring challenges or art communities to connect with others.
📌 Tip: Use hashtags like #ColoringForAdults #SpringColoring #AdultColoringArt to reach more people!
Your Spring Coloring Pages don’t have to stay in a book—turn them into art, gifts, or décor! Try one of these ideas and let your creativity shine.