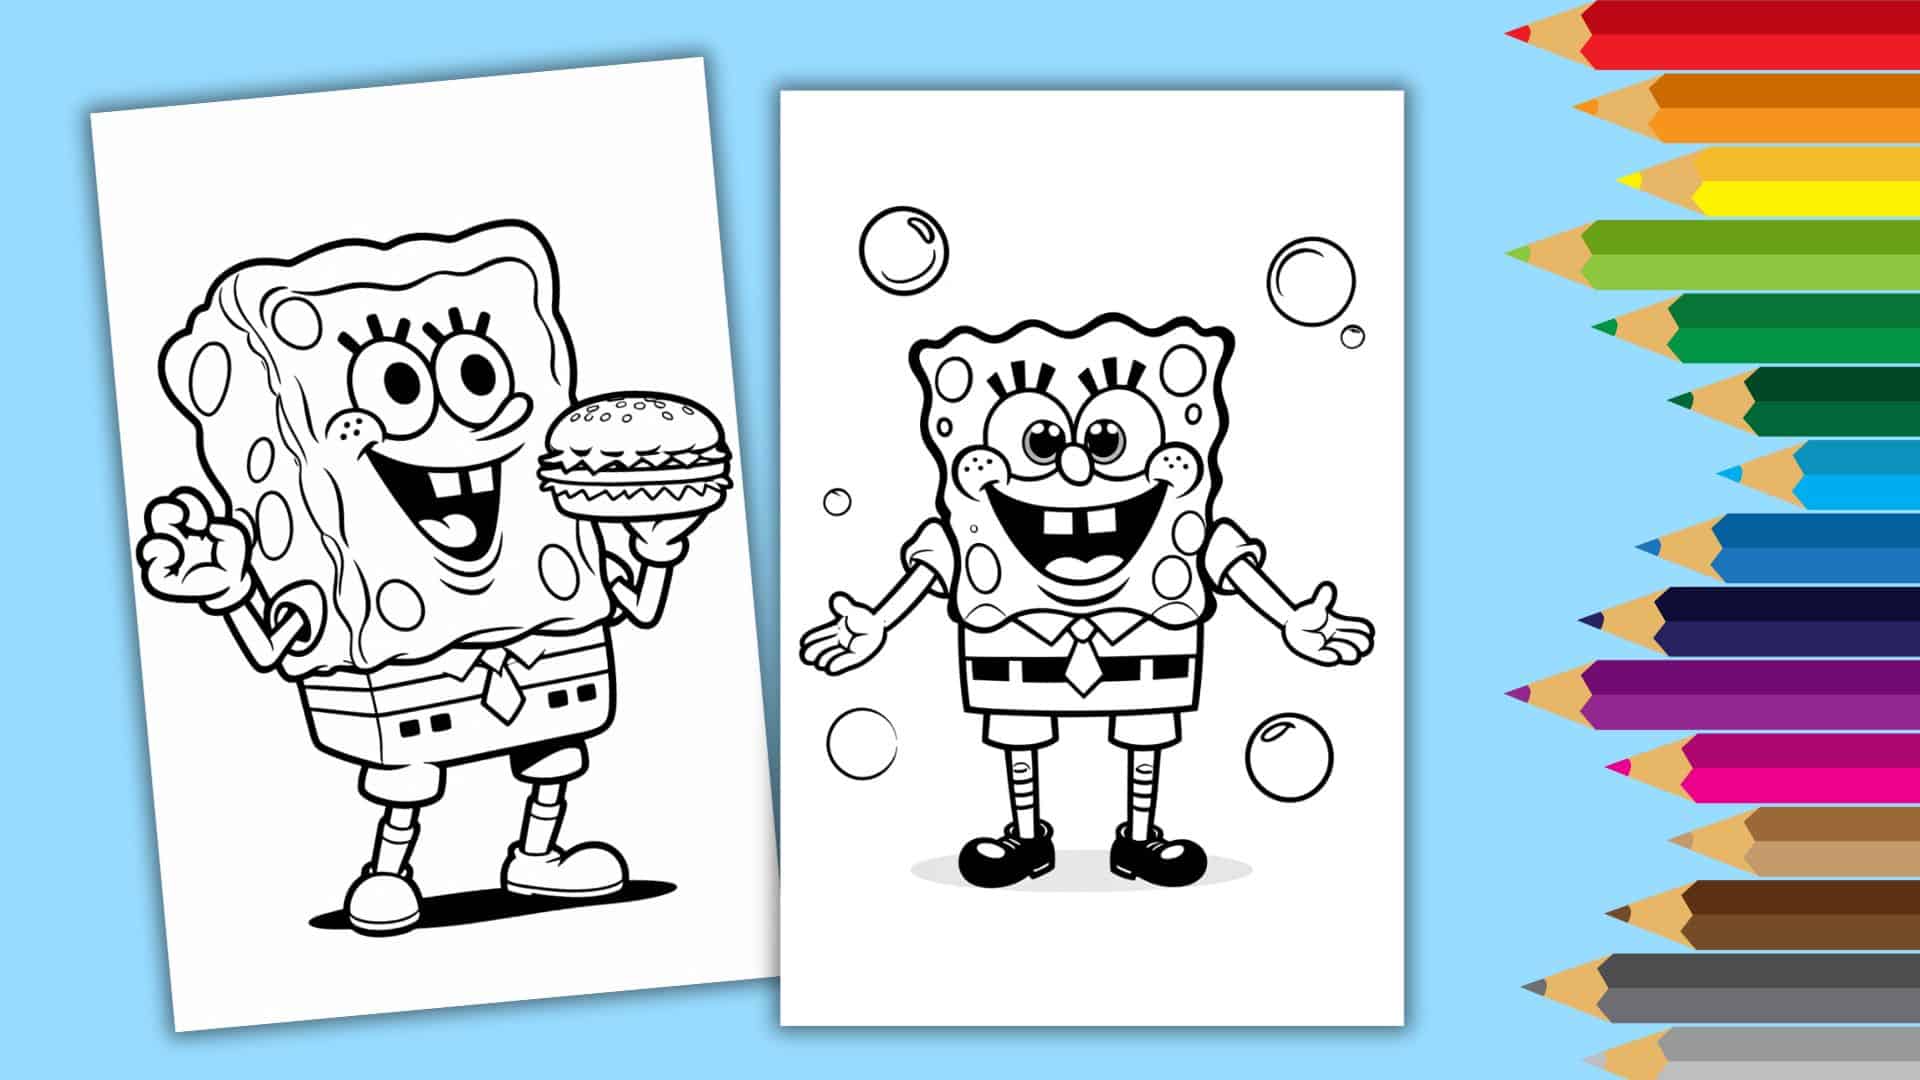
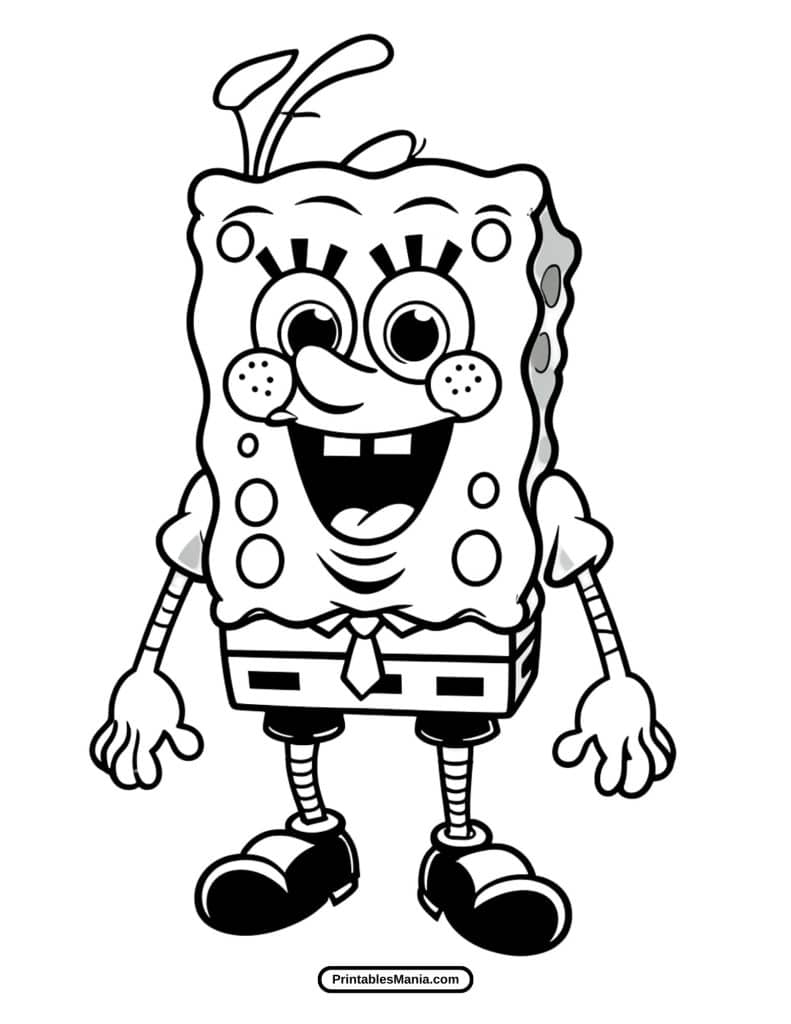
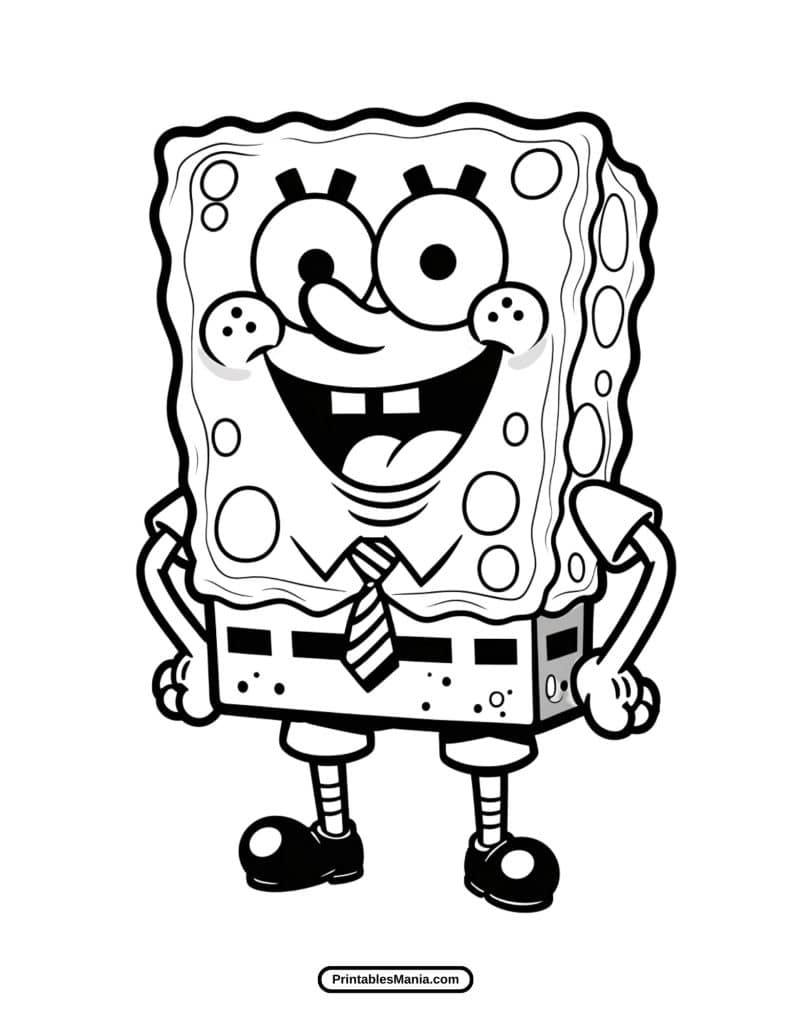
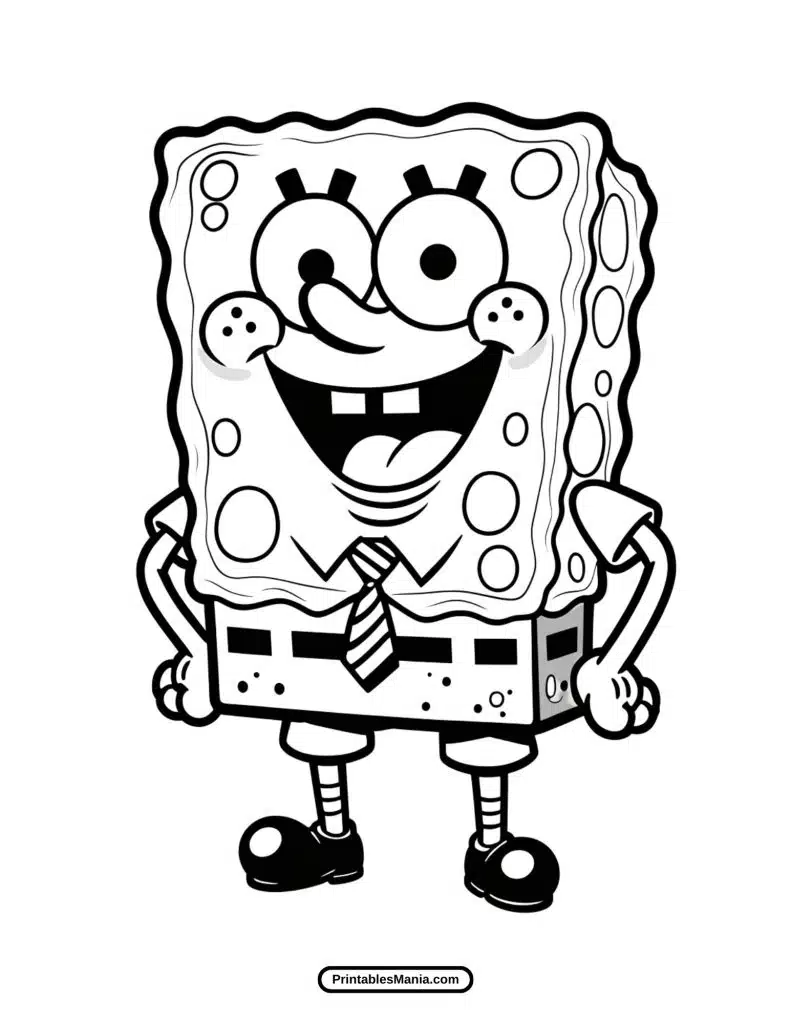
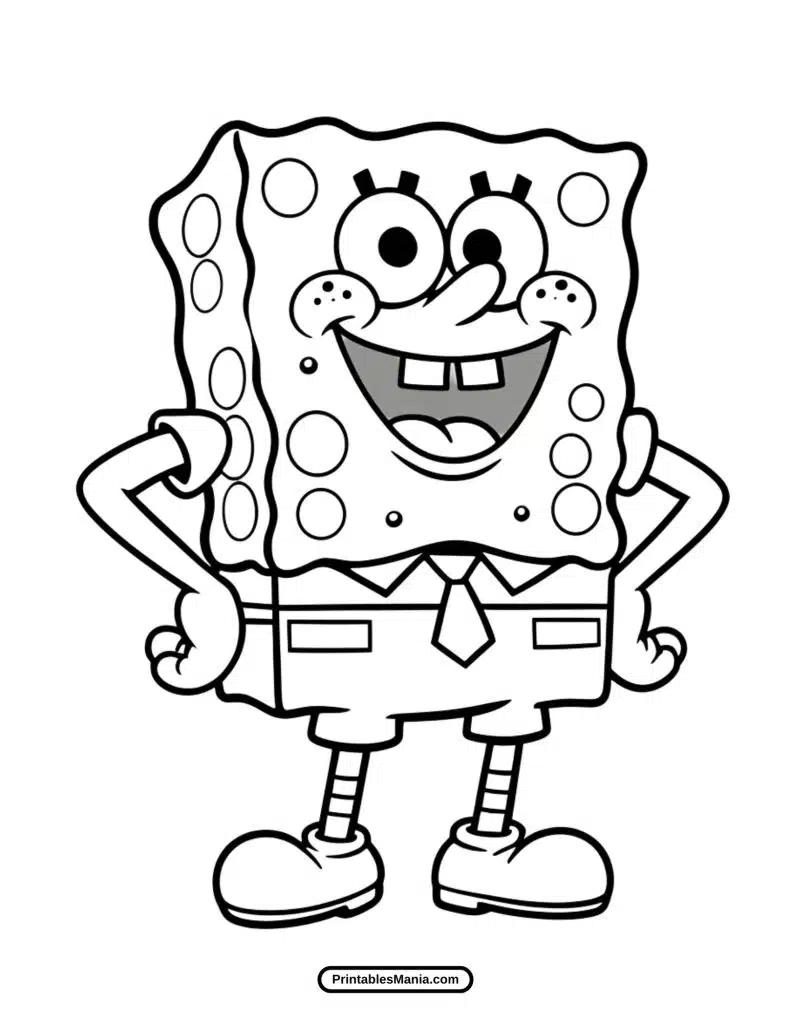
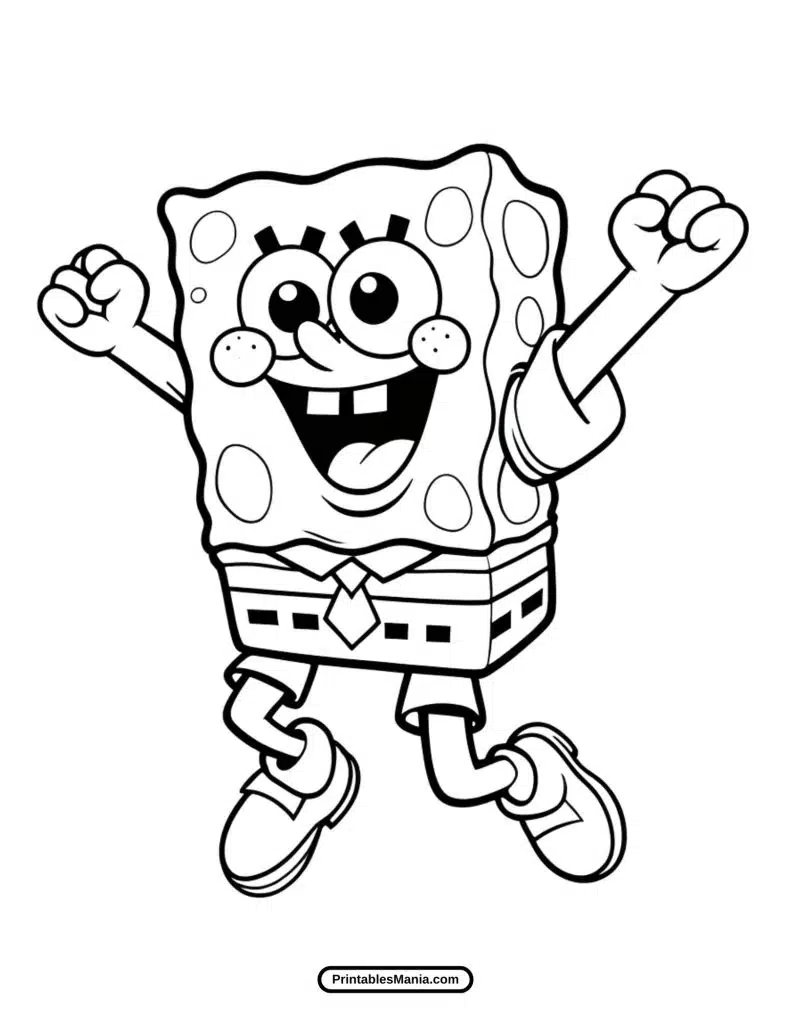
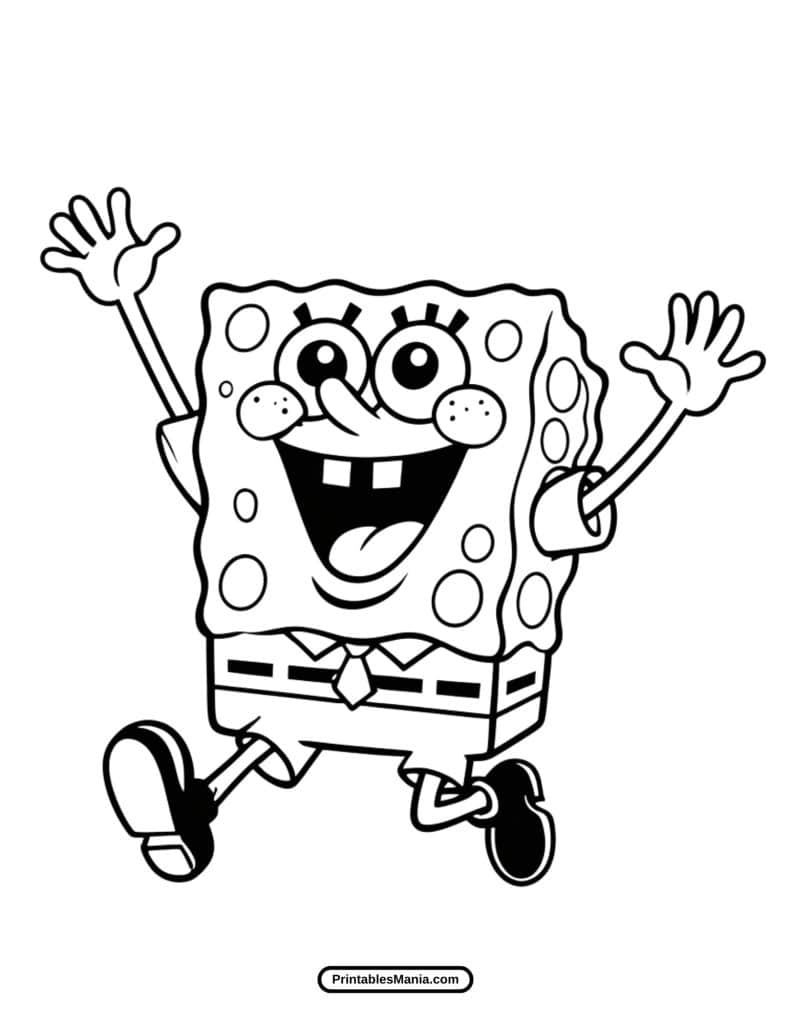
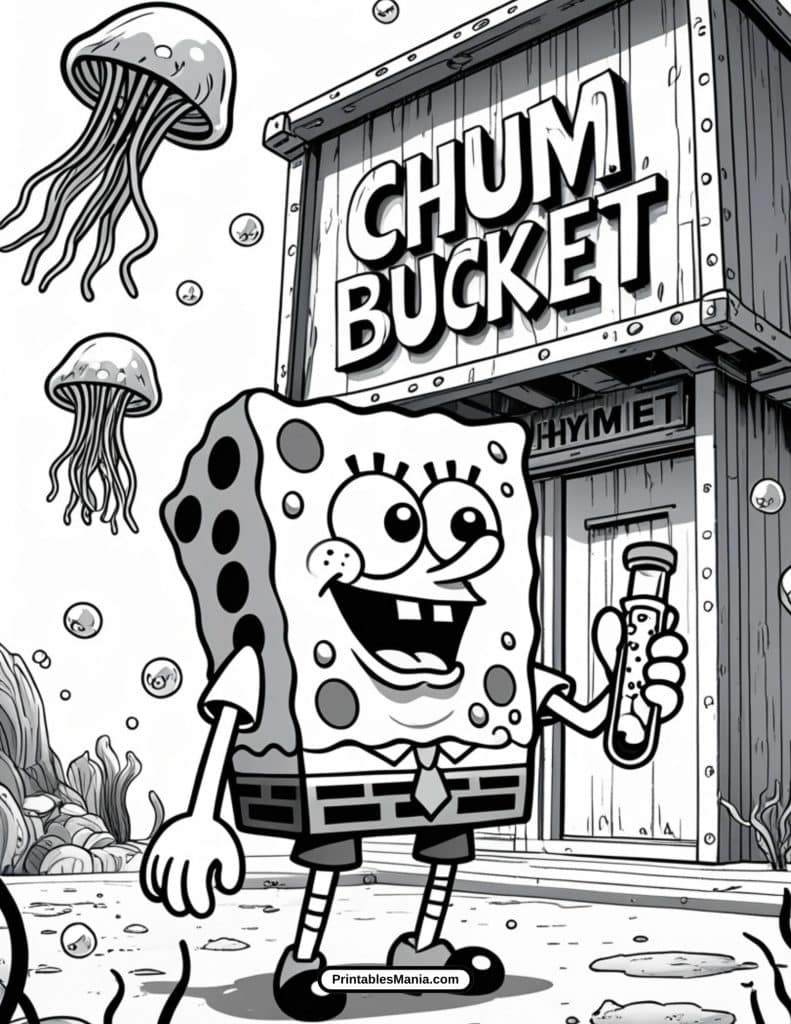
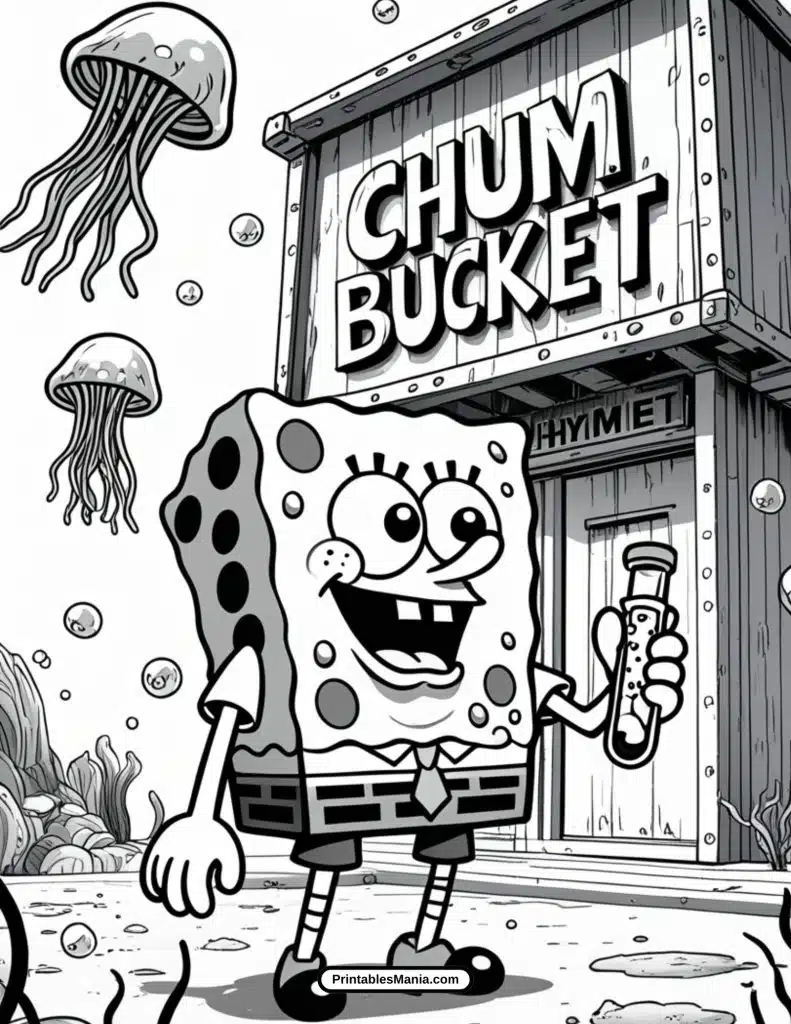
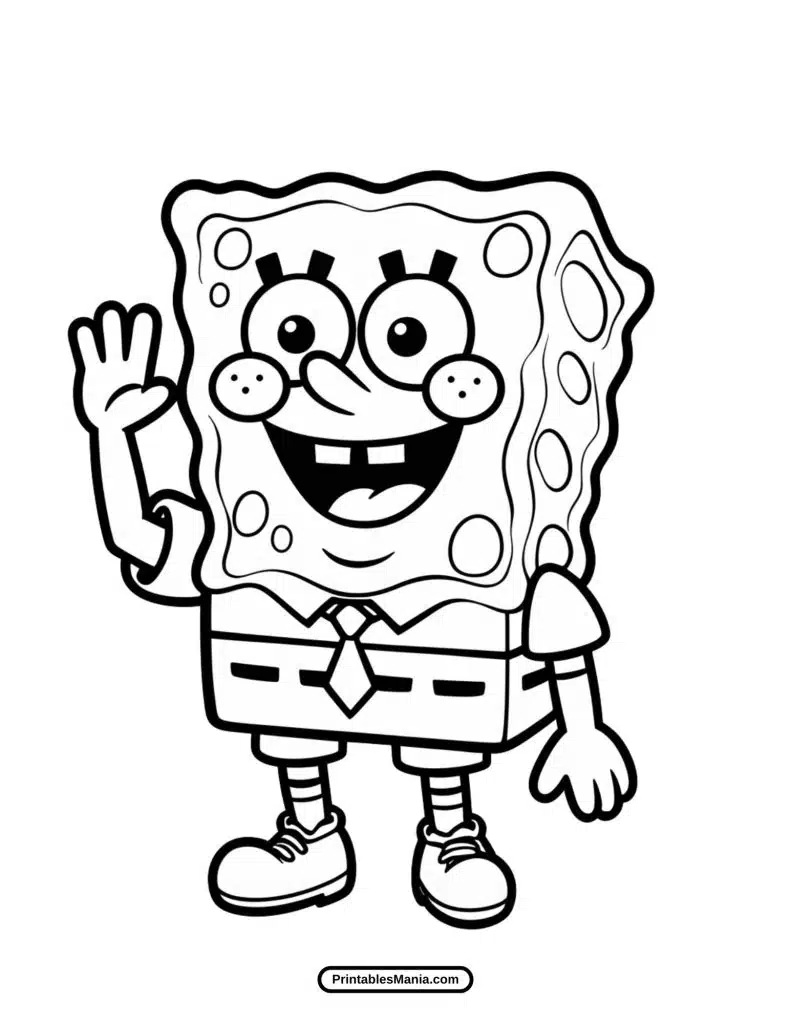
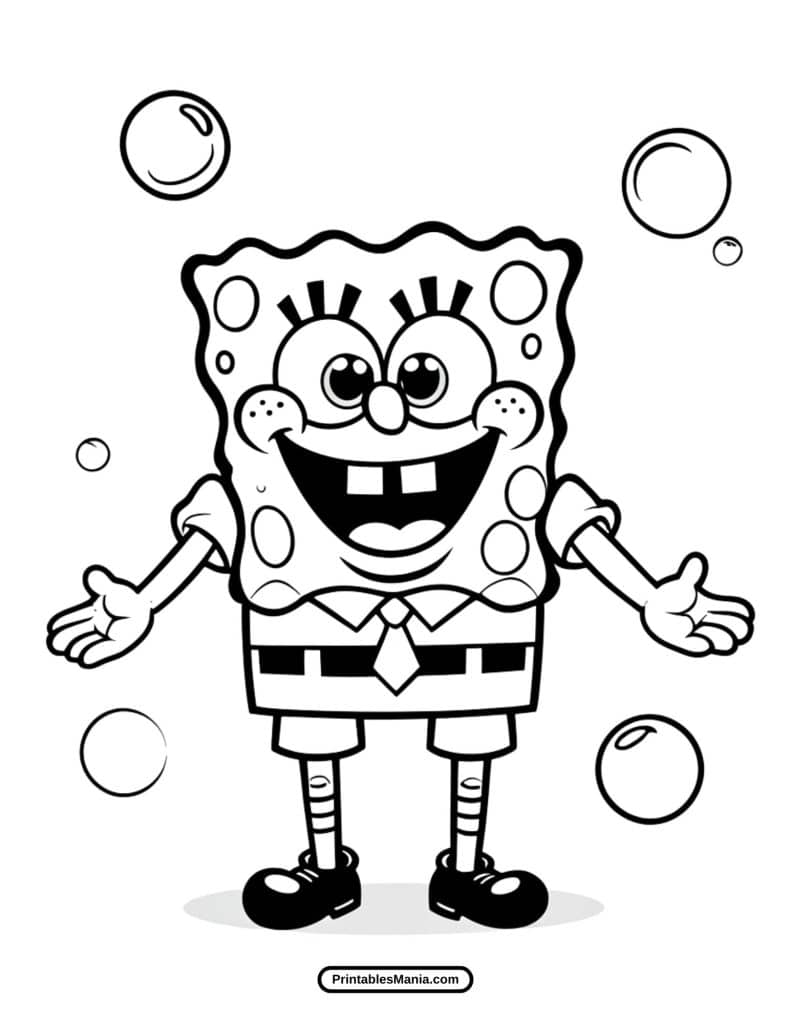
Dive into the vibrant world with our collection of SpongeBob SquarePants coloring pages! Perfect for fans of all ages, these pages offer a fun and creative way to bring your favorite characters to life.
Fun and Engaging Scenes
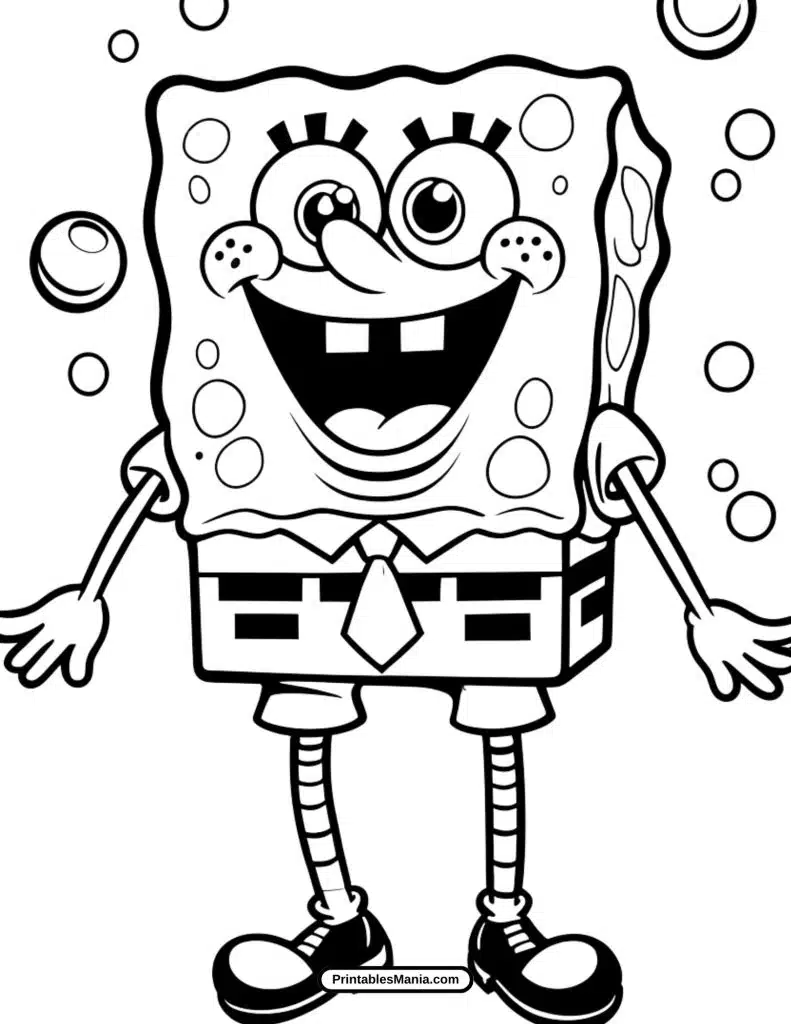
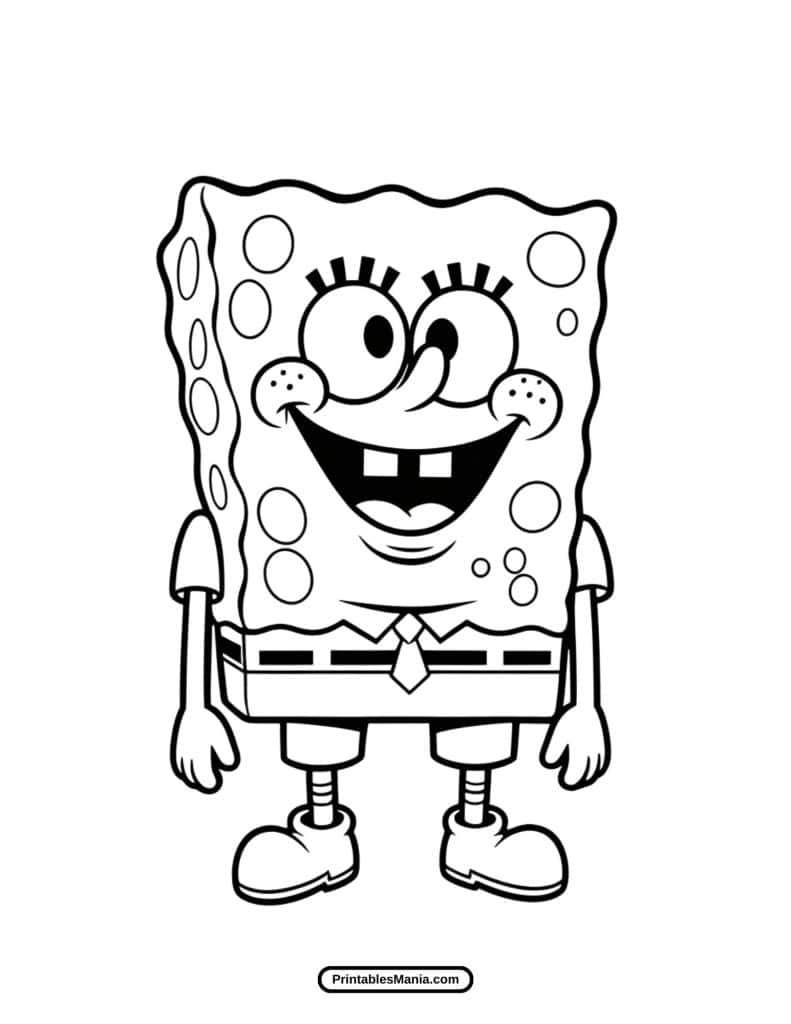
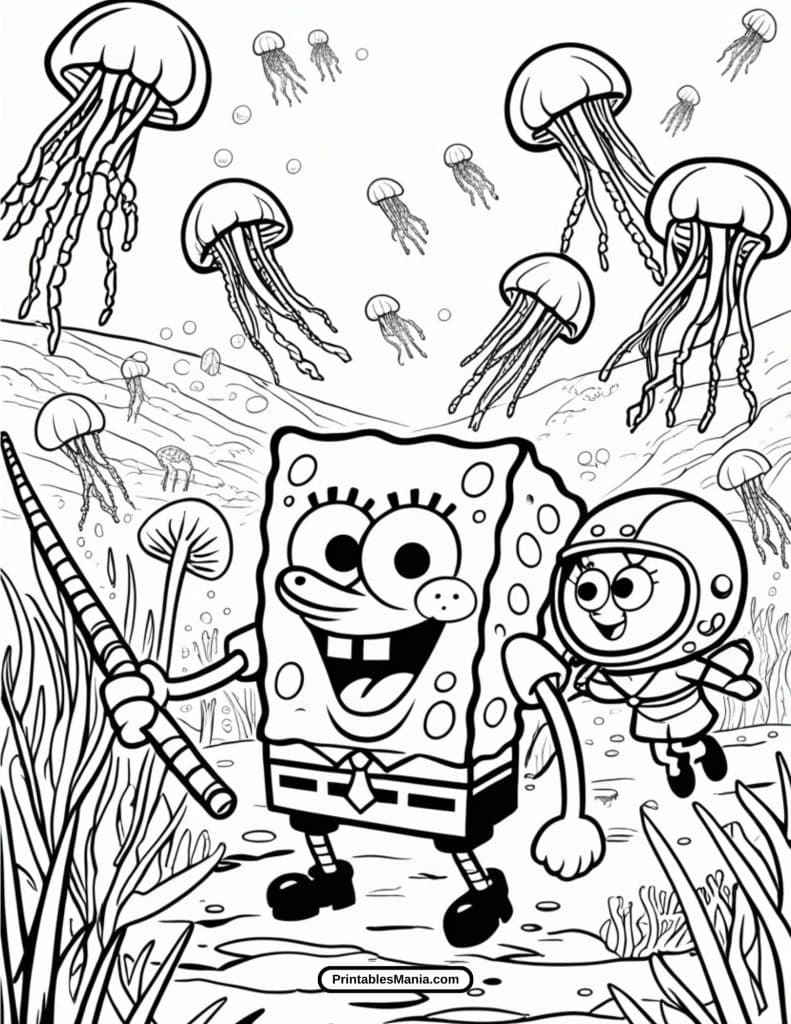
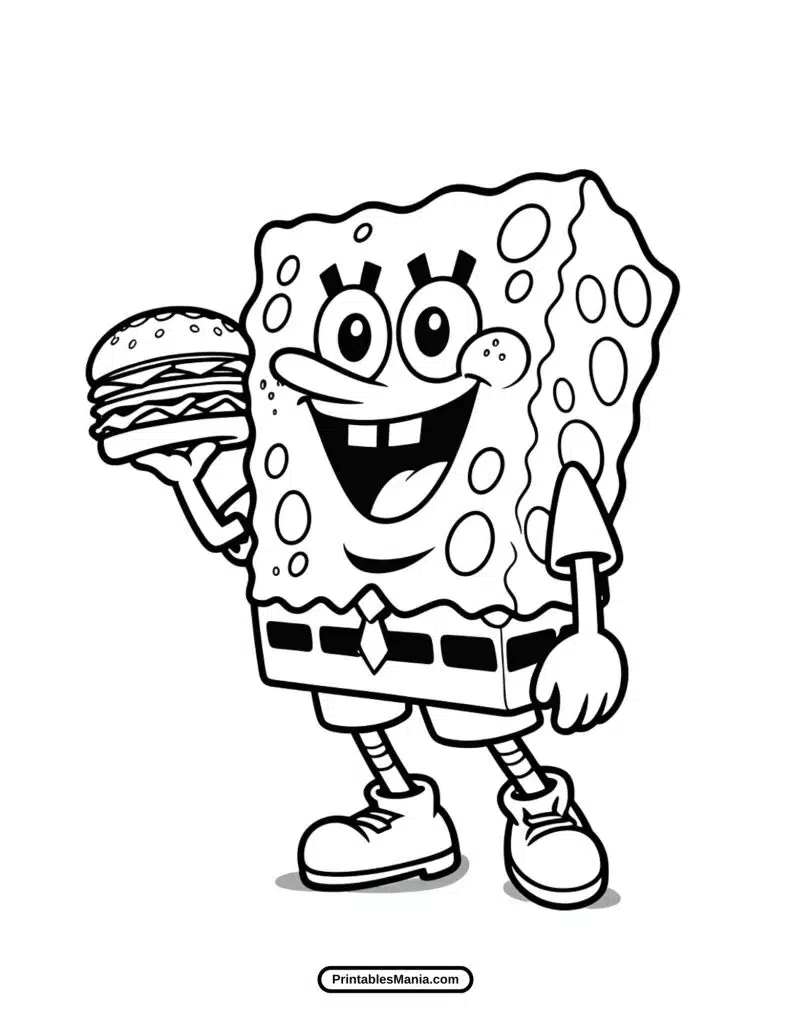
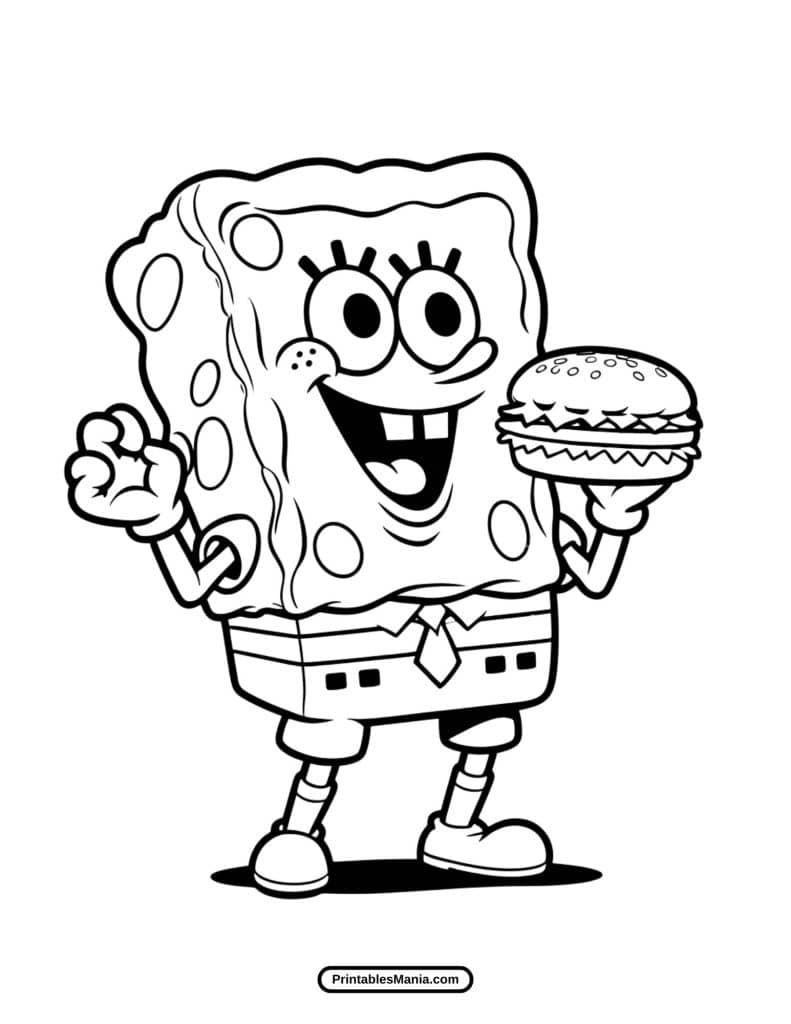
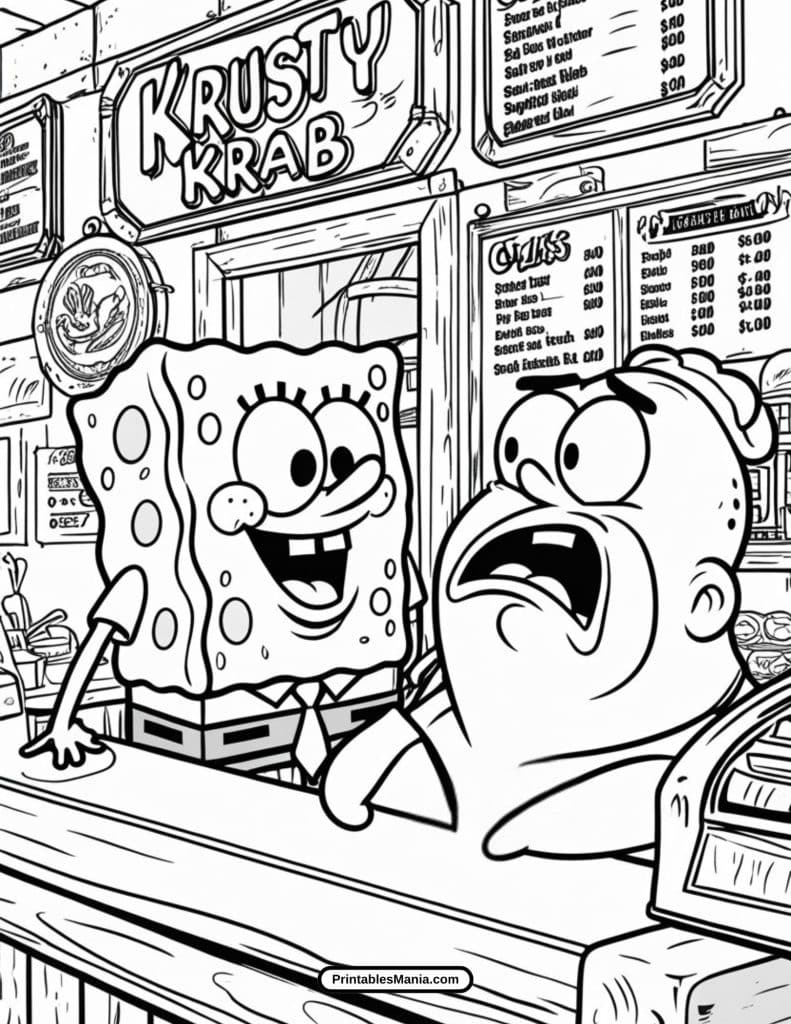
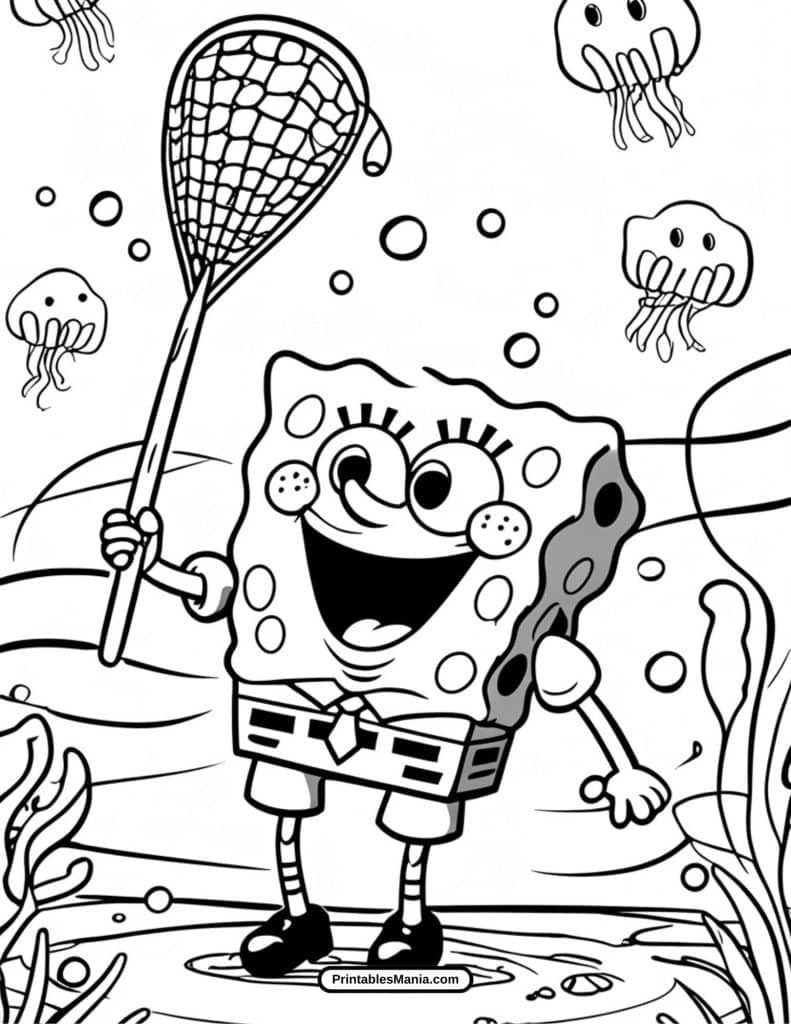
Bring to life iconic moments such as:
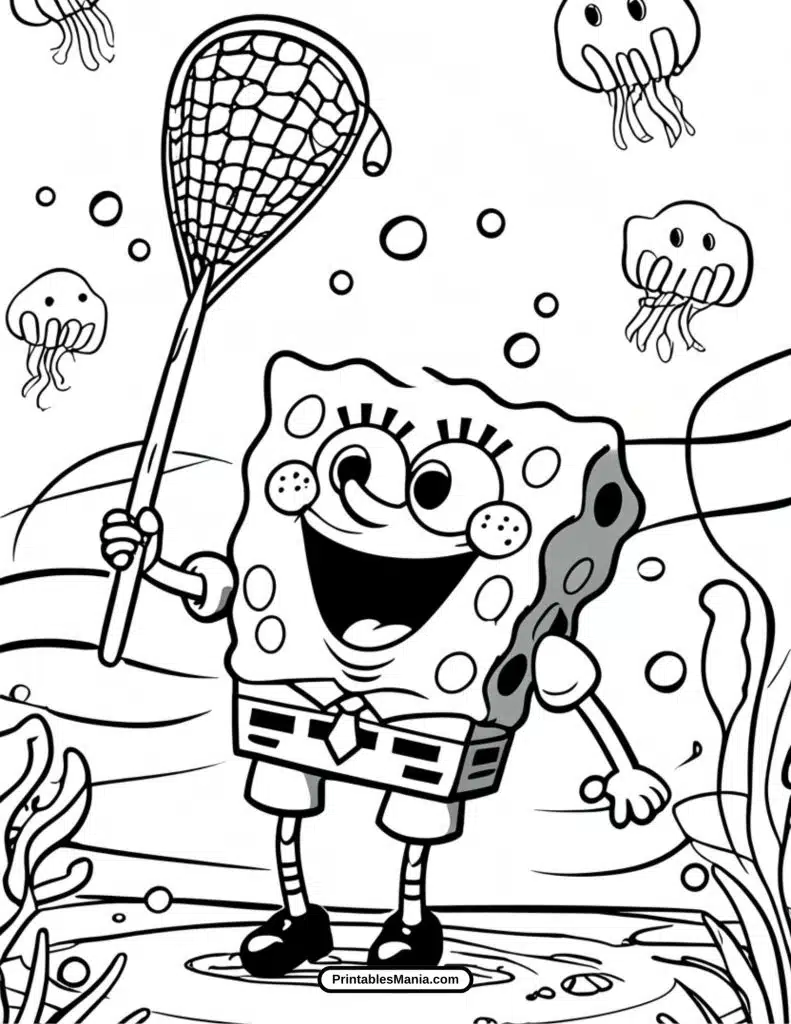
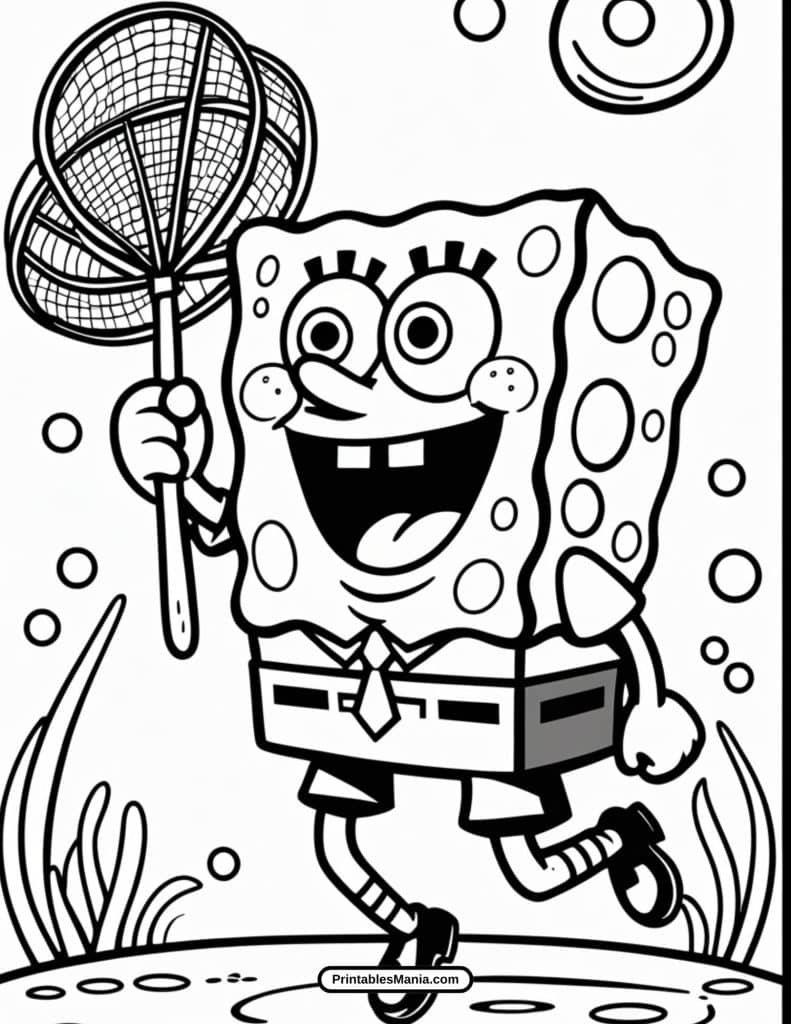
- SpongeBob jellyfishing in Jellyfish Fields.
- Patrick enjoying a Krabby Patty.
- Sandy practicing karate with SpongeBob.
- The gang celebrating a Bikini Bottom holiday.
Easy to Access and Print
Simply choose your favorite scenes, download, and print them at home. Grab your crayons, colored pencils, or markers, and start your underwater adventure today!
Unleash your creativity and add your unique splash of color to the beloved world of SpongeBob SquarePants!


Art Tips and Techniques: Coloring Your Illustrations
Coloring can elevate your artwork, bringing it to life in vibrant ways. Whether you’re using traditional mediums like crayons and markers or digital tools, there are several techniques you can use to enhance your coloring process.
1. Choosing the Right Colors
- Consider the Mood: Different colors evoke different feelings. Soft blues and greens create a calm, serene vibe, while reds and yellows add energy and warmth. Think about the mood you want your illustration to convey and choose your color palette accordingly.
- Complementary Colors: Complementary colors are opposite each other on the color wheel (like red and green, blue and orange). Using them together creates a dynamic contrast, perfect for eye-catching highlights or accents.
- Monochromatic Schemes: Stick to different shades and tints of a single color to create a harmonious, elegant look. This is especially useful for backgrounds or when you want to keep things subtle.
2. Blending Techniques
- Layering: Start by laying down a base color, then slowly add layers of deeper or lighter tones. Use circular or back-and-forth strokes to blend the layers together. This creates a smooth gradient effect, especially with colored pencils or crayons.
- Cross-Hatching: For a textured effect, use the cross-hatching technique, where you apply multiple layers of lines in different directions. This works well with markers or pens and can be used to create shadows or depth.
- Smudging: With certain mediums like colored pencils, you can use a blending stump or your finger to smudge the color, creating a soft, blended effect. This is especially useful for creating smooth transitions between colors.
3. Medium-Specific Tips
- Crayons: Crayons are fantastic for rich, opaque colors. For smoother blending, you can layer colors and then use a piece of tissue or a blending stump to soften edges. Crayons are also great for creating textured effects, like rough or “scribbled” areas for a more expressive look.
- Markers: Markers provide bright, bold colors. If you’re using markers, consider using lighter strokes to prevent streaks. You can also layer markers to build up depth, or use a colorless blender marker to blend the colors together and create smooth transitions.
- Colored Pencils: Colored pencils offer versatility with both soft and hard pressures. Start with light pressure for soft colors and build up to darker shades for deeper tones. Use the side of the pencil for larger areas and the tip for fine details. Colored pencils are excellent for adding texture and details.
- Watercolor Pencils: For a watercolor effect, use watercolor pencils and then activate the color with a damp brush. This works well for creating soft gradients or blending different colors seamlessly.
- Digital Tools: If you’re using a digital medium like Procreate or Photoshop, you can play with various brushes and blending modes to create different effects. Layering colors digitally allows you to adjust opacity and use gradient tools for smooth transitions.
4. Shading and Highlighting
- Shading: Think about where your light source is coming from. Use darker shades or complementary colors on the opposite side of the light to create depth and dimension. Shadows can add realism to your illustration, making it feel more three-dimensional.
- Highlights: To make areas pop, use lighter or brighter colors where light naturally hits. For instance, add highlights to the tops of objects or the edges where light would shine. This works especially well with markers or digital tools.
5. Experiment and Have Fun
Remember, coloring is an art form meant to be enjoyed. Don’t be afraid to experiment with different techniques, colors, and mediums. The more you practice, the more you’ll find your unique style!
What to Do with the Colored Page?
Once you’ve finished coloring your illustration, it’s time to think about how to showcase your work or make it a part of something even more special. Here are a few creative ideas to consider for what you can do with your colored page:
1. Frame It for Display
One of the best ways to honor your hard work is by framing your colored page. Choose a frame that complements the colors and style of your illustration. This is a great way to create personalized art for your walls, whether it’s in your home, office, or even as a gift for someone special.
- Tip: For extra durability, consider using a mat to create a professional presentation, or choose a frame with UV protection to preserve your colors over time.
2. Create Cards or Stationery
Turn your colored illustration into personalized greeting cards, thank you notes, or stationery. You can scan your page and resize it to fit different formats or even print it on blank cards to create unique designs for birthdays, holidays, or any occasion.
- Tip: If you’re making cards, leave space for handwritten messages and consider adding some finishing touches like glitter or metallic pens for extra sparkle.
3. Make a Gift Wrap
Why not turn your colored page into custom gift wrap? Scan and print your colored page onto wrapping paper to create a one-of-a-kind wrapping experience. This makes your gift even more thoughtful and unique.
- Tip: Use a scan of your artwork to print on larger sheets of paper, or combine it with a coordinating solid-colored paper for a more polished look.
4. Create a Digital Version
If you’re using traditional media (like crayons or markers), consider scanning your colored page to preserve it digitally. This gives you a chance to print it in any size, share it on social media, or even use it in digital projects like websites, eBooks, or digital cards.
- Tip: If you’re using digital tools, you can enhance your artwork by adjusting the colors or adding special effects before sharing it online.
5. Make a Collage or Poster
Take several of your colored pages and create a larger collage or a poster. Combine your works into a visually interesting layout, showcasing your creative journey. This can be a great way to see the progress of your art skills or to tell a visual story.
- Tip: Try mixing illustrations that feature different color schemes or themes for a more dynamic final piece.
6. Turn It Into Fabric or Merchandise
Want to make your art wearable or functional? Consider turning your colored page into fabric, accessories, or merchandise. Many online services allow you to upload your designs and turn them into custom T-shirts, bags, mugs, pillows, and more.
- Tip: Choose a design that will work well on products, ensuring it’s bold and clear when printed in various formats.
7. Create a Personal Art Journal
Bind your colored pages together to create a personalized art journal or sketchbook. This can serve as a collection of your work over time, showcasing your development and creativity. It’s also a great way to keep memories or gifts from your coloring sessions.
- Tip: Add a personal touch by journaling or writing about your process on the pages alongside your artwork.
8. Use It for Scrapbooking
Add your colored pages to a scrapbook for a unique, personalized touch. Whether it’s for documenting memories, adding creative elements to your stories, or simply displaying your art, scrapbooking with colored pages lets you preserve and revisit your artwork in new ways.
- Tip: Incorporate small embellishments, stickers, or photos alongside your colored pages to create a more interactive, dynamic scrapbook page.
9. Create a Calendar
Design a personalized calendar by assigning each month a different colored page. You can add dates, notes, and special events to each illustration, making it both functional and creative.
- Tip: Scan and resize your artwork to fit the calendar format, and use a mix of your favorite pieces to fill each month.
Printables Mania acknowledges the intellectual property rights of third parties, including any content that is influenced by or represents characters not originally created by PrintablesMania.com. Such content is created as fan art and is intended for educational, artistic expression, and non-commercial use only.