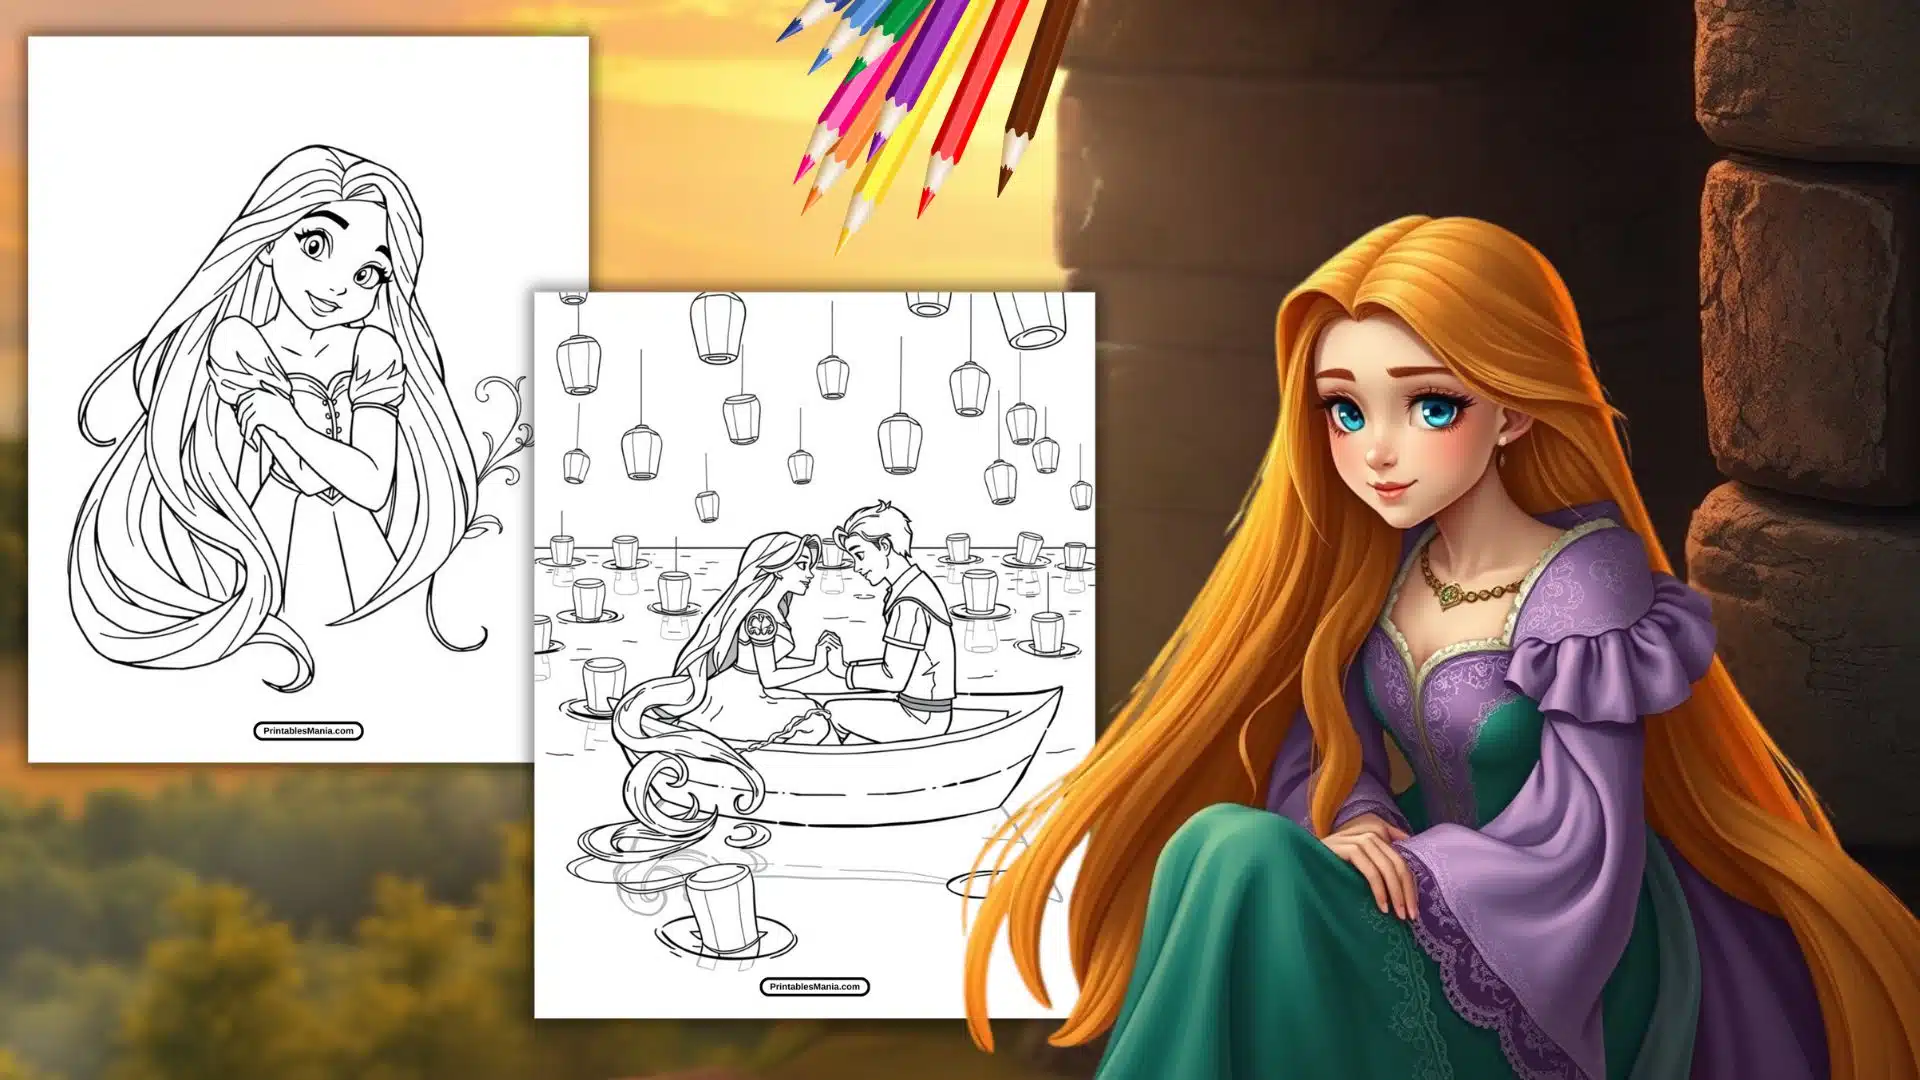
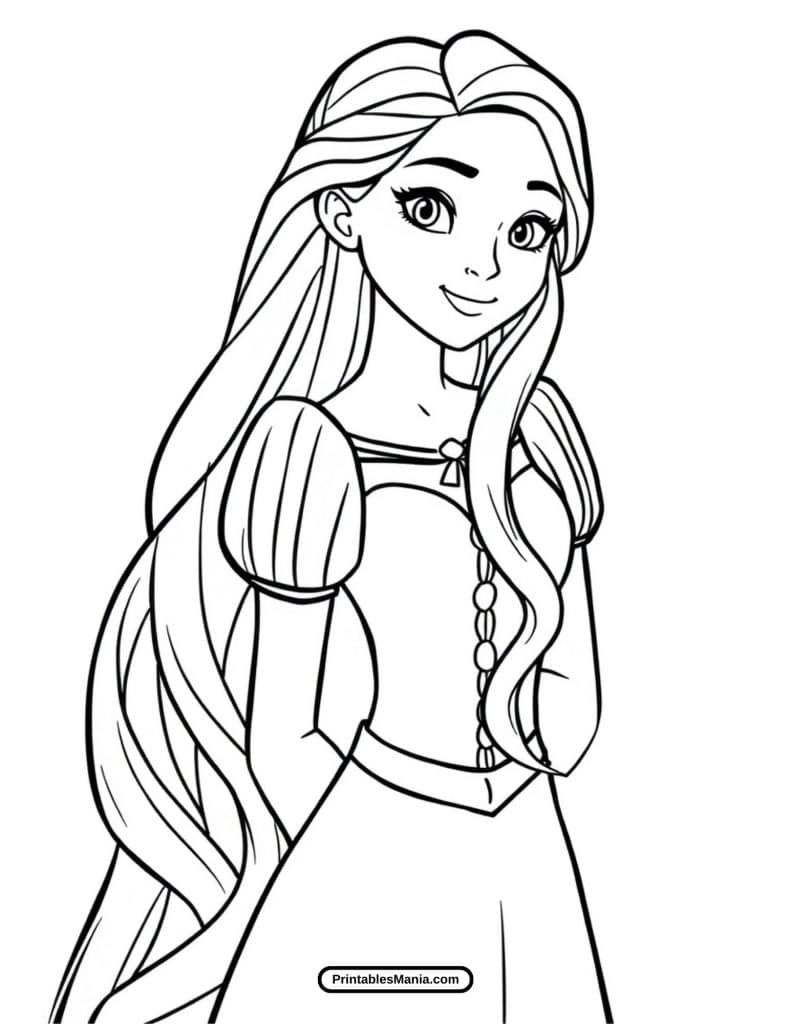
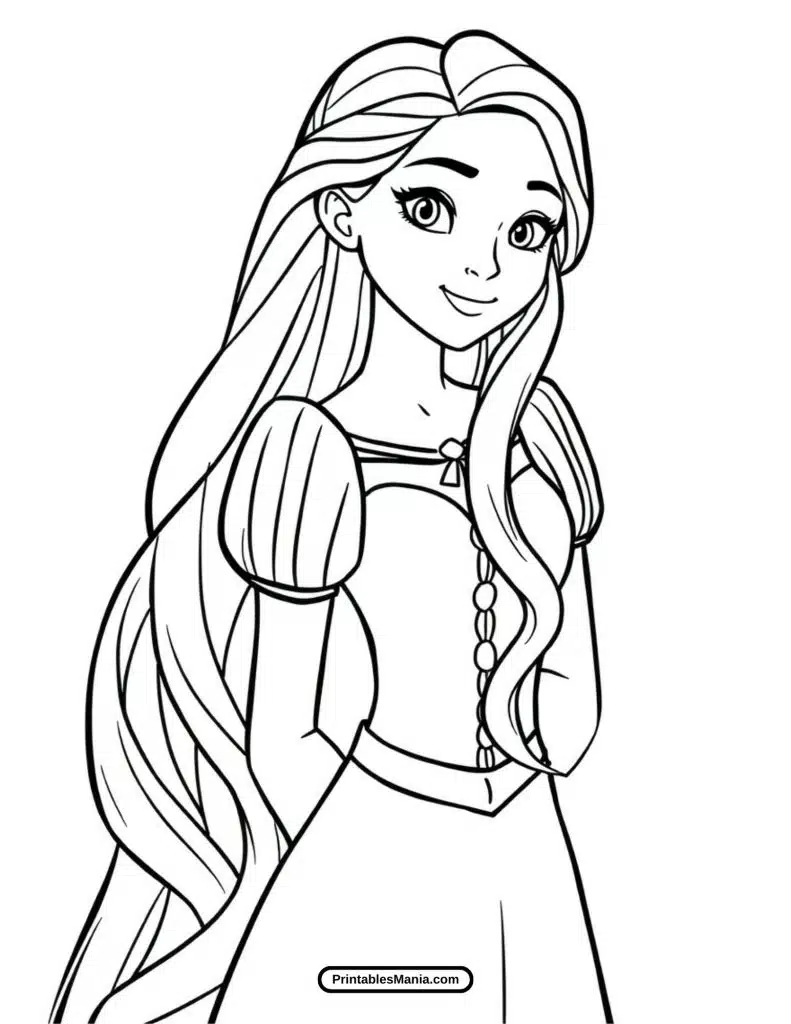
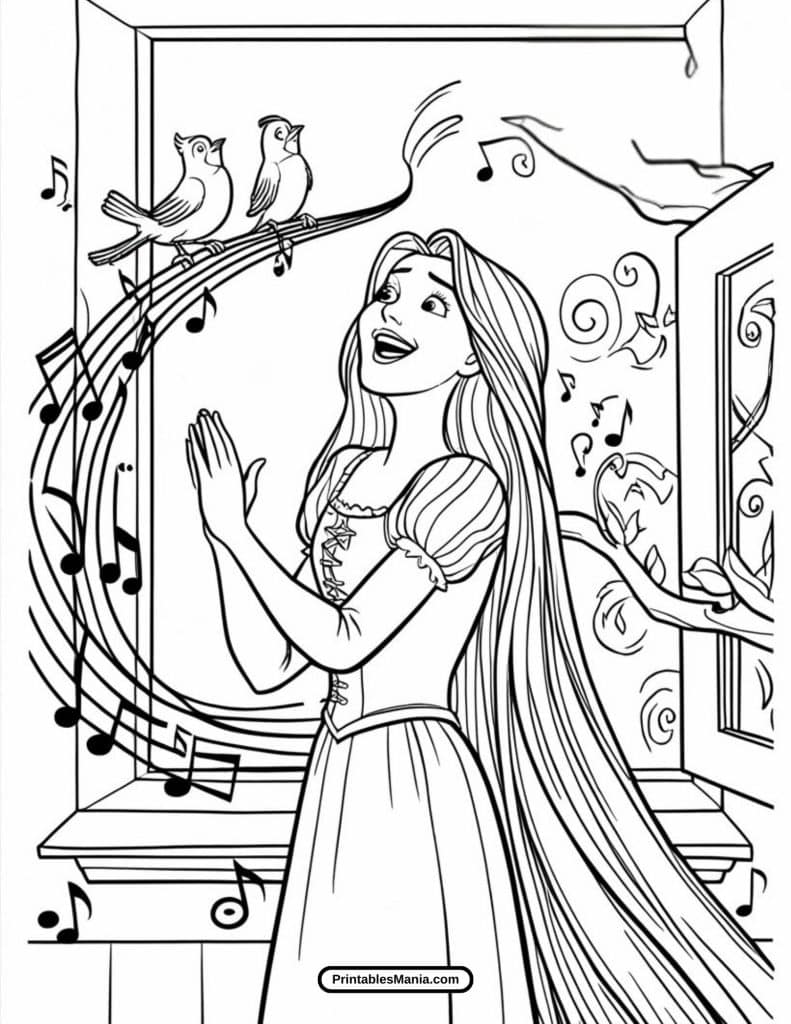
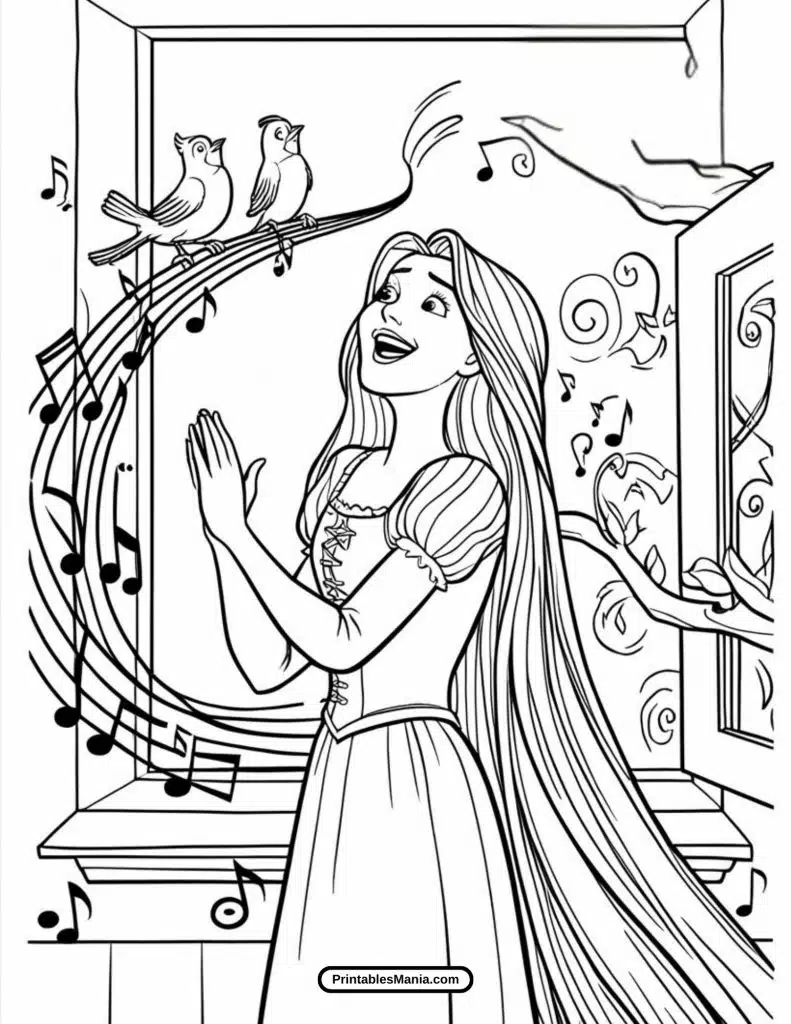
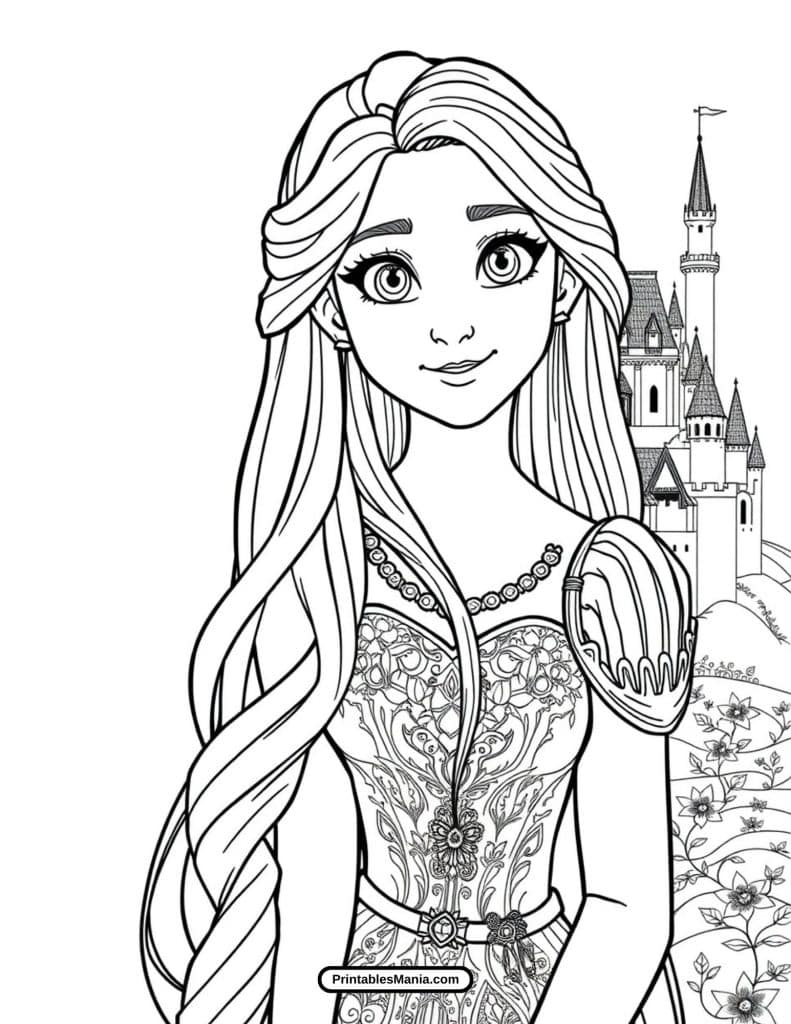
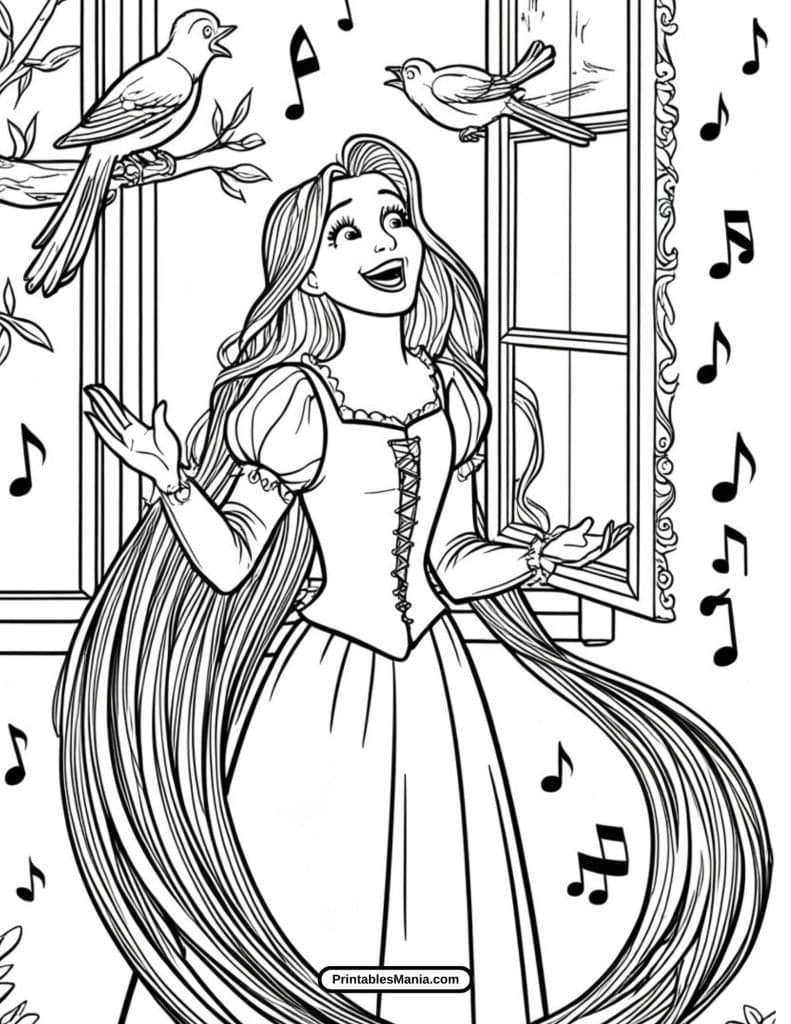
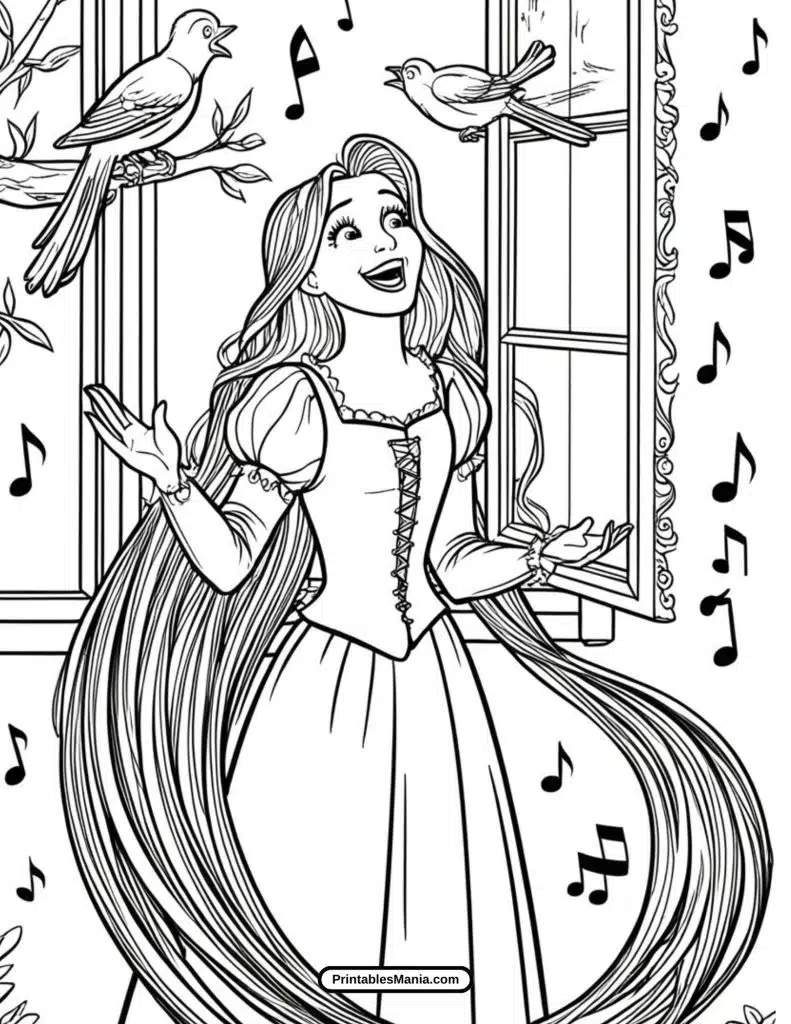
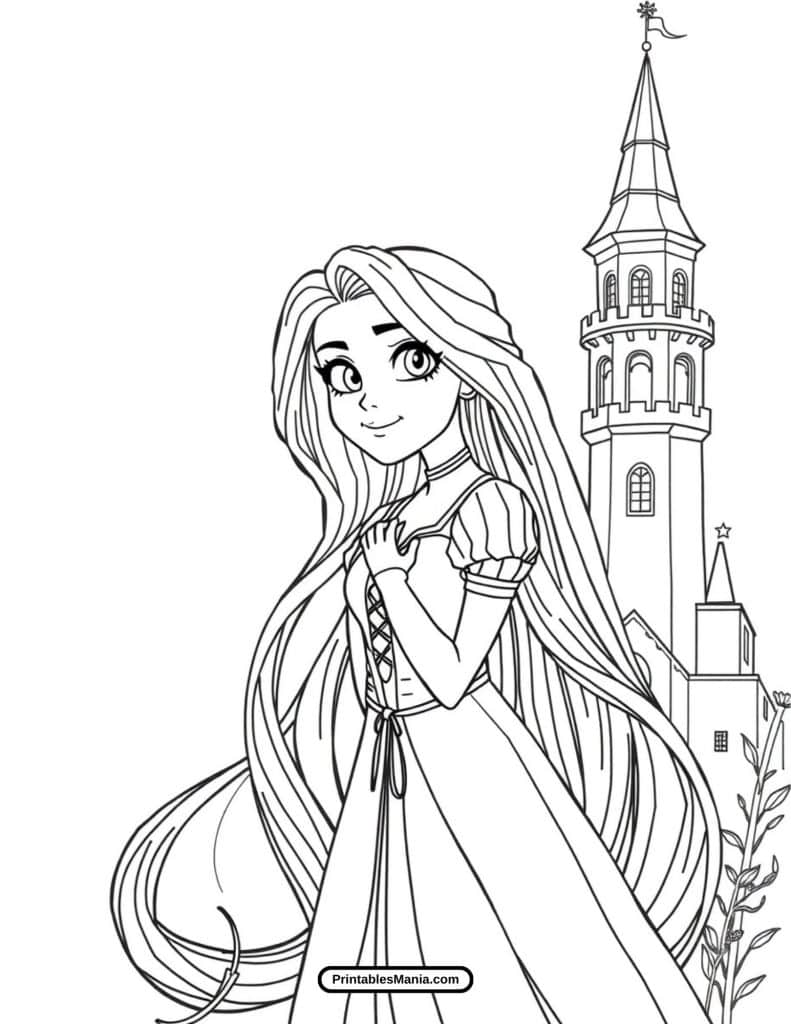
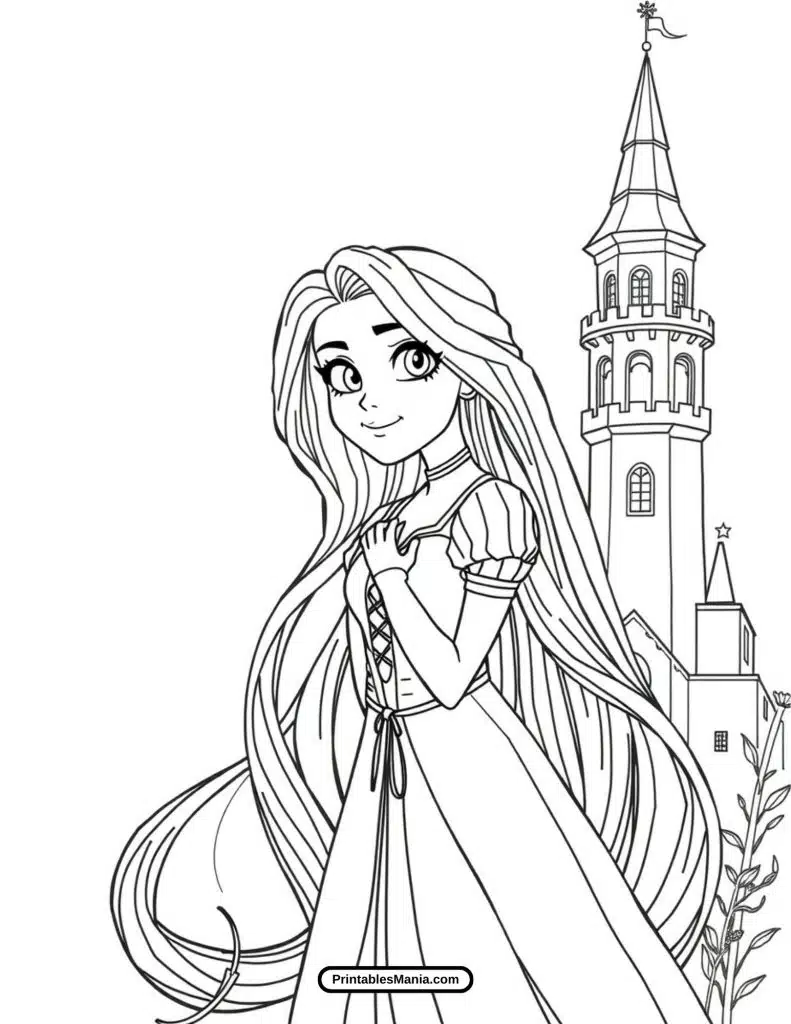
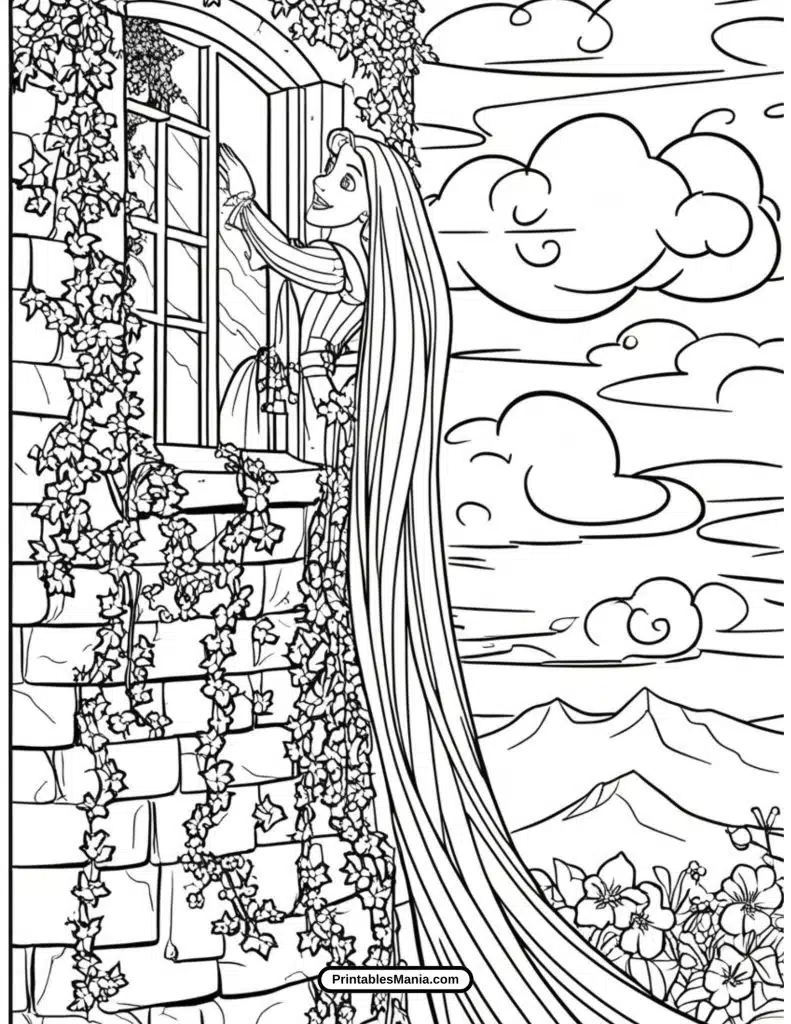
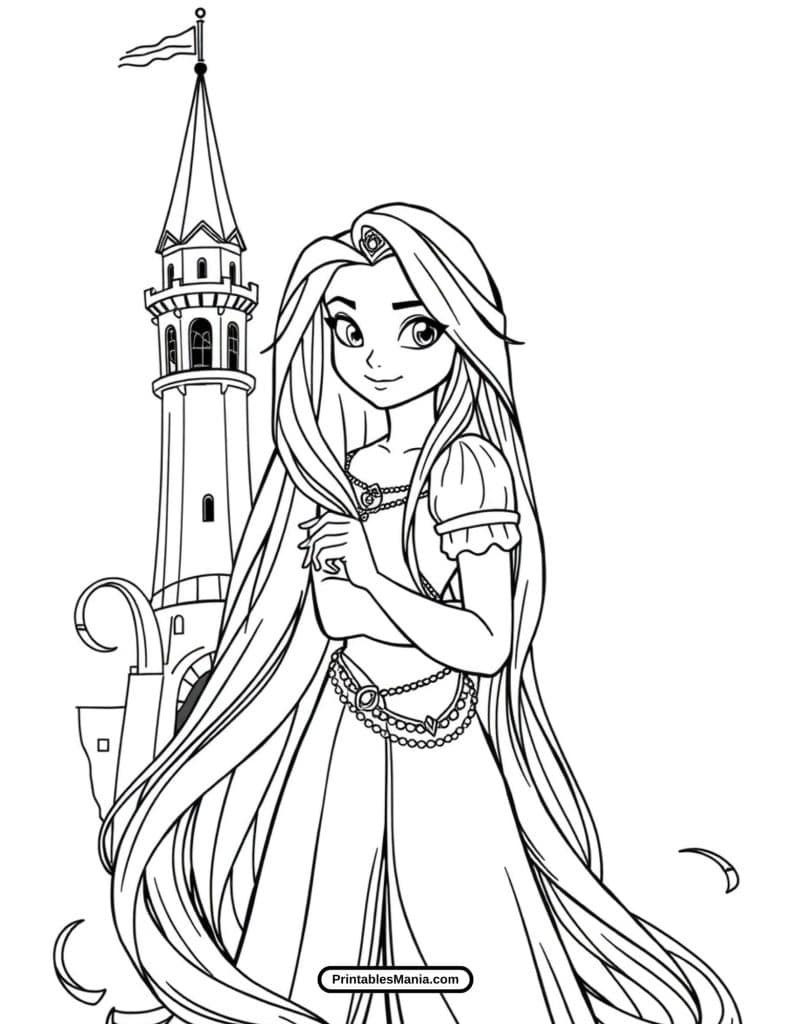
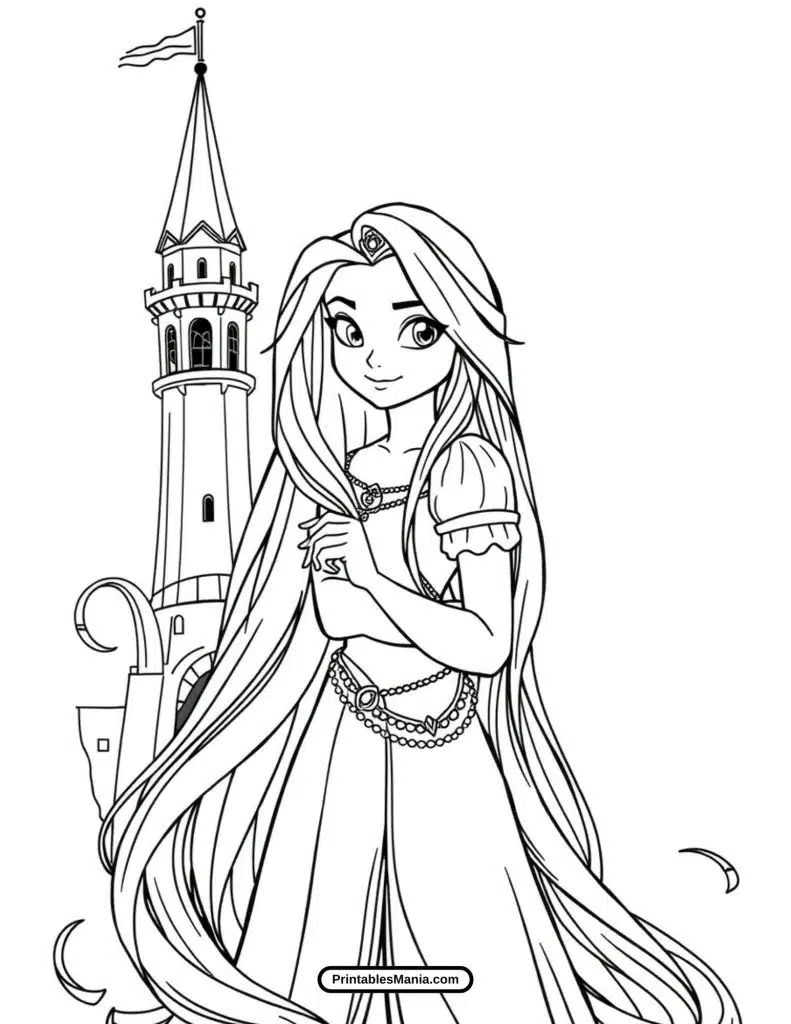
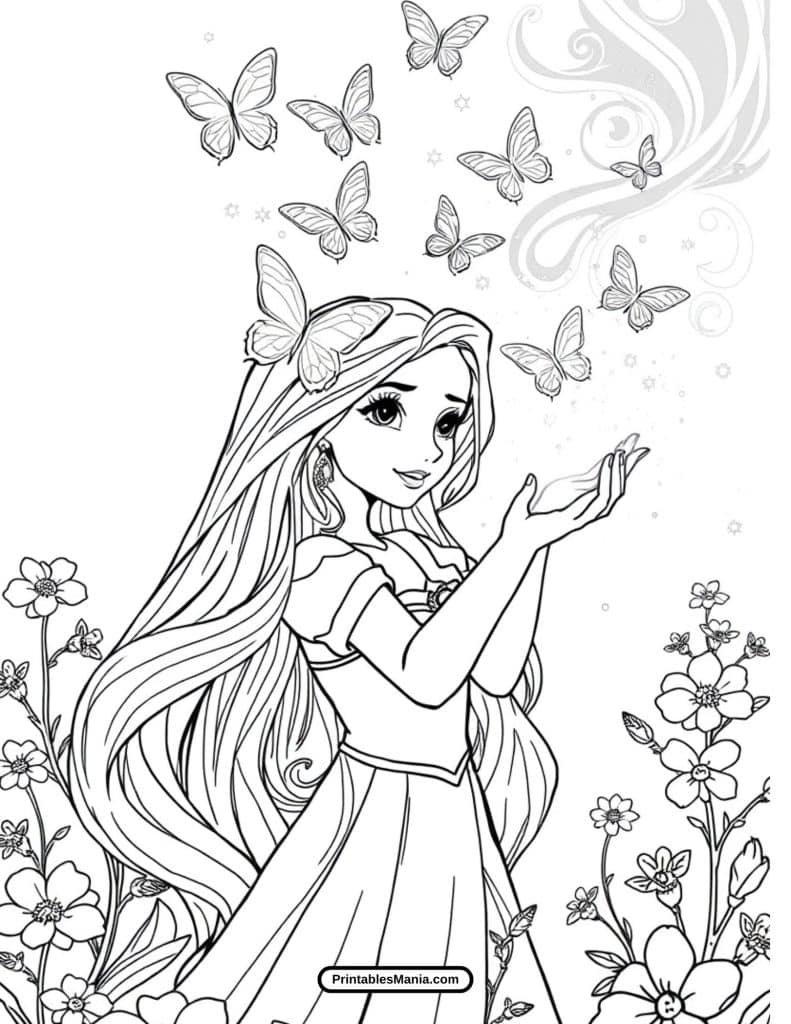
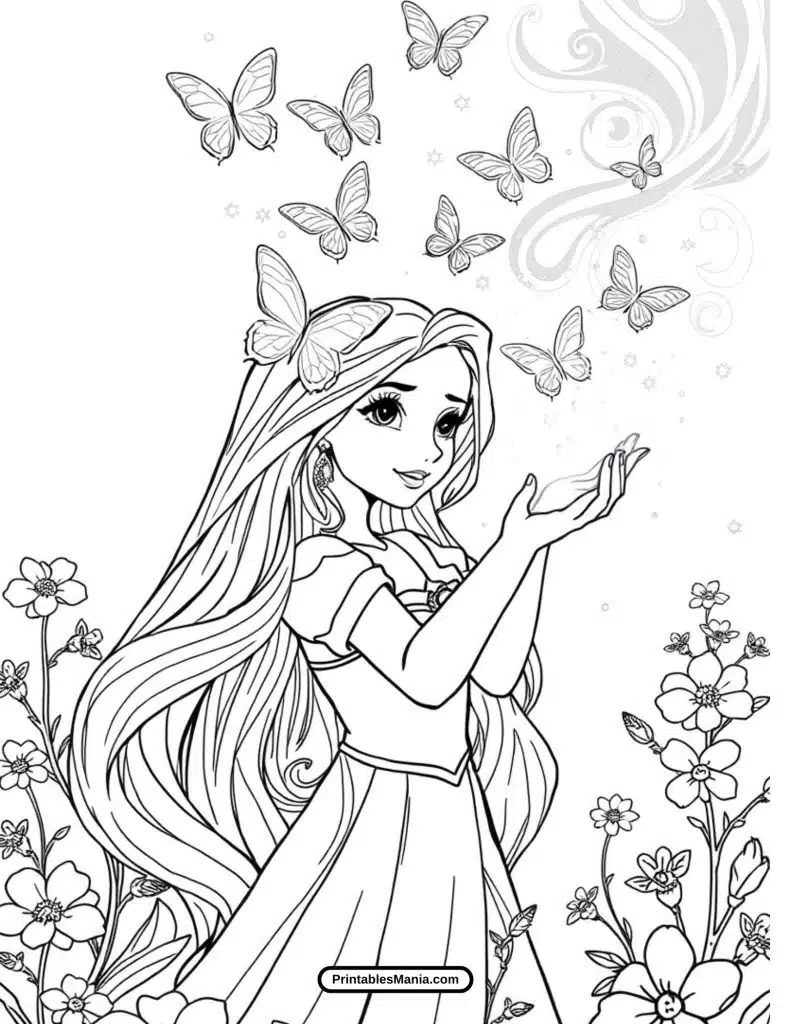
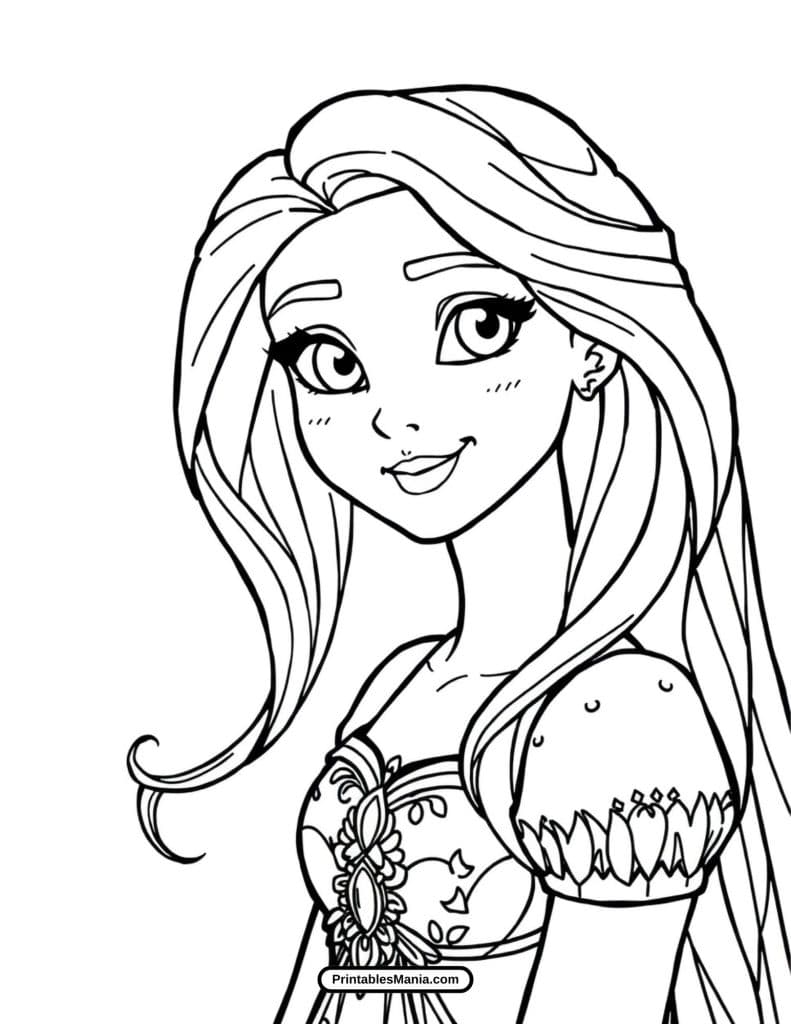
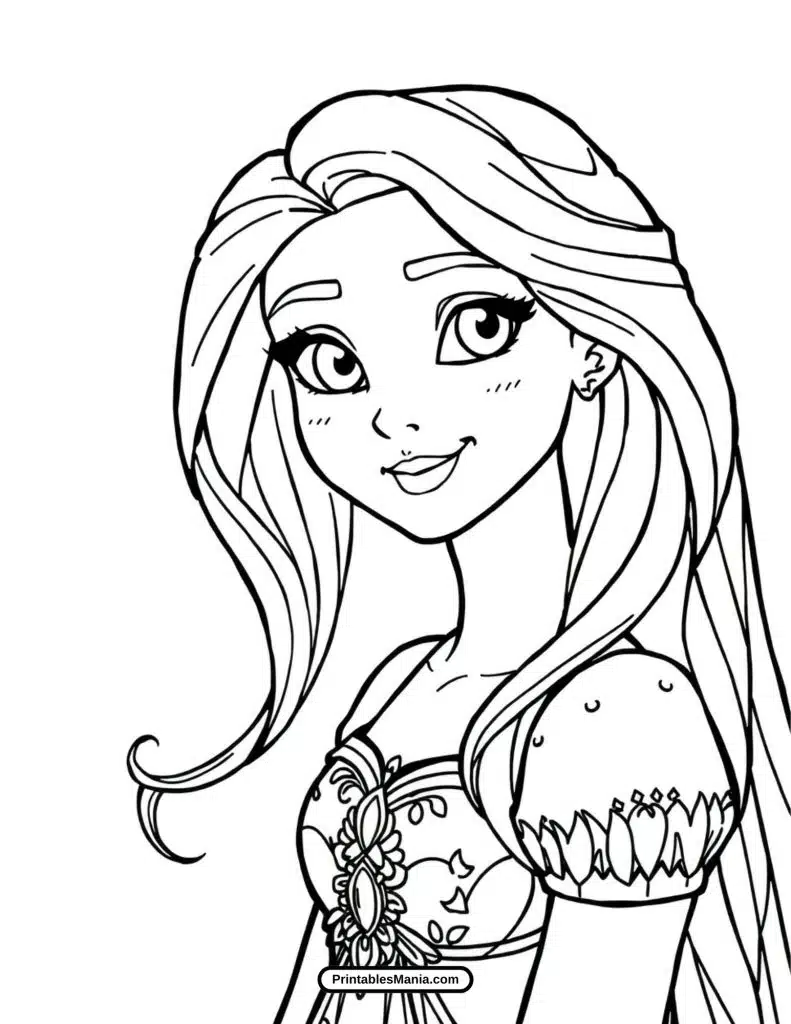
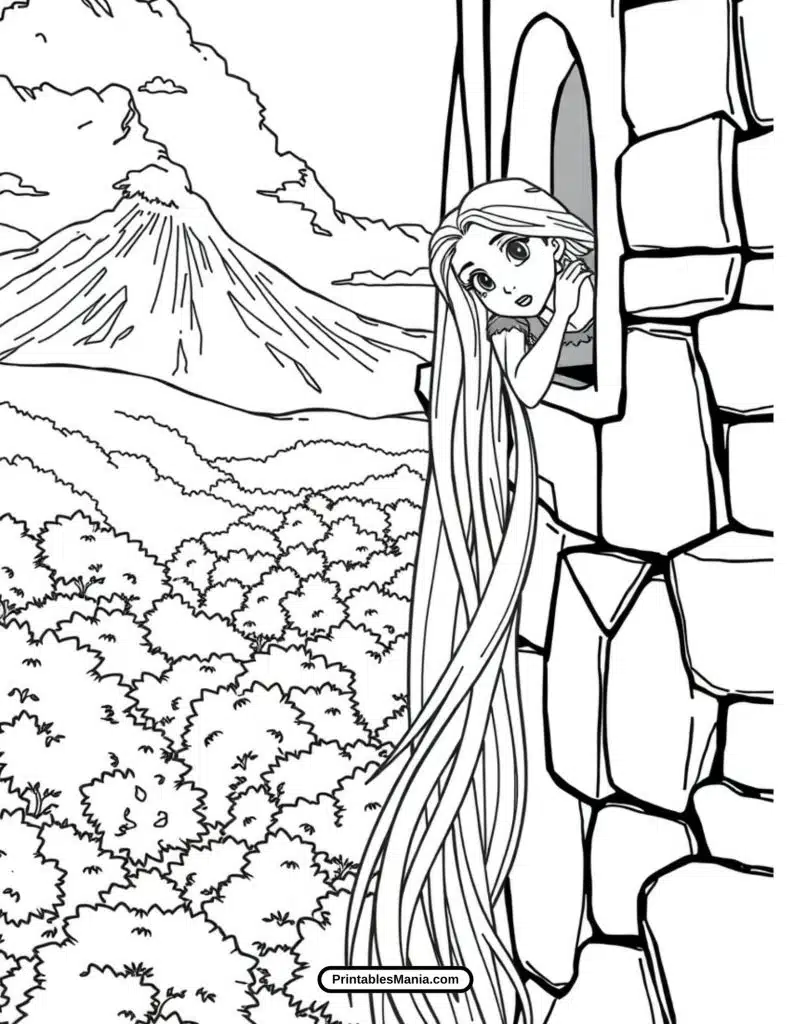
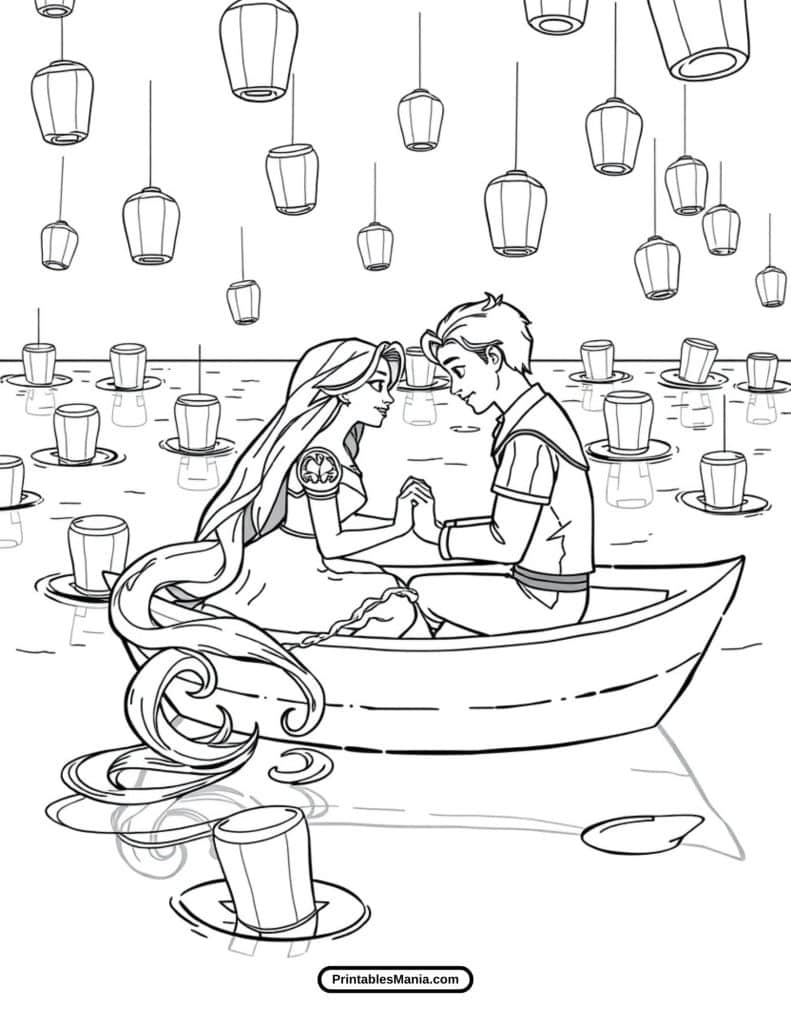
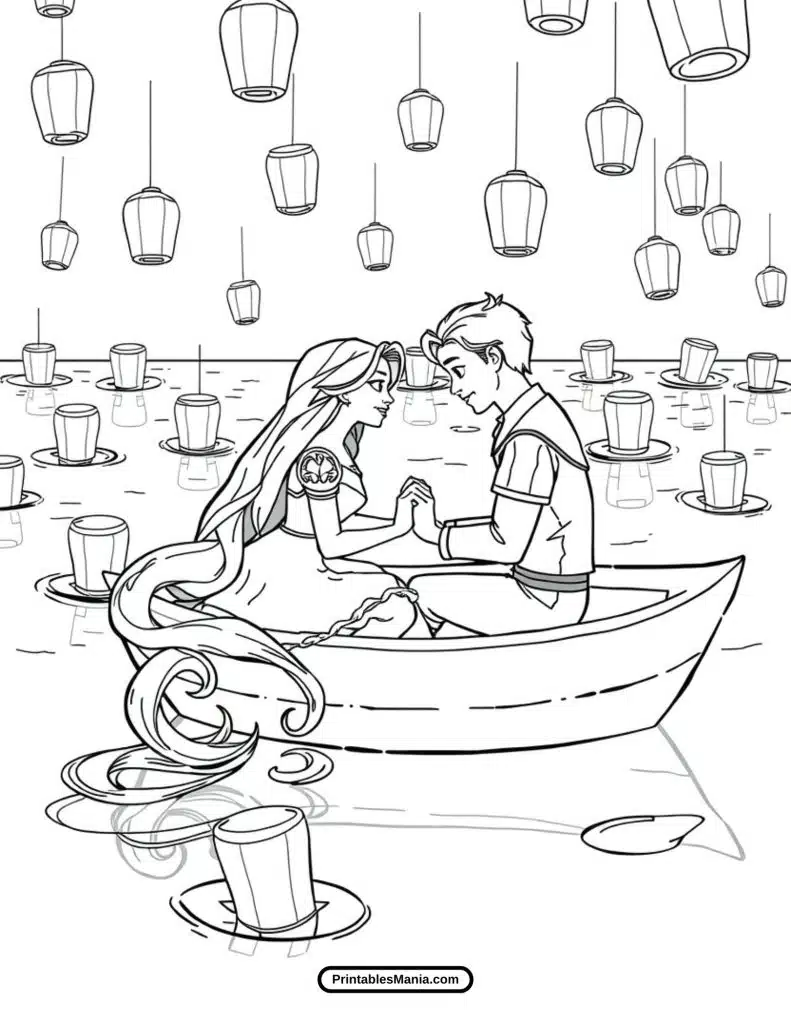
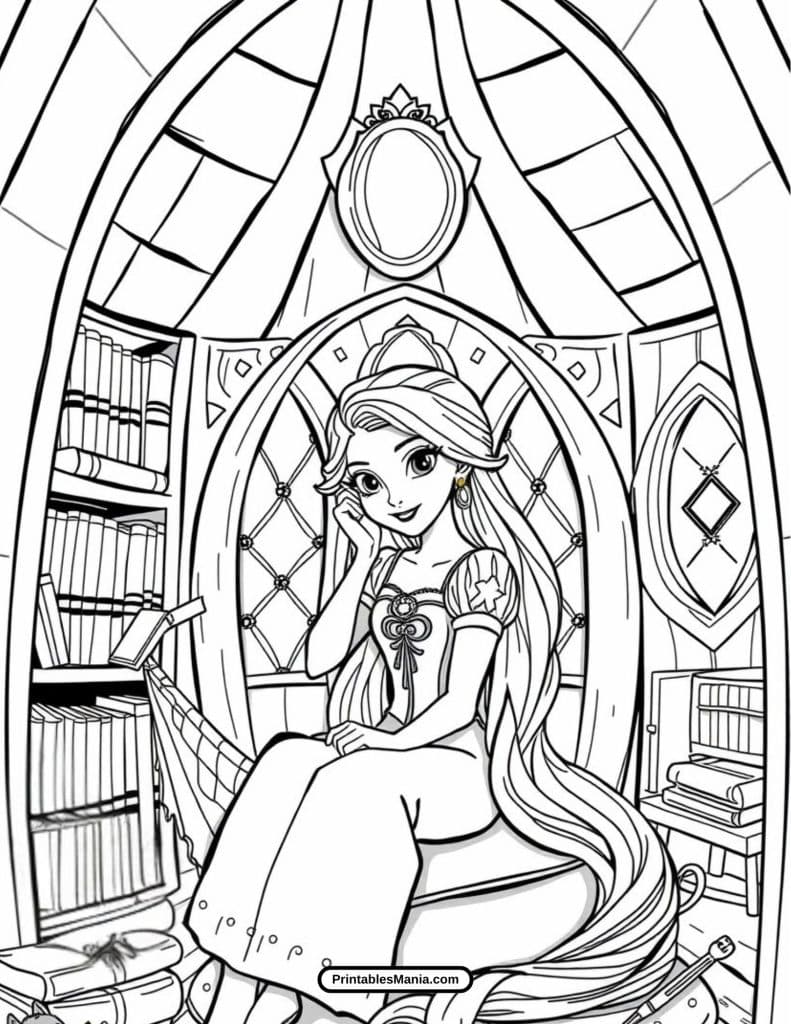
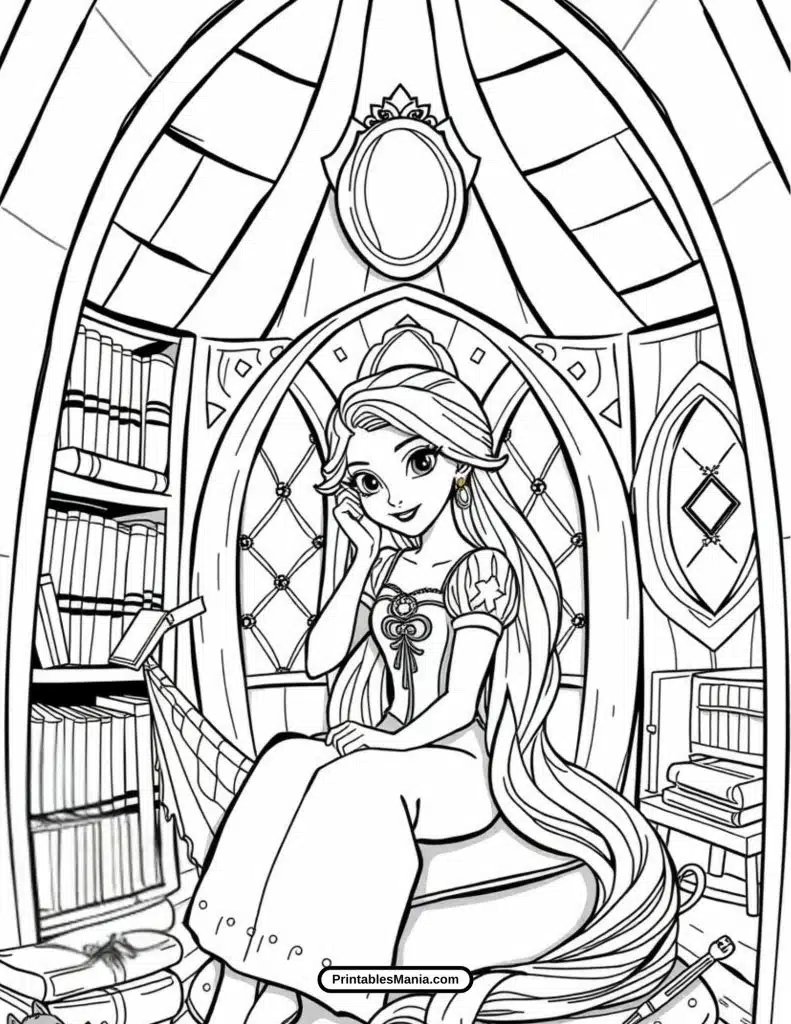
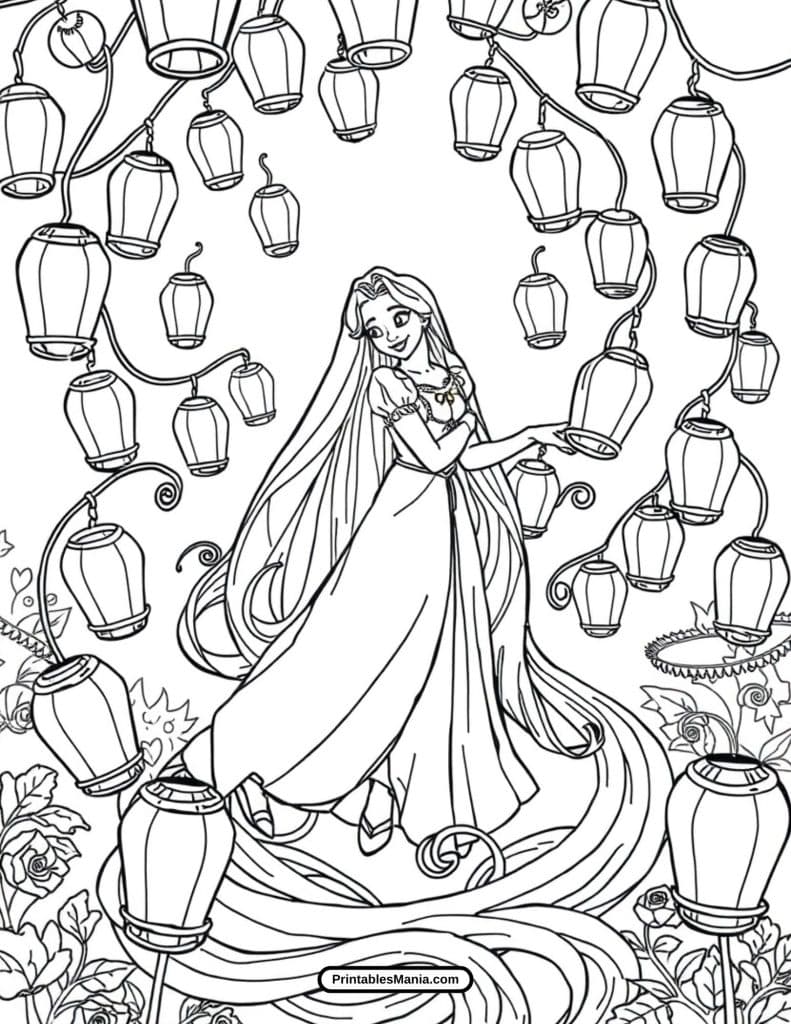
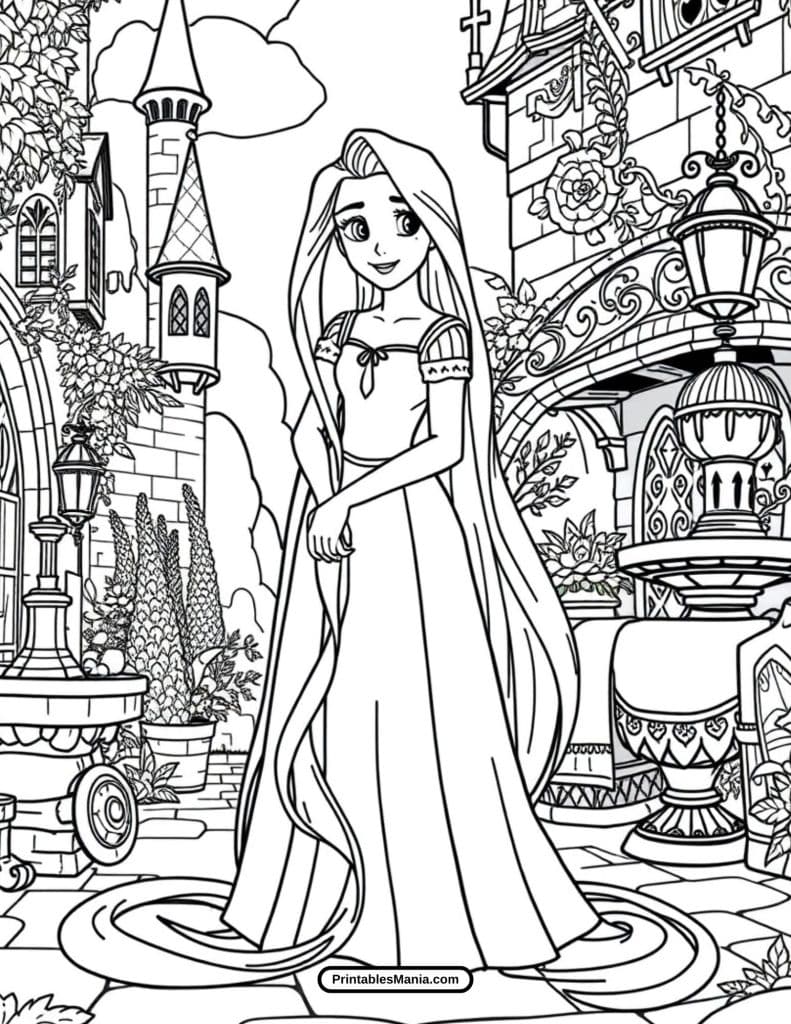
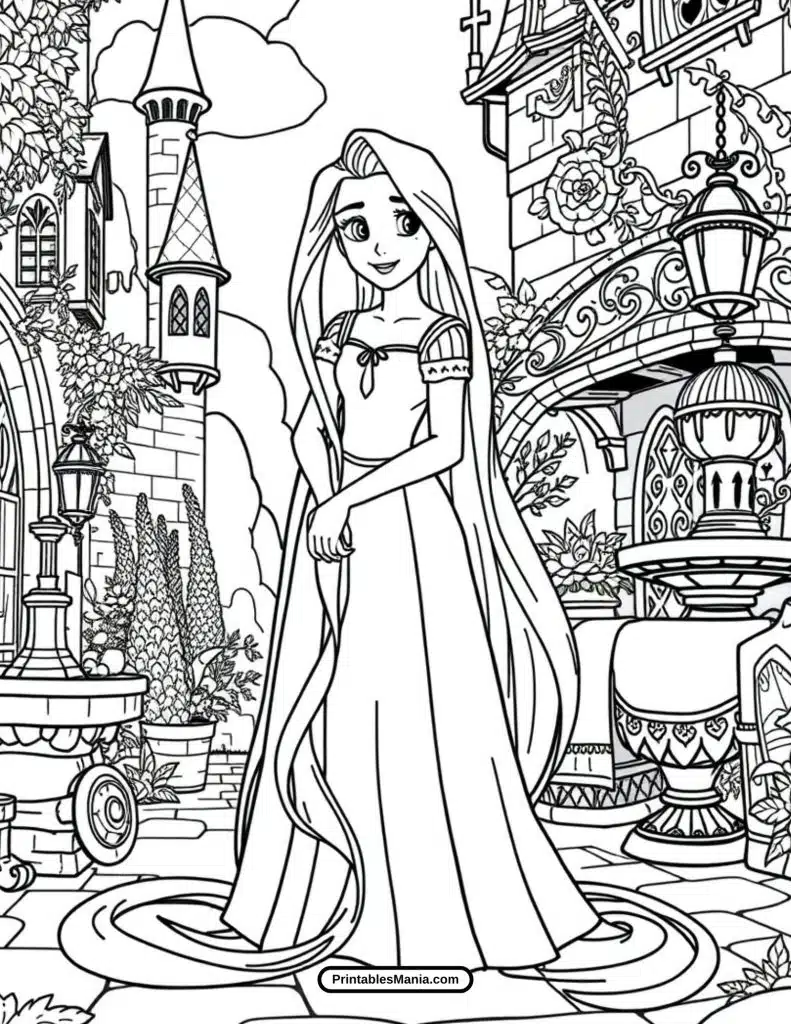
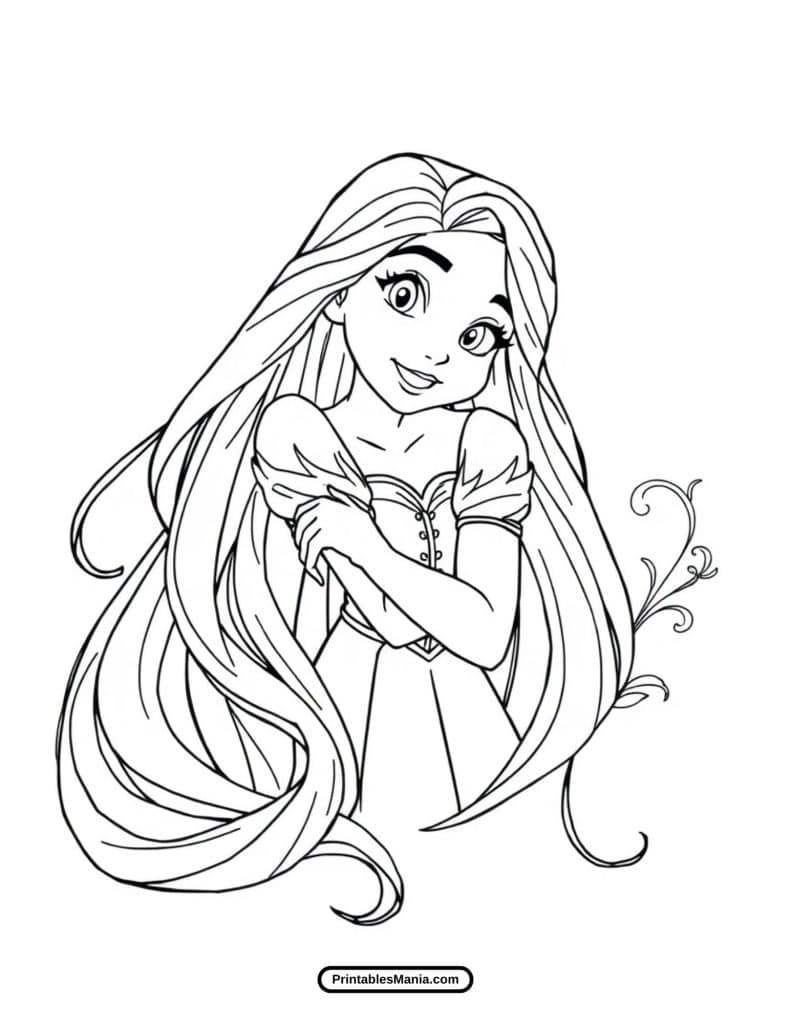
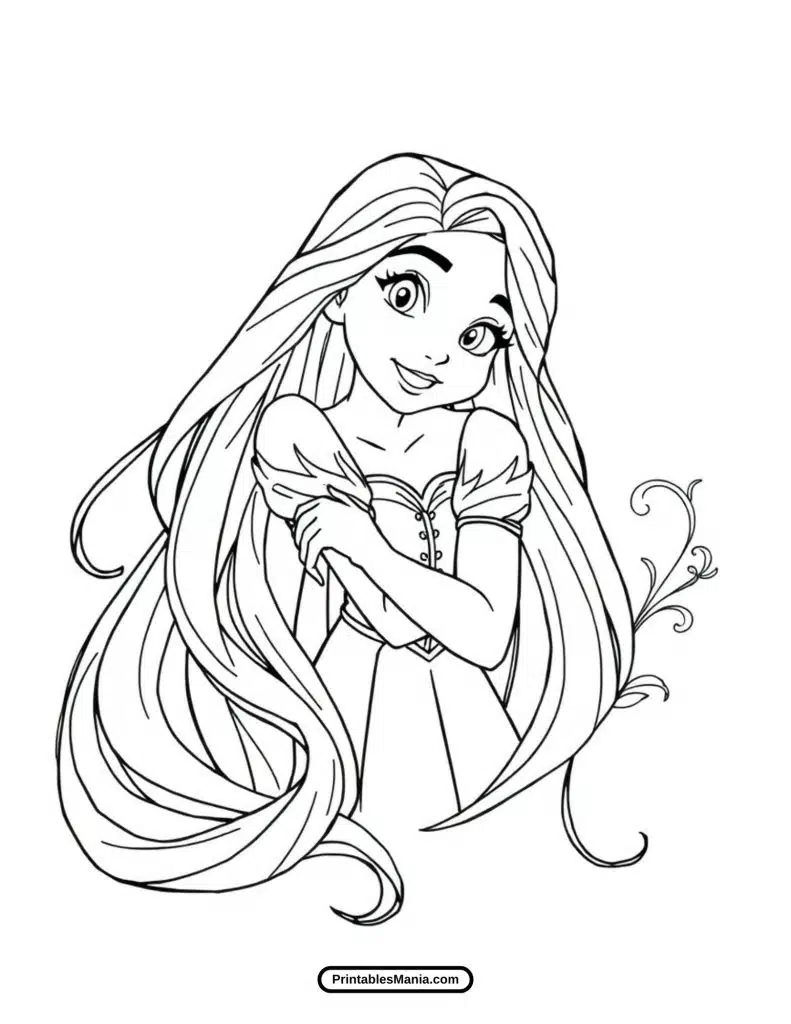
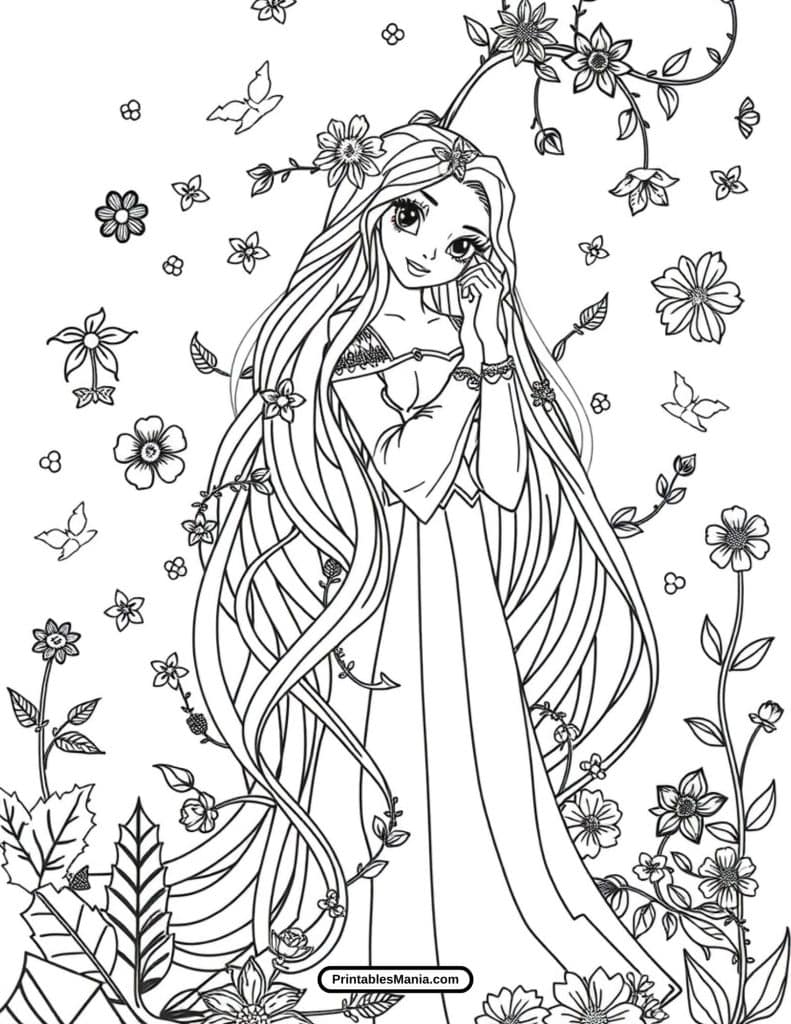
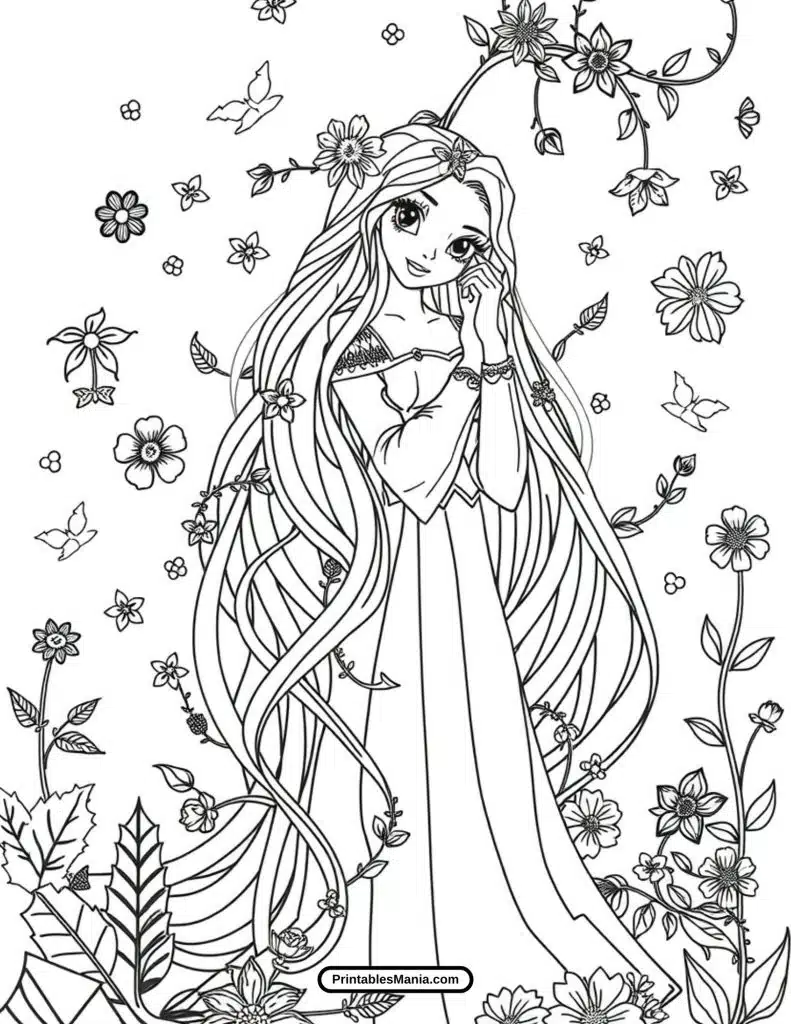
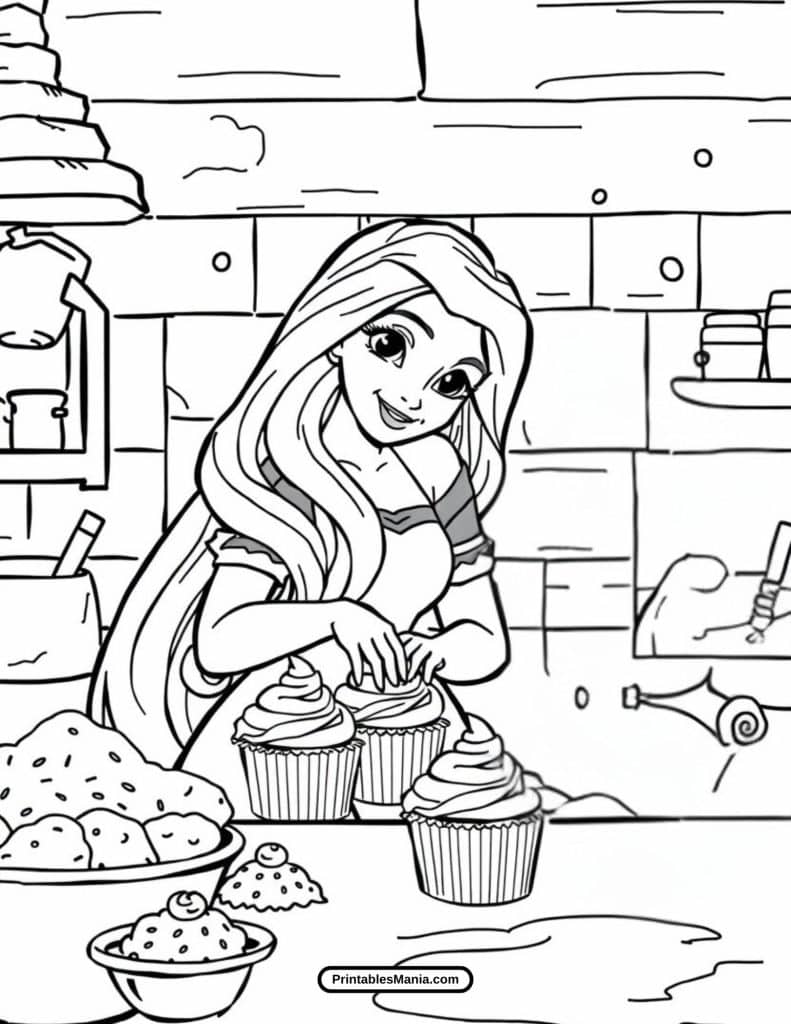
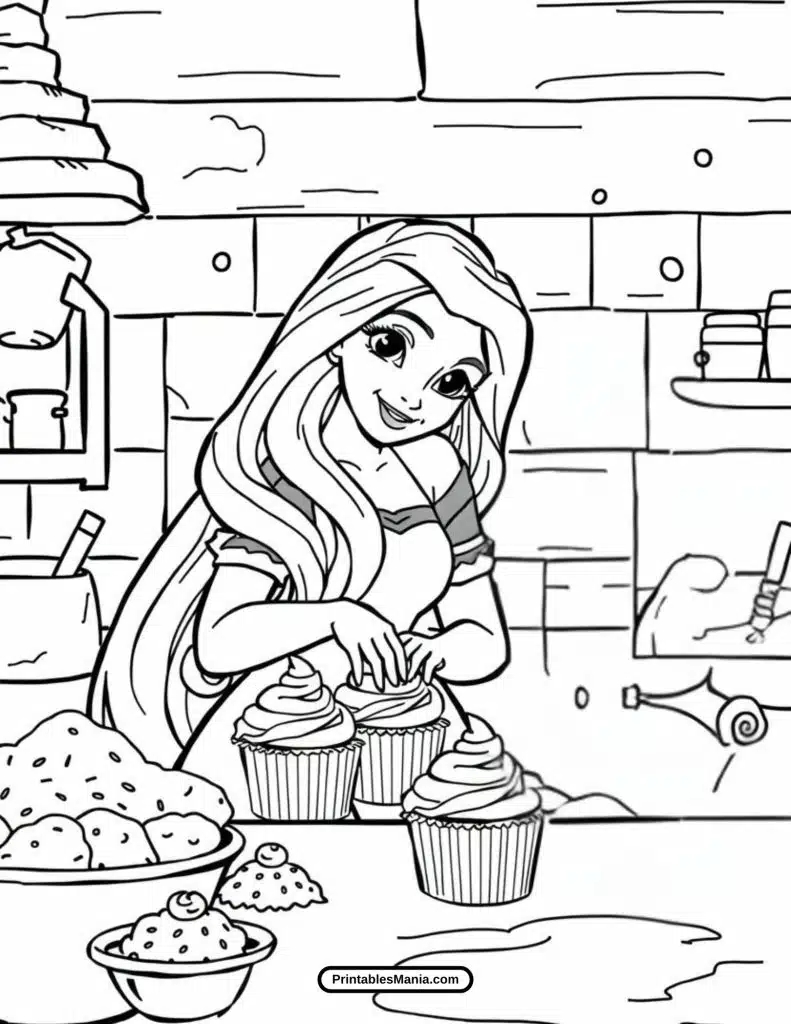
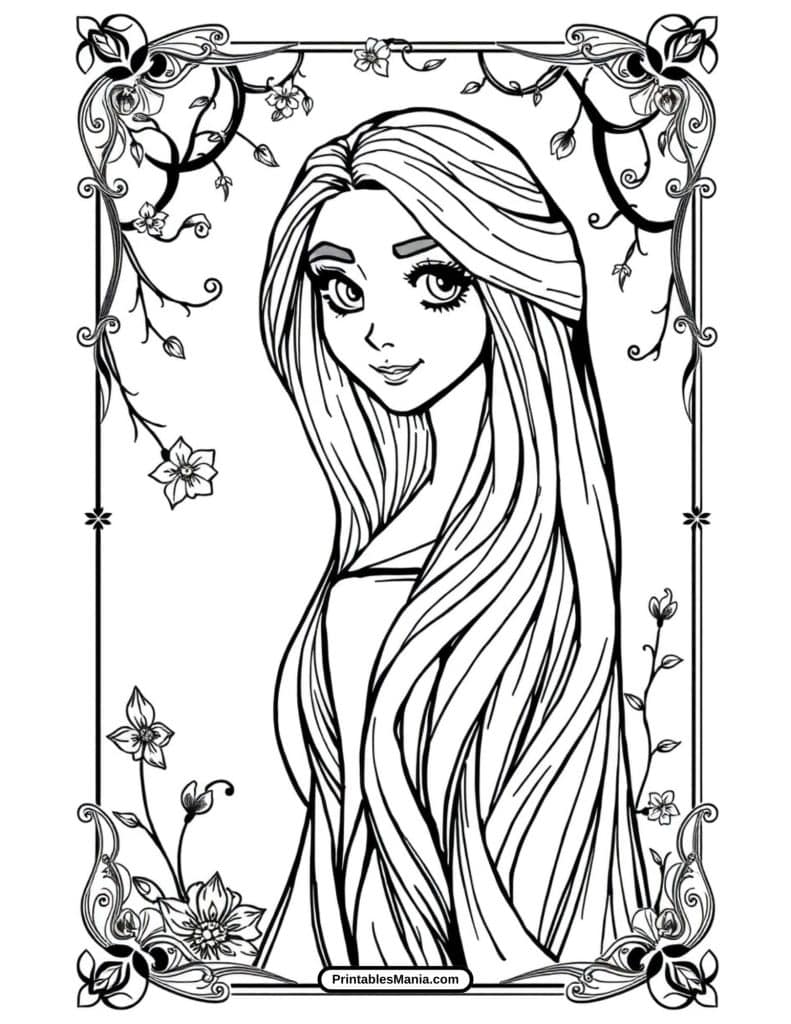
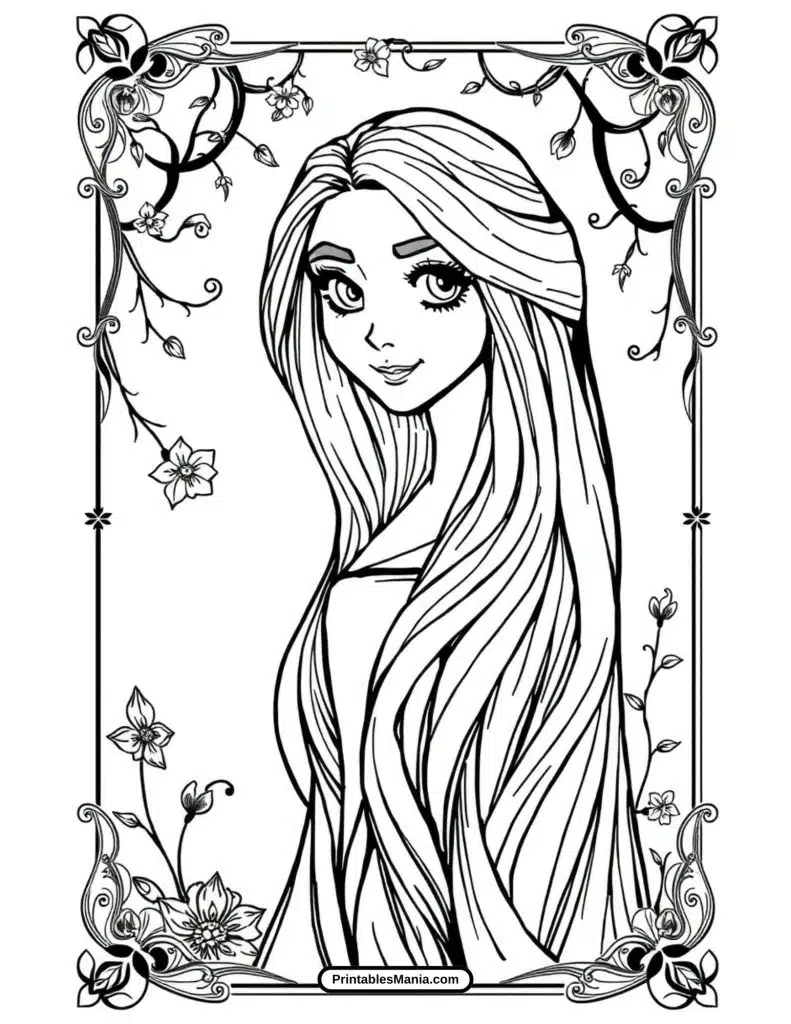
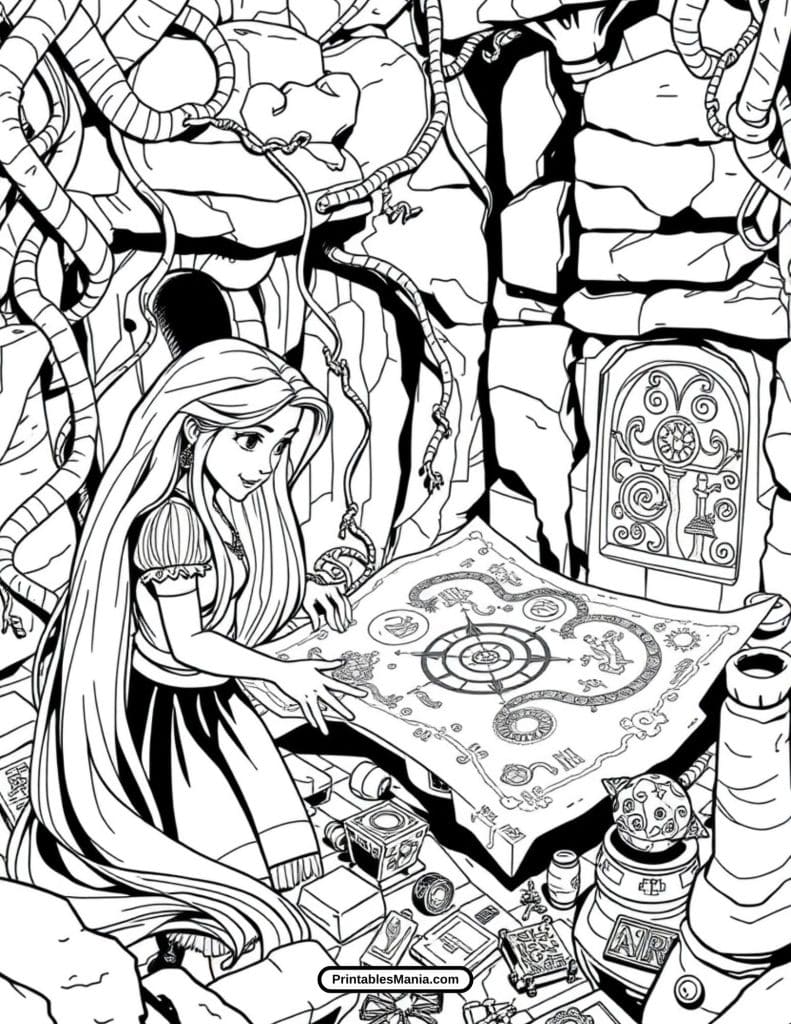
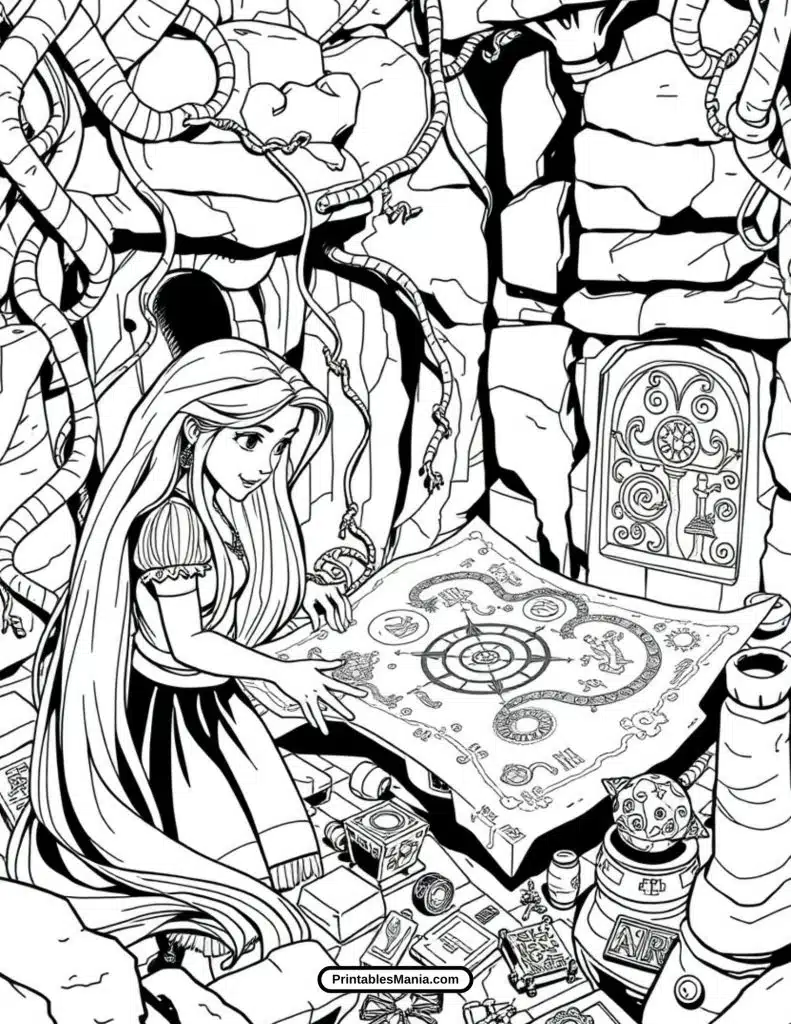
Step into the enchanting world of Rapunzel! This coloring page brings to life the beloved long-haired princess, ready for your artistic touch. Let your creativity shine as you add vibrant colors to her flowing hair, beautiful gown, and magical surroundings.
A Fairytale Adventure in Colors
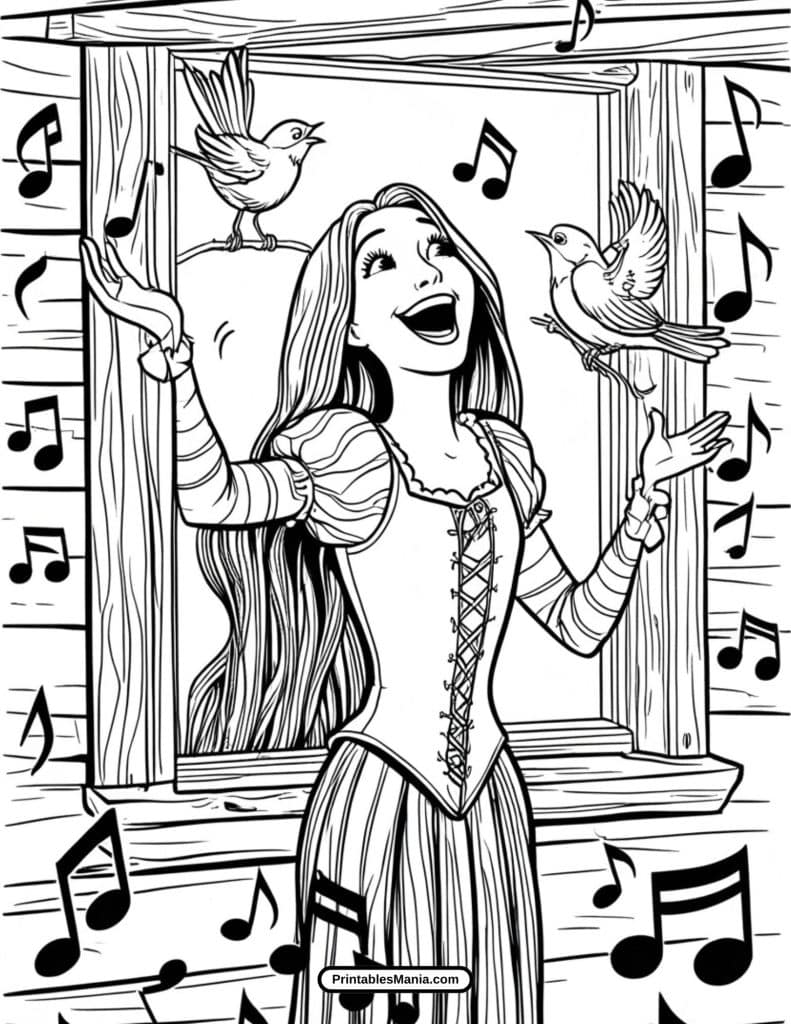
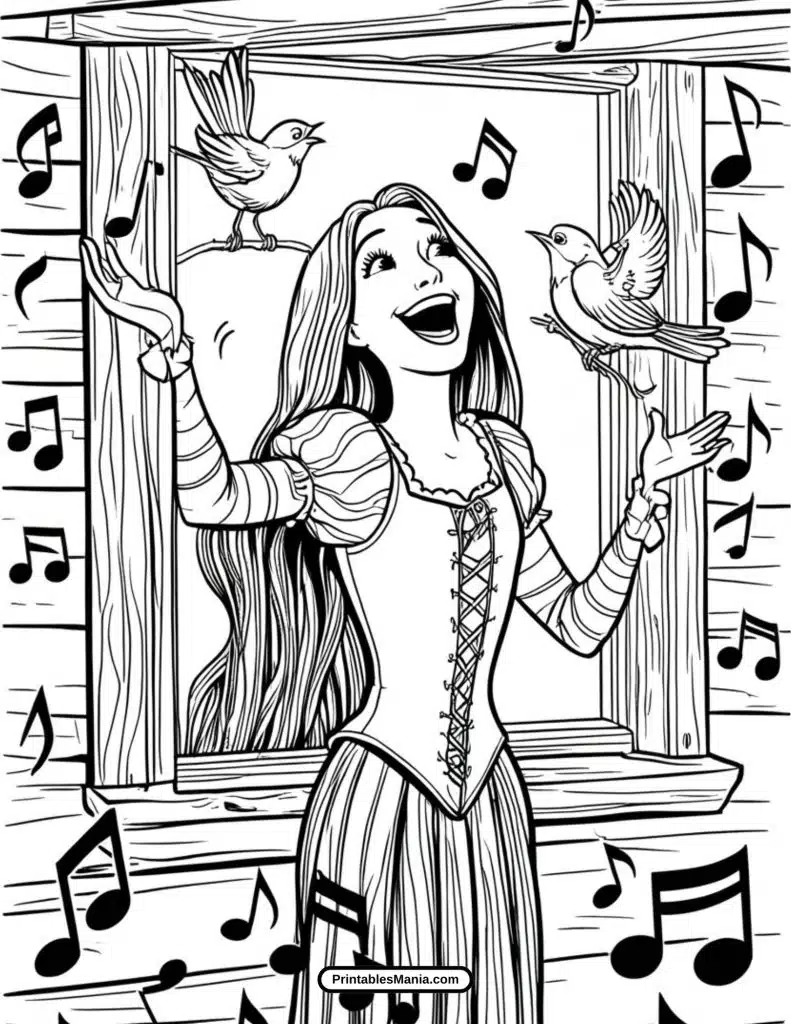
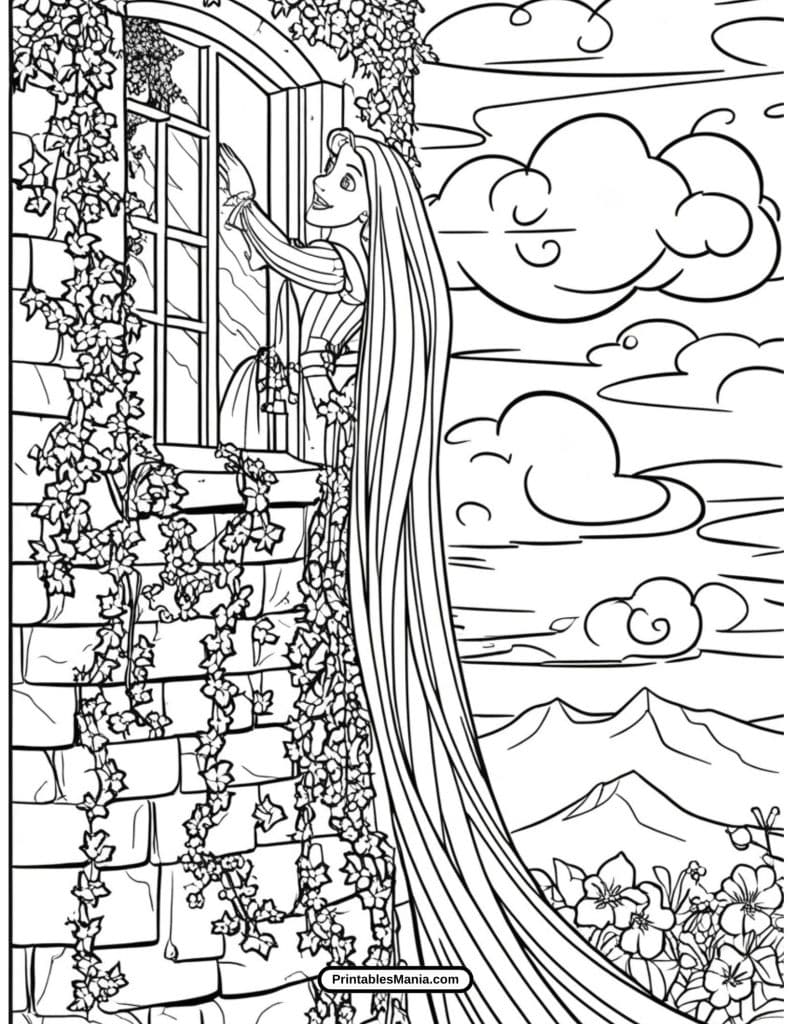
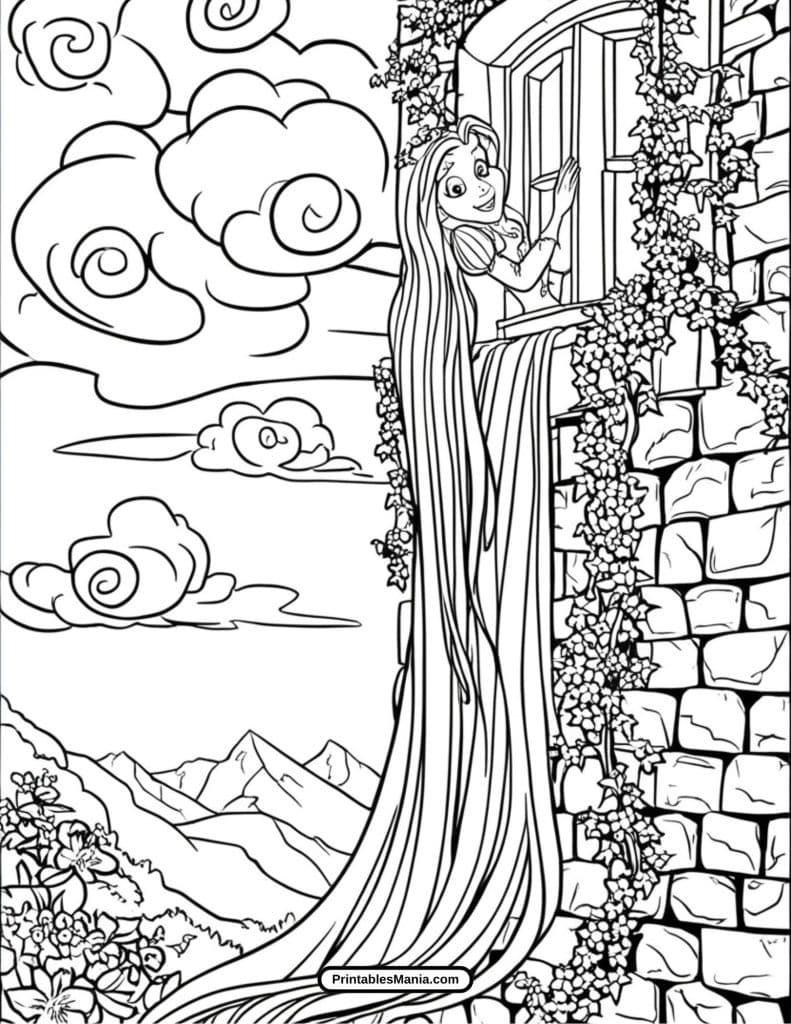
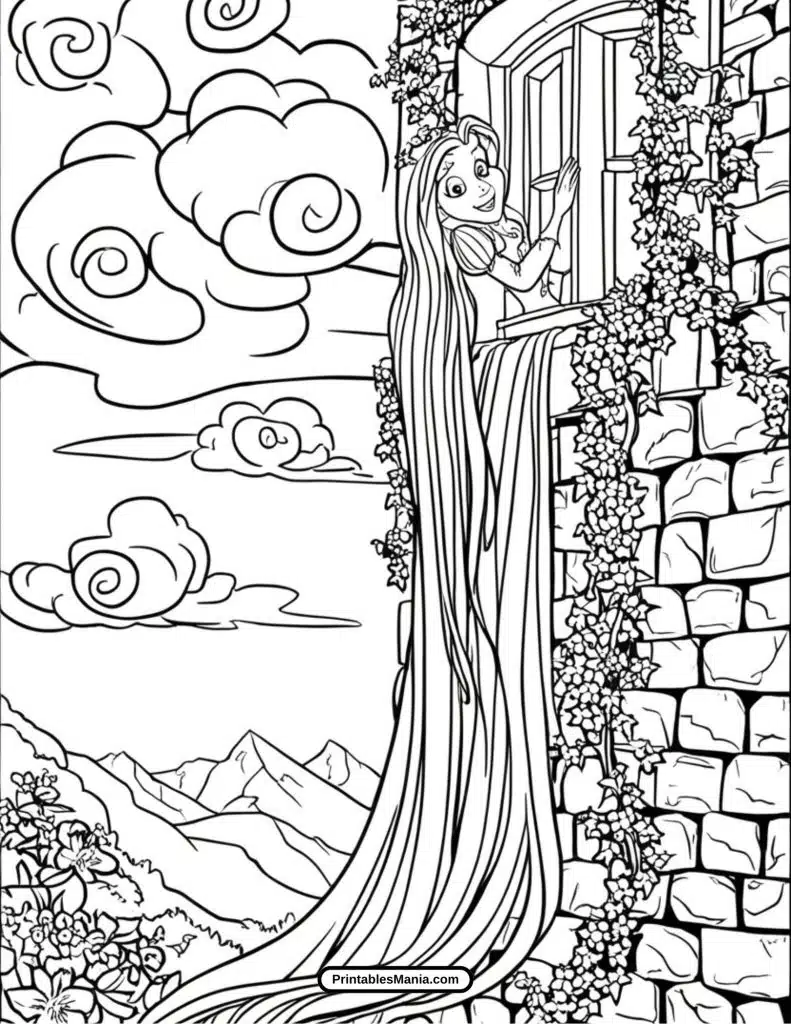
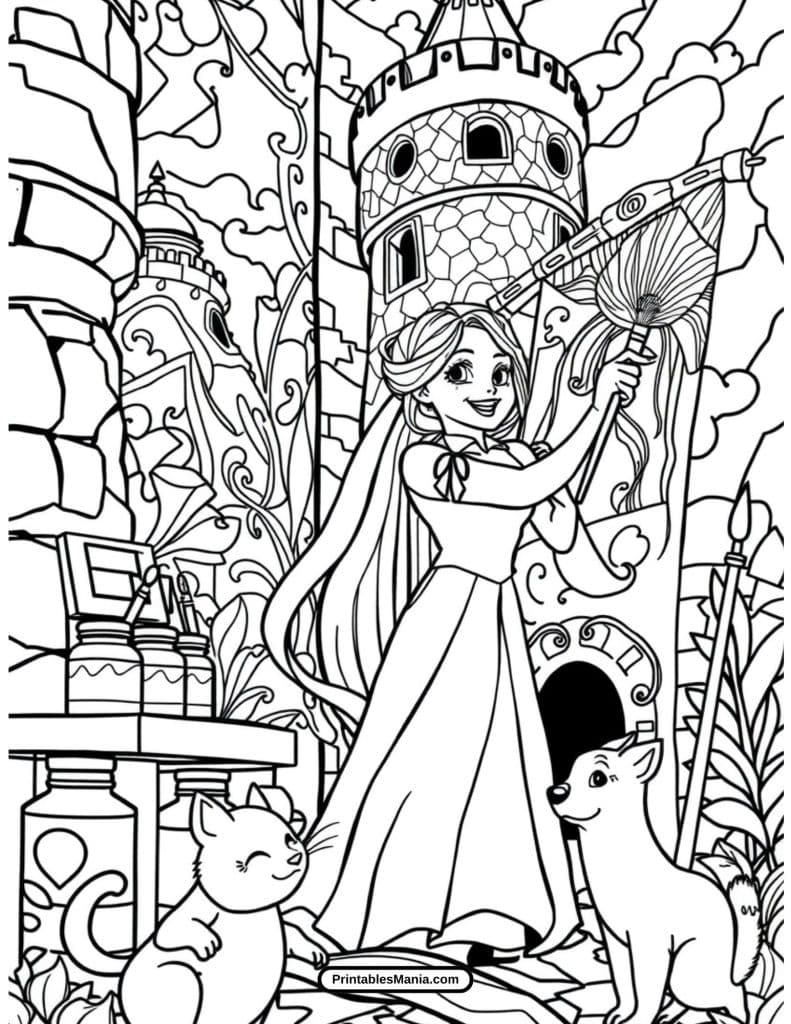
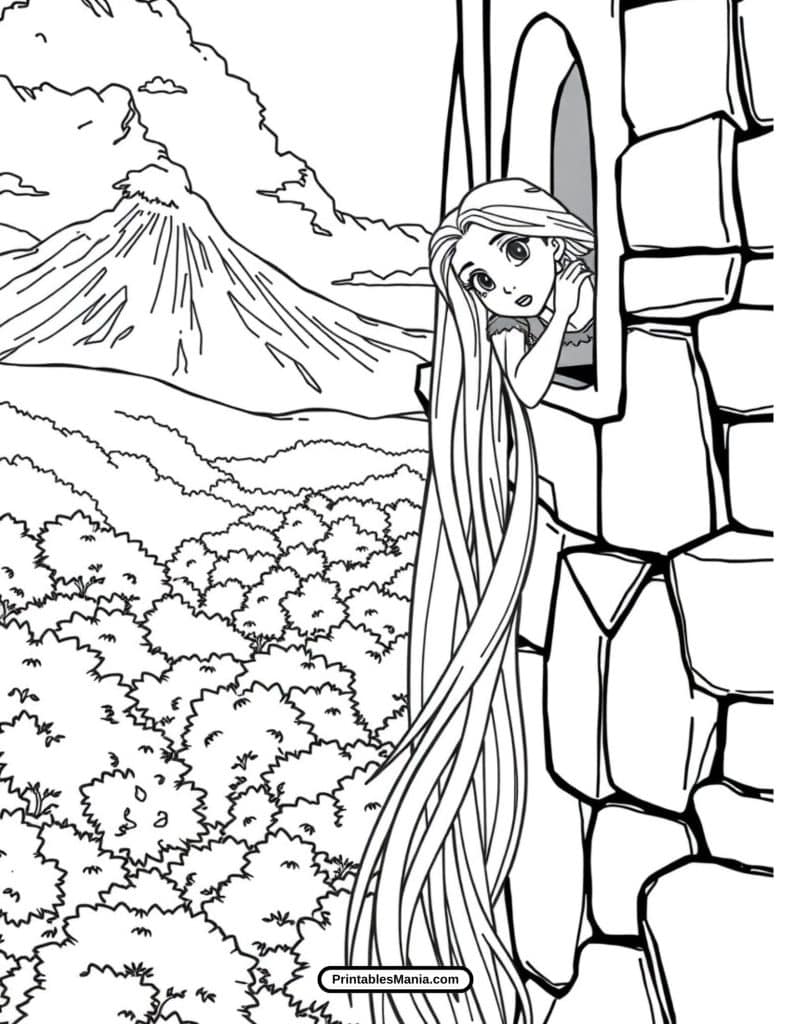
Rapunzel’s story is filled with wonder, courage, and dreams. From her towering castle to the lush landscapes she explores, every detail offers a chance to express your imagination. Use soft pastels for a dreamy effect or bold shades for a striking masterpiece!
Perfect for All Ages
This coloring page is ideal for kids and adults alike. Whether practicing fine motor skills or simply unwinding with a relaxing activity, this magical illustration offers endless fun. Grab your favorite colors and bring Rapunzel’s tale to life!


Art Tips and Techniques
1. Choosing Colors
- Pick a Color Palette: Choose a color palette that suits the mood of the illustration. Soft pastels (light blues, pinks, yellows) create a calm, peaceful feel, while brighter colors (reds, oranges, greens) evoke energy and excitement. For a more dramatic look, darker tones like purples, blacks, and deep blues work well.
- Use Color Theory: To create harmony, pick colors that work well together. Analogous colors (next to each other on the color wheel) like blue, green, and teal provide a calm effect. Complementary colors (opposites on the color wheel) like red and green or yellow and purple create vibrant contrasts.
- Shading & Highlights: Add dimension by using darker colors in shaded areas and lighter tones or white to highlight areas where light would naturally hit, such as the top of a character’s hair or along the folds of a dress.
2. Blending Techniques
- Crayons:
- Layering: Start by lightly layering different shades of the same color. Gradually build up layers for a richer, smoother effect.
- Blending Tools: If you want smoother transitions between colors, use a tissue or cotton ball to blend the layers. You can also try using a colorless blender crayon for a more polished look.
- Burnishing: Once you’re done layering colors, use a white crayon to burnish (apply pressure) and blend colors smoothly together, creating a polished, vibrant finish.
- Markers:
- Wet-on-Wet Blending: Markers can blend smoothly when they are still wet. Apply a base color and immediately overlay a second color while it’s still wet, blending them together.
- Layering Colors: For shading and depth, add layers of the same color or mix two complementary colors. This can add richness to your illustration.
- Colorless Blender: Use a colorless blender marker to smooth out transitions or lighten areas without changing the color.
- Colored Pencils:
- Layering for Depth: Begin with light layers of color and build up slowly. Using soft pressure at first gives you control over how dark or light the colors become.
- Cross-Hatching: For texture and shading, use a cross-hatching technique—apply strokes of color in different directions, layering until you get the desired depth.
- Burnishing: After layers are built up, use a colorless blender or a lighter color to burnish and smooth out the area, blending the colors together for a polished finish.
- Digital Tools:
- Layering: Digital tools allow you to work in layers, so start with your base color on one layer and add additional details and shading on separate layers. This gives you more control over adjustments and corrections.
- Soft Brushes: Use soft, airbrush-like tools for smooth blending of colors. Adjust the brush opacity to control how intensely the colors mix.
- Gradient Tool: If you want smooth transitions or subtle shifts in color, use the gradient tool. It’s perfect for backgrounds or areas requiring a seamless blend of hues.
- Layer Opacity: For a softer, more translucent effect, lower the opacity of your brush or layer. This allows you to build up color gradually, especially for delicate shading.
3. Suggestions for Different Mediums
- Crayons:
- Ideal for bold, vibrant colors and younger artists. Crayons allow for quick, expressive coloring. For a more detailed and refined look, use a layering technique to build color depth.
- Markers:
- Perfect for vibrant, clean lines and quick coloring. Markers are best for areas that need bright, solid color. They are particularly effective for outlining and large flat areas.
- Colored Pencils:
- Great for fine details and smooth color transitions. Perfect for shading and creating texture. With colored pencils, you can achieve a more realistic, finely detailed result.
- Watercolors (Traditional or Digital):
- Watercolors are wonderful for soft, ethereal backgrounds or blending. In traditional media, apply a wet-on-wet technique for smooth gradients. Digital watercolors allow for more control and the ability to use various brushes to mimic the watercolor effect.
- Pastels (Oil or Chalk):
- Both oil and chalk pastels are great for blending large areas. Use oil pastels for rich, thick texture and chalk pastels for soft, subtle effects. In traditional works, fixatives are recommended to prevent smudging.
4. Additional Tips
- Shading and Light: Always consider your light source. The areas furthest from the light will be darker, while those closer to the light source should be lighter. This gives your illustration depth and makes it look more three-dimensional.
- Textures and Details: Don’t forget to add textures, such as hair strands, clothing wrinkles, or nature elements like leaves. This makes the illustration feel more dynamic and lifelike.
- Experiment with Blending Tools: For different effects, experiment with various blending tools. A cotton swab can provide a soft finish, while a blending stump offers more control. For digital art, try experimenting with different brush types and opacities to see how textures change.
By exploring these tips and techniques, you’ll be able to experiment and develop your own unique approach to coloring, whether you’re using traditional or digital mediums. Don’t be afraid to mix different techniques to find the style that works best for you!
What to Do with the Colored Page?
Once you’ve finished coloring your page, the fun doesn’t have to end there! Here are several creative ideas to help you make the most of your beautifully colored illustration:
1. Frame Your Artwork
- Display it Proudly: Turn your colored page into a piece of home decor by framing it. A simple frame can elevate your artwork, giving it a more polished and professional look. You can hang it on your wall, place it on a shelf, or even give it as a thoughtful gift.
- Create a Gallery Wall: If you have multiple colored pages, why not create a gallery wall? Arrange your artwork in matching frames and display them together for a vibrant, personalized display.
2. Make a Personalized Greeting Card
- Gift Your Artwork: Take your finished page and fold it into a greeting card. Add a personalized message inside, and you’ve created a one-of-a-kind card for birthdays, holidays, or special occasions.
- Thank-You Cards: Use your colored page as a unique thank-you card. It’s a great way to show appreciation in a creative and personal way.
3. Create a Fun Bookmark
- Mini Masterpiece: Cut your colored page into a smaller size and turn it into a bookmark. Laminate it for durability, and now you’ve got a beautiful, one-of-a-kind bookmark that will remind you of your creativity every time you read.
- Gift a Bookmark: Give the bookmark as a gift to someone who loves books. It’s a simple but thoughtful way to share your artwork with others.
4. Incorporate It into DIY Projects
- Scrapbooking: Add your colored page to a scrapbook for a personal touch. It could be a part of a larger theme or memory collection, and it’s a fantastic way to preserve your art.
- Decoupage: Use your colored page to decorate furniture, boxes, or other objects through decoupage. This technique can create a vintage or artistic look on various surfaces, transforming everyday items into personalized art pieces.
5. Create a Colorful Collage
- Cut and Paste: If you have several colored pages, you can cut out different elements and pieces to create a collage. This is a great way to use smaller sections of your artwork creatively, whether it’s for a mixed-media project or a completely new piece of art.
6. Turn It Into a Gift Wrap
- Unique Wrapping Paper: Use your colored page as custom wrapping paper for small gifts. It’s an excellent way to recycle your artwork and add a personal touch to presents, especially for special occasions or gifts for loved ones.
- Gift Bags or Tags: If you don’t want to wrap a gift, consider using your colored page to make personalized gift bags or tags. Add a message or embellishments for a unique look.
7. Create a Custom Calendar
- Monthly Art Display: If you’ve colored several pages, you can turn them into a custom calendar. Assign each colored page to a different month, and now you have a year’s worth of personalized art to enjoy all year long.
- Mini Calendar: Create smaller versions of your artwork for a mini desk calendar. This is a great way to showcase your work and enjoy it daily.
8. Use It for Educational Projects
- Learning and Teaching: If you’re coloring with children or as part of a teaching activity, use your colored pages as educational tools. They can be incorporated into storytime, art lessons, or as part of a theme in an educational setting.
- Create a Portfolio: Keep a portfolio of all your colored pages. It’s a great way to track your progress and see how your coloring and artistic skills develop over time.
9. Gift It to Someone Special
- Personal Gift: Frame or mount your colored page and give it as a heartfelt gift to a friend or family member. It’s a meaningful way to share your art and creativity.
- Community Sharing: You can also share your colored page with others in your community, at work, or in schools as a form of charity or simply to spread joy and inspiration.
10. Preserve It in a Digital Format
- Scan or Photograph: If you want to keep a record of your work, consider scanning or photographing your colored page. You can create a digital archive of your artwork, use it for digital projects, or even print it out again to color it in a different style or color scheme.
- Create a Digital Art Portfolio: If you’re an aspiring artist, building a digital portfolio of your work can be a great way to showcase your skills. Digitizing your colored pages and organizing them into an online portfolio could open up opportunities for future projects.
Printables Mania acknowledges the intellectual property rights of third parties, including any content that is influenced by or represents characters not originally created by PrintablesMania.com. Such content is created as fan art and is intended for educational, artistic expression, and non-commercial use only.