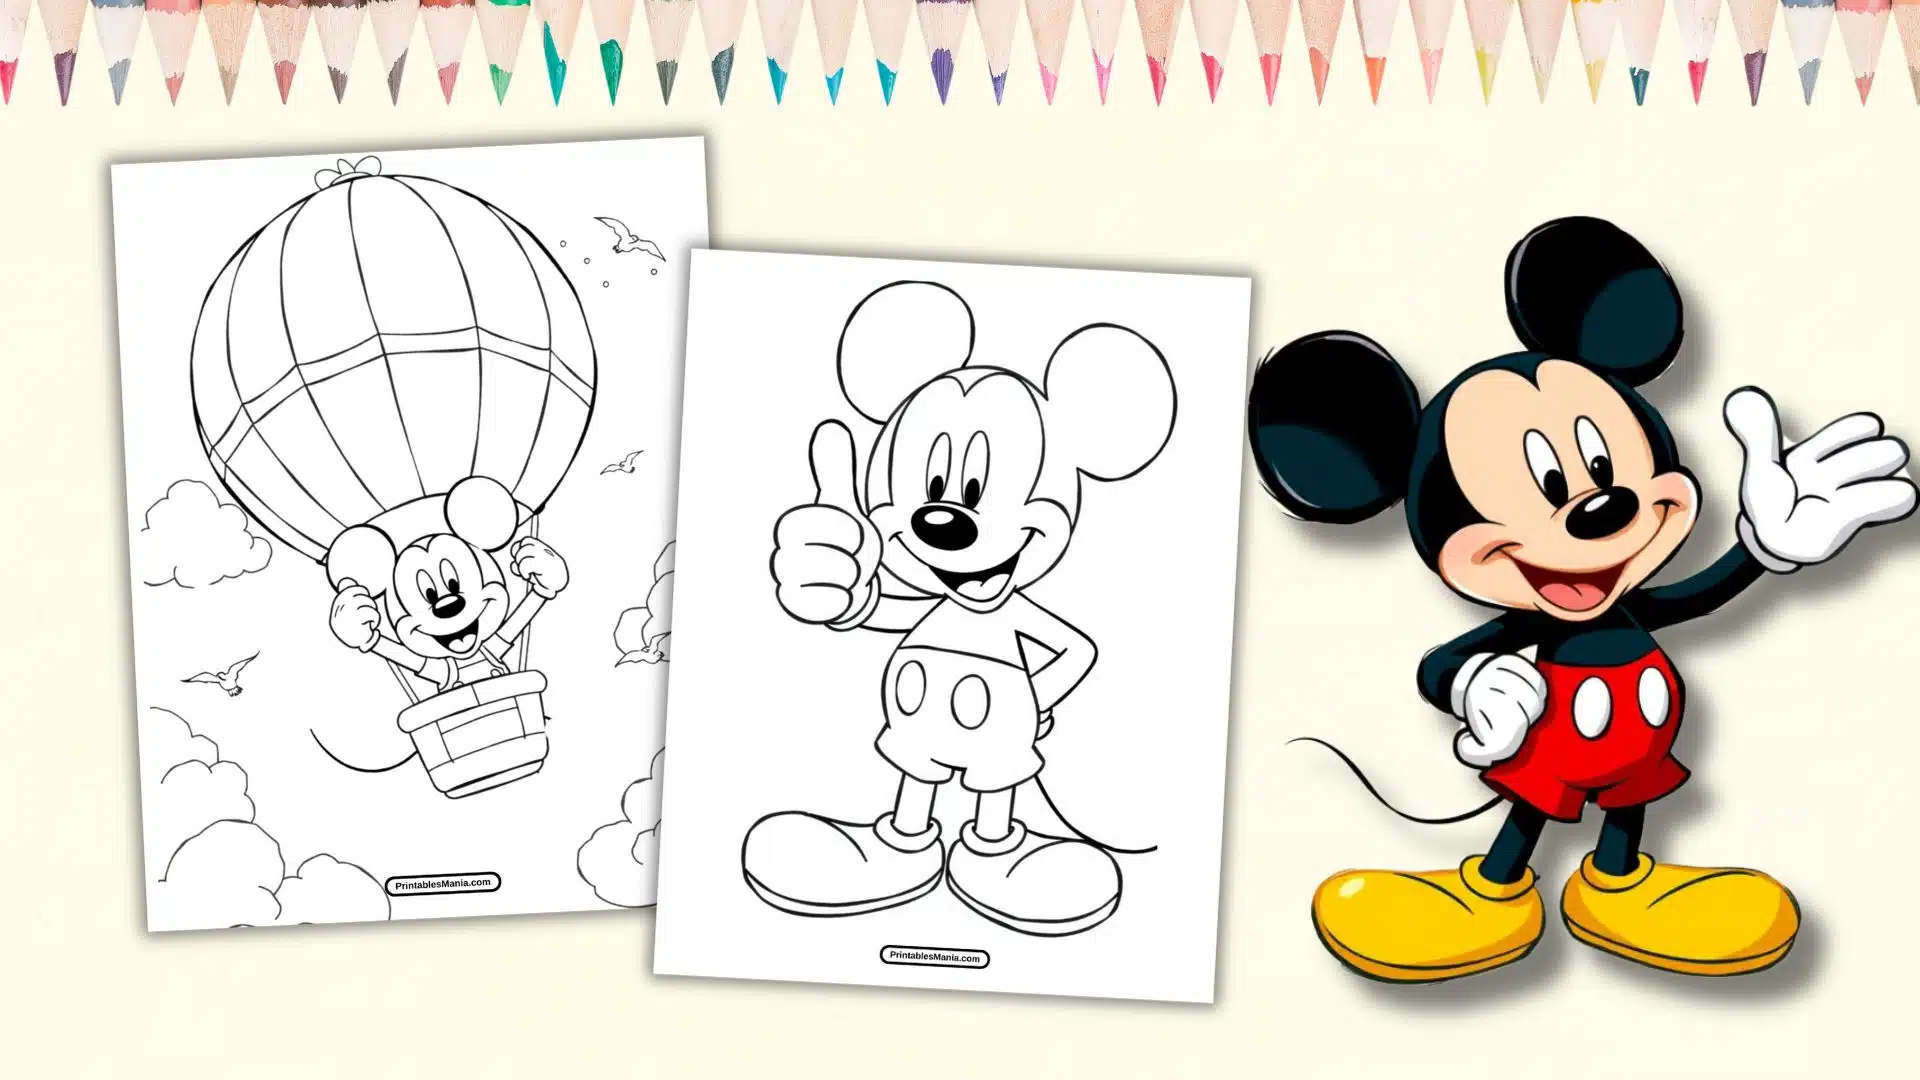
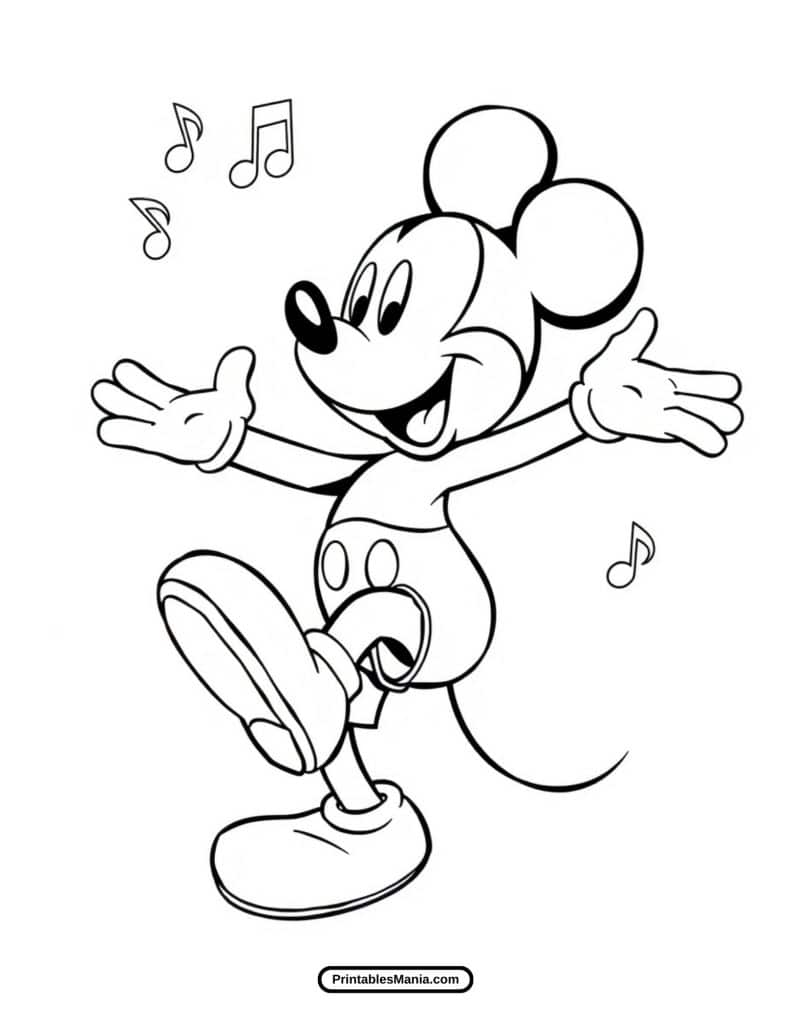
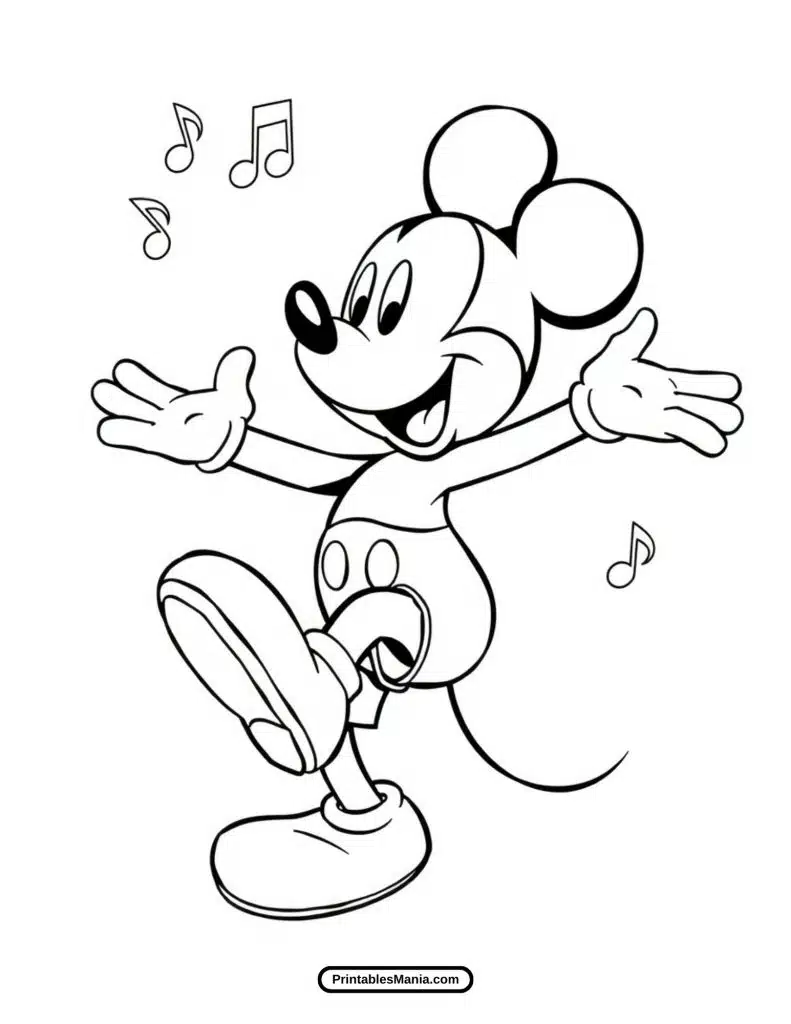
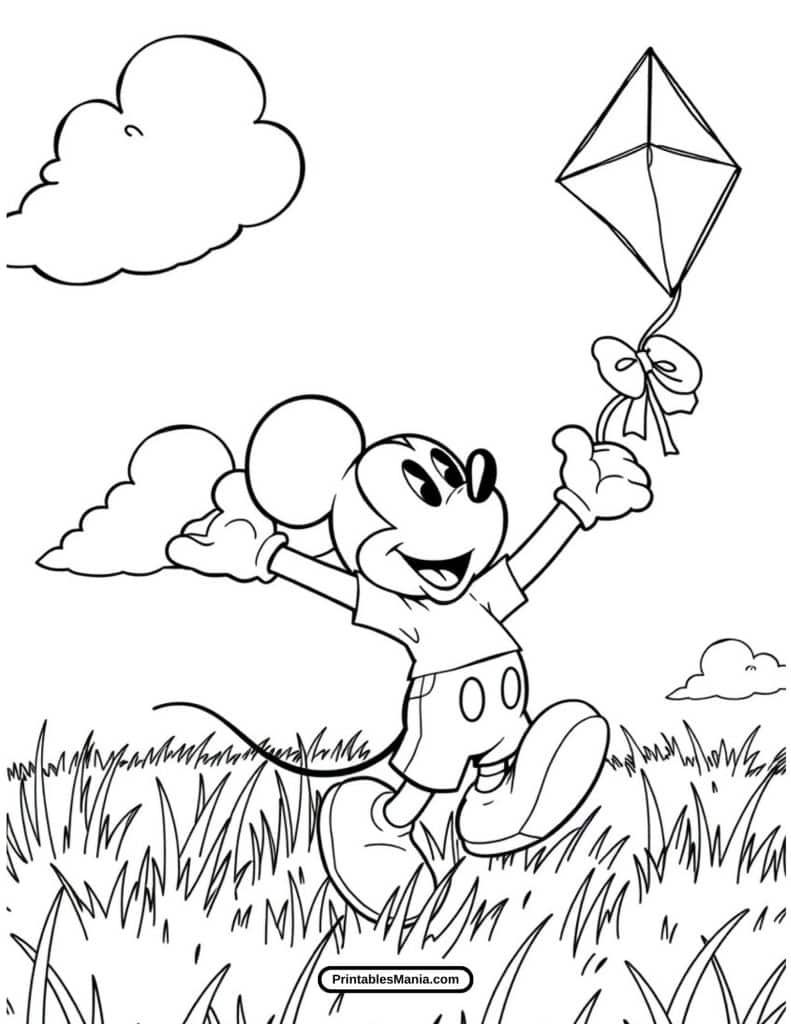
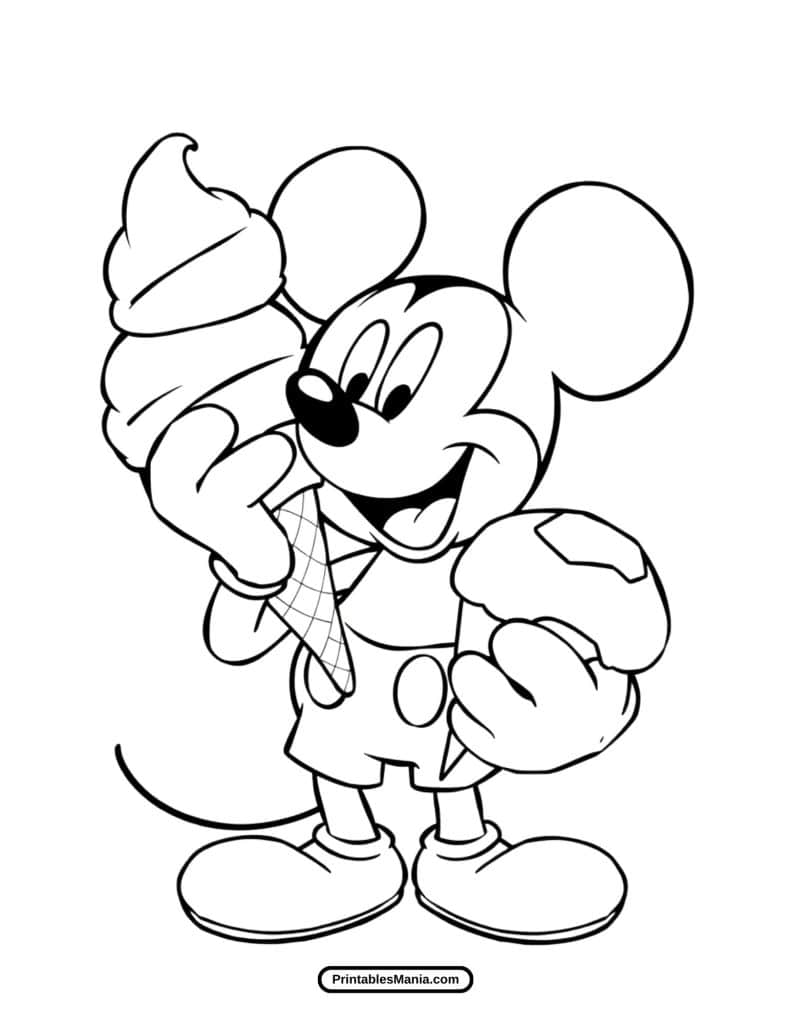
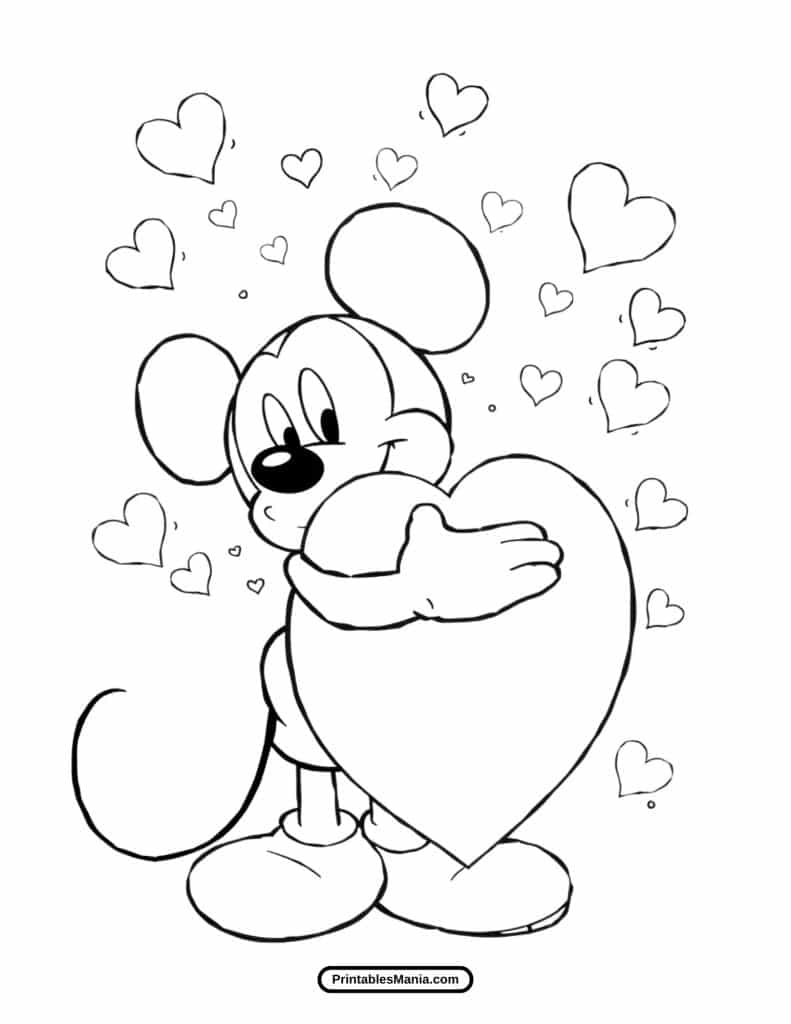
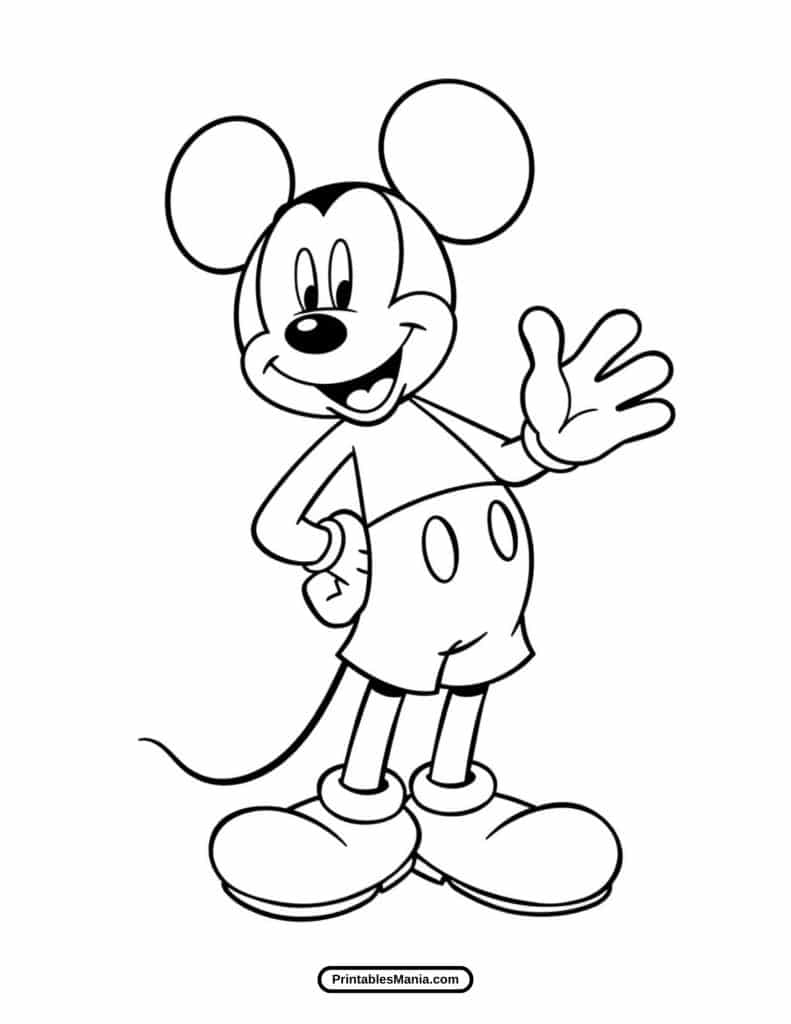
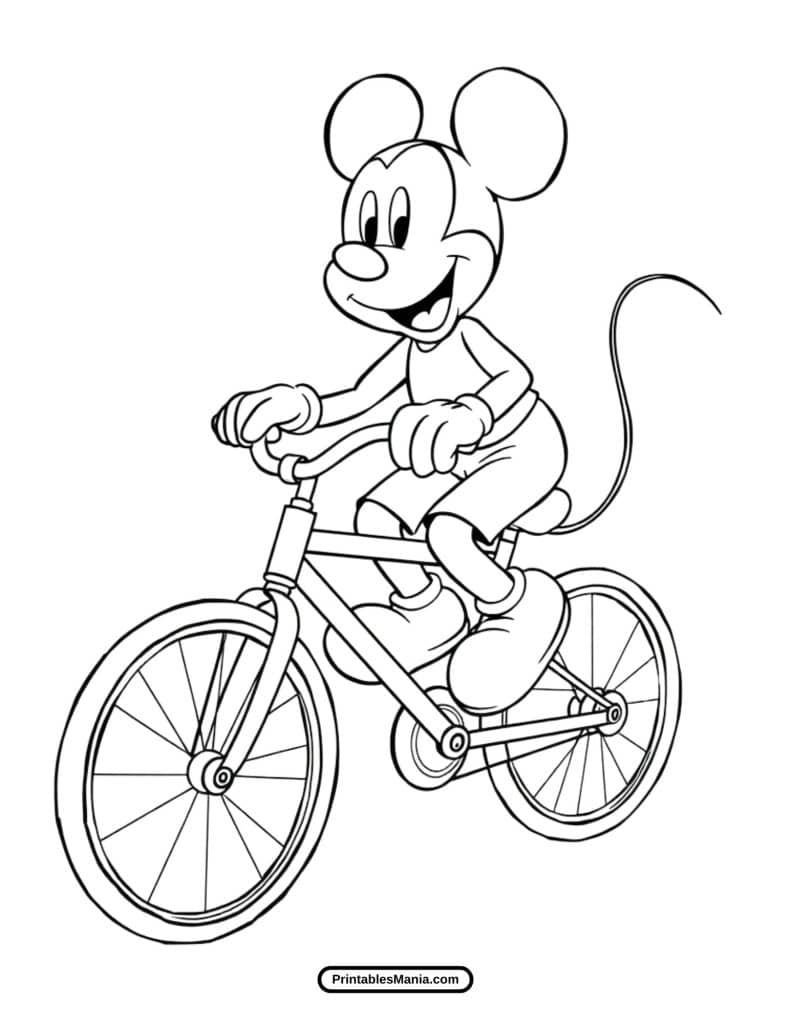
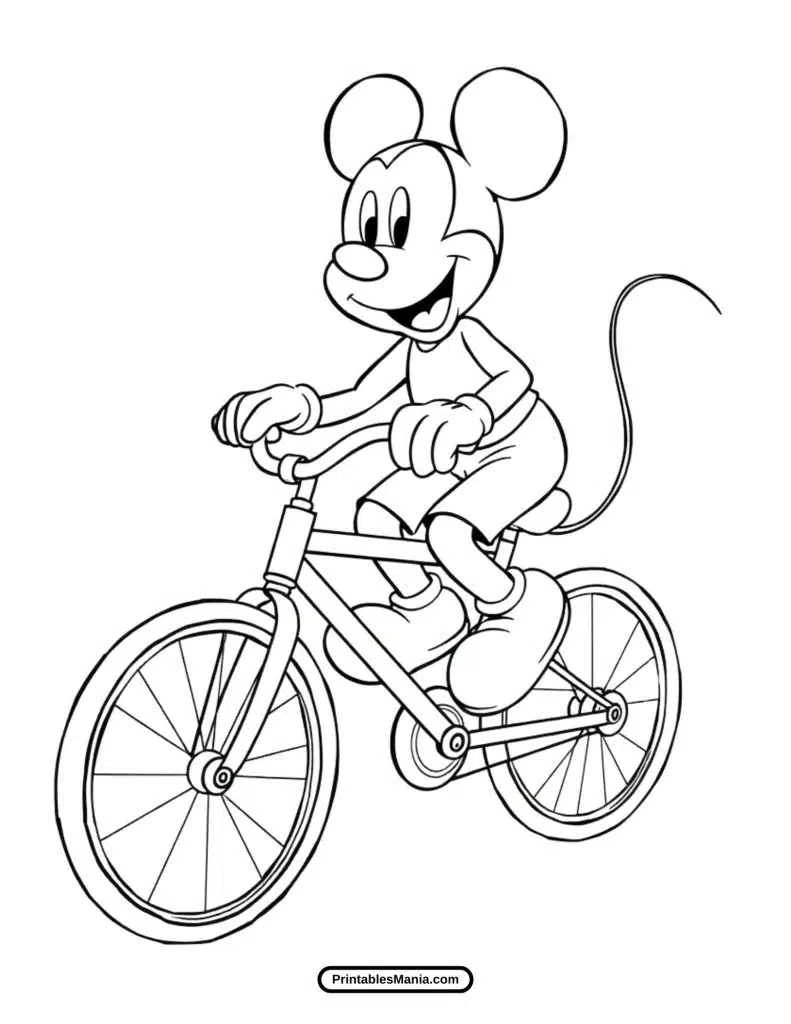
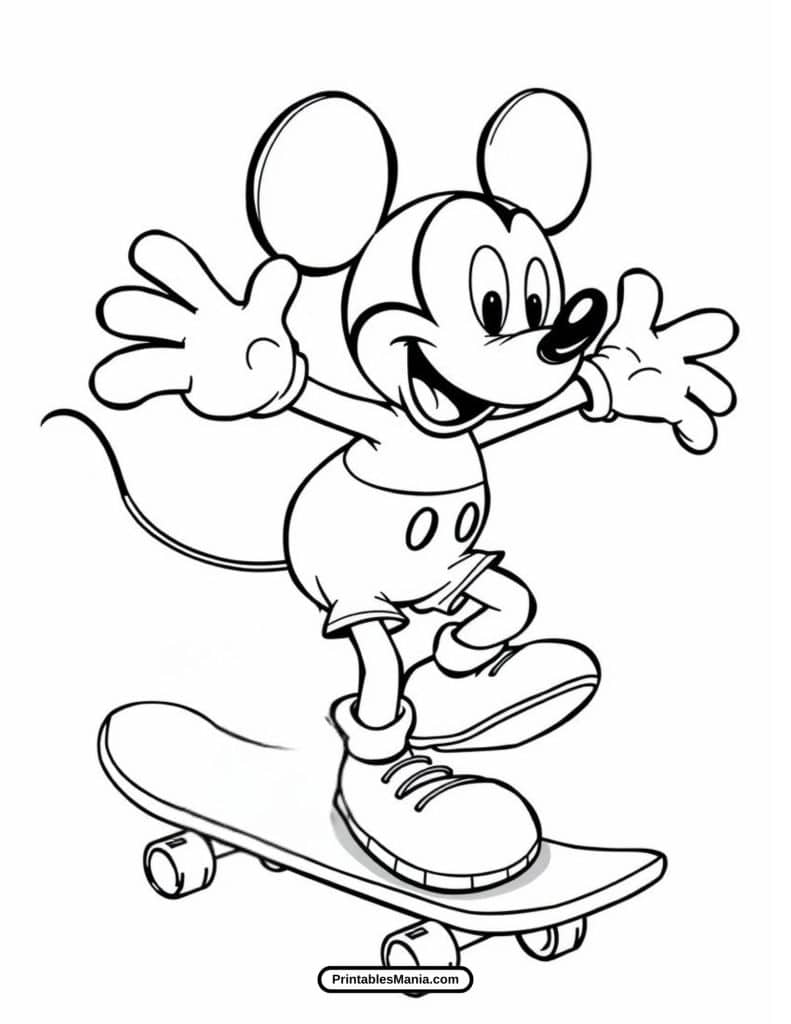
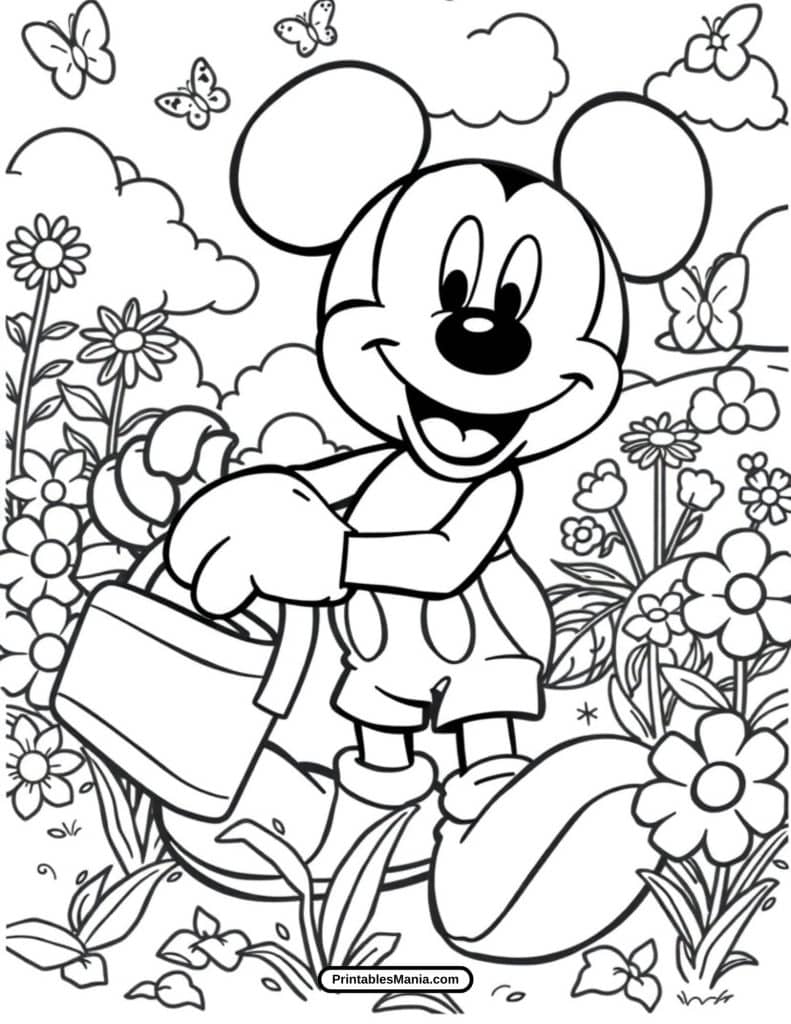
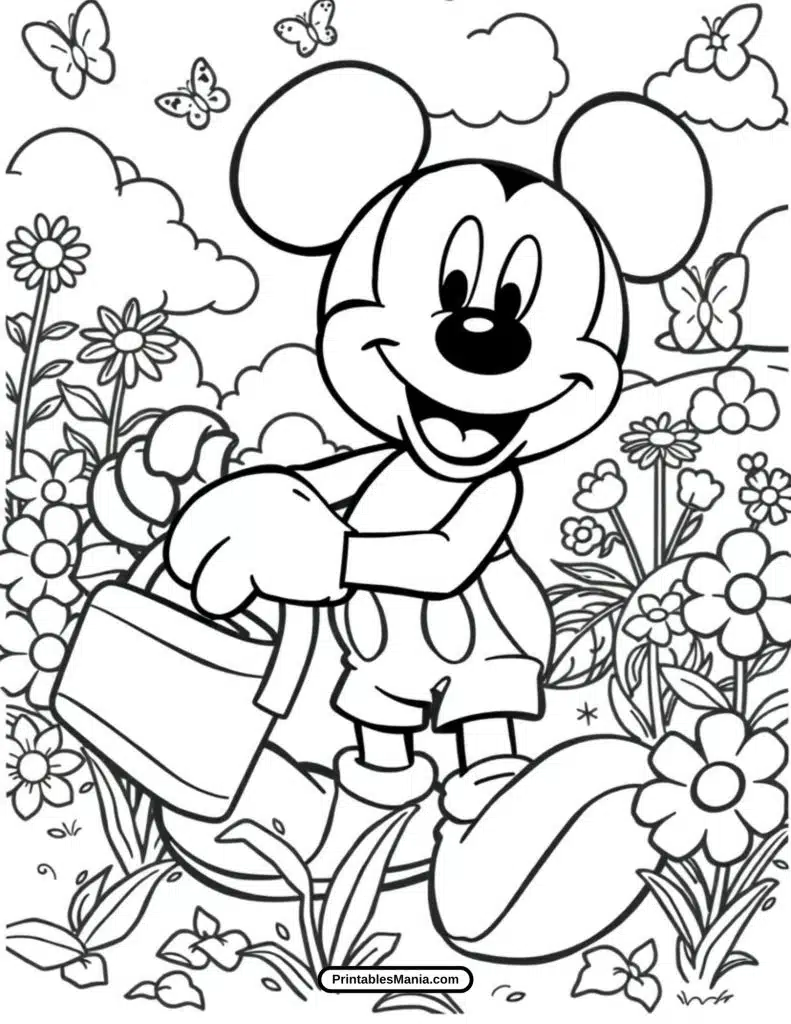
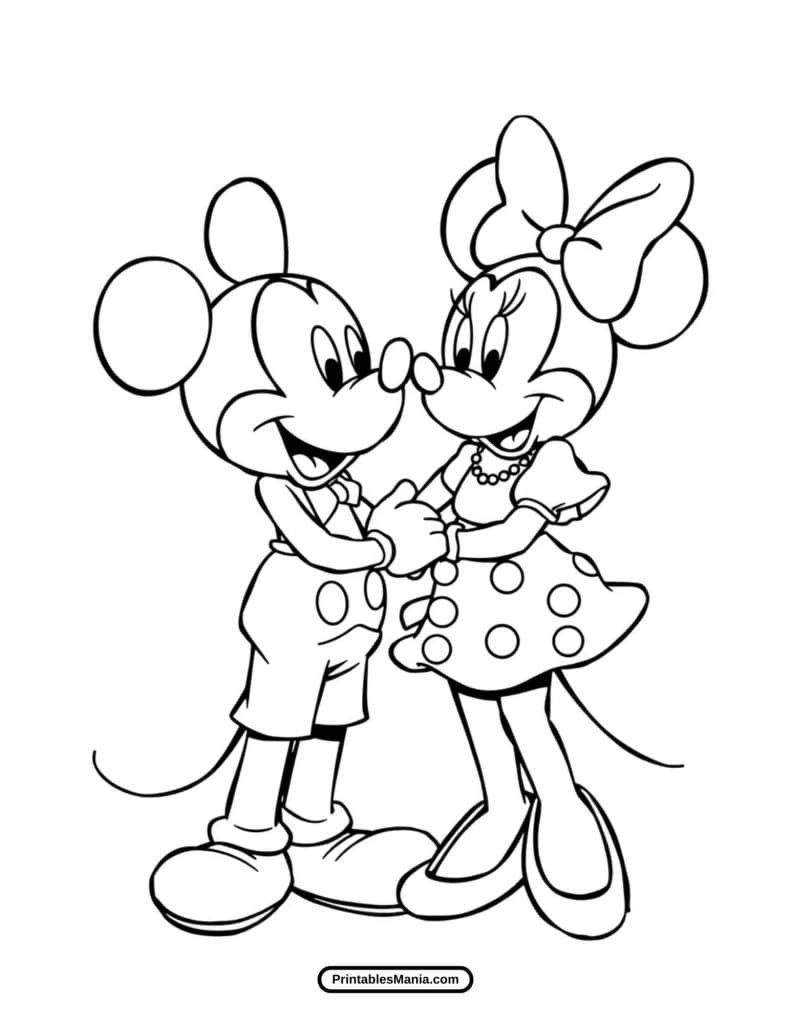
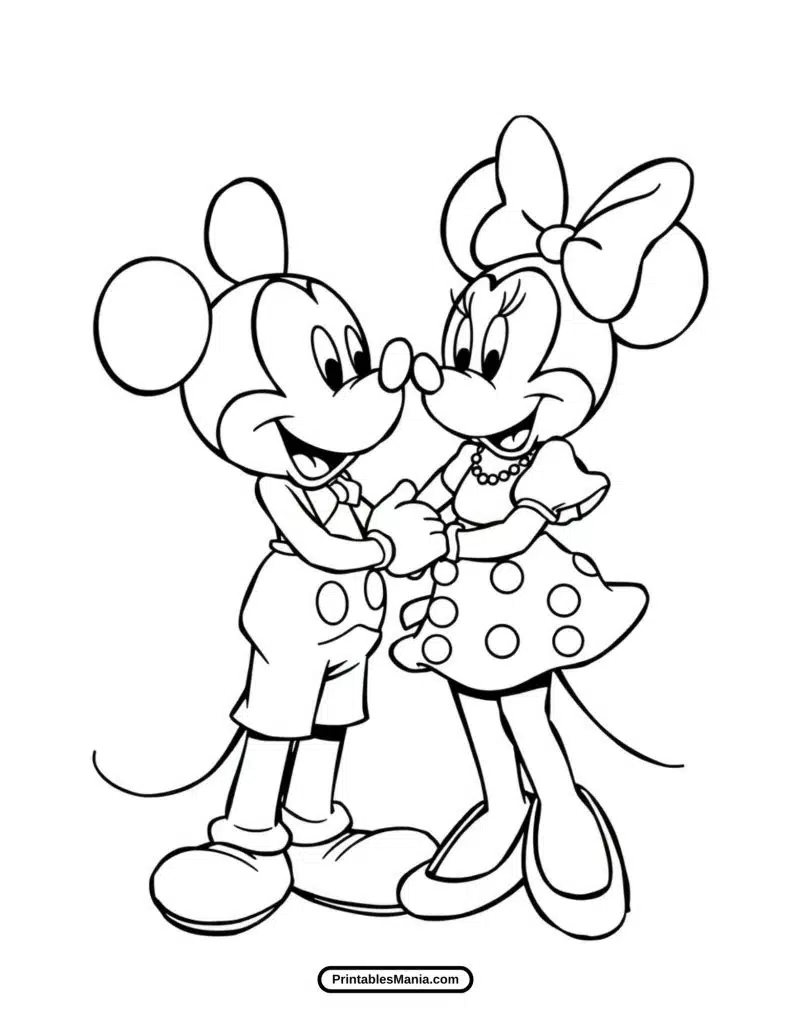
Welcome to our fun and exciting collection of Mickey Mouse coloring pages! Here, you’ll find a variety of illustrations featuring everyone’s favorite mouse, Mickey, along with his iconic friends. These coloring pages are perfect for kids and Disney fans of all ages who love to bring their creativity to life.
Fun for All Ages
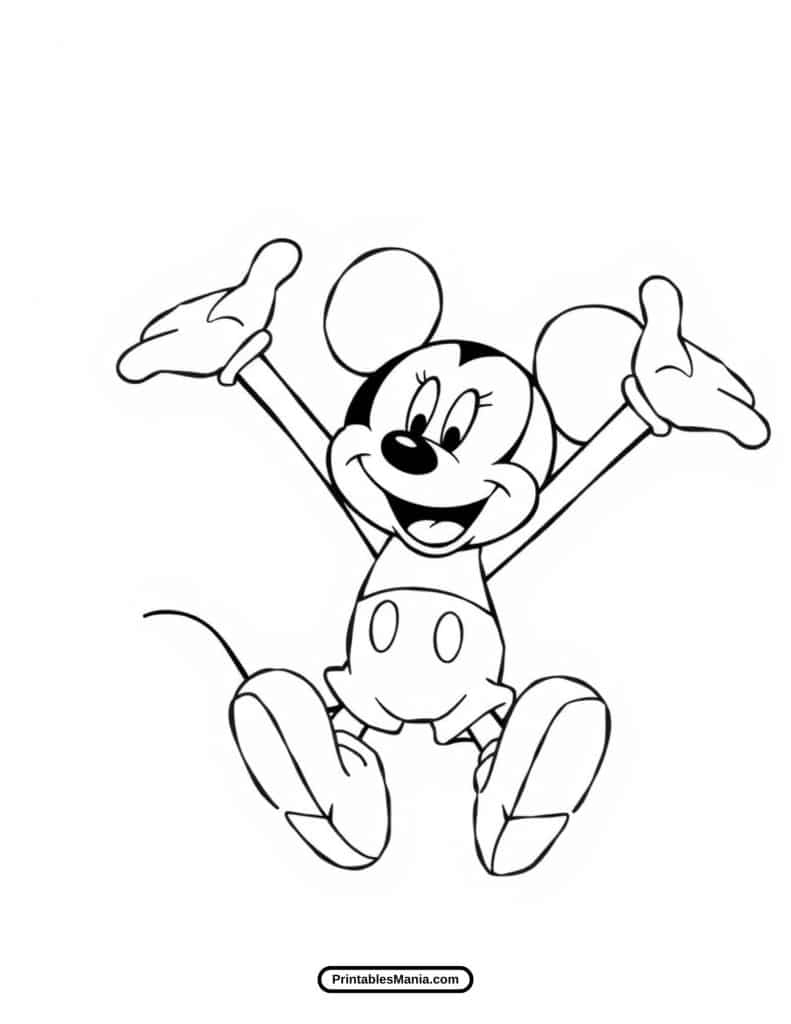
Our Mickey Mouse coloring pages offer a wide range of designs, from simple and easy-to-color images for younger children to more detailed illustrations for older kids and adults. Each page provides a fun and relaxing way to enjoy the classic Disney character while exploring your artistic side.
Perfect for Every Occasion
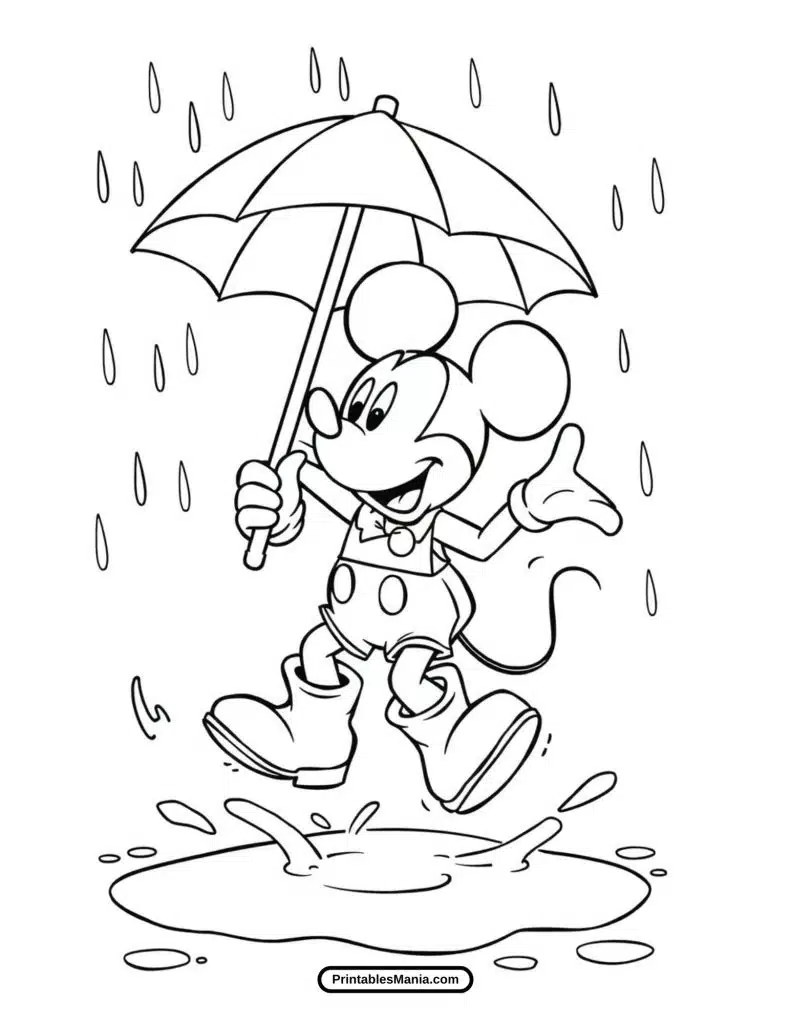
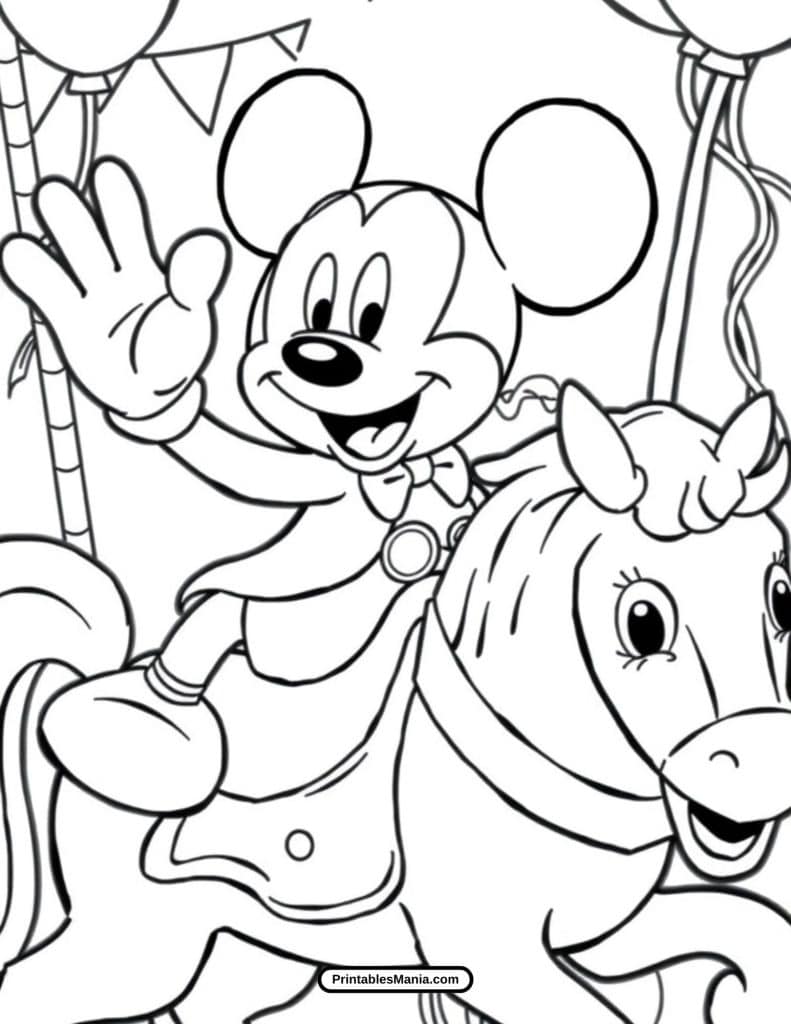
These pages are ideal for rainy days, birthday parties, classroom activities, or just for relaxing at home. Grab your coloring tools and get ready to add color to Mickey’s world!


Art Tips and Techniques for Mickey Mouse Coloring Pages
Coloring Mickey Mouse illustrations is a fun and creative way to bring your favorite Disney character to life! Whether you’re a beginner or an experienced artist, here are some tips and techniques to help you enhance your Mickey Mouse coloring experience. We’ll explore color choices, blending techniques, and suggestions for using different coloring tools like crayons, markers, and digital tools.
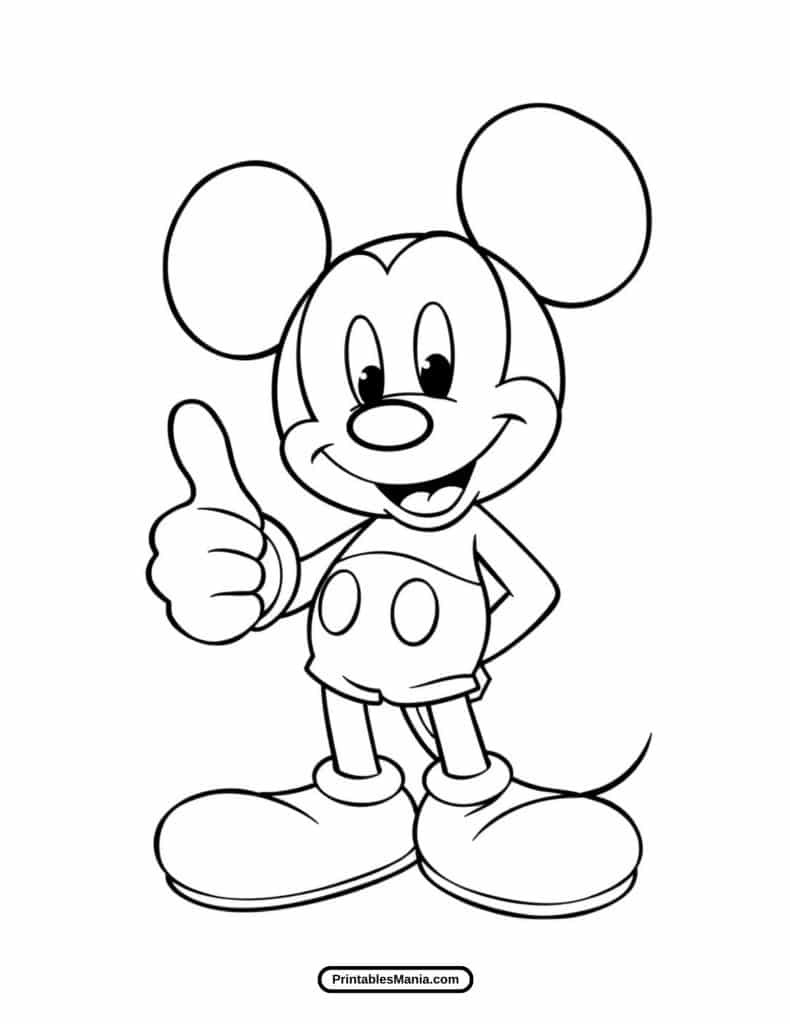
1. Choosing Colors for Mickey Mouse
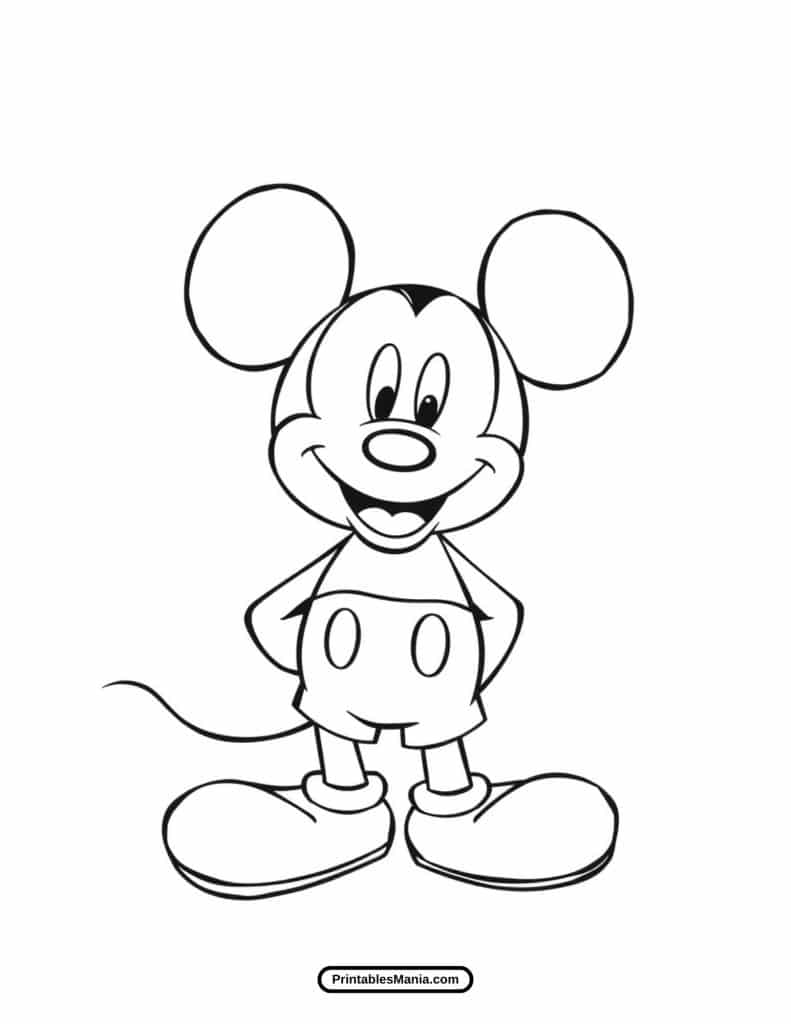
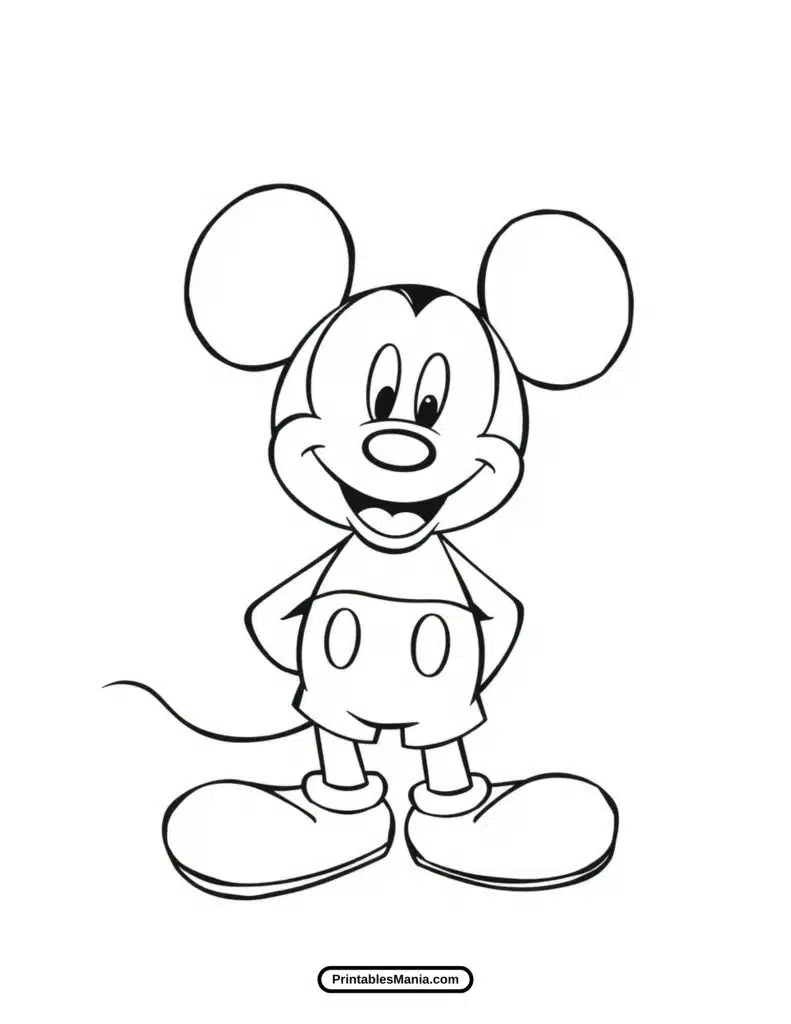
Stick to Classic Colors: Mickey’s traditional color palette is bold and simple, which makes him stand out in every illustration:
- Black: For Mickey’s ears, face outline, and shorts.
- Red: For his iconic shorts.
- Yellow: For his shoes and buttons.
- White: For his gloves and the highlights on his face.
Add Fun Variations: While classic colors are key, don’t be afraid to play around with different hues to give your Mickey a unique twist:
- Bright Colors: Use bright blues, greens, or even purples to add a playful touch to the background or other parts of the design.
- Pastels: Light pastel shades can be used for softer features or to give your Mickey Mouse a more whimsical feel.
Use Light and Dark Shades: Create depth by using lighter and darker versions of your chosen colors. For example, a light yellow on Mickey’s shoes and a darker yellow at the edges can make the illustration look more dynamic.
2. Blending Techniques
Blending with Crayons: Crayons are a great medium for coloring Mickey Mouse as they offer rich color with a smooth finish. Here are a few blending tips:
- Layer Colors: Start by coloring lightly with a base color, then gradually layer darker shades to build depth. For example, layer dark brown or black around Mickey’s features (like his face outline) to give it a more defined look.
- Blend with a Tissue or Paper: After coloring, use a piece of tissue or paper to gently rub over the colors, softening the transitions between shades and creating a smoother effect.
Using Markers: Markers give bold and vibrant results and are perfect for coloring Mickey Mouse’s classic red shorts or yellow shoes. Here’s how to blend with markers:
- Apply Base Colors: Start by coloring each section of the image (like Mickey’s shorts or face) with a light layer of marker.
- Use Two Markers for Gradients: To create gradient effects, apply the base color and then use a slightly darker shade to add shading around the edges. Blend the two colors while the marker ink is still wet to create a smooth gradient.
- Blending Pen: Some markers come with a blending pen, which helps merge the colors together for a seamless finish. This is especially useful when blending Mickey’s face or gloves.
Colored Pencils for Shading: Colored pencils allow for precise detailing and subtle blending, ideal for areas like Mickey’s gloves and facial features:
- Soft Pressure: Begin with light pressure and build up darker tones in areas that require shading (like around Mickey’s eyes or under his chin).
- Circular Motion: Use small circular motions to blend colors seamlessly, particularly for soft areas like his face or ears.
- Blending Stump or Tissues: To achieve a smooth blend, use a blending stump or tissue to gently blend colors together.
3. Suggestions for Different Mediums
Crayons: Crayons are excellent for young artists or anyone who enjoys quick, bold coloring.
- Best for: Vibrant and textured results.
- Tip: Use light pressure when starting to get smooth color transitions, and build up layers for richness.
Markers: Markers provide intense color and are great for clean, sharp lines.
- Best for: Bold, bright colors and crisp outlines.
- Tip: Use alcohol-based markers for a smoother blend, or water-based markers for quicker, fun designs.
Colored Pencils: Colored pencils offer the best control for detailed work and subtle color transitions.
4. Adding Texture and Details
Texture with Crayons and Pencils: You can create texture with your crayons and colored pencils by varying your strokes. For example:
- Cross-Hatching for Shading: Use criss-crossing lines to add shading and depth to areas like Mickey’s ears and face.
- Speckled Texture: Add a fun, playful texture to Mickey’s clothes or the background by lightly dabbing with a crayon or pencil in a stippling pattern.
Adding Highlights: Mickey’s iconic face can shine with the right use of highlights:
- Use a white gel pen or colored pencil to add light reflections on Mickey’s eyes, gloves, or any shiny surfaces.
- For Mickey’s face, add highlights along the upper part of his cheeks and ears to give him a cheerful, animated look.
Shading for Depth: To make Mickey Mouse appear more dimensional, add shading under his gloves, around his face, and beneath his shoes. Focus on areas where shadows would naturally fall, such as under his chin or the folds of his clothes.
What to Do with the Colored Page?
Once you’ve brought your Mickey Mouse coloring page to life, there are so many creative ways to make the most of your artwork! Whether you want to display it proudly, share it with friends, or repurpose it for something special, here are some fun ideas for what to do with your completed coloring page:
1. Frame and Display It
The perfect way to showcase your colorful masterpiece is by framing it and displaying it for all to see.
- Choose a Frame: Select a frame that complements the colors and style of your artwork. A classic black or white frame will make the colors pop, while a colorful frame can add a playful touch.
- Create a Display Wall: If you’ve colored multiple Mickey Mouse pages, create a wall of Mickey-themed art. It’s a great addition to any room, especially a playroom or a kid’s bedroom.
- Add a Personal Touch: Consider using a frame with a mat to give the page a polished look, perfect for gifts or home décor.
2. Turn It Into a Greeting Card
Your Mickey Mouse coloring page can be transformed into a fun and personalized greeting card for any occasion.
- Cut and Fold: Trim the edges of your colored page and fold it to create a blank card. You can write a sweet message inside for birthdays, thank-yous, or even special occasions like Disney-themed parties.
- Gift the Card: Add a personal touch to a gift by pairing your greeting card with a Mickey Mouse-themed present or a Disney movie night basket.
3. Make a Bookmark
If you’re a book lover, why not create a Mickey Mouse-themed bookmark?
- Cut to Shape: Carefully cut out your favorite section of the colored page, preferably one of Mickey’s poses or close-up faces.
- Laminate for Durability: Laminate your bookmark to ensure it lasts for many reading adventures.
- Add a Ribbon: Punch a small hole at the top and thread a fun ribbon or string through it for an extra Disney-inspired touch.
4. Create a Fun Poster
Turn your colored Mickey Mouse page into a larger-than-life poster for your room or a special space.
- Scan and Print: Scan your artwork and enlarge it to poster size using a printing service. It’s a fun way to give your artwork a bigger presence in your home.
- Customize the Design: Add a quote or Disney-themed text to the poster to make it even more personal. You could add Mickey’s classic phrases like “Oh boy!” or “See you real soon!”
5. Use It as Gift Wrap
Give your gifts a personalized, creative touch by using your colored Mickey Mouse page as wrapping paper.
- Cut and Wrap: Use the whole page or cut out sections of your artwork to create fun, unique wrapping for gifts.
- Creative Gift Tags: You can also cut smaller pieces of your colored page to use as fun gift tags or to decorate gift bags.
6. Create a Mickey Mouse-Themed Scrapbook
Add your finished Mickey Mouse page to a scrapbook to commemorate special memories.
- Decorate a Scrapbook Page: Place the colored page as the centerpiece of a scrapbook, surrounding it with photos, quotes, or stickers that match the Disney theme.
- Document Your Mickey Moments: Write a short memory or a fun fact about Mickey Mouse and his importance to your family or personal life in the scrapbook.
7. Share It on Social Media
Let the world see your artistic talent by sharing your Mickey Mouse coloring page on social media!
- Post Your Artwork: Share a picture of your coloring page on platforms like Instagram, Facebook, or Pinterest. Use hashtags like #MickeyMouseArt or #DisneyColoring to connect with other fans.
- Engage with Friends: Show your work to friends and family, and encourage them to try coloring Mickey Mouse too!
8. Create a Fun DIY Craft
Repurpose your colored page into a fun craft project.
- Butterfly or Mickey Mouse Wings: Use your colored Mickey Mouse page to create Mickey-themed wings, a fun decoration, or a mask for a dress-up event.
- Decorative Banners: Cut out small Mickey Mouse shapes and string them together to create a banner for a Disney-themed party or birthday celebration.
Printables Mania acknowledges the intellectual property rights of third parties, including any content that is influenced by or represents characters not originally created by PrintablesMania.com. Such content is created as fan art and is intended for educational, artistic expression, and non-commercial use only.