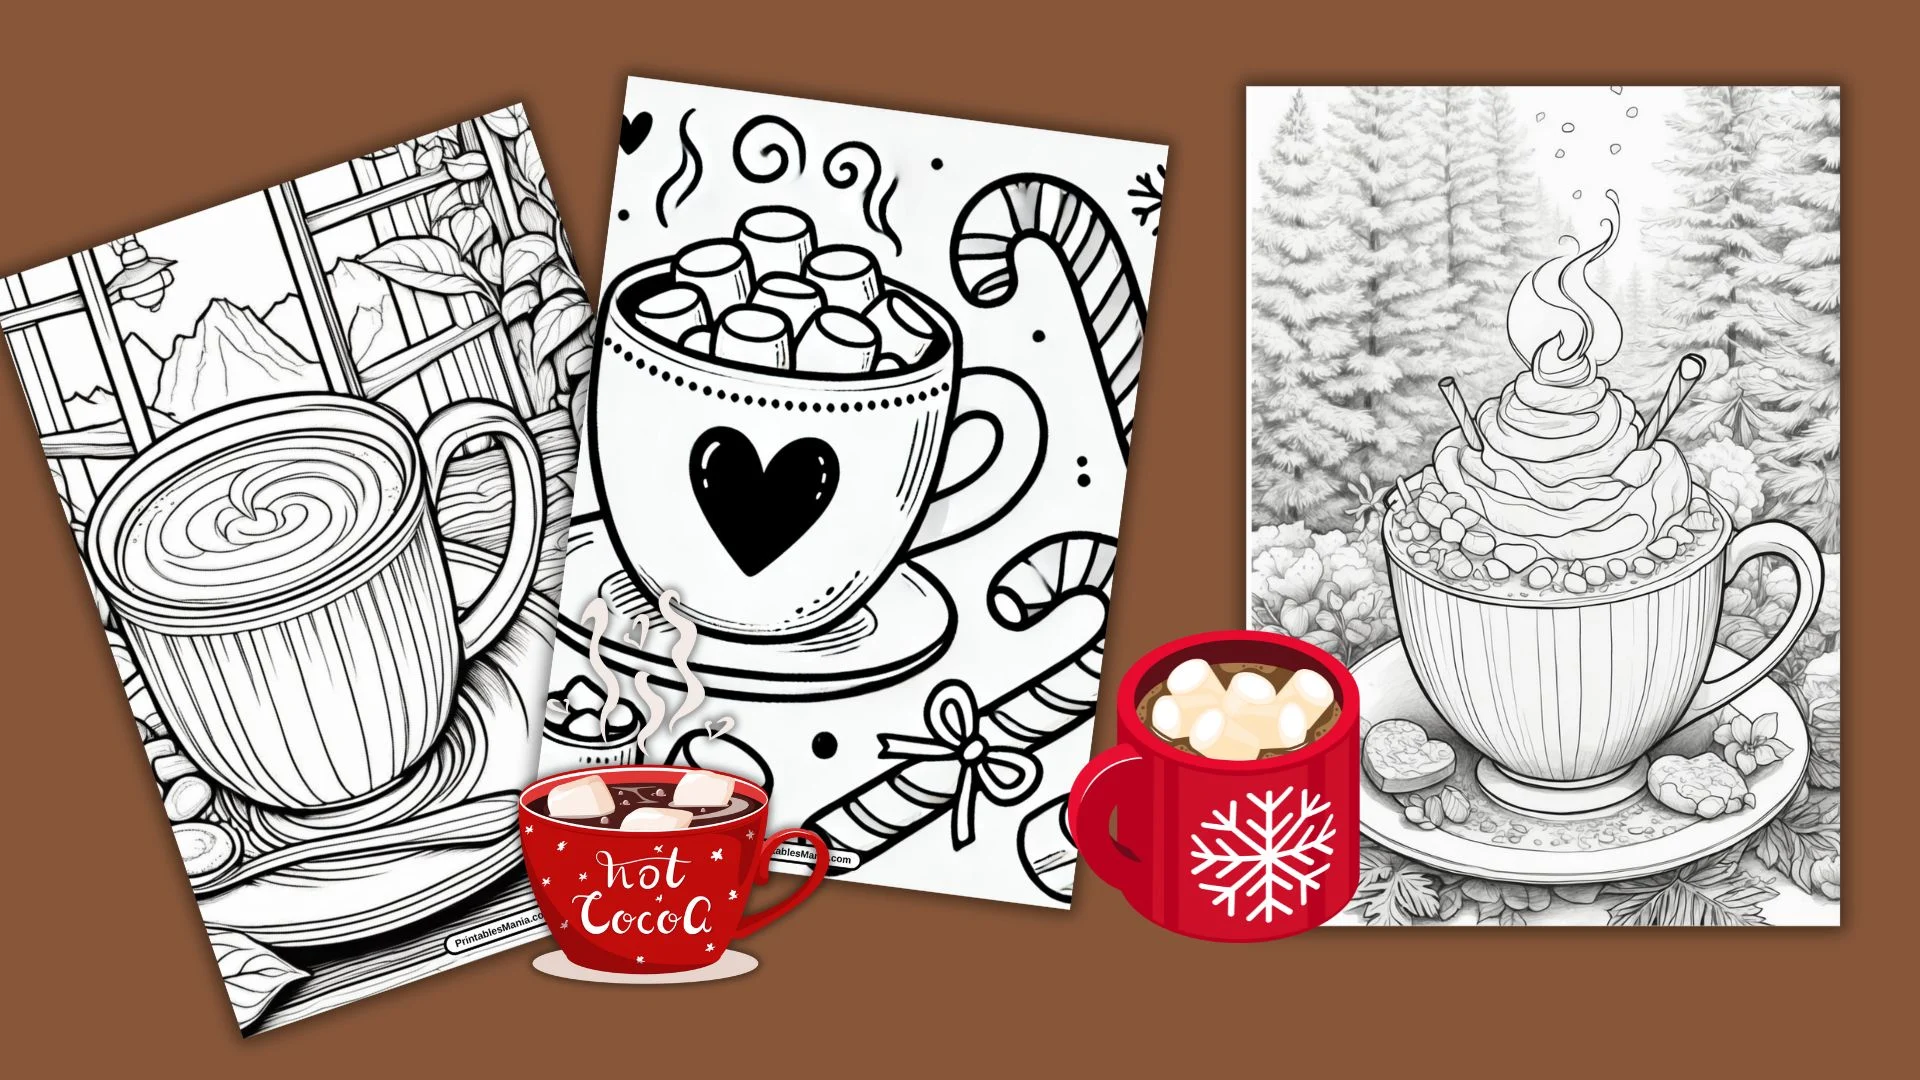
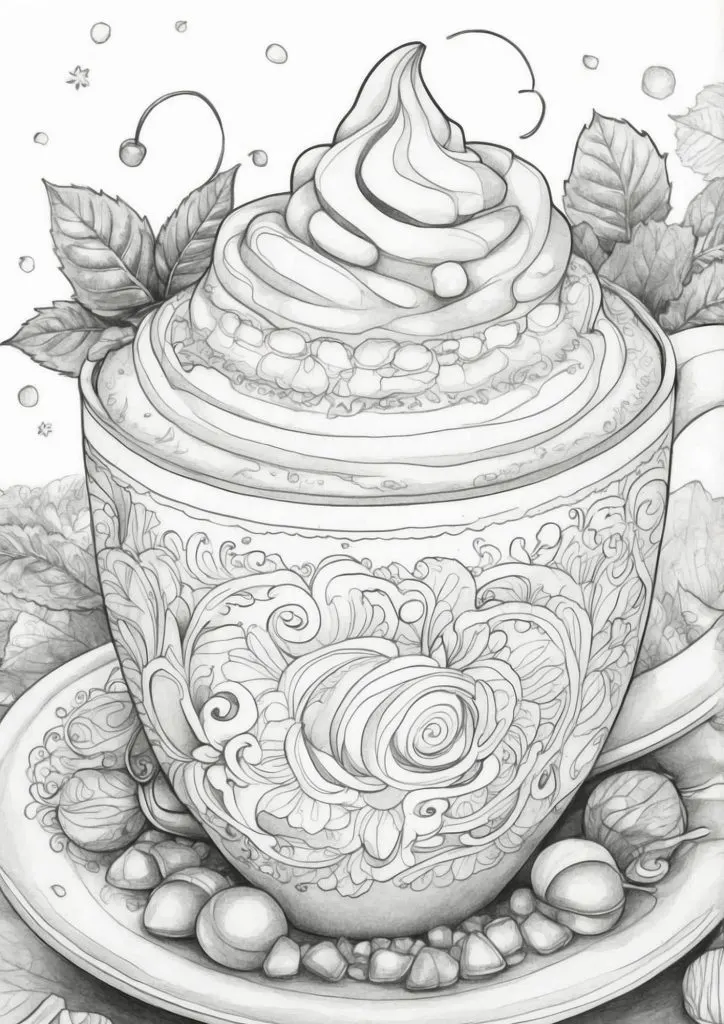
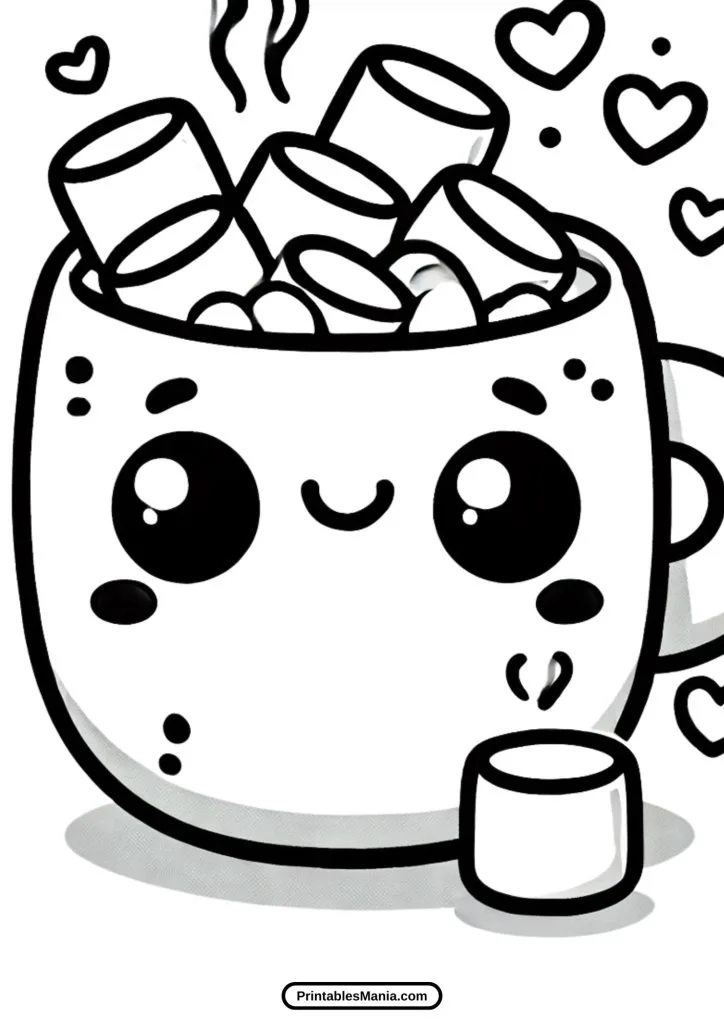
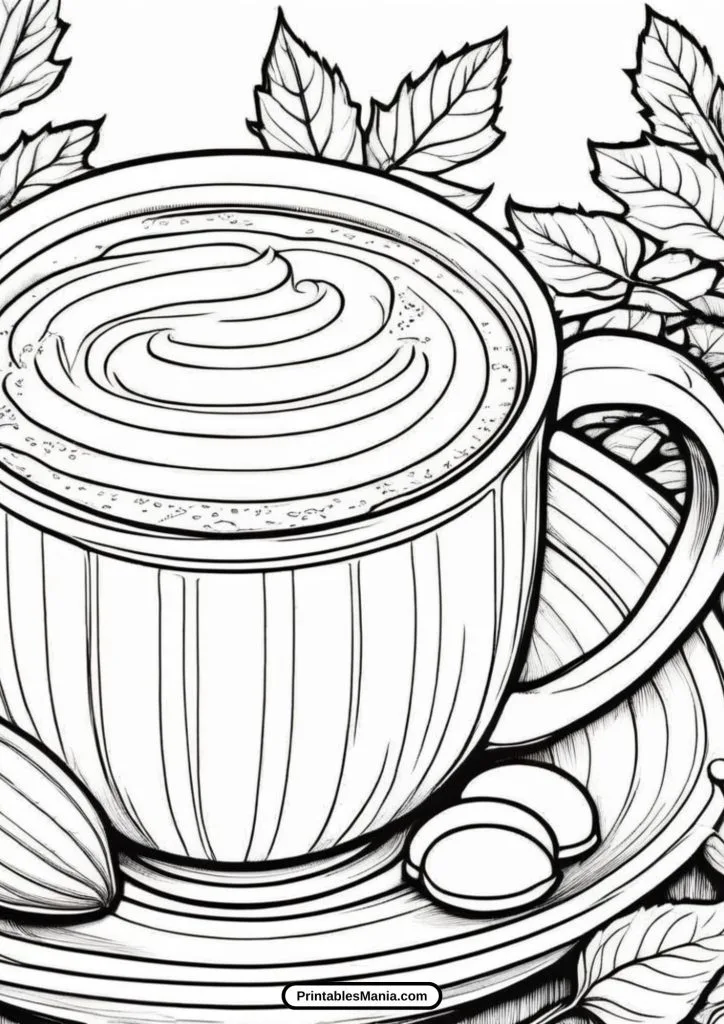
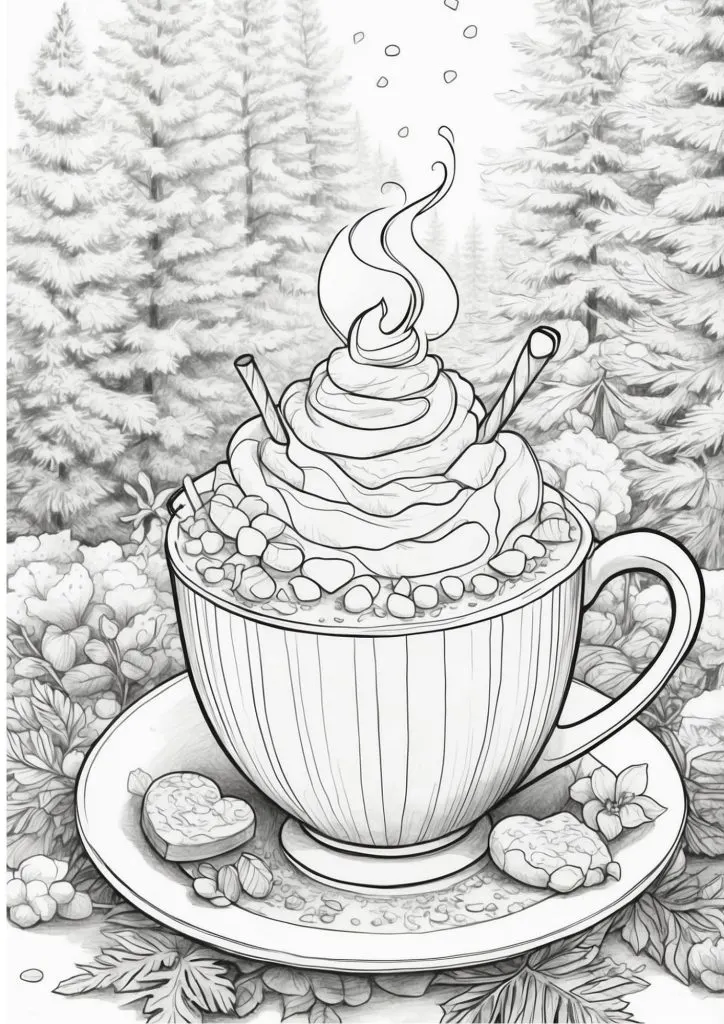
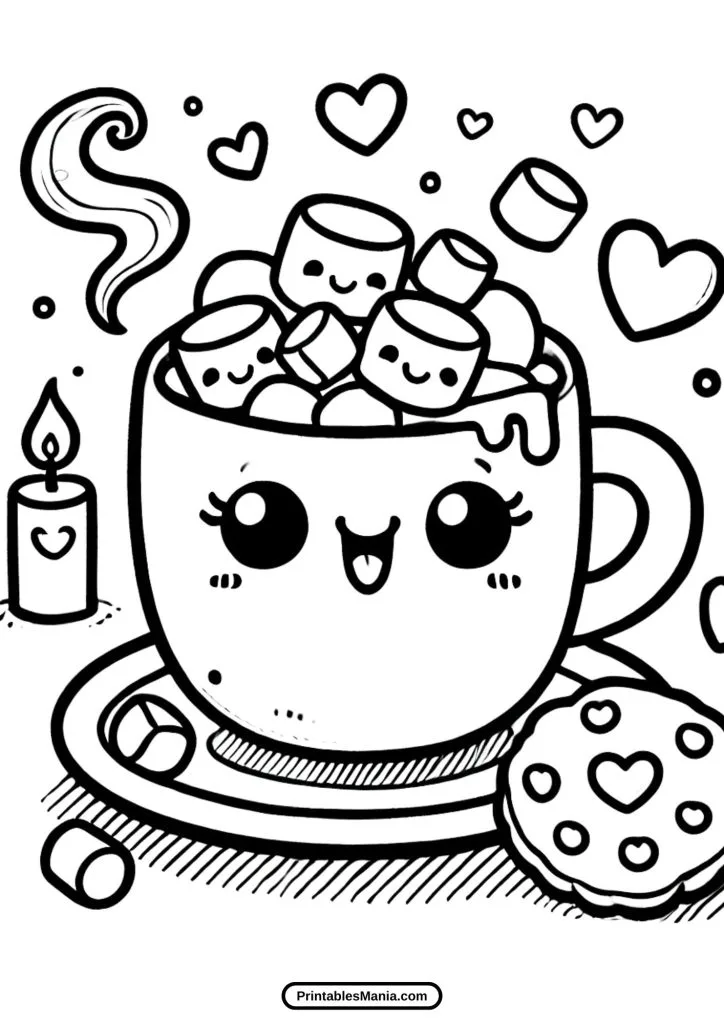
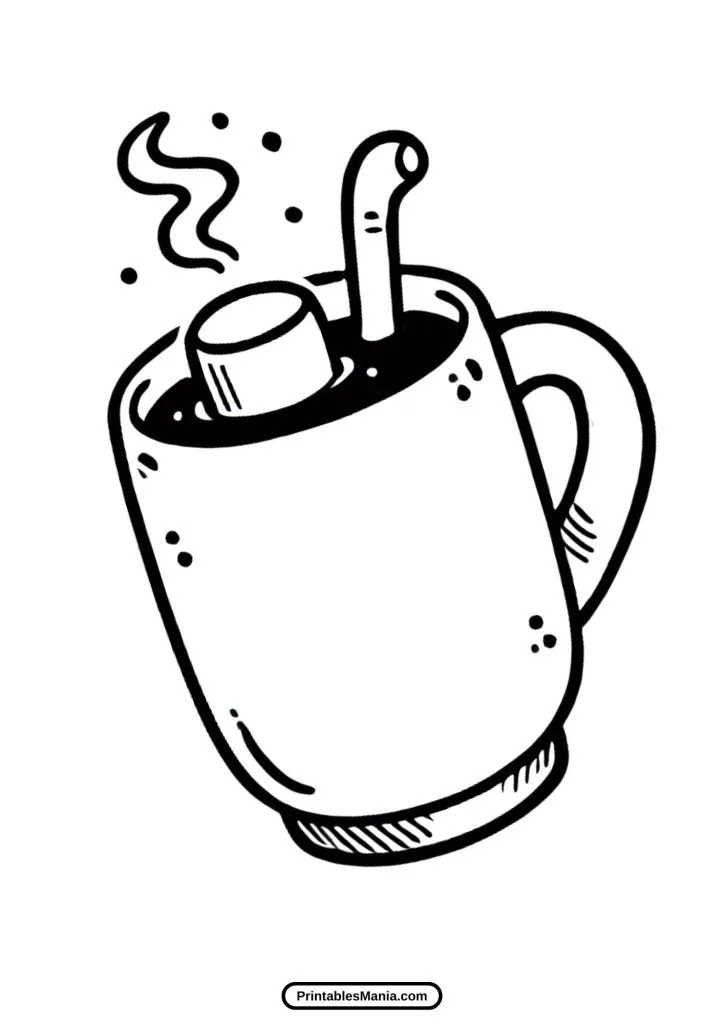
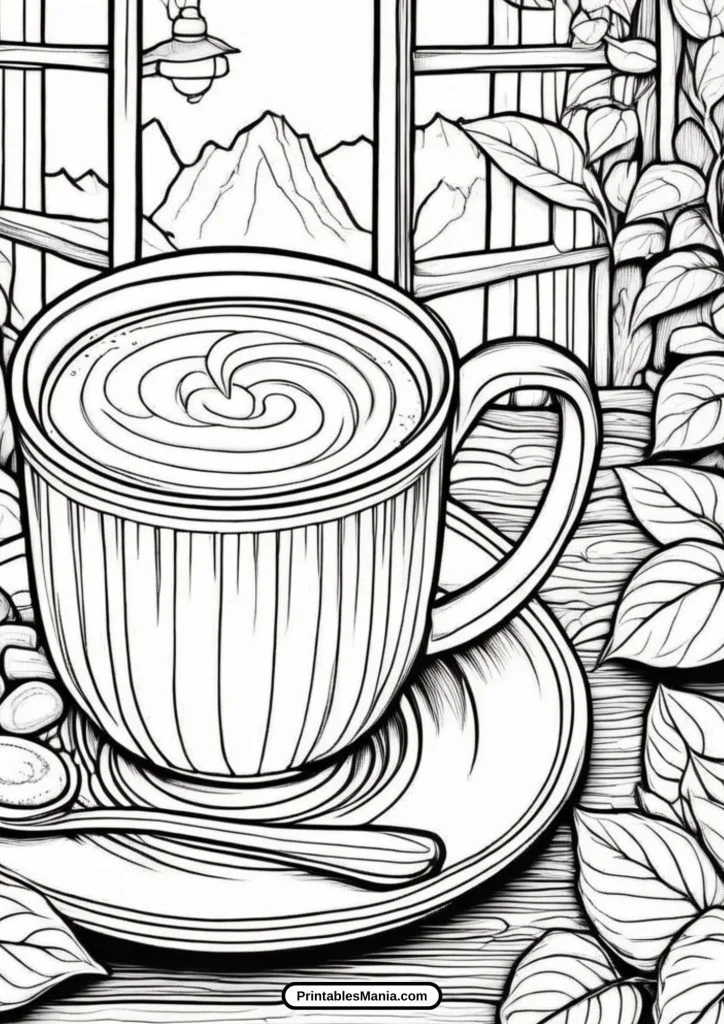
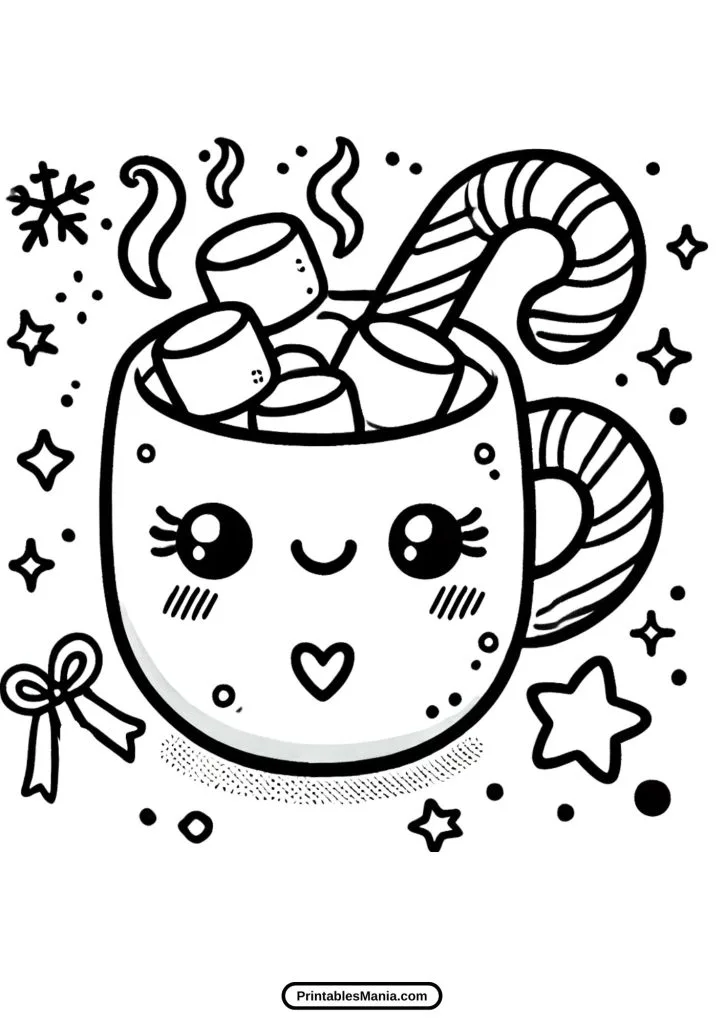
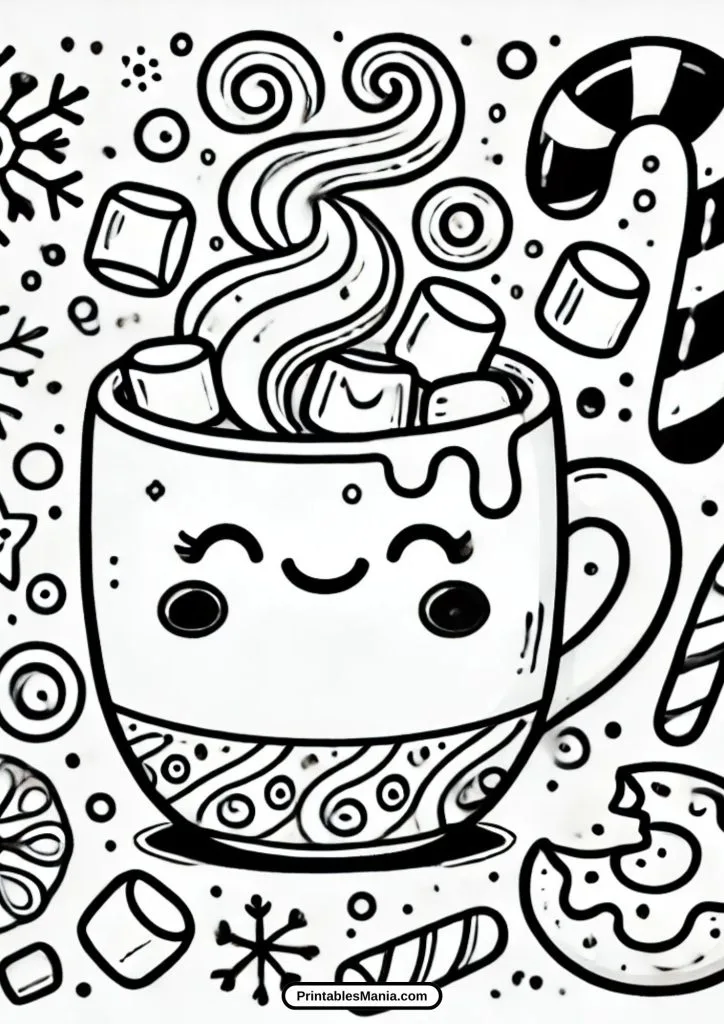
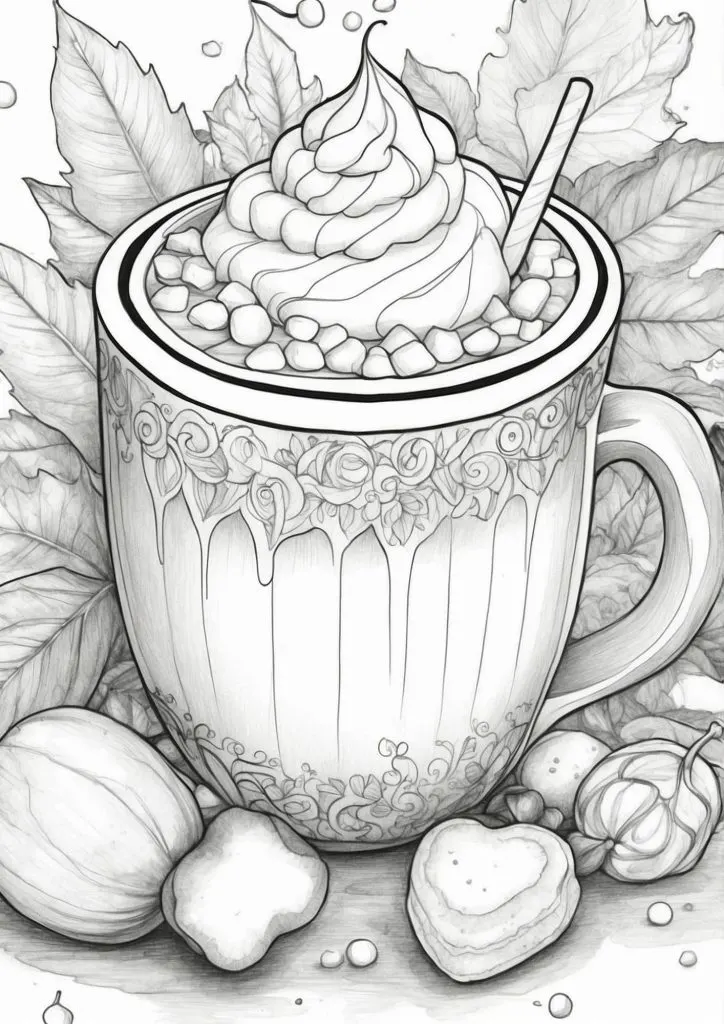
Indulge in the warmth and charm of hot cocoa through our delightful collection of coloring pages. Whether you’re looking for a relaxing activity to unwind or a fun project for kids, these pages are perfect for anyone who loves the cozy vibes of a steaming mug of cocoa.
What Makes Hot Cocoa Coloring Pages Special?
- Seasonal Charm: Perfect for cold winter days, these coloring pages capture the essence of cozy evenings by the fire.
- Creative Outlets for All Ages: From intricate designs for adults to simple patterns for kids, there’s something for everyone.
- Customizable Fun: Use your favorite colors to create unique artwork featuring mugs, marshmallows, and whimsical winter scenes.
Why Choose Our Coloring Pages?
- High-Quality Designs: Professionally crafted illustrations that spark creativity.
- Printable and Accessible: Download and print anytime for instant fun.
- Perfect for Gifting: Add a personal touch to cards, frames, or craft projects.
Grab your favorite crayons, markers, or colored pencils, and let your imagination brew a masterpiece with our hot cocoa coloring pages!
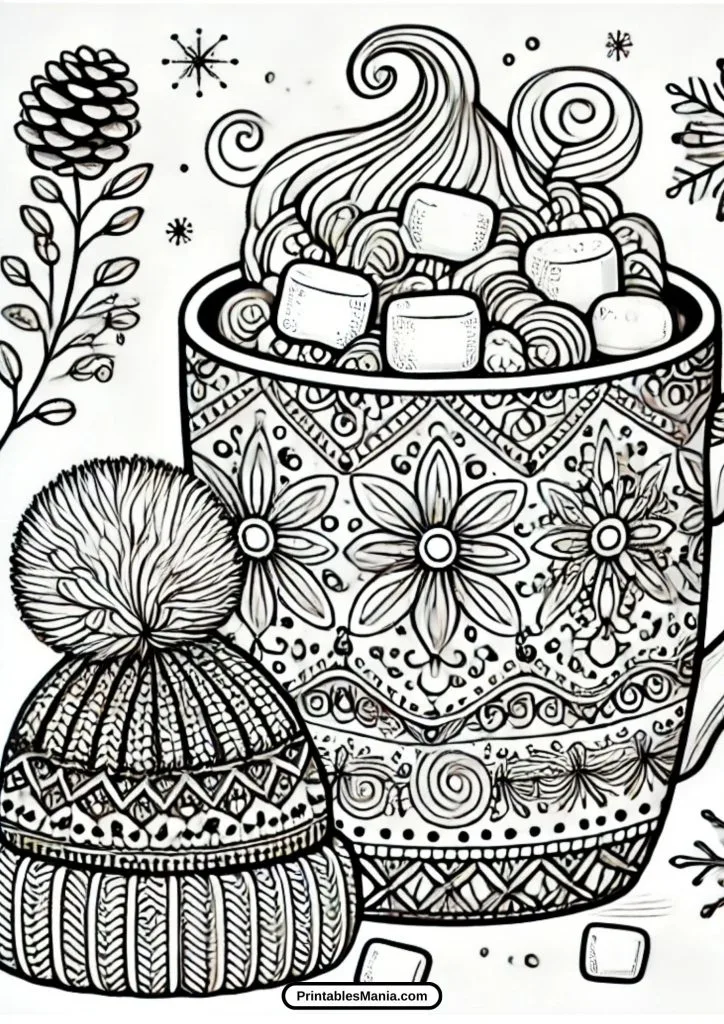

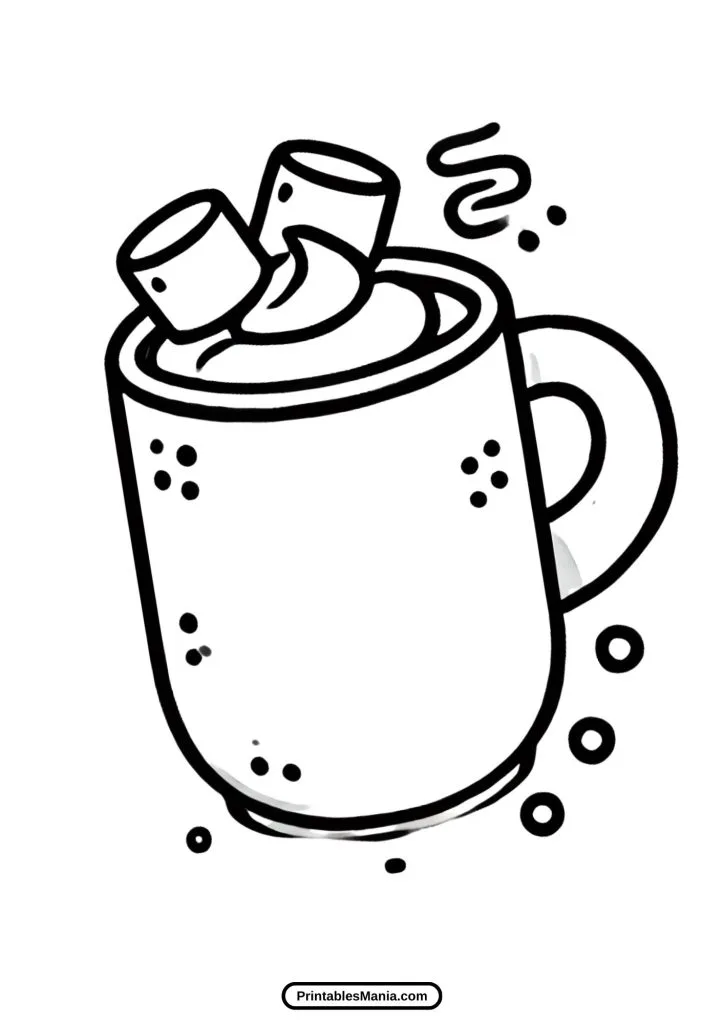



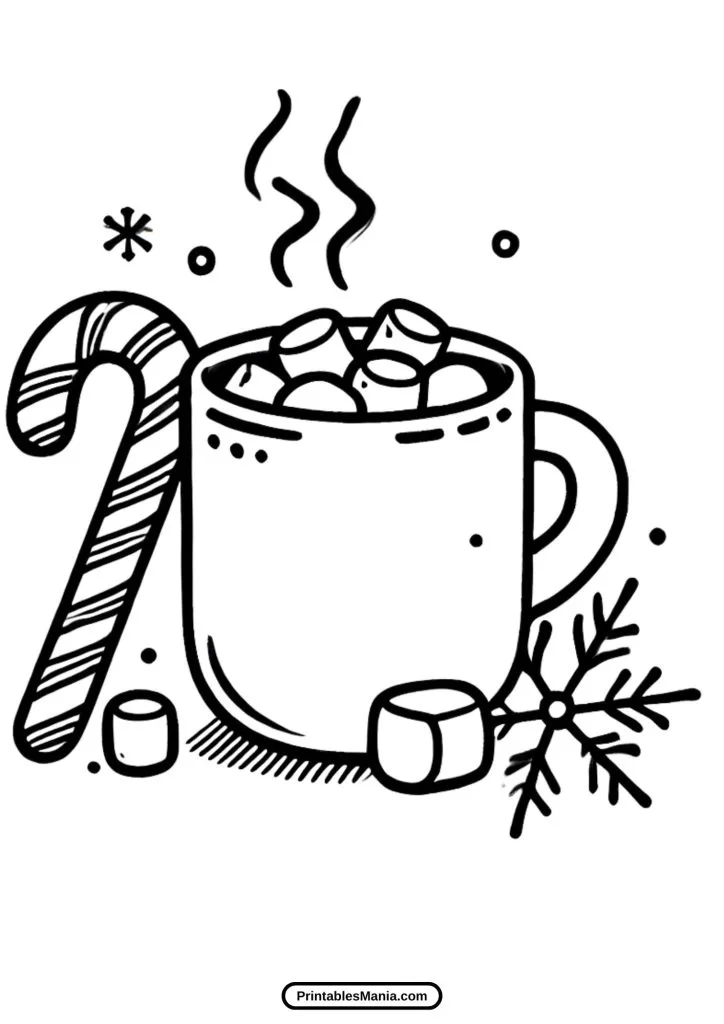
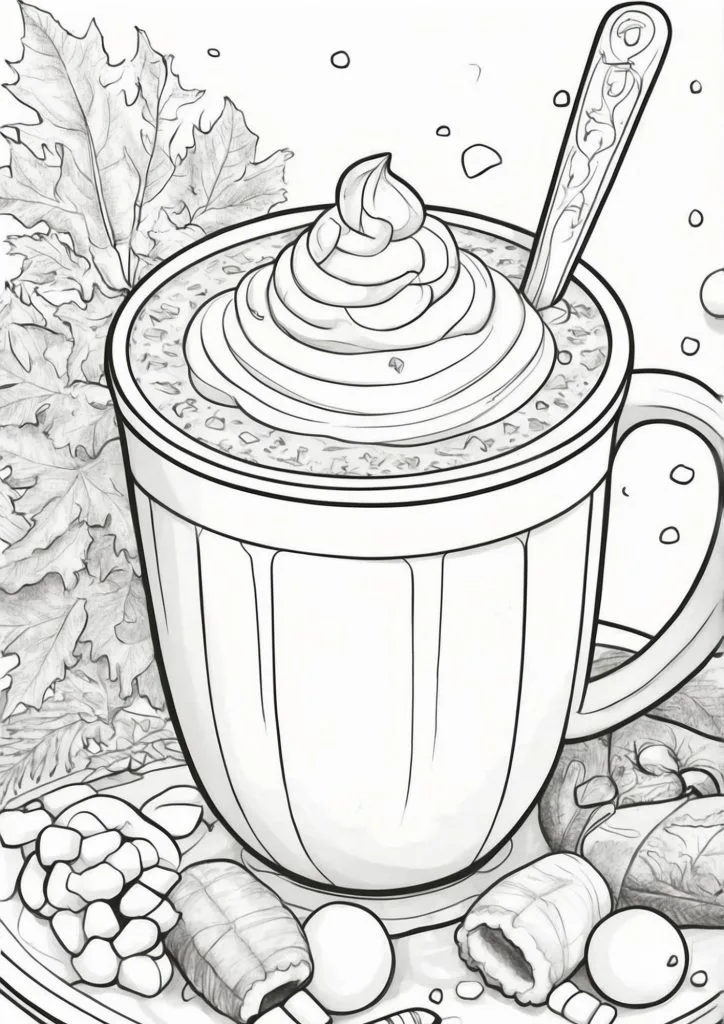

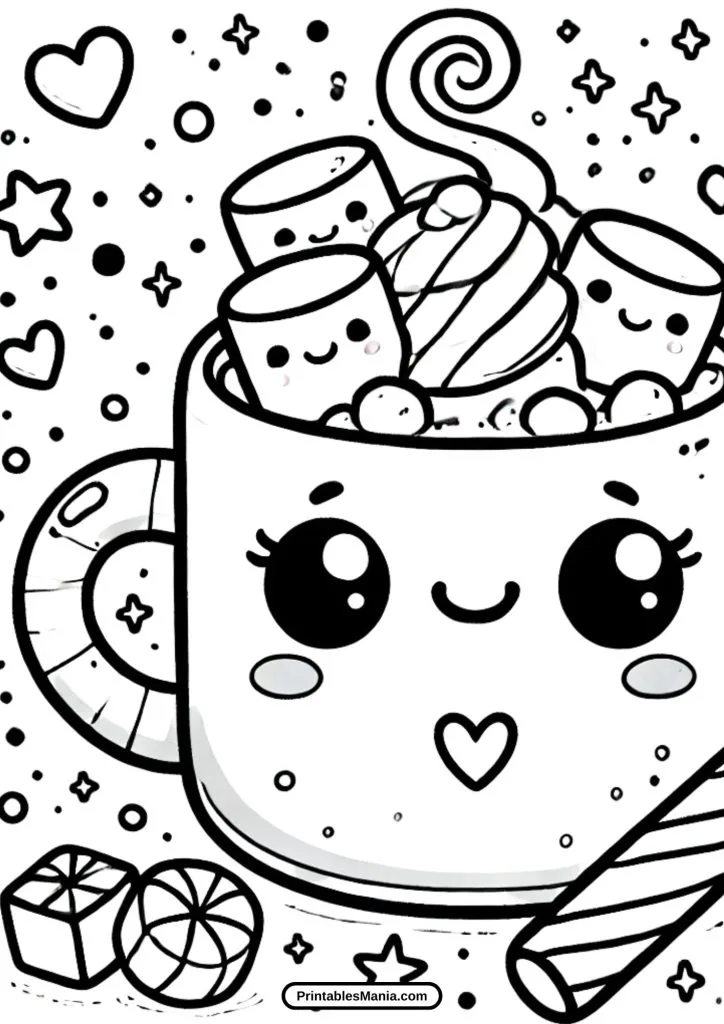
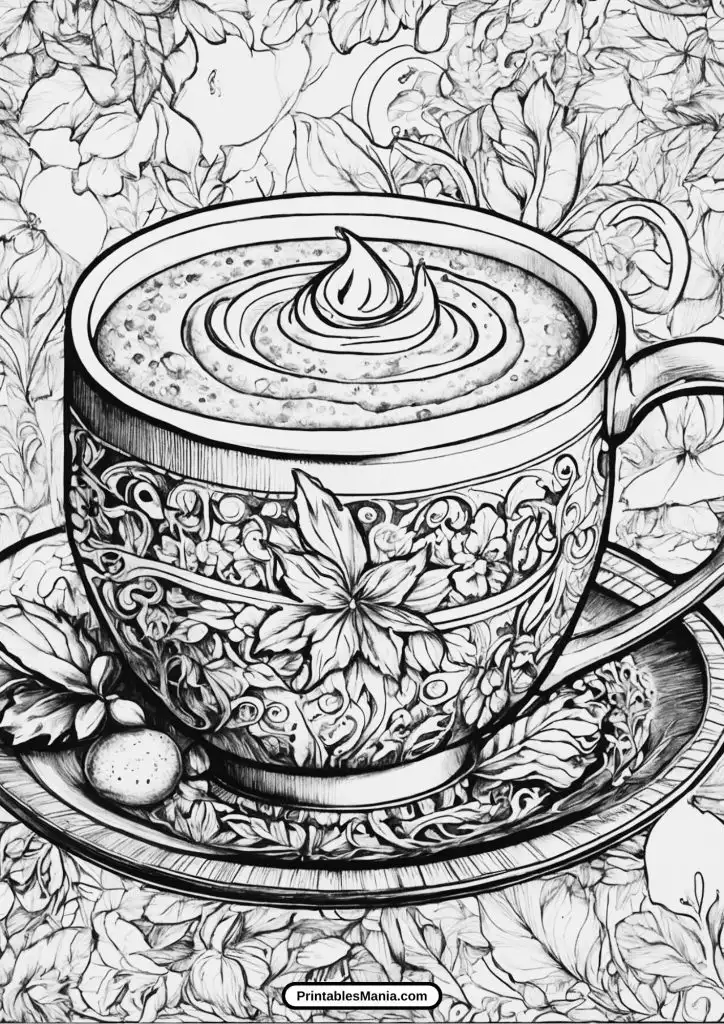

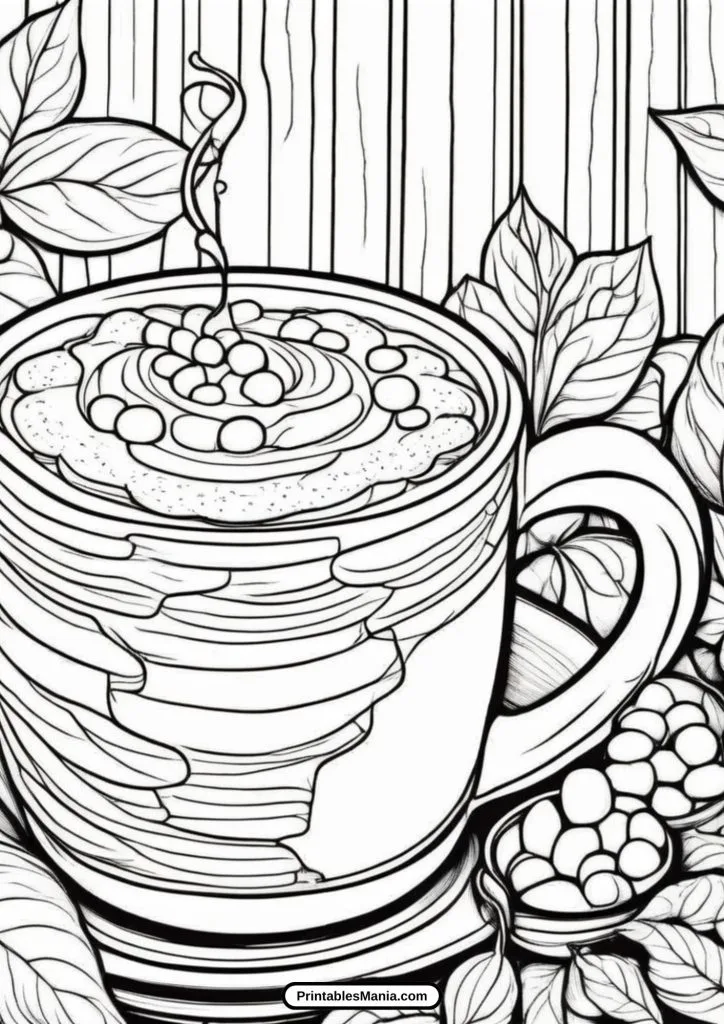
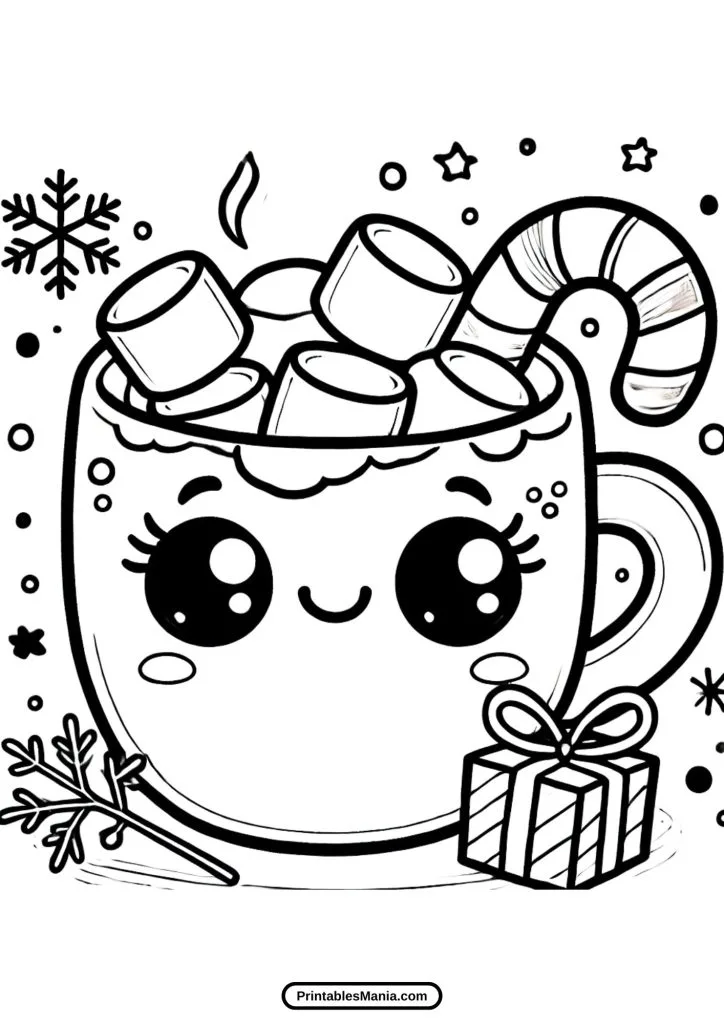
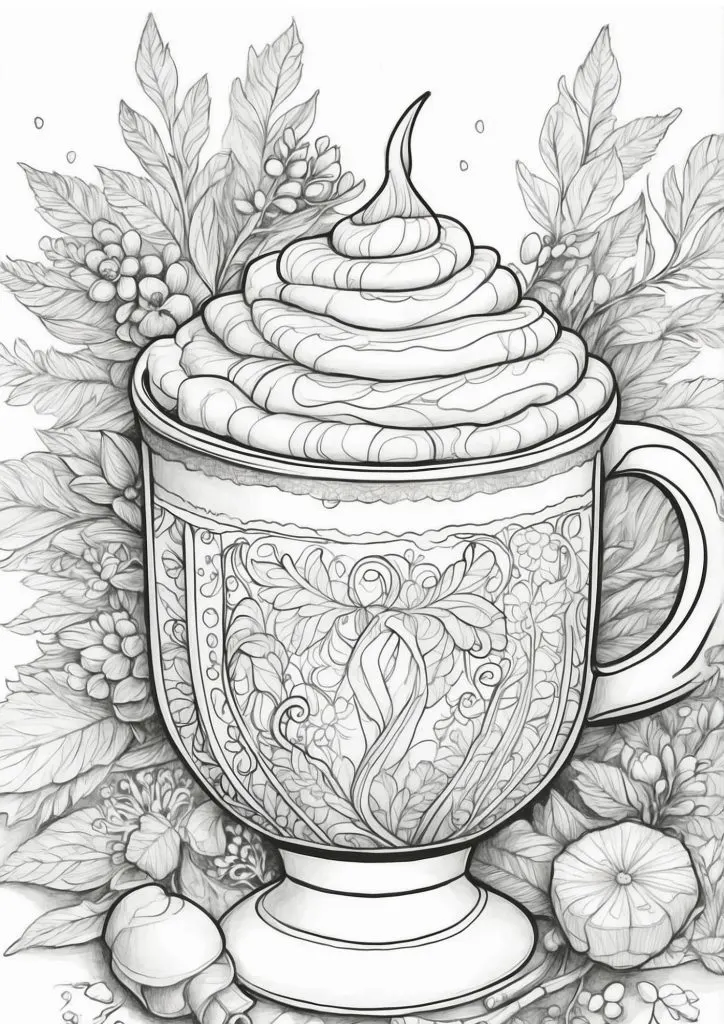
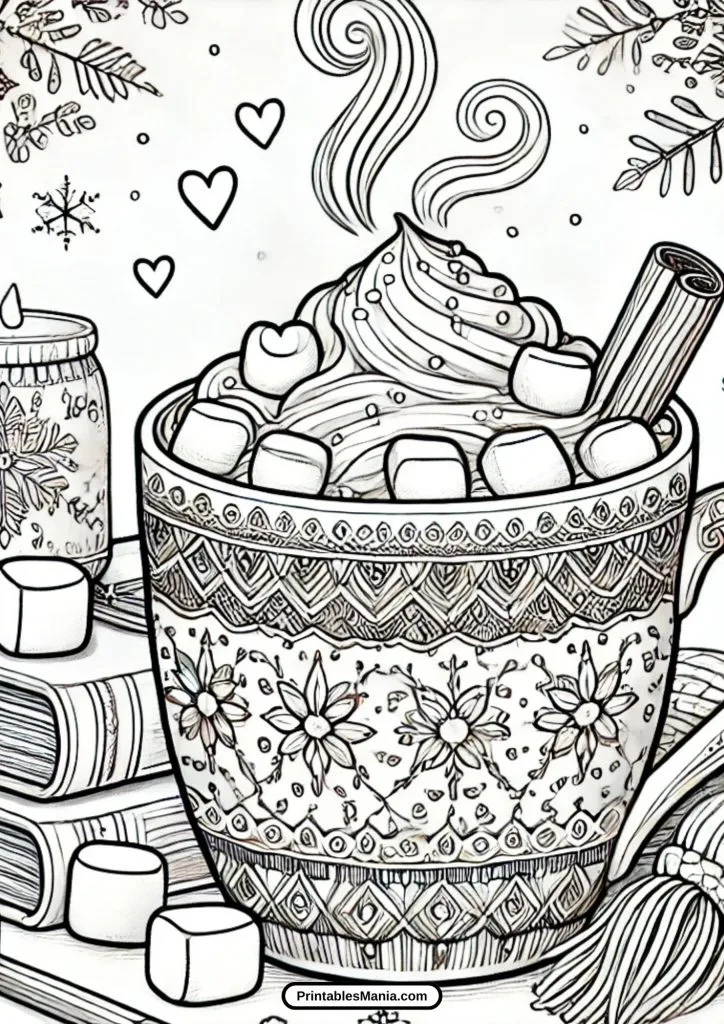
Art Tips and Techniques for Coloring Hot Cocoa Illustrations
Bring your hot cocoa coloring pages to life with these creative tips and techniques. Whether you’re using crayons, markers, or digital tools, these suggestions will help you achieve beautiful results while having fun!
Choosing the Right Colors
- Warm Tones for Cocoa: Use shades of brown, cream, and beige to depict the rich texture of hot cocoa. Add a hint of red or orange for a festive touch.
- Vibrant Mug Designs: Experiment with bright, bold colors for the mug to make it pop. Reds, greens, and blues work well for holiday themes.
- Background Elements: Soft pastels or muted tones create a cozy ambiance, while snowy whites and light blues evoke a wintry feel.
Blending Techniques
- Crayons: Apply gentle pressure in circular motions to blend colors smoothly. Layer lighter colors over darker ones for depth.
- Markers: Use alcohol-based markers for seamless blending. Start with the lighter shade and gradually add darker tones for shadows.
- Colored Pencils: Cross-hatching or light layering helps create soft transitions between colors.
Suggestions for Different Mediums
Crayons
- Perfect for kids and beginners. Choose wax-based crayons for vibrant colors and smooth application.
- Pro Tip: Use a white crayon or tissue paper to blend colors gently.
Markers
- Alcohol-based markers are ideal for vibrant, streak-free coloring.
- Pro Tip: Use a colorless blender marker to soften edges and merge colors seamlessly.
Colored Pencils
- Great for detailed work and shading. Opt for soft-core pencils for better blending.
- Pro Tip: Blend with a blending pencil or a bit of solvent (like mineral spirits) for a painterly effect.
Digital Tools
- Apps like Procreate or Adobe Fresco offer endless possibilities with layers and blending brushes.
- Pro Tip: Experiment with texture brushes to simulate real-life coloring techniques.
Adding Finishing Touches
- Highlights and Shadows: Add white highlights to marshmallows and mug edges for a glossy effect. Use darker tones around the edges for depth.
- Background Details: Sprinkle in some snowflakes, steam swirls, or festive patterns to make your scene more dynamic.
What to Do with the Colored Page?
After pouring your creativity into coloring your hot cocoa page, the fun doesn’t stop there! Here are some creative and practical ideas to showcase or repurpose your masterpiece:
1. Display Your Artwork
- Frame It: Place your finished page in a frame to create unique wall art for your home, especially during the winter season.
- Pin It Up: Use magnets or clips to display your art on the fridge or a pinboard.
2. Make Personalized Cards
- Turn your colored page into a heartfelt greeting card:
- Fold and Trim: Cut the page to card size and fold it in half.
- Add a Message: Write a warm note inside for a personal touch.
- Perfect for holiday greetings, thank-you notes, or invitations!
3. Create Custom Wrapping Paper
- Use your artwork to wrap small gifts:
- Scan and print your colored page onto lightweight paper.
- Ideal for adding a personal, handmade touch to your presents.
4. Use in Scrapbooking
- Add your colored page to a scrapbook as a decorative element:
- Include it in a winter-themed or holiday memory book.
- Layer it with photos, stickers, or embellishments for extra flair.
5. Make a Bookmark
- Cut a strip of your colored page and laminate it to create a durable and eye-catching bookmark.
- Add a ribbon or tassel for a professional finish.
6. Decorate Your Space
- Holiday Banners: Cut out sections of your artwork and string them together to make festive garlands.
- Table Decor: Laminate the page and use it as a unique placemat for cozy cocoa gatherings.
7. Gift It
- Share your creativity by gifting your finished coloring page:
- Attach it to a gift as a decorative tag.
- Present it as a small token of appreciation or encouragement.
8. Digitize and Share
- Scan or take a photo of your artwork and share it online:
- Post on social media to inspire others.
- Email it to friends and family to spread some creative joy.

