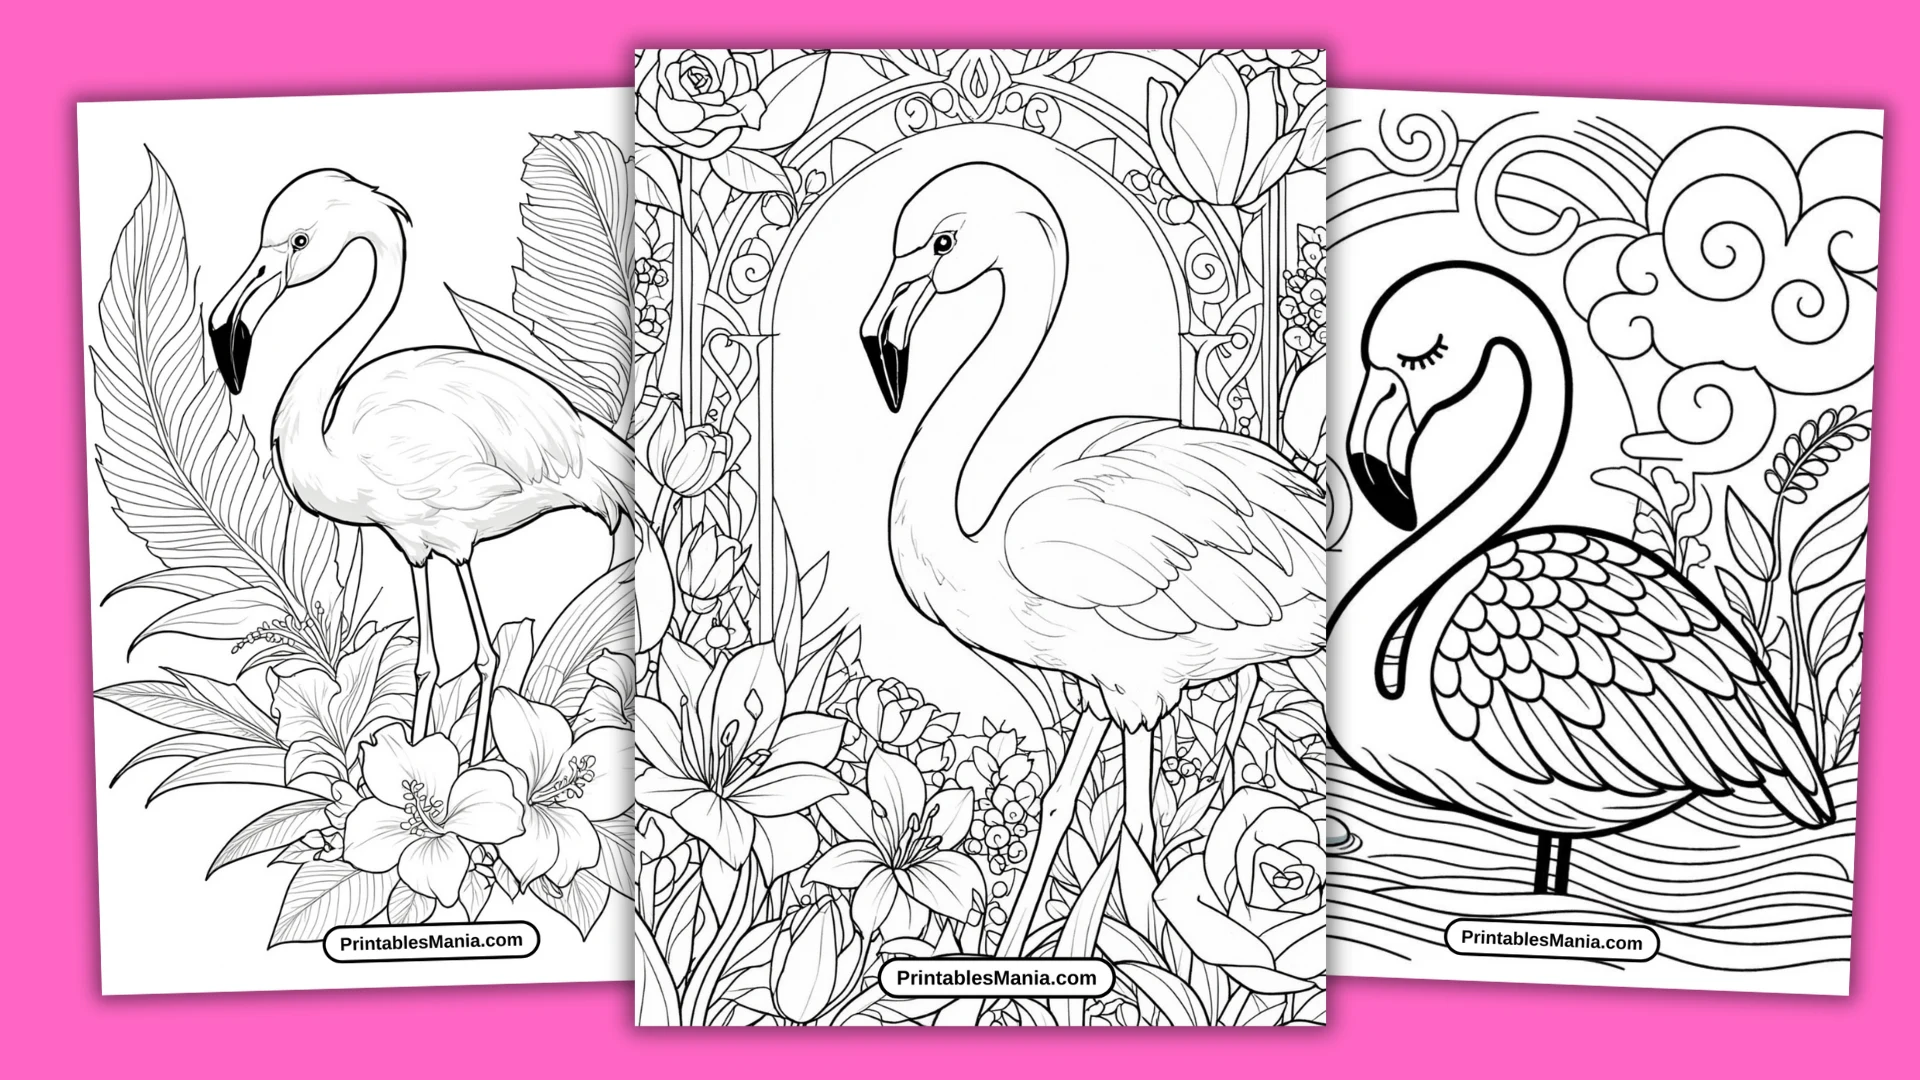
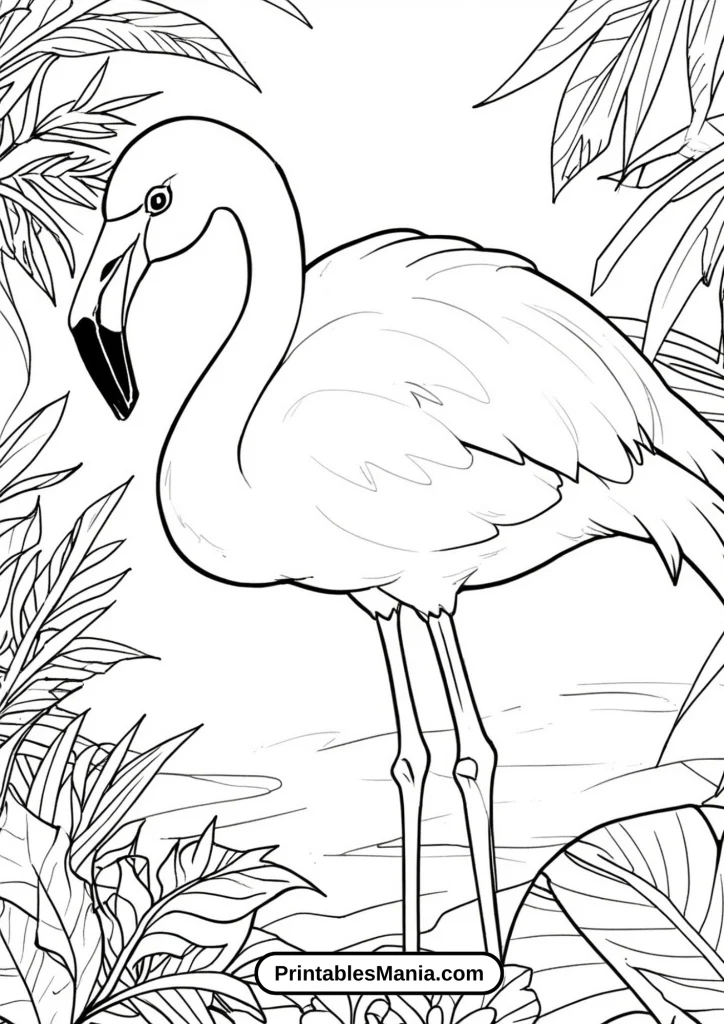
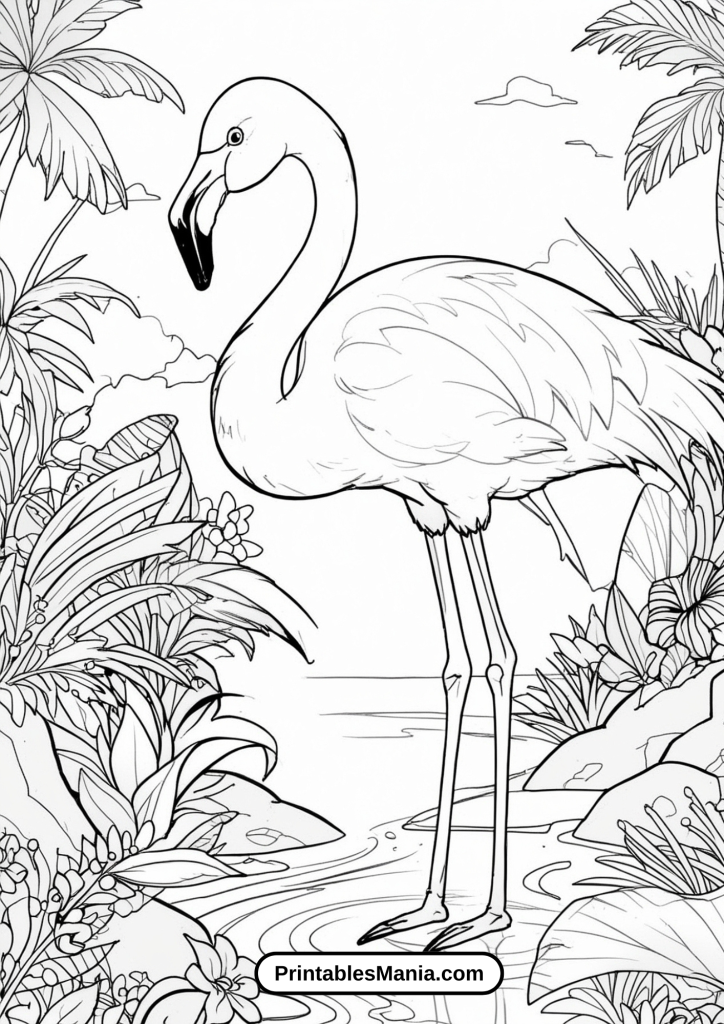
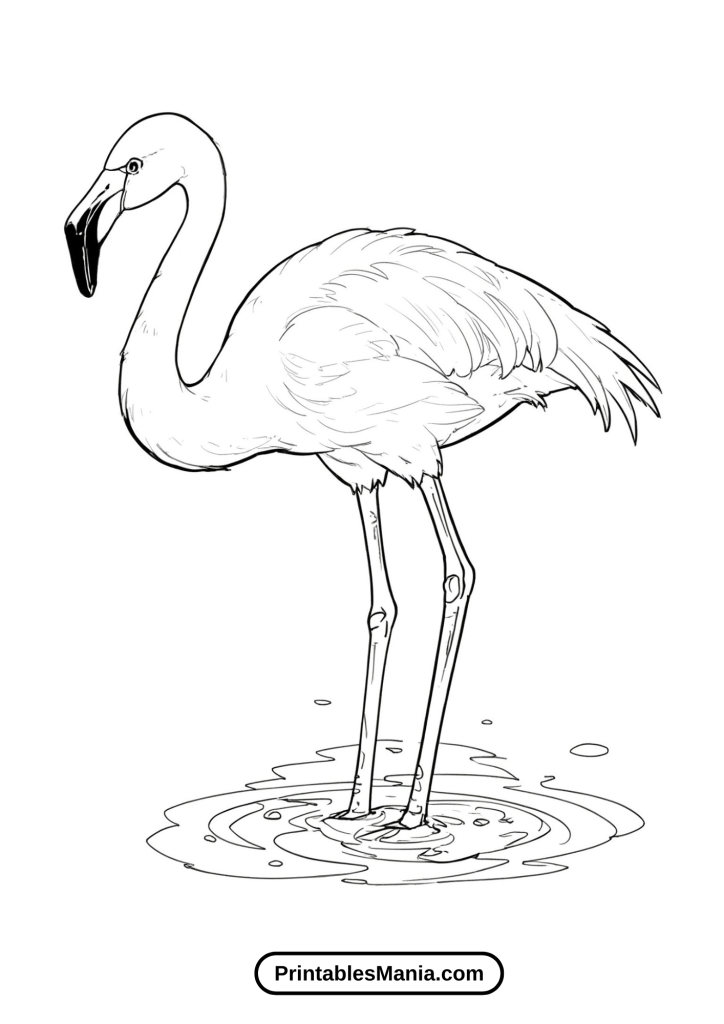
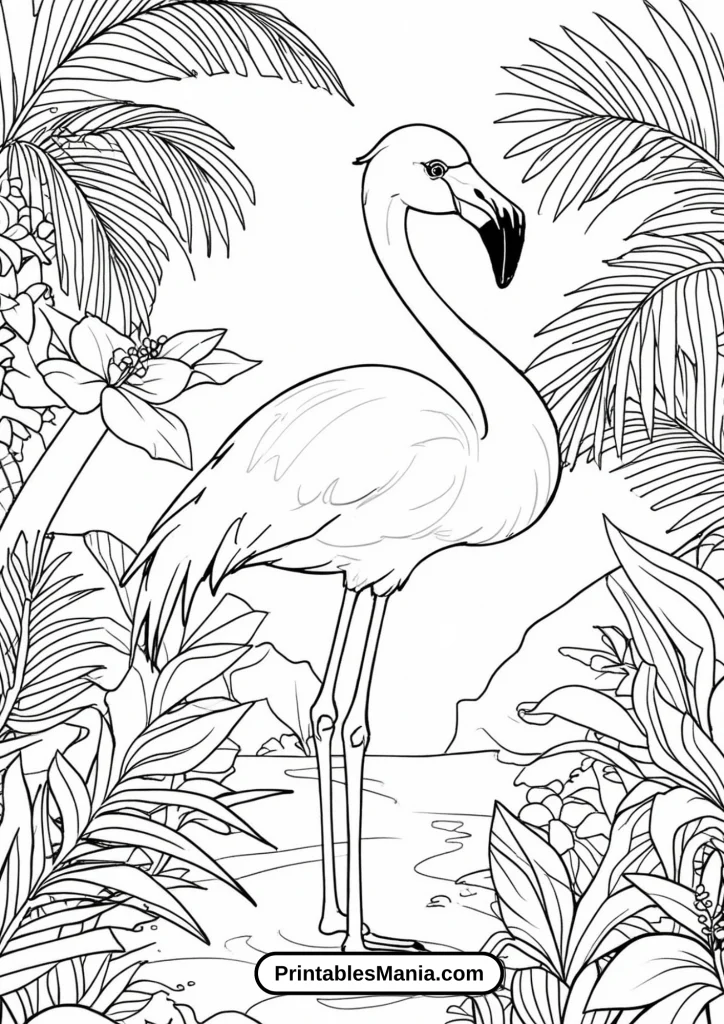
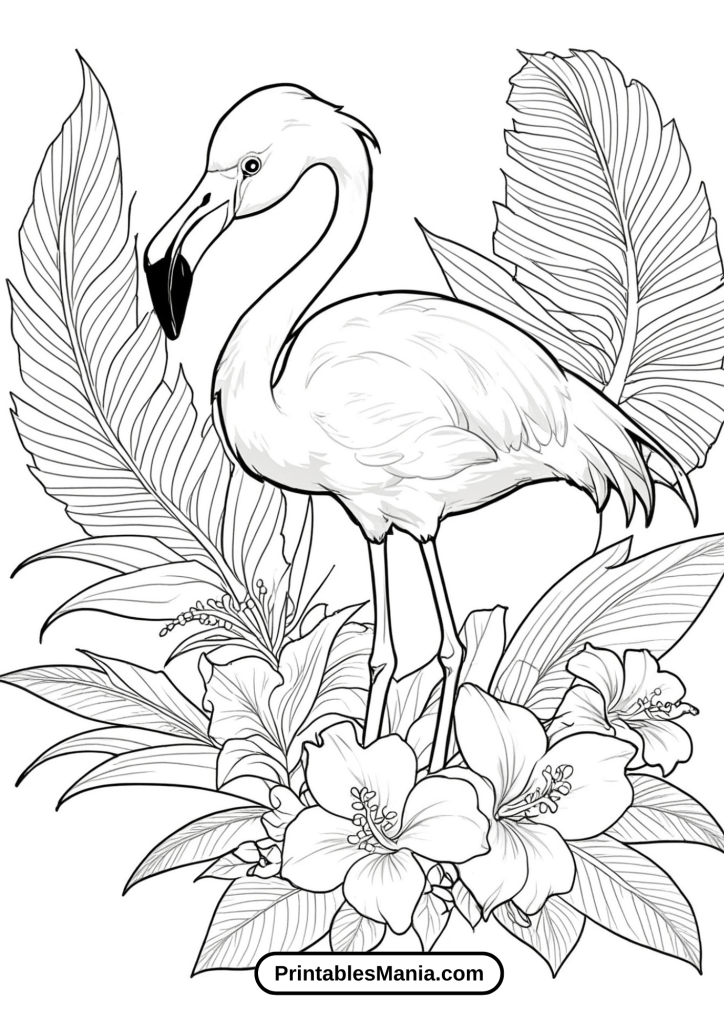
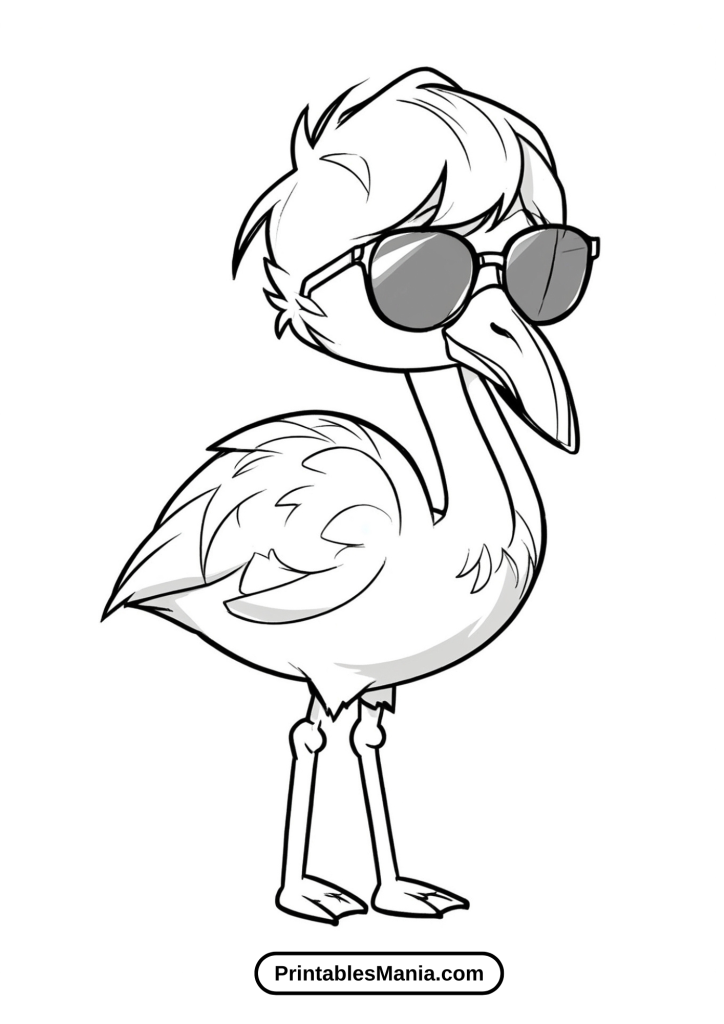
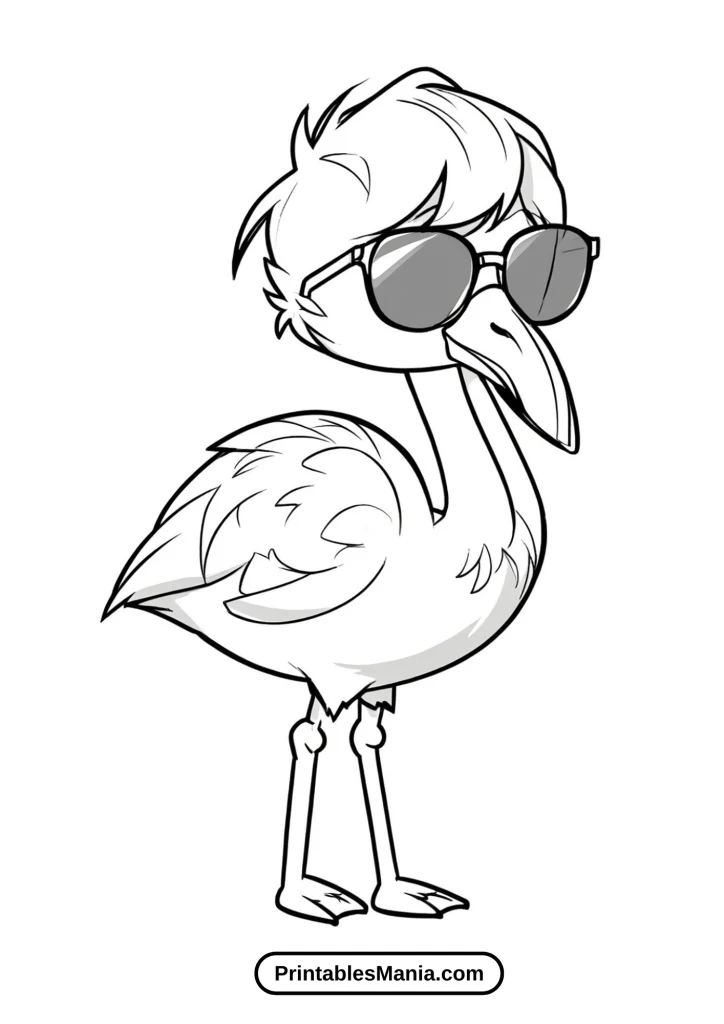
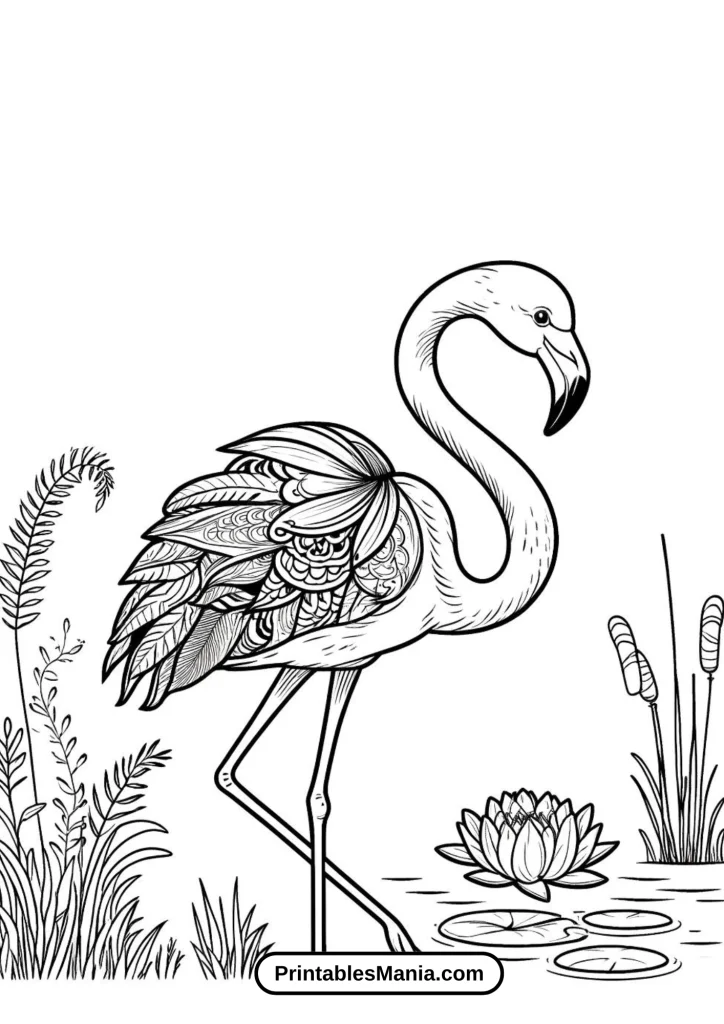
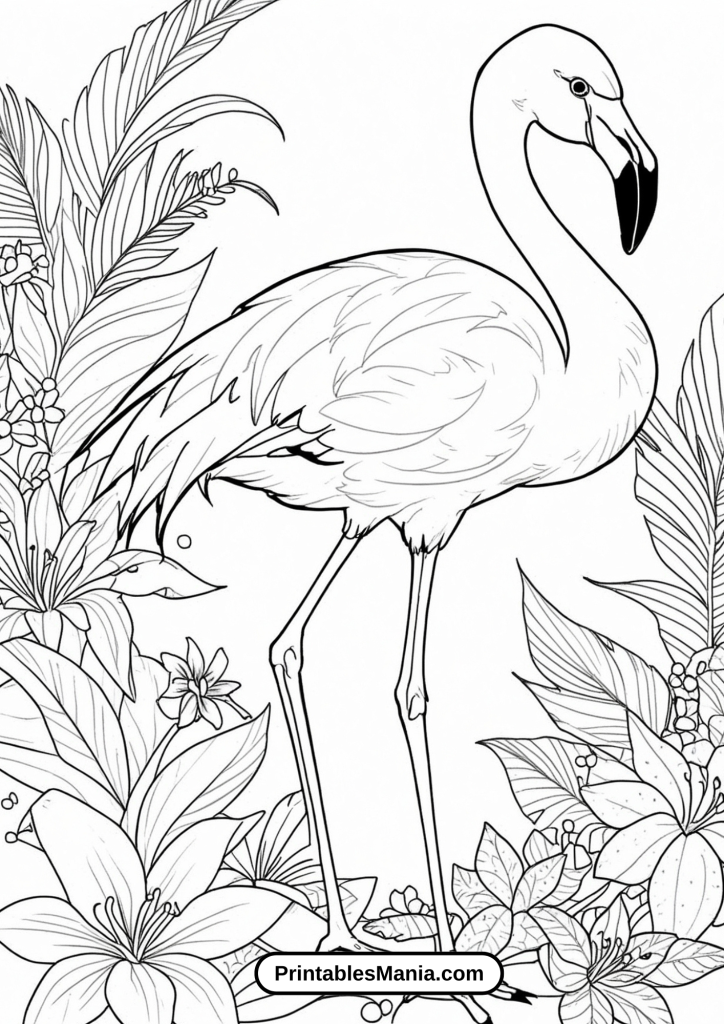
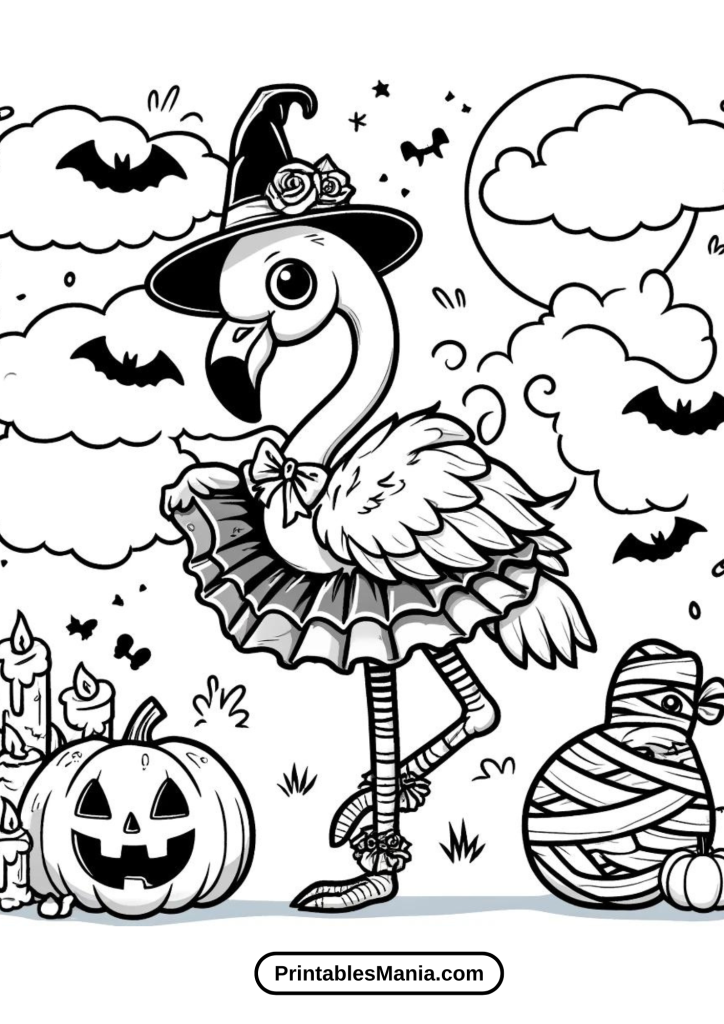
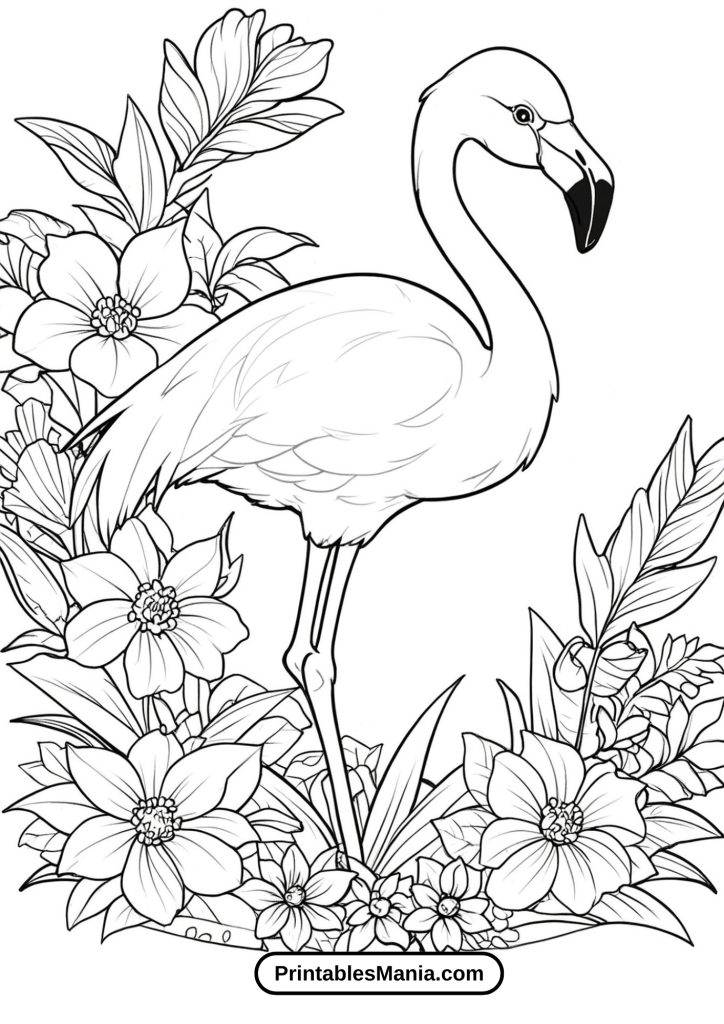
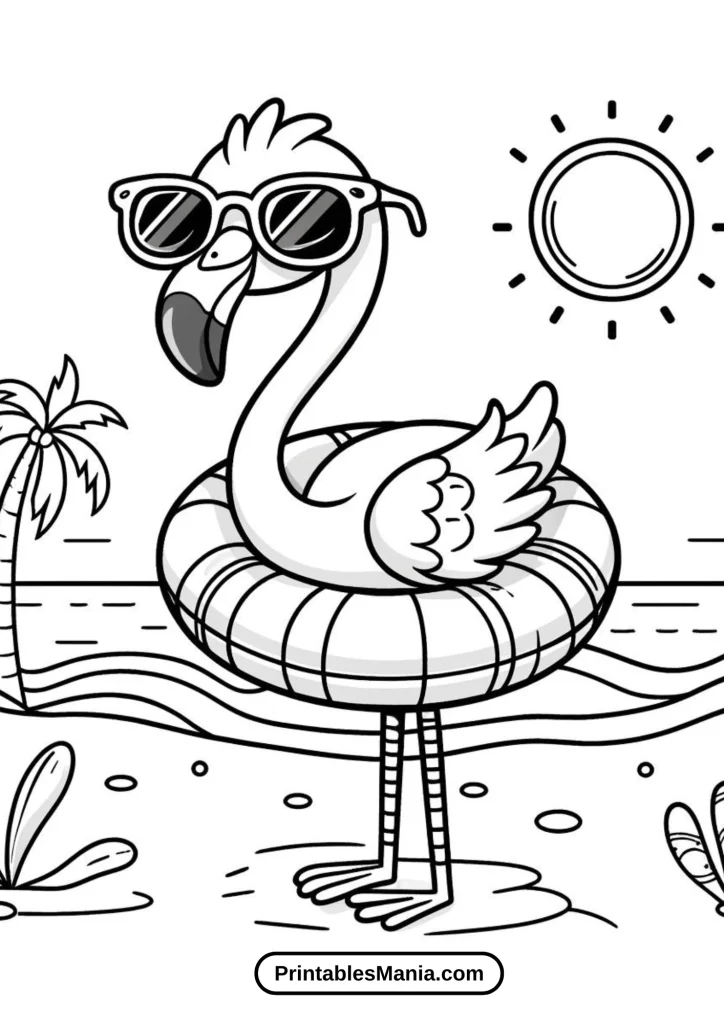
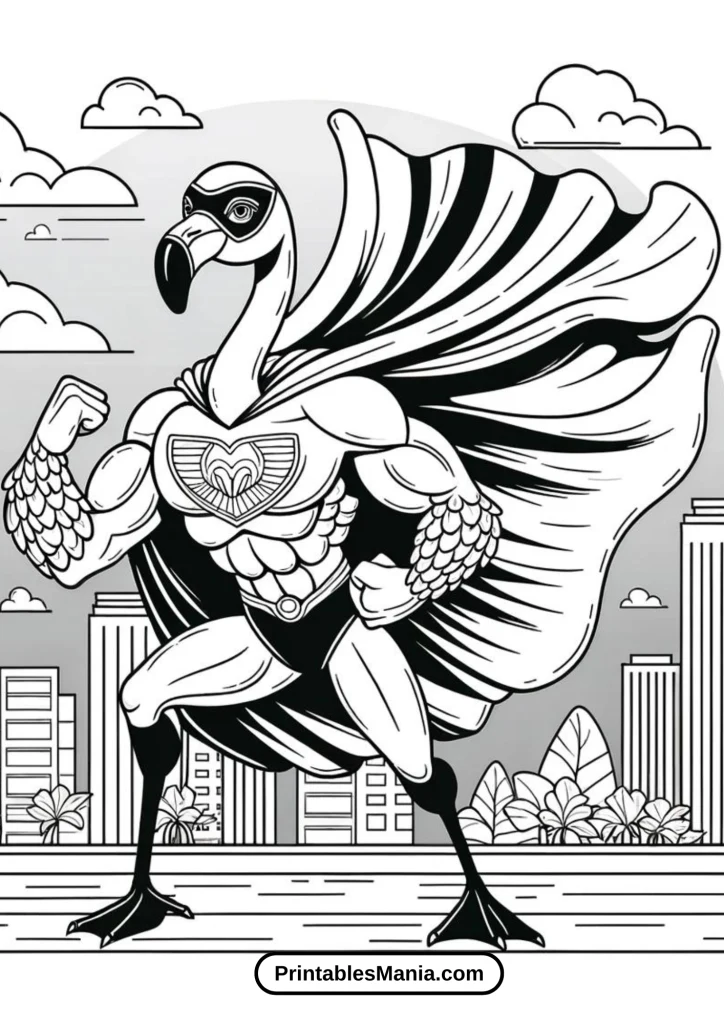
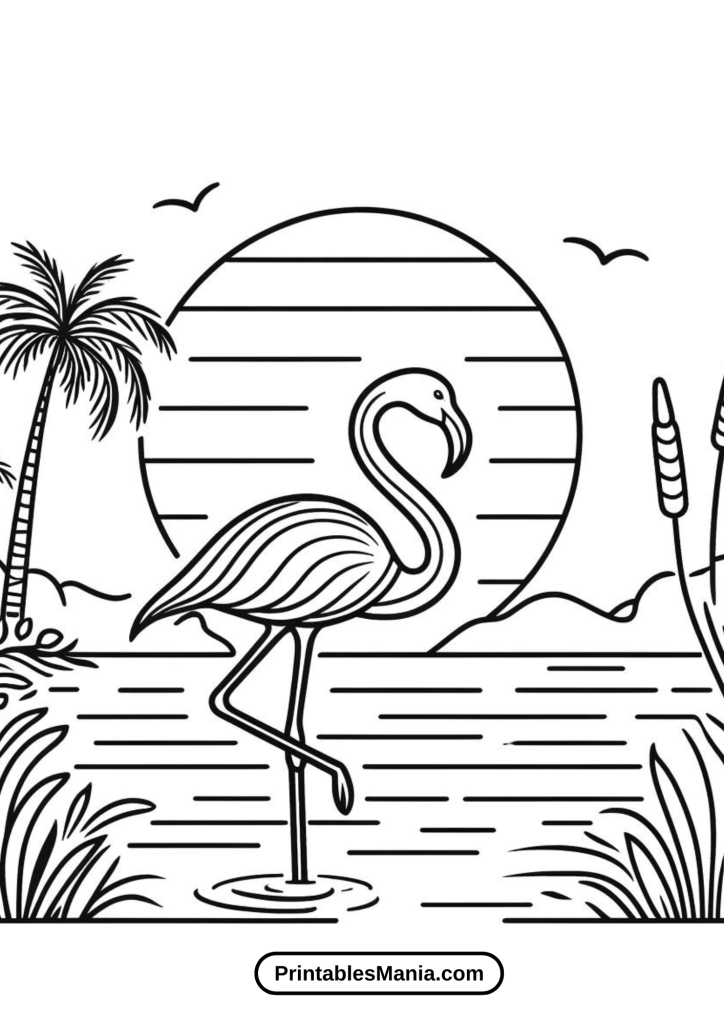
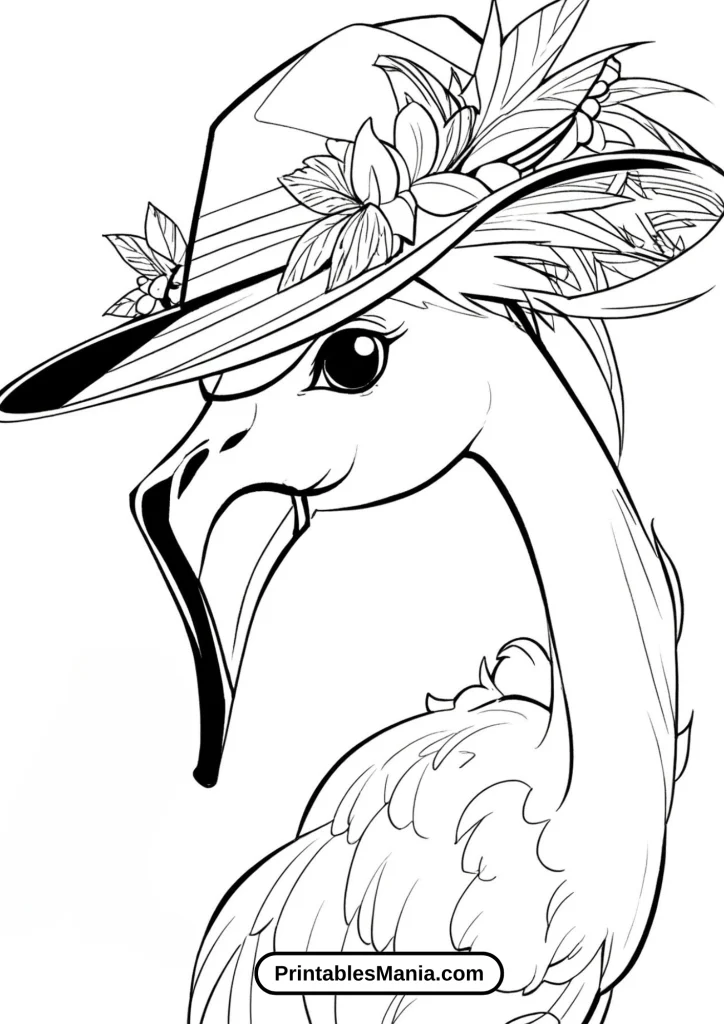
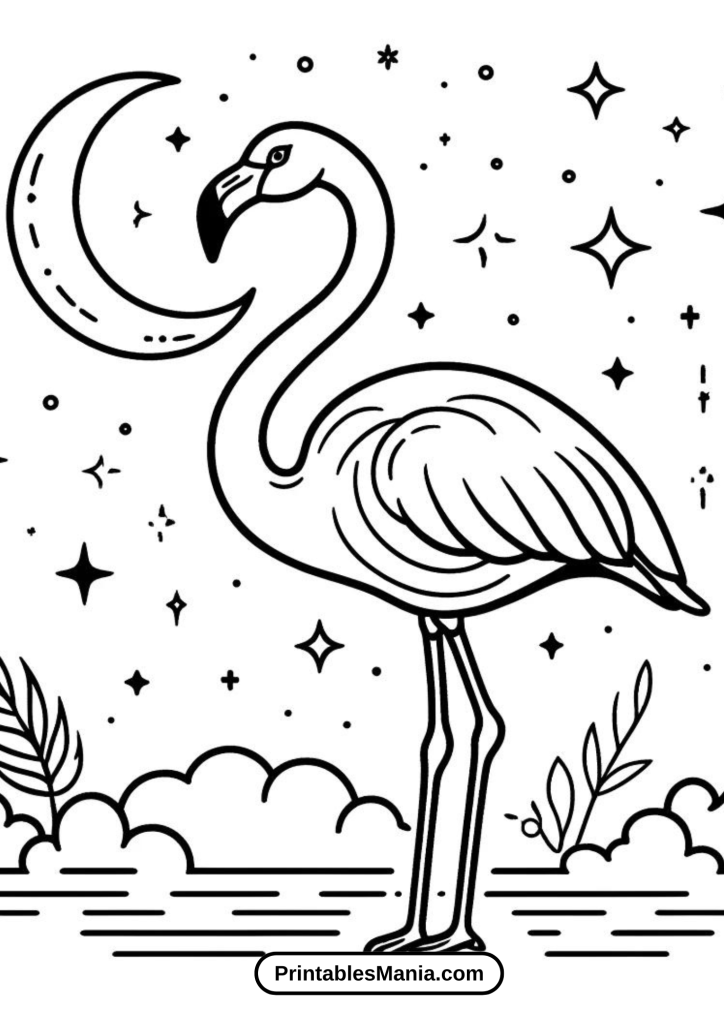
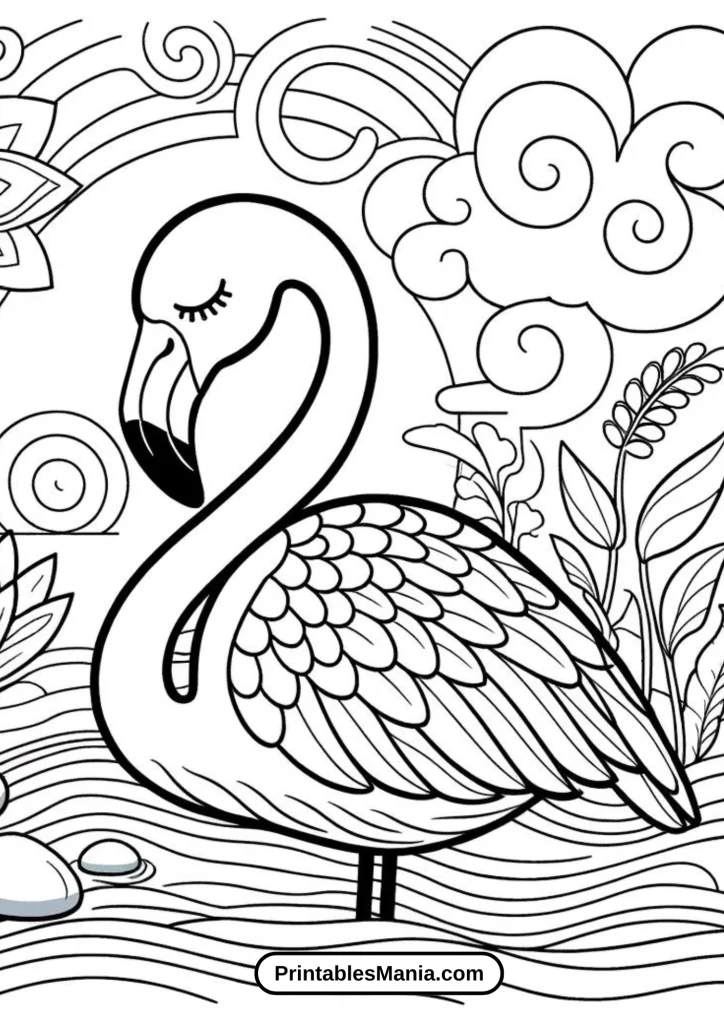
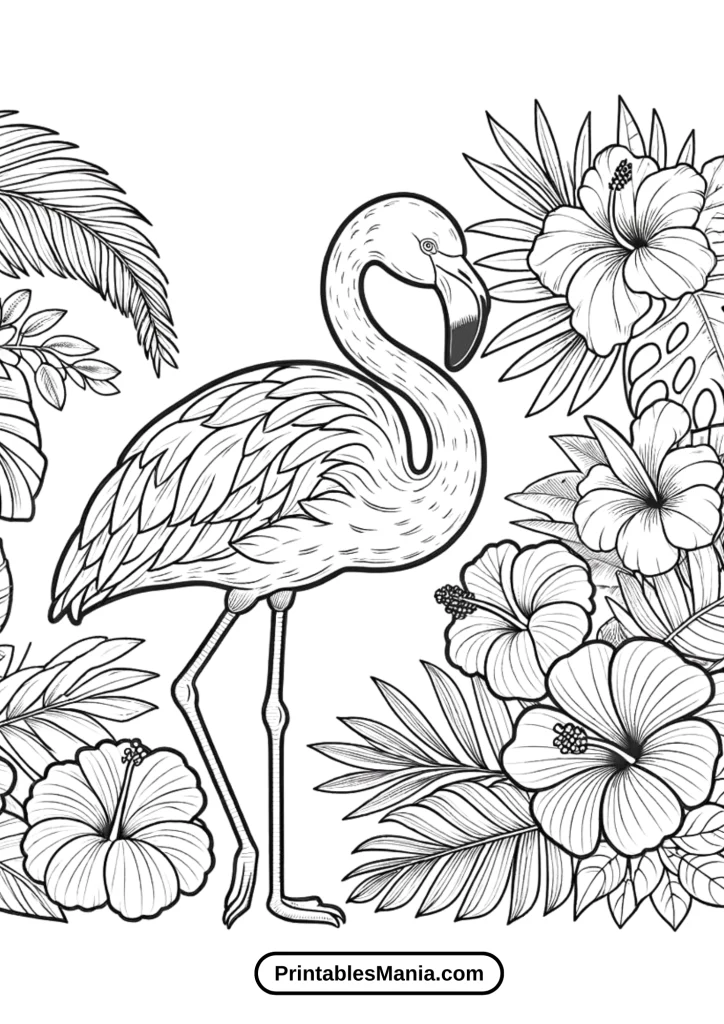
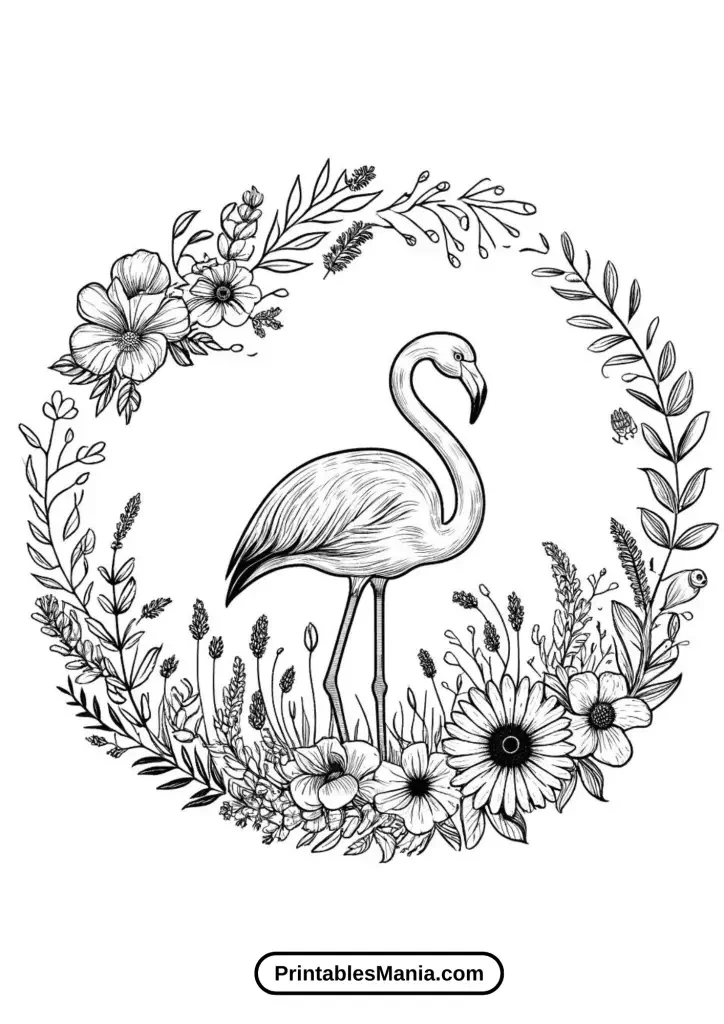
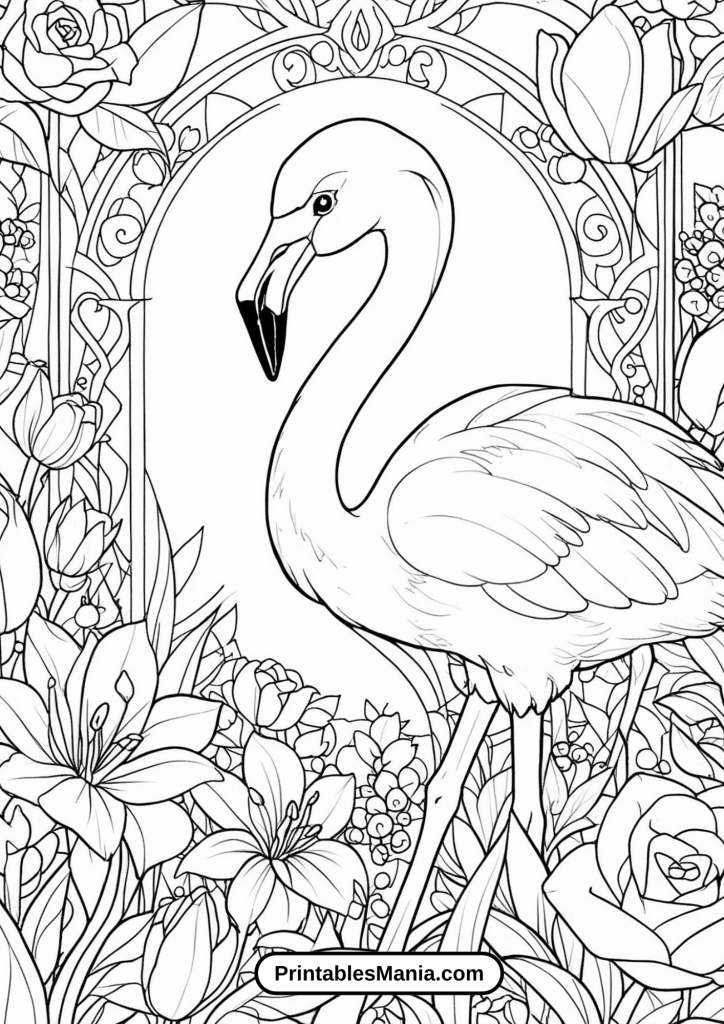
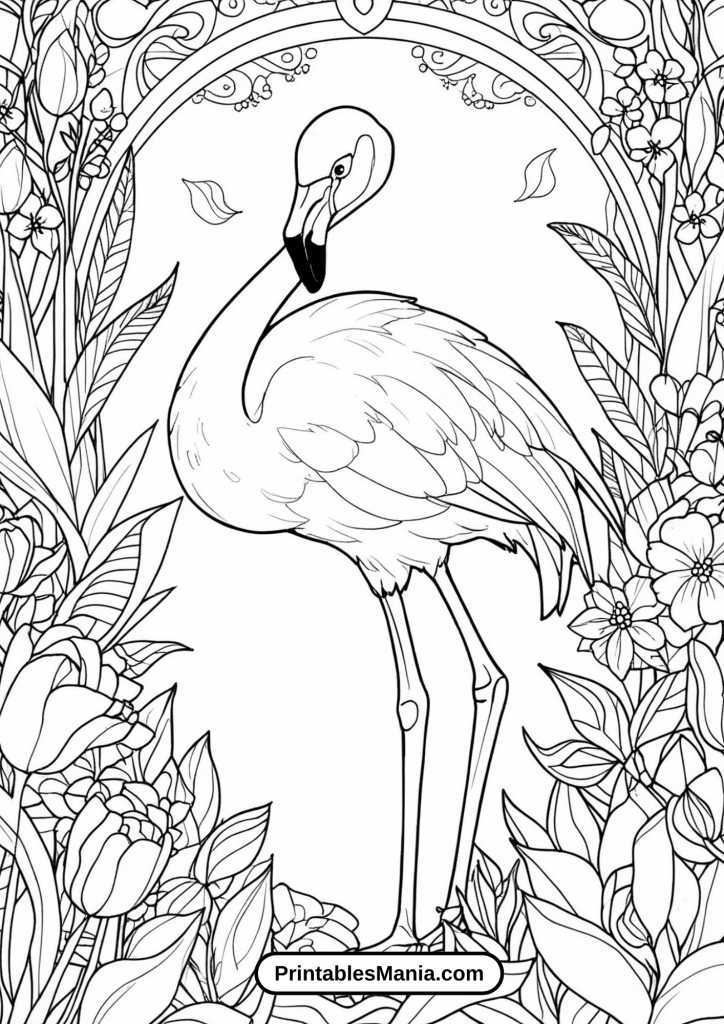
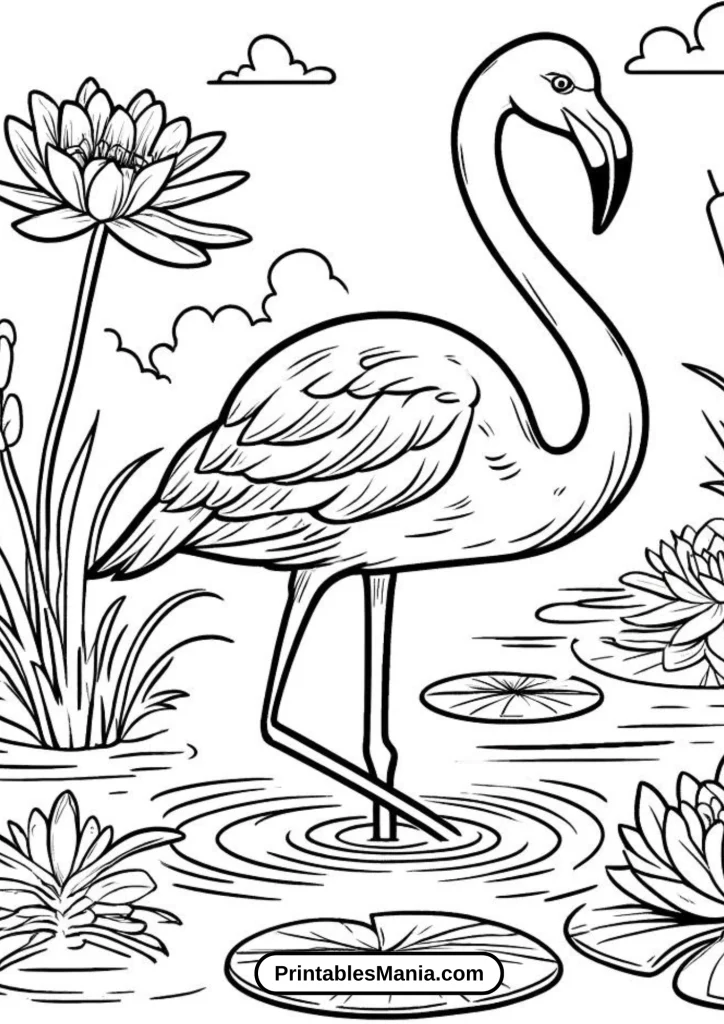
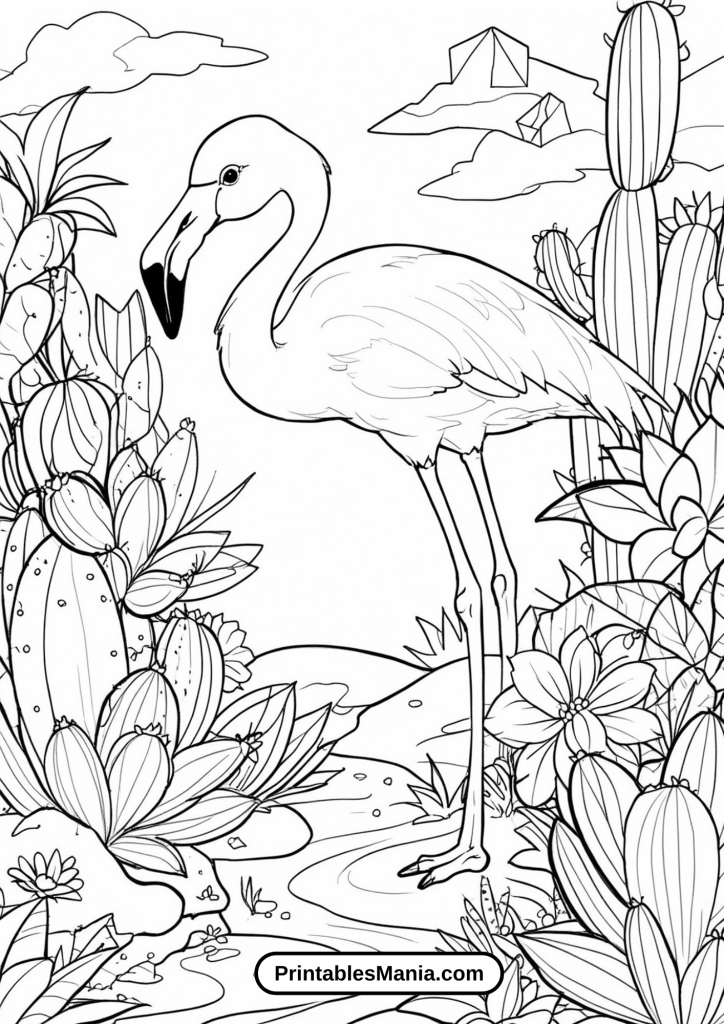
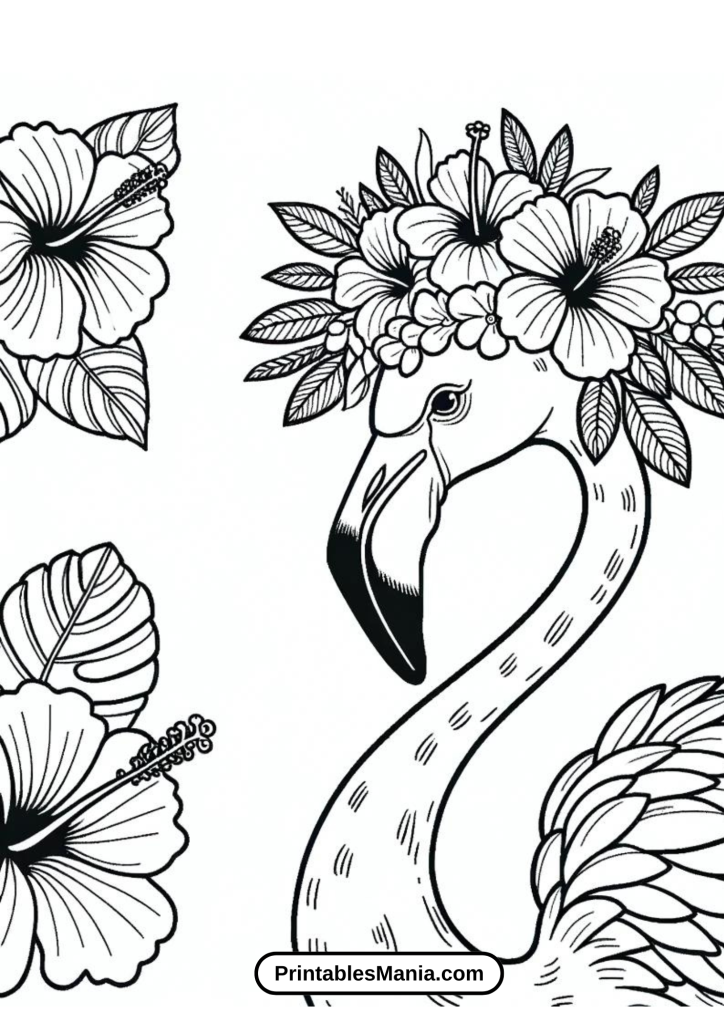
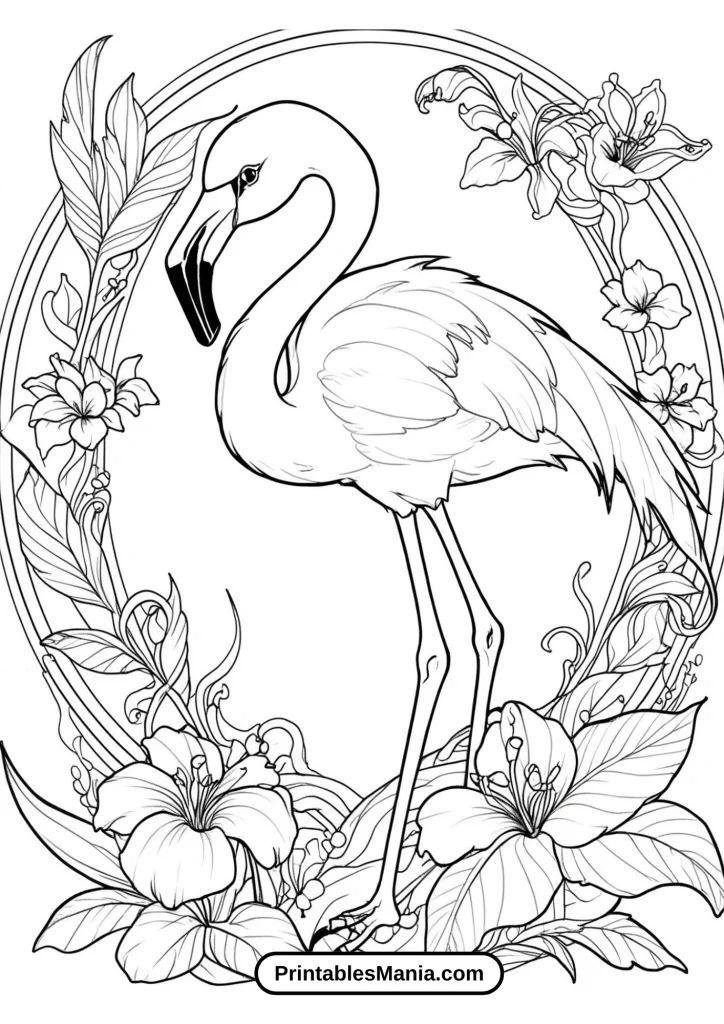
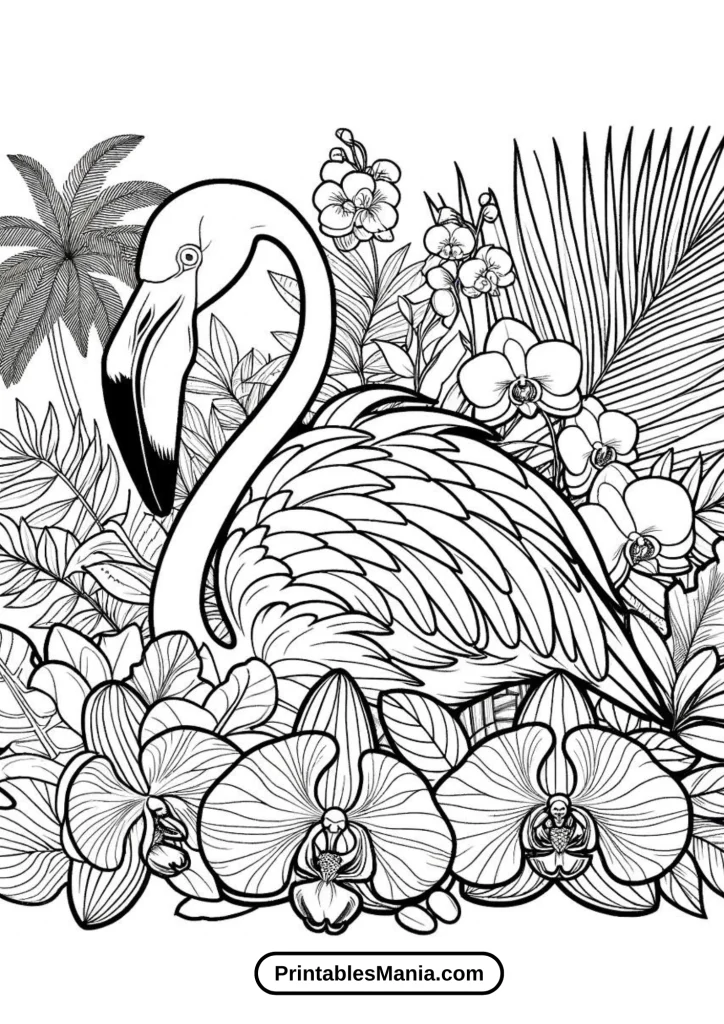
Explore a variety of flamingo-themed designs, from simple outlines for young artists to intricate patterns for more advanced colorists. Our pages feature flamingos in tropical settings, surrounded by flowers, or in whimsical scenes that spark the imagination.
Perfect for Relaxation and Learning
Coloring is a fantastic way to relax and unwind, and our flamingo pages provide a perfect escape into a creative and calming activity. They are also great educational tools for teaching kids about these beautiful birds and their natural habitats.
Ideal for Any Occasion
Whether you’re looking for a fun activity for a rainy day, a unique addition to a classroom lesson, or a creative project for a family night, our Flamingo Printable Coloring Pages are the perfect choice. Download and print as many as you like, and let your creativity take flight! Start coloring today and bring these magnificent flamingos to life with your artistic touch!


Art Tips and Techniques for Coloring Flamingo Pages
Welcome to our guide on how to bring your flamingo coloring pages to life! Whether you’re a novice or an experienced artist, these tips and techniques will help you make the most of your coloring experience. We’ll cover everything from choosing colors to blending techniques and suggestions for using different mediums like crayons, markers, and digital tools. Let’s get started!
Choosing Colors
1. Realistic Colors: Flamingos are known for their beautiful pink and orange hues. Start with a base of light pink and gradually add layers of darker pinks and oranges for a realistic look.
2. Creative Colors: Don’t be afraid to experiment with unconventional colors. Try blues, purples, or even multi-colored feathers to make your flamingo stand out.
3. Complementary Backgrounds: Choose colors for the background that complement your flamingo. Shades of blue, green, or yellow can create a striking contrast and make your flamingo pop.
Blending Techniques
1. Layering: Start with a light base layer and gradually add darker shades. This technique works well with crayons and colored pencils. Build up the color intensity slowly for a smooth blend.
2. Smudging: Use your finger or a blending tool to gently smudge and blend colors. This is particularly effective with pastels and crayons.
3. Cross-Hatching: Create texture and depth by using cross-hatching techniques. This involves drawing intersecting sets of parallel lines to build up shading and color.
Using Different Mediums
1. Crayons:
- Layer Lightly: Crayons are great for layering. Start with light pressure and gradually build up the color.
- Texture: Use the side of the crayon for broad, soft strokes and the tip for detailed areas.
2. Markers:
- Blending: Use alcohol-based markers for smooth blending. Apply a light color first and then layer a darker shade on top, blending with a colorless blender if needed.
- Bold Colors: Markers are perfect for achieving bold, vibrant colors. Use them for striking, high-contrast effects.
3. Colored Pencils:
- Precision: Colored pencils offer precision and control. They are great for detailed work, such as feather textures.
- Blending: Blend with a colorless blender pencil or layer colors to achieve a smooth gradient.
4. Watercolors:
- Light Washes: Use watercolors for soft, dreamy backgrounds. Apply light washes and build up color intensity gradually.
- Details Last: Add detailed elements, like feather tips, after the initial wash has dried.
5. Digital Tools:
- Layers: Take advantage of layers to separate different elements of your drawing. This allows for non-destructive editing.
- Brush Settings: Experiment with different brush settings to achieve various textures, from smooth gradients to rough feather details.
- Color Selection: Digital tools often have a wide range of color options. Use color pickers to find the perfect shades and experiment with blending modes for unique effects.
Final Touches
1. Highlights and Shadows: Add highlights with a white pencil or gel pen and deepen shadows with darker shades to give your flamingo a three-dimensional look.
2. Background Details: Enhance your illustration with background elements like tropical flowers, leaves, or water reflections to add context and depth.
3. Texture: Add texture to the feathers and other elements by varying your stroke direction and pressure.
By using these tips and techniques, you’ll be able to create stunning, vibrant flamingo illustrations that showcase your artistic skills. Happy coloring!
What to Do with the Colored Page?
After you’ve completed your beautiful flamingo coloring page, there are plenty of creative and fun ways to make the most of your artwork. Here are some ideas to help you showcase and repurpose your finished pieces:
Create Home Decor
1. Frame It: Turn your colored page into a piece of art by framing it. Choose a frame that complements your color scheme and hang it in a prominent place in your home, such as a living room, bedroom, or hallway.
2. Create a Collage: Combine several colored pages into a larger collage. This can be a fun project for kids and adults alike, resulting in a unique piece of wall art.
3. Make a Banner: Cut your colored pages into shapes like triangles or rectangles and string them together to create a festive banner. This is a great decoration for parties or seasonal celebrations.
Craft Projects
4. Greeting Cards: Cut out sections of your colored page to create unique greeting cards. This adds a personal touch to your messages for birthdays, holidays, or just because.
5. Gift Wrap: Use your colored pages as custom wrapping paper for small gifts. It adds a special, handmade element that recipients will love.
6. Book Covers: Protect and personalize your favorite books or journals by using your colored pages as covers. Simply measure, cut, and adhere your artwork to the book cover.
Educational Uses
7. Teaching Tools: Use your colored pages as visual aids in educational settings. They can help teach children about flamingos, colors, and the importance of art.
8. Story Starters: Encourage creative writing by using your colored pages as inspiration for stories. Ask kids to write a story based on the scene they colored.
Digital Uses
9. Scan and Share: Scan your colored pages to create digital copies. Share them on social media, send them to friends and family, or even use them as digital backgrounds on your devices.
10. Printables: Create new printable coloring pages by altering or enhancing your digital copies. Share these new designs with others or use them for future coloring sessions.
Community and Charity
11. Donate Your Artwork: Brighten someone’s day by donating your colored pages to local hospitals, nursing homes, or community centers. Your artwork can bring joy and cheer to those who need it.
12. Art Exchange: Participate in an art exchange program where you swap your colored pages with others. This can be a fun way to see different artistic styles and get new ideas.
Personal Keepsakes
13. Create a Scrapbook: Compile your colored pages into a scrapbook. This can be a wonderful way to track your progress over time and preserve your favorite pieces.
14. Memory Journal: Use your colored pages as backgrounds for a memory journal. Add photos, notes, and other mementos to create a personalized keepsake.
15. Recipe Book: Use your colored pages as dividers or covers for a homemade recipe book. This adds a colorful and artistic touch to your kitchen.
By repurposing your colored pages in these creative ways, you can continue to enjoy your artwork long after the coloring is done. Each project allows you to showcase your creativity and share your love of art with others.