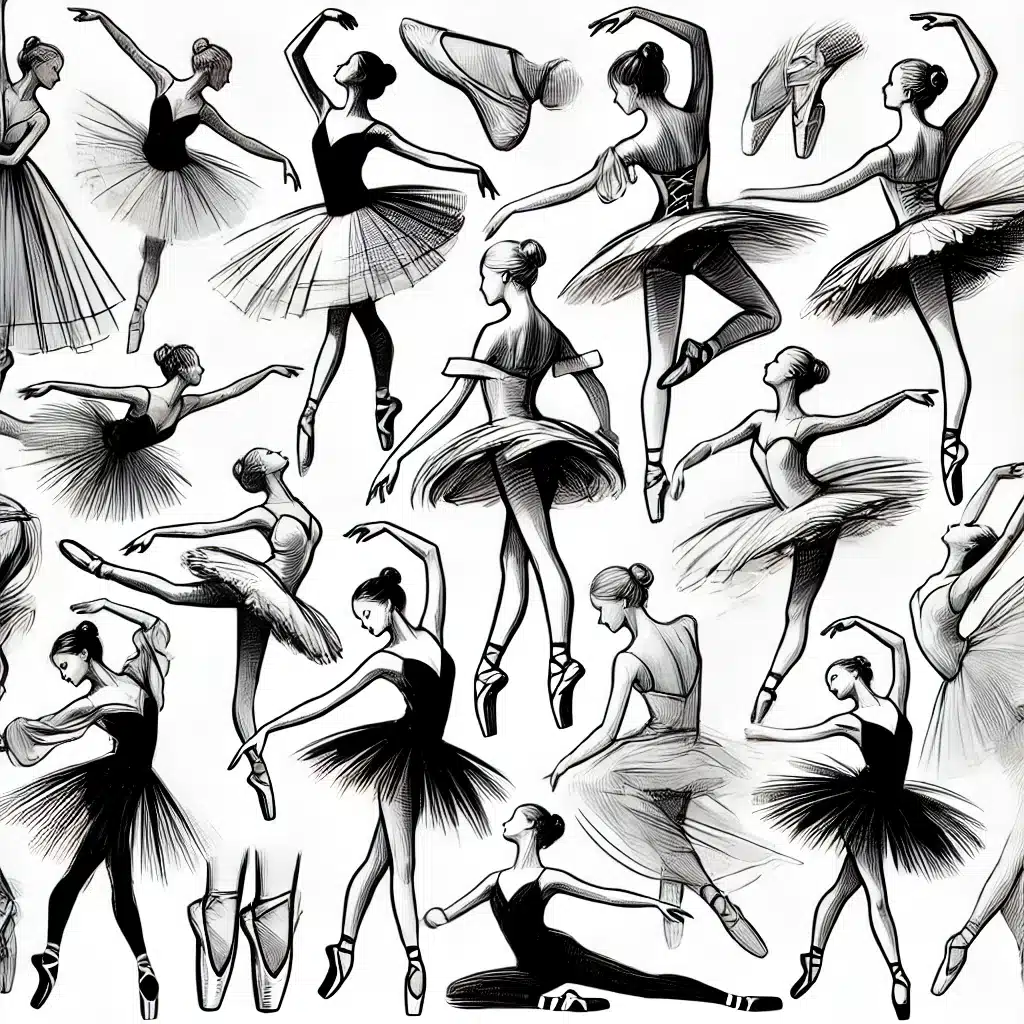
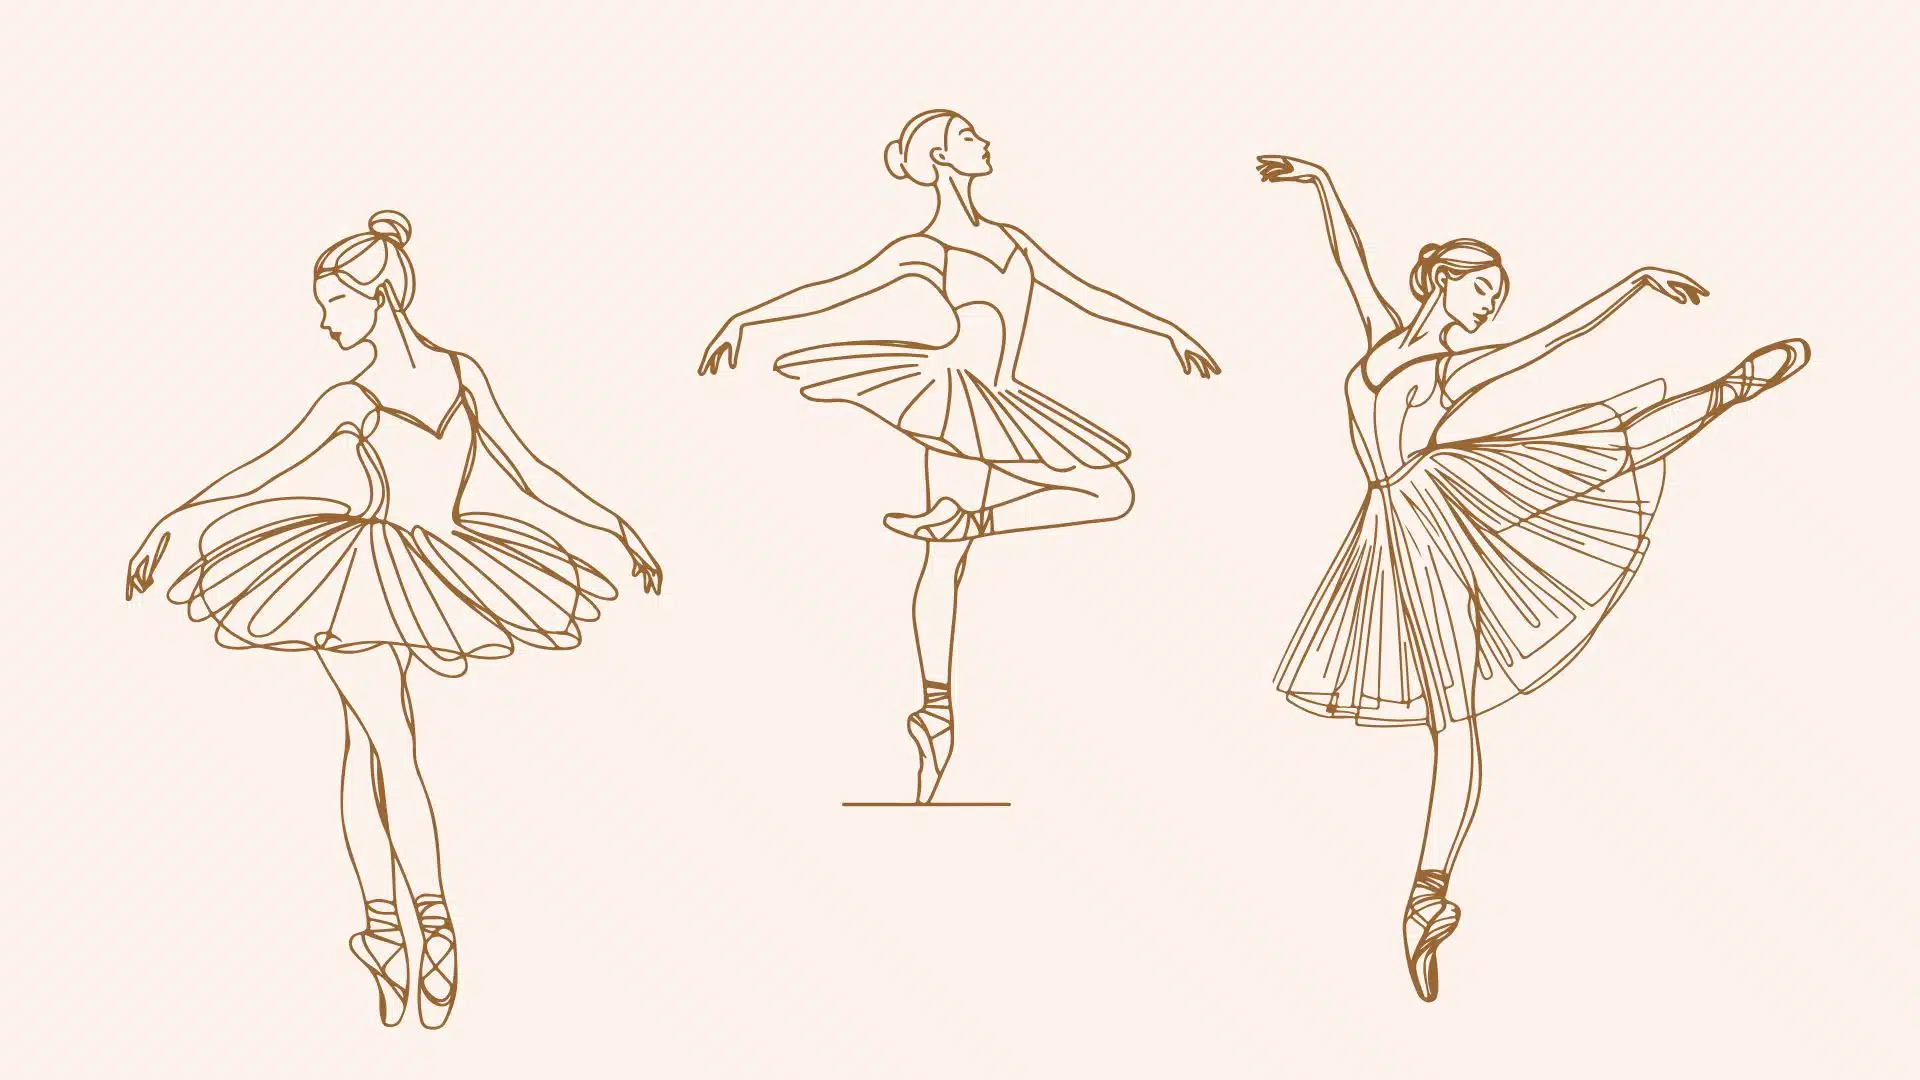
Drawing ballerinas is a wonderful way to capture grace, movement, and elegance on paper. This page offers a variety of ballerina drawing ideas to inspire your creativity, perfect for both beginners and experienced artists. From simple sketches to more detailed poses, these ideas will help you bring the beauty of ballet to life through art.
Why Draw Ballerinas?
Ballerinas make for an inspiring and versatile subject in art. Here’s why:
- Captures Elegance: Ballerinas are known for their graceful movements, making them a beautiful subject to draw.
- Improves Anatomy Skills: Drawing ballerinas helps you practice human anatomy, proportions, and dynamic poses.
- Inspires Creativity: You can explore unique costumes, poses, and backgrounds to personalize your artwork.
What You’ll Find on This Page
This page is packed with helpful resources to make drawing ballerinas easy and enjoyable:
- Simple Sketch Ideas: Perfect for beginners, with easy-to-follow designs.
- Dynamic Poses: Ideas for capturing ballerinas in action, such as leaps and pirouettes.
- Costume Details: Inspiration for drawing tutus, pointe shoes, and elegant accessories.
Tools You’ll Need
To start drawing ballerinas, gather these basic tools:
- A pencil and eraser for sketching.
- Paper or a sketchpad.
- Optional: Colored pencils or markers for adding color and detail.
Let’s Begin!
Dive into the world of ballet with these ballerina drawing ideas. Whether you’re creating a simple sketch or an intricate masterpiece, this page will guide you step-by-step to bring your ballerina drawings to life.

Tips for Drawing Ballerinas
Drawing ballerinas requires attention to detail, balance, and movement. Here are some tips to help you create graceful and accurate sketches:
1. Start with Basic Shapes
- Use simple shapes like circles, ovals, and lines to outline the body and pose.
- Stick figures can help you map out the ballerina’s position before adding details.
2. Focus on Proportions
- Pay attention to the proportions of the head, torso, arms, and legs.
- Ballerinas often have elongated and graceful body lines, so emphasize fluidity.
3. Capture Movement
- Use flowing lines to show the motion of the pose or the fabric of the costume.
- Add curves to the arms and legs to depict elegance and flexibility.
4. Study Ballet Poses
- Observe real-life ballerinas or reference photos to understand their positions.
- Practice iconic poses like arabesques, pirouettes, and leaps to build confidence.
5. Add Costume Details
- Incorporate elements like tutus, pointe shoes, and ribbons for an authentic look.
- Use light, feathery strokes to depict the softness of fabric like tulle.
6. Work on Shading
- Use shading to emphasize depth and create a sense of volume in the body and costume.
- Focus on where light and shadow naturally fall, such as on the folds of a tutu or the curvature of the body.
7. Practice Hands and Feet
- Hands and feet are often challenging to draw, but they’re essential in ballerina sketches.
- Use references and practice drawing hands in delicate, expressive positions and feet in pointe shoes.
8. Keep It Light
- Start with soft pencil strokes so you can adjust proportions and details easily.
- Outline your final drawing with a pen or darker pencil once satisfied with the sketch.
Step-by-Step Guide to Drawing a Ballerina
Follow this step-by-step guide to create a beautiful ballerina drawing:
Step 1: Sketch the Basic Pose
- Draw a stick figure to outline the ballerina’s position.
- Use straight lines for arms and legs, and circles for the head, torso, and joints.
Step 2: Define the Body
- Add basic shapes to build the body:
- Ovals for the head, arms, and legs.
- A cylinder for the torso.
- Extend the arms and legs for an elongated look.
Step 3: Draw the Tutu
- Sketch a triangle or bell shape around the waist to form the tutu.
- Add layers or curves to depict the fluffy texture of tulle.
Step 4: Add Costume Details
- Draw the leotard and neckline details, such as straps or embellishments.
- Sketch pointe shoes with ribbons tied around the ankles.
Step 5: Refine the Features
- Draw the facial features, keeping them soft and delicate.
- Add hair in a neat bun or flowing style, depending on the pose.
Step 6: Include Movement
- Use curved lines to show the flow of the tutu or ribbons.
- Add motion lines around the arms or legs for dynamic poses.
Step 7: Outline the Drawing
- Trace the sketch with a fine pen or darker pencil to define the lines.
- Erase any unnecessary guidelines.
Step 8: Add Shading or Color
- Shade areas like the folds of the tutu, the body, and the background for depth.
- Use soft pastel colors or vibrant shades to bring the ballerina to life.


