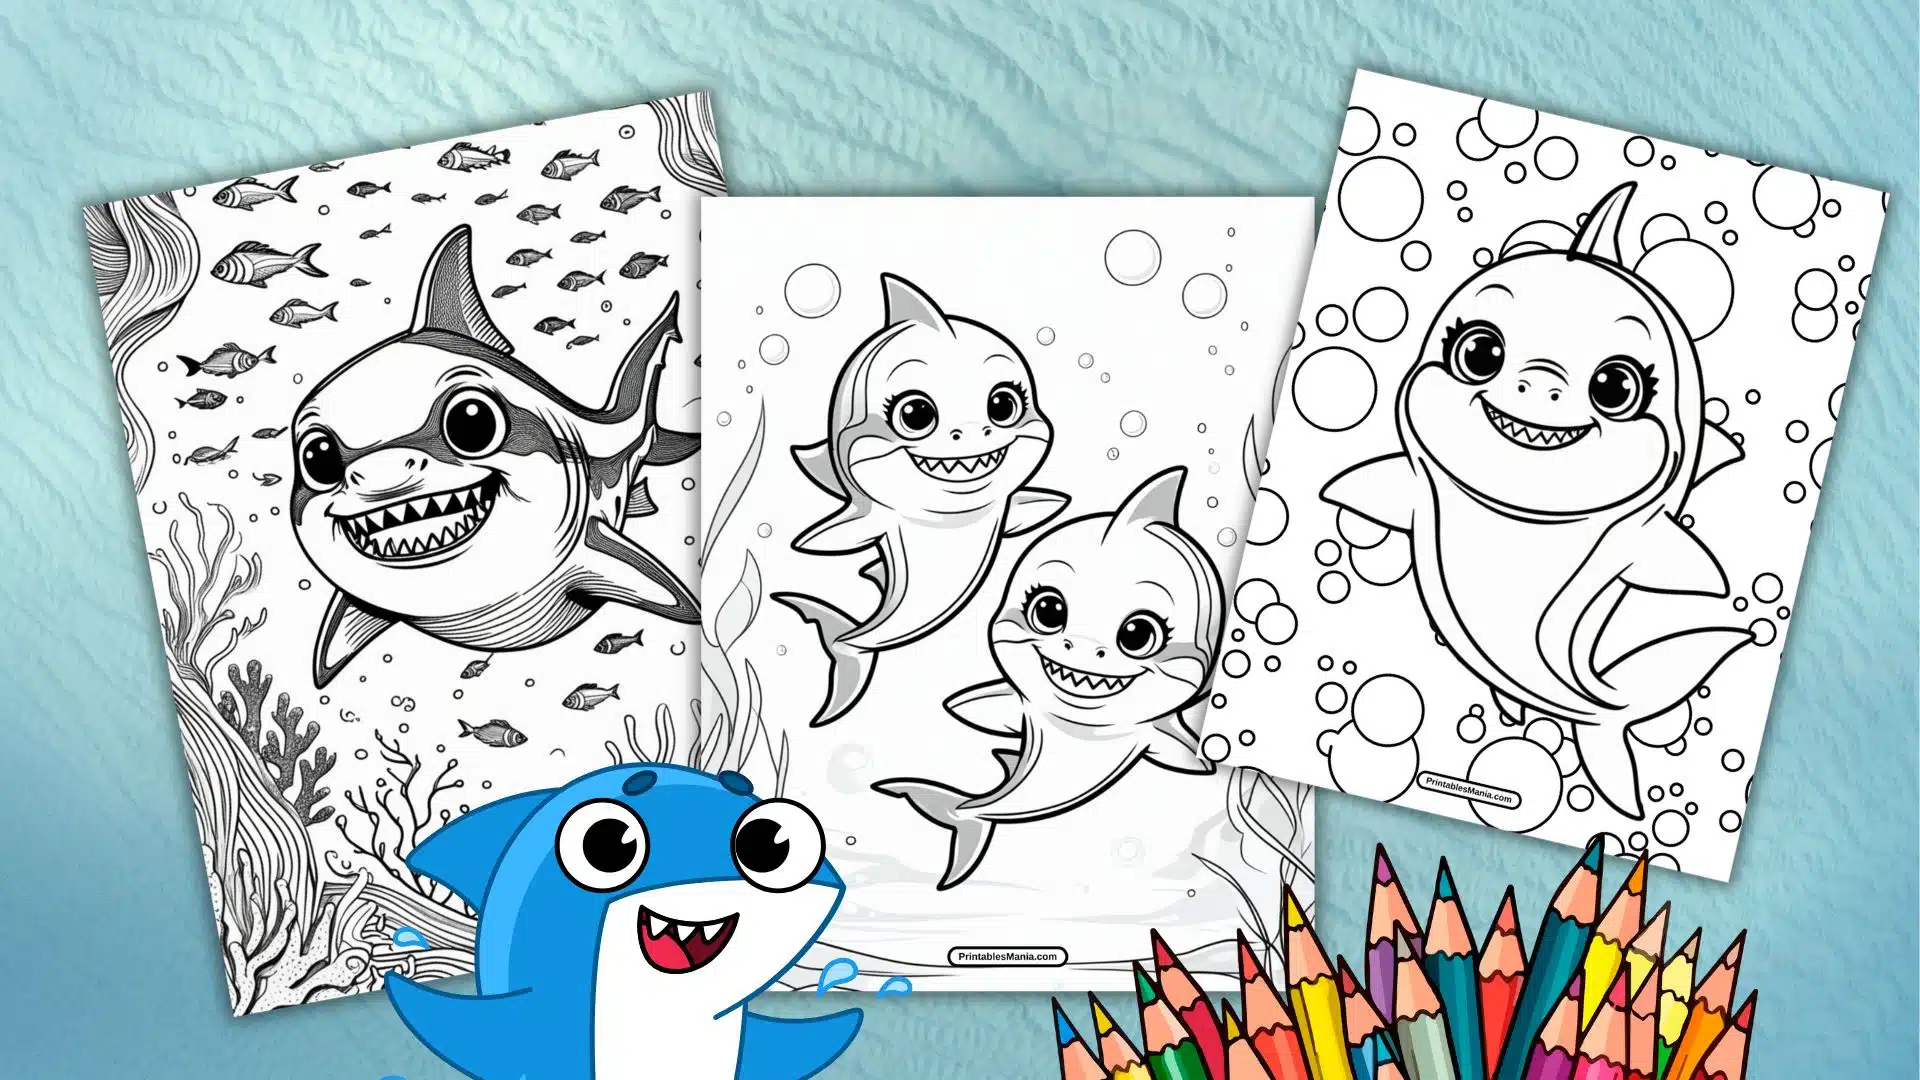
Perfect for kids of all ages, these pages feature the lovable Baby Shark and its underwater friends, ready to be brought to life with your favorite colors. This collection offers cute, simple designs as well as more detailed illustrations, sparking creativity and providing hours of enjoyment.
Why Choose Baby Shark Coloring Pages?
Baby Shark coloring pages are a fantastic way to keep kids entertained while encouraging creativity. Here’s why they’re a great choice:
- Loved by Kids: Based on the iconic Baby Shark character, these pages are guaranteed to be a hit with young ones.
- Easy and Fun: Simple outlines and playful designs make them accessible for toddlers and young children.
- Creative Exploration: Kids can experiment with vibrant colors and patterns to make their artwork unique.
- Educational Benefits: Coloring helps develop fine motor skills, focus, and imagination.
What You’ll Find in This Collection
This page offers a variety of Baby Shark coloring pages to suit every preference:
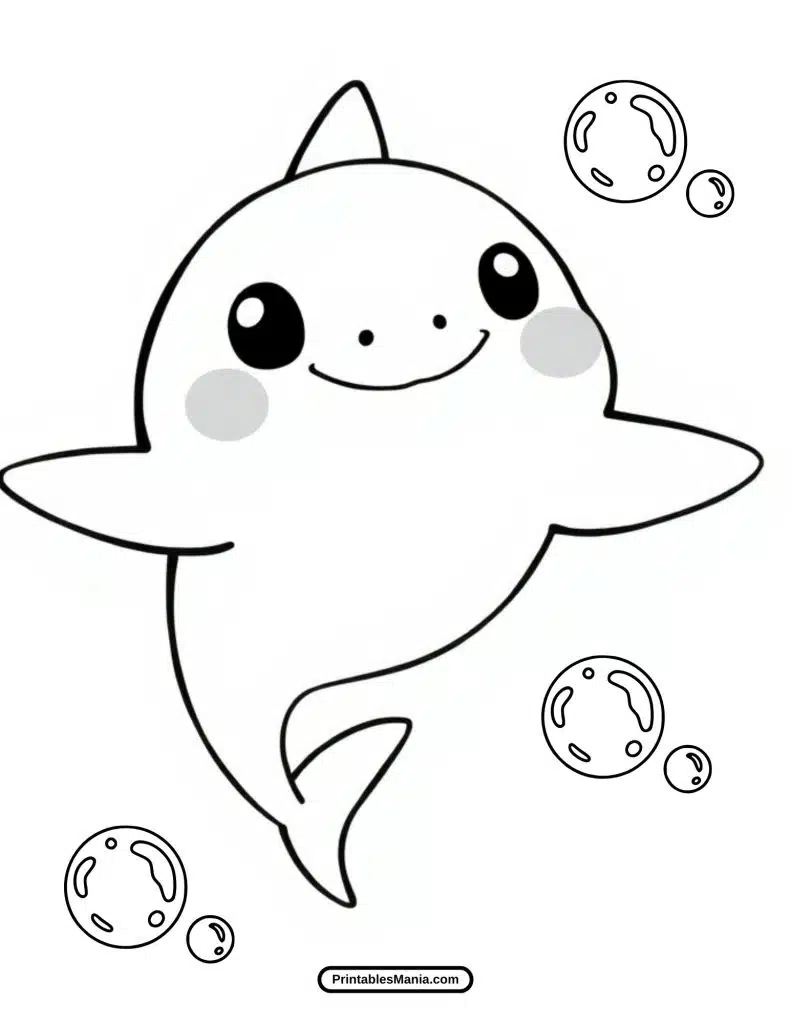
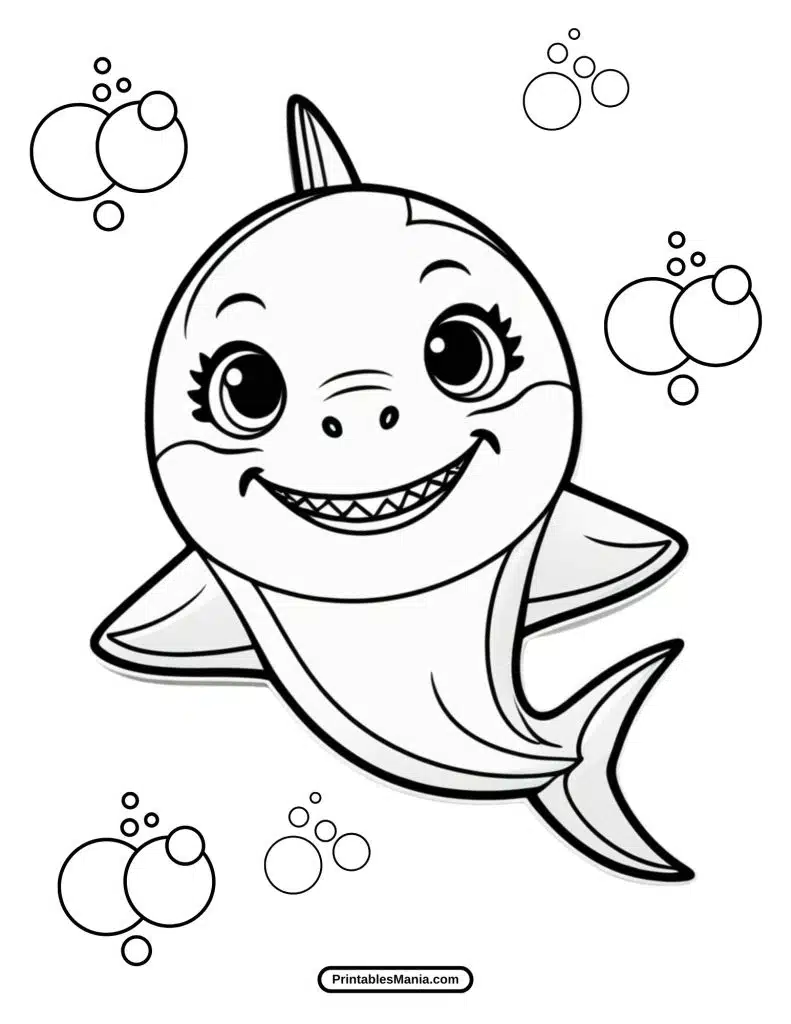
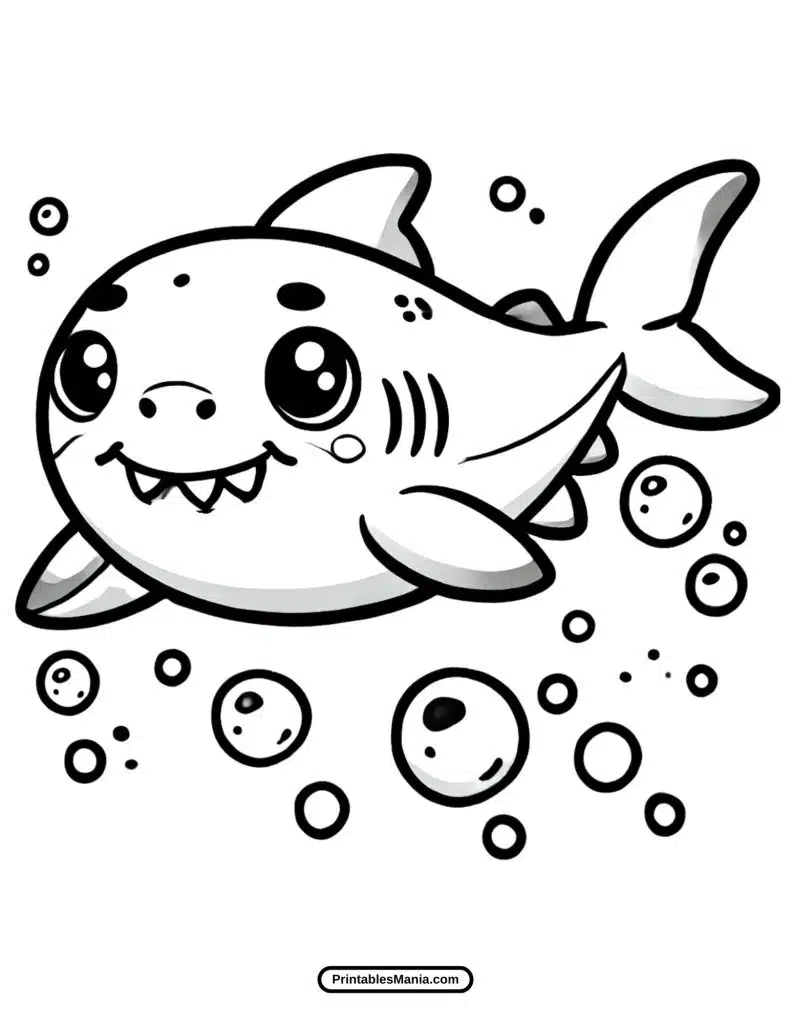
- Simple Designs: Perfect for younger kids or quick coloring activities.
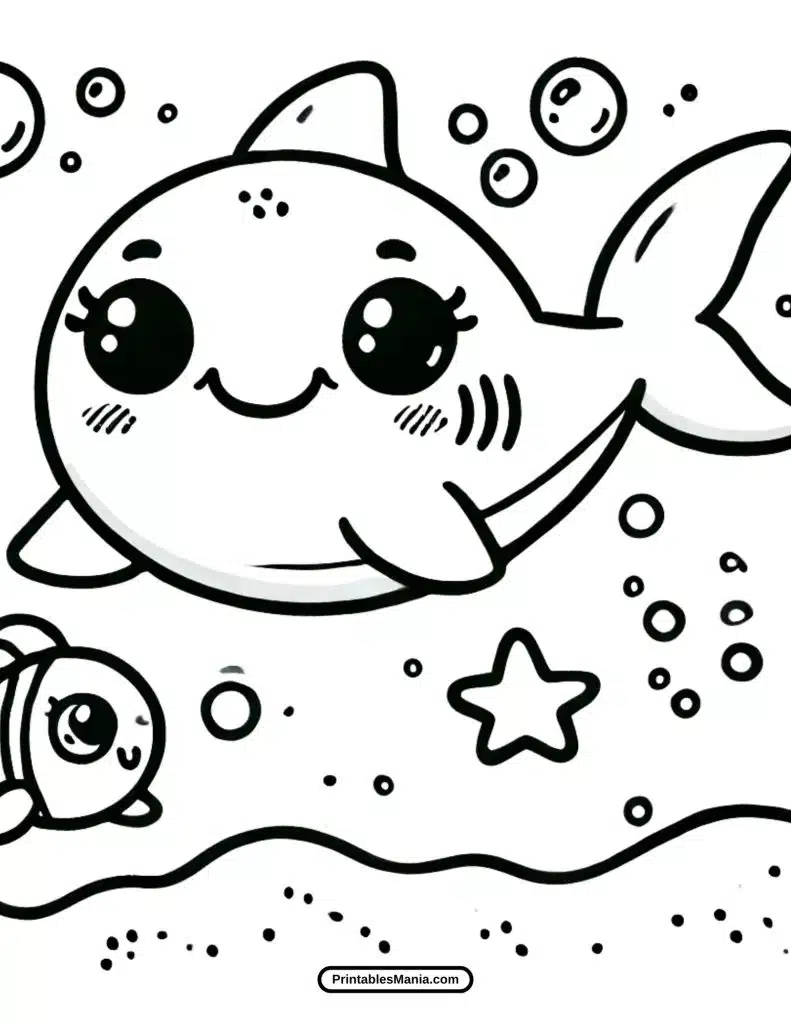
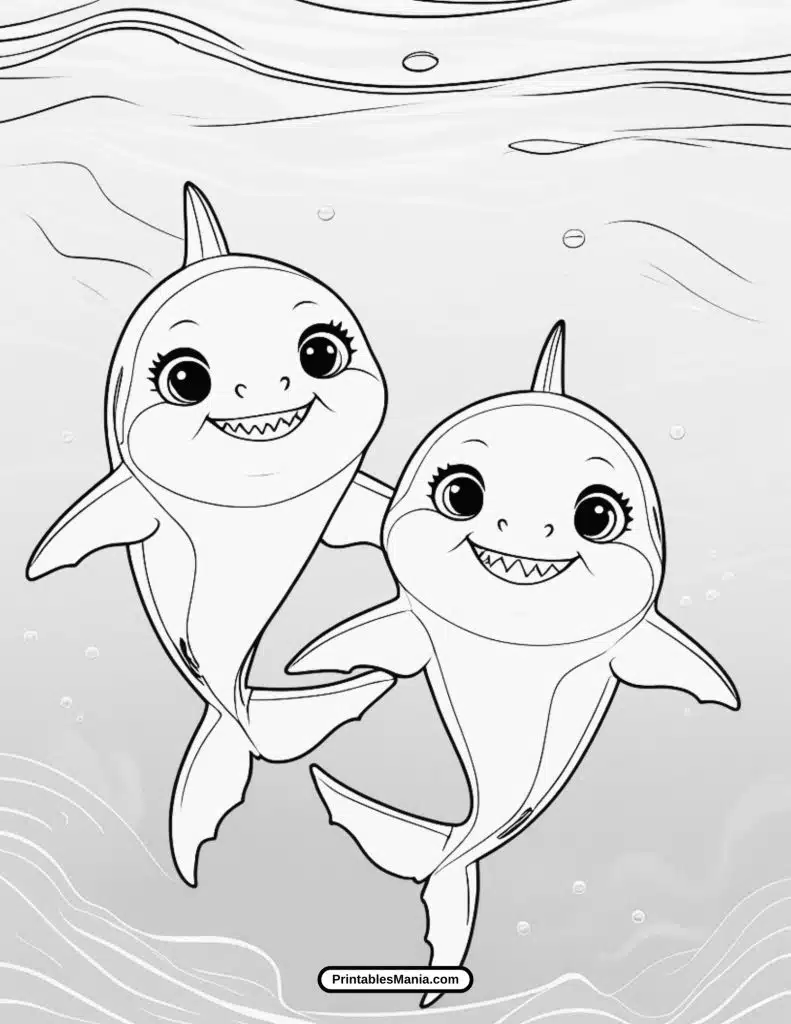
- Kawaii Baby Shark: Adorable illustrations with big eyes and charming details like hearts and stars.
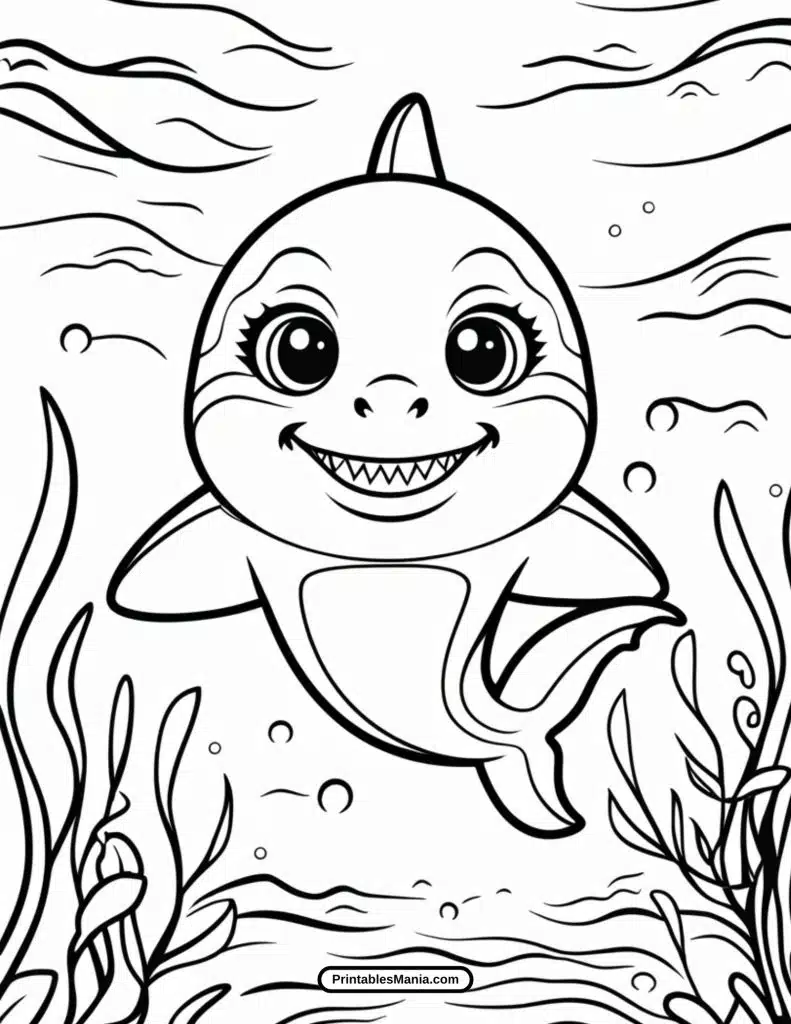
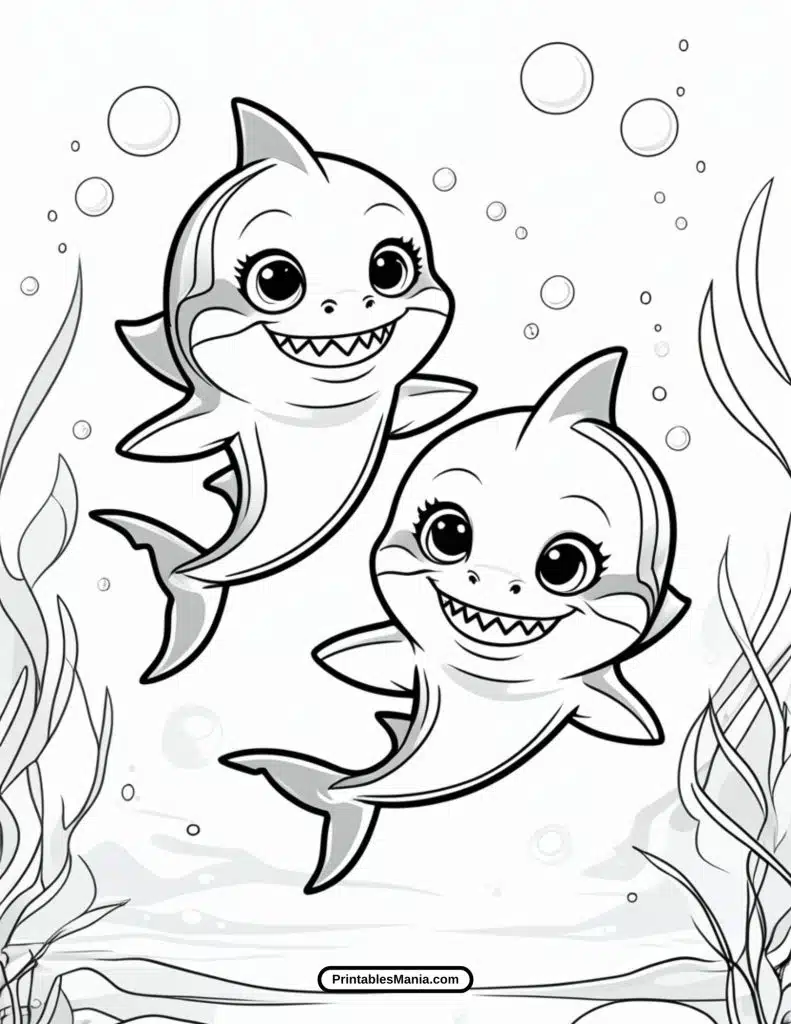
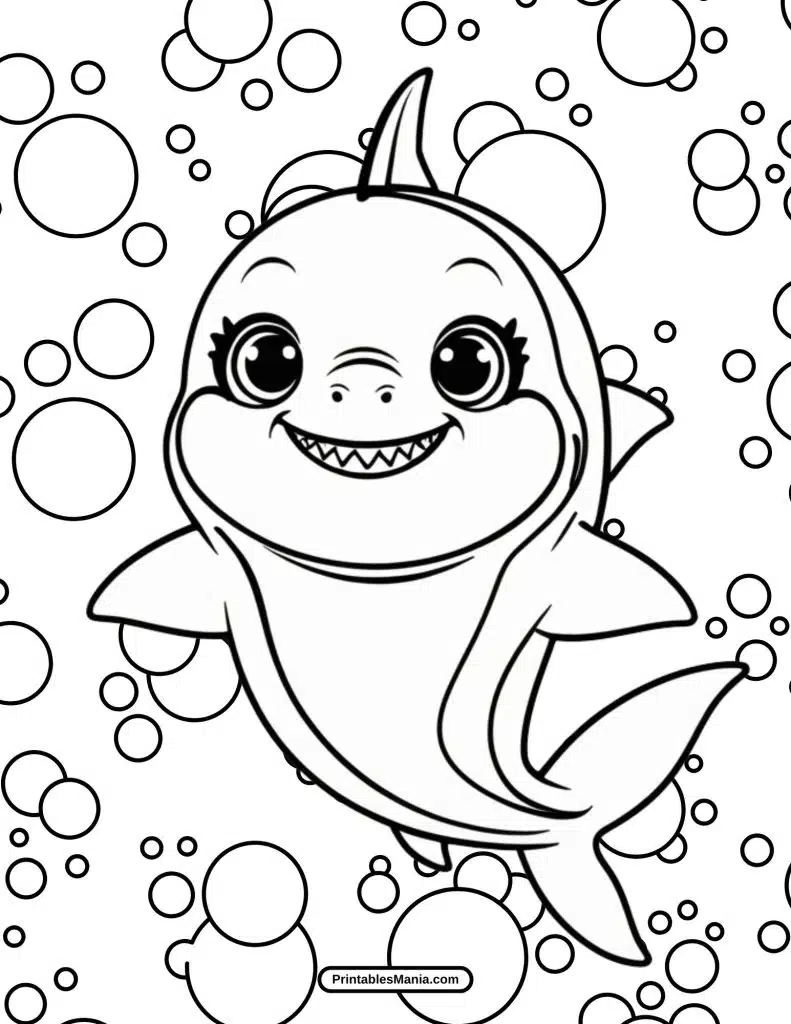
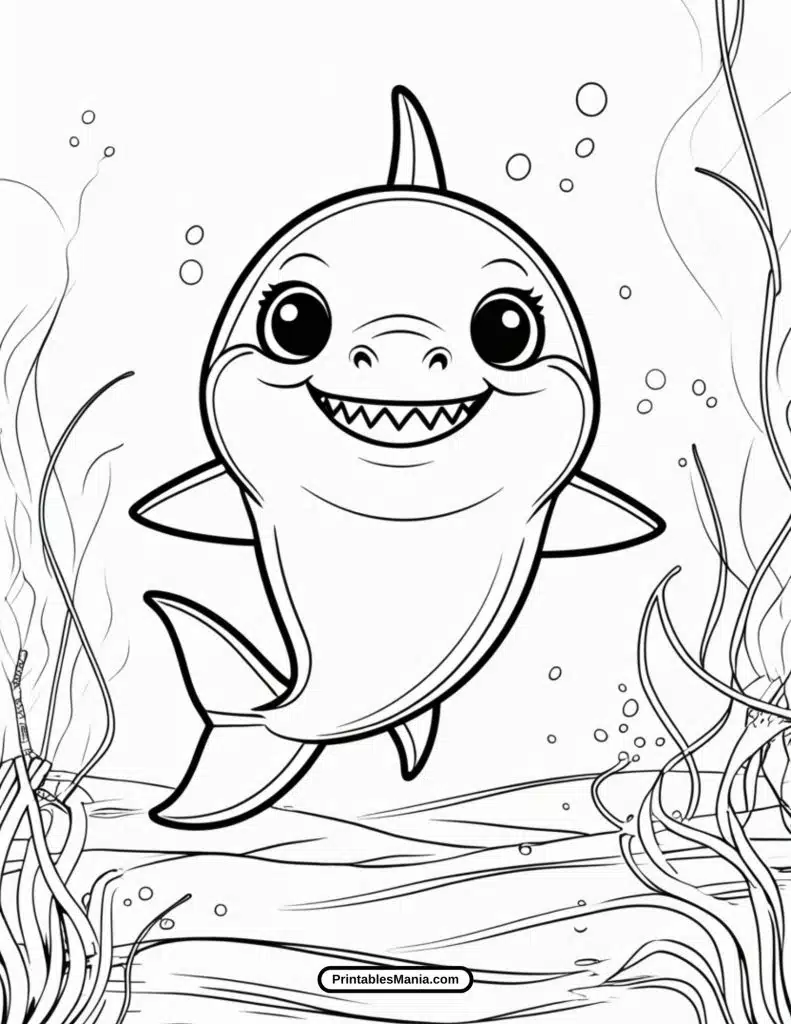
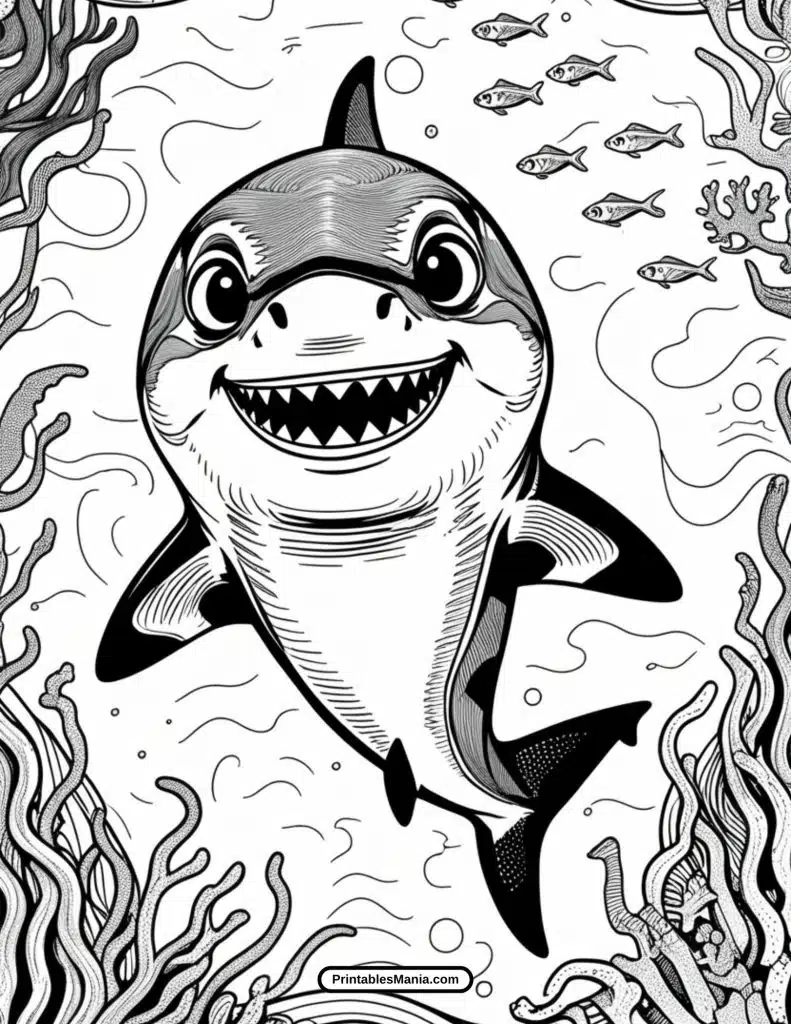
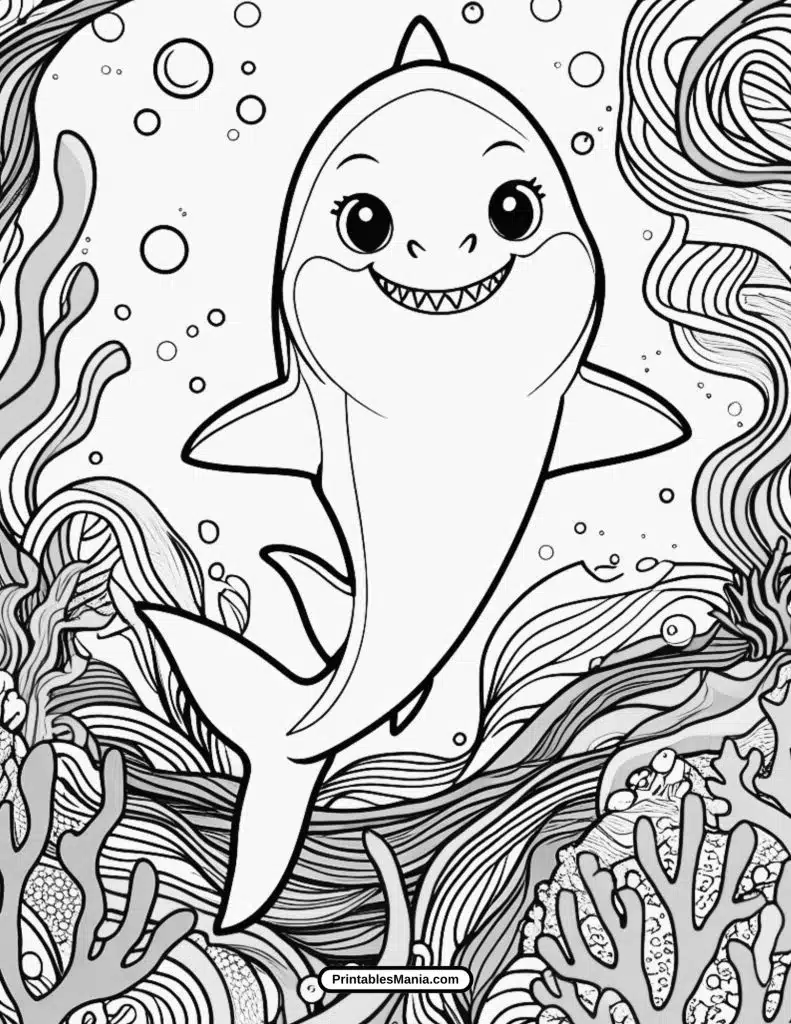
- Underwater Scenes: Baby Shark surrounded by bubbles, coral, and its aquatic friends.
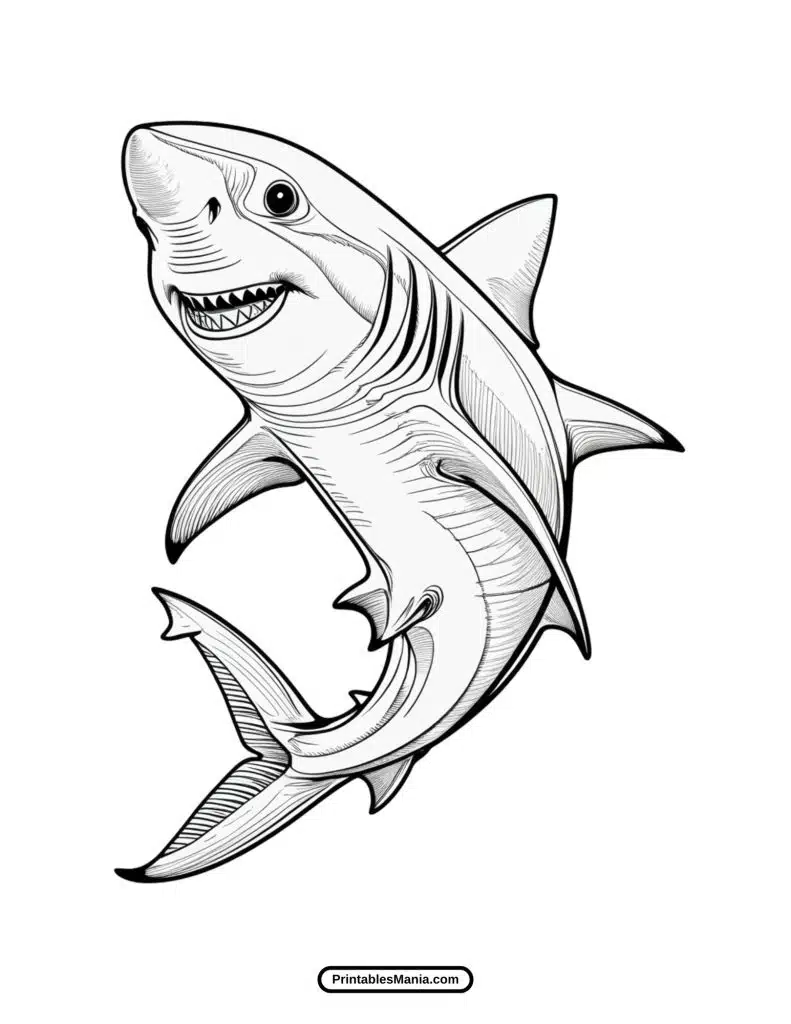
- Realistic Sketches: More detailed options for older kids or those looking for a challenge.
How to Use These Coloring Pages?
- Print and Color: Download your favorite designs and print them on paper.
- Gather Supplies: Use crayons, markers, or colored pencils to bring the images to life.
- Get Creative: Add unique patterns, backgrounds, or decorations to make your Baby Shark artwork one of a kind.
- Showcase the Art: Display the finished pages on the fridge or share them with friends and family.
Let’s Get Started!
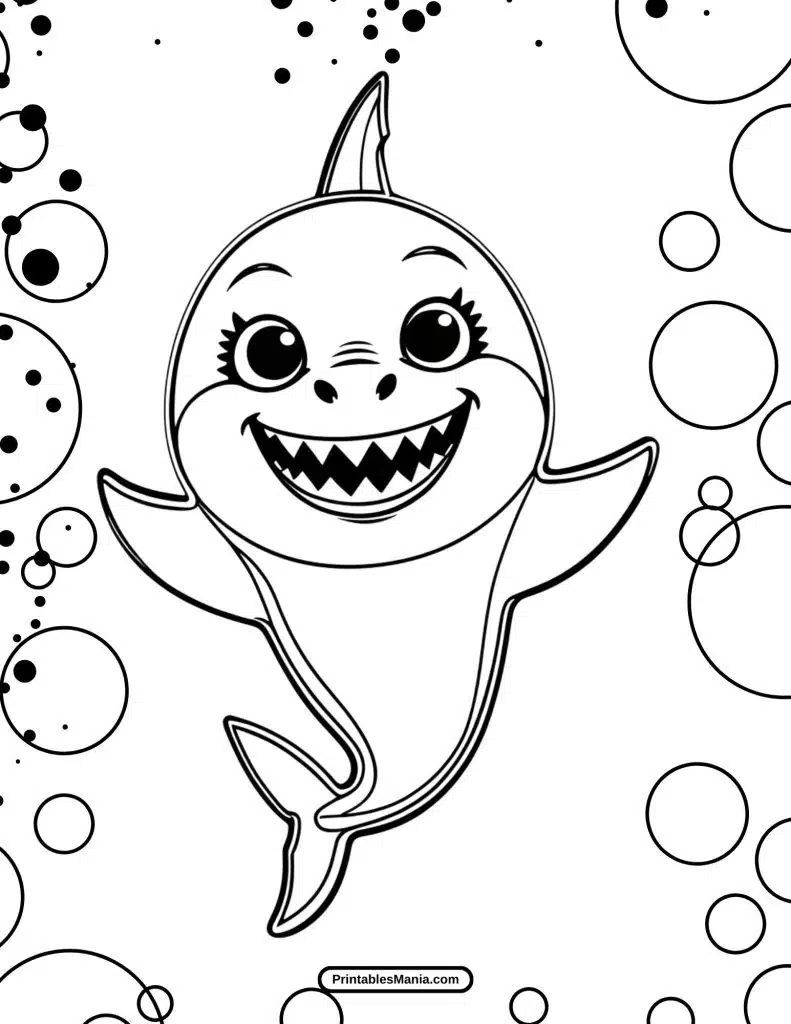
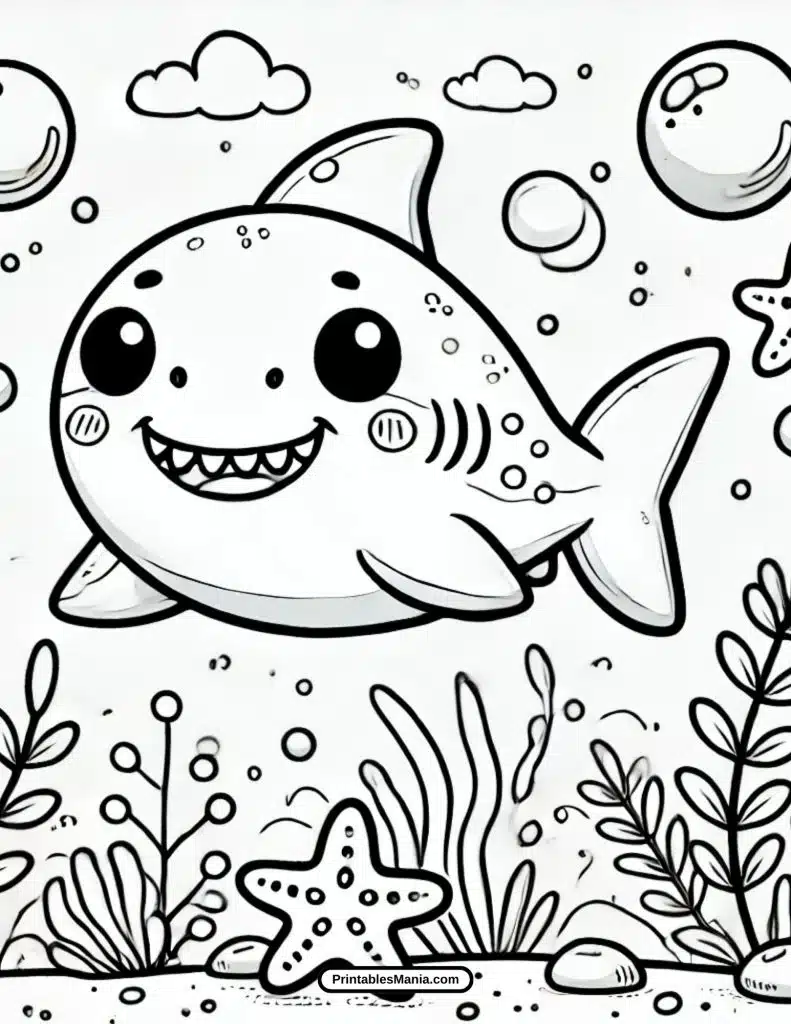
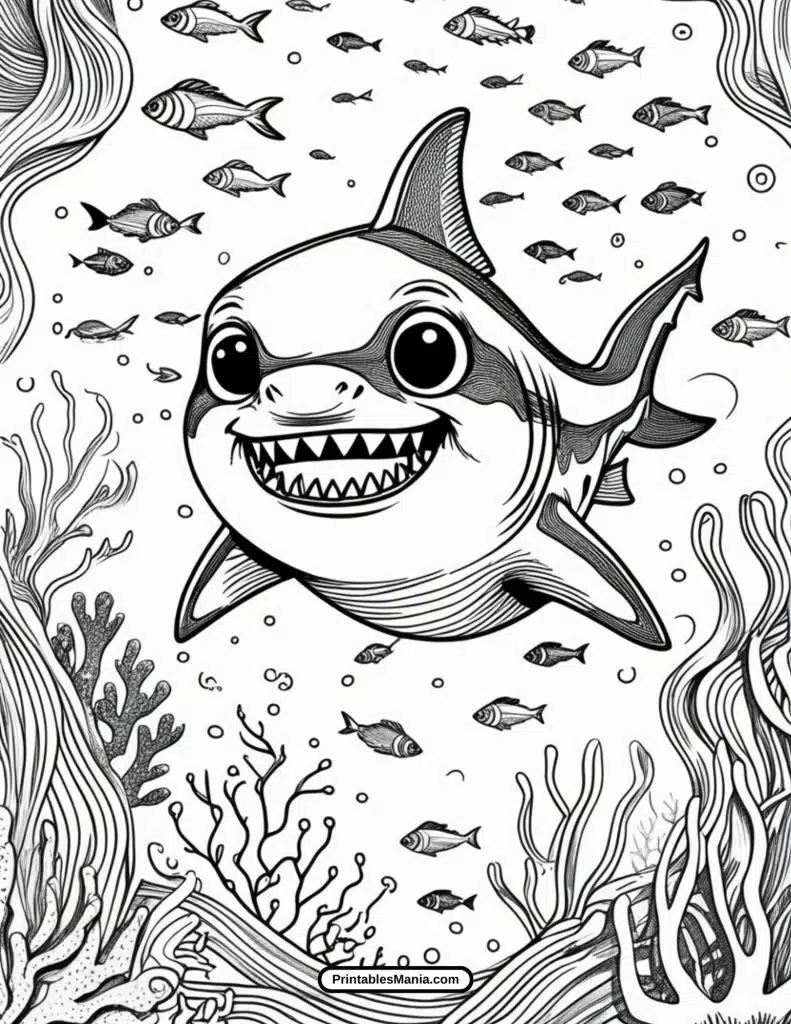

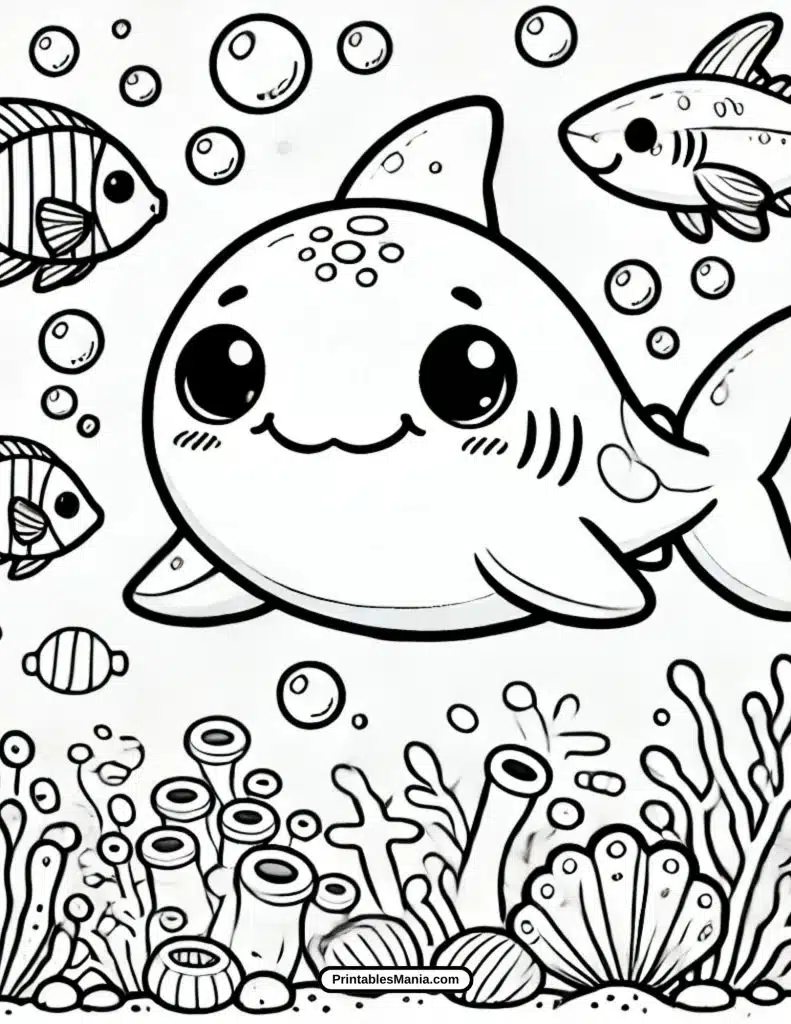



Art Tips and Techniques for Coloring Baby Shark Pages
Coloring Baby Shark illustrations can be a fun and creative activity for kids and adults alike. Whether you’re using crayons, markers, or digital tools, these tips will help you bring your Baby Shark designs to life.
1. Choosing Colors
- Vibrant Colors: Use bright and cheerful colors for the Baby Shark and its underwater world.
- Yellow for Baby Shark.
- Blue for the ocean background.
- Green for seaweed and coral.
- Kawaii Style: Add pastel shades like soft pink, mint green, and baby blue to give your artwork a charming, playful vibe.
- Personalized Palette: Let kids choose their favorite colors to make the artwork unique and creative.
2. Blending Techniques
Blending colors can add depth and dimension to your illustrations:
- Crayons: Layer different shades of the same color lightly. Use a white crayon to blend and smooth out the transitions.
- Markers: Use alcohol-based markers for seamless blending. Start with lighter shades and gradually add darker tones for shadows.
- Colored Pencils: Apply colors in soft circular motions, then use a blending pencil or cotton swab to create smooth gradients.
- Digital Tools: Adjust opacity and use gradient brushes for perfect blending on digital platforms.
3. Adding Texture
Create texture to make your Baby Shark illustrations pop:
- Shark Skin: Add light dots or cross-hatching with a pencil to mimic the texture of a shark’s skin.
- Water Ripples: Use wavy, light blue lines to create the effect of movement in the water.
- Coral and Seaweed: Add small lines or patterns to give underwater plants a natural look.
4. Medium Suggestions
Experiment with different coloring tools for unique effects:
- Crayons: Great for young kids, offering bold and vibrant results.
- Markers: Ideal for smooth and even coverage, especially for large areas like water.
- Colored Pencils: Perfect for detailed shading, blending, and adding fine details.
- Watercolors: Create a soft and dreamy underwater scene with gentle washes of color.
- Digital Tools: Apps like Procreate or Photoshop provide endless creative options with layers, brushes, and effects.
5. Highlighting and Shadows
- Highlights: Use a white pencil or gel pen to add highlights to the Baby Shark’s eyes, bubbles, and shiny surfaces.
- Shadows: Add darker shades along the edges of the shark and underwater elements to create depth. Focus on areas under the fins and along the belly for a more realistic look.
6. Personalize the Background
Make your artwork stand out by adding creative details to the background:
- Underwater Scene: Include coral reefs, seashells, and other aquatic life.
- Bubbles: Draw bubbles of different sizes around Baby Shark and color them with light blue and white.
- Sun Rays: Use light yellow or white streaks to represent sunlight streaming through the water.
7. Encourage Creativity
There are no limits to what you can do with your Baby Shark illustrations:
- Add patterns like polka dots or stripes to the shark’s body for a fun twist.
- Draw accessories like a party hat, sunglasses, or a bow tie for a playful look.
- Create a scene with Baby Shark’s family or friends for a complete underwater adventure.
By applying these coloring techniques, your Baby Shark illustrations will come to life with vibrant colors and creative flair. Let your imagination swim freely and enjoy the process!
What to Do with the Colored Page?
Once you’ve finished coloring your Baby Shark masterpiece, there are plenty of creative and fun ways to use your artwork. Here are some ideas to make the most of your colored pages:
1. Display Your Artwork
- On the Fridge: Attach your finished page to the refrigerator to showcase it to family and visitors.
- Create a Wall Gallery: Frame your favorite designs and hang them together for a colorful display.
- Use Magnets: Turn your artwork into fridge magnets by laminating and attaching magnetic strips.
2. Make Personalized Gifts
- Greeting Cards: Fold the page in half and write a sweet message inside for someone special.
- Bookmarks: Cut a portion of your artwork into a bookmark shape and laminate it for durability.
- Gift Wrap: Use the colored page to wrap small presents or as a decorative tag on larger packages.
3. Incorporate It into Crafts
- Collages: Cut out Baby Shark and other elements from the page and glue them onto a new sheet to create a unique collage.
- Scrapbooking: Add your colored page to a scrapbook filled with family memories or themed crafts.
- DIY Puzzle: Cut the page into small pieces and let kids reassemble it like a puzzle.
4. Share Your Creatio
- Social Media: Post a picture of your artwork on platforms like Instagram or Facebook using hashtags like #BabySharkArt or #ColoringFun.
- E-Cards: Scan your artwork and send it digitally to friends and family as a cheerful greeting.
- Community Sharing: Share your work with local community groups, schools, or online forums for inspiration.
5. Use It for Educational Activities
- Learning Games: Teach kids colors, shapes, or sea life using their finished artwork as a fun visual aid.
- Storytelling: Create a story featuring Baby Shark and use the colored page as an illustration.
- Themed Learning: Incorporate the artwork into lessons about the ocean, marine animals, or creativity.
6. Create Fun Decorations
- Party Decor: Use your colored page to decorate for an ocean-themed birthday party or event.
- Room Accents: Laminate and use it as wall art or a door sign in your child’s room.
- Placemats: Laminate the page to create a fun, reusable placemat for mealtime.
7. Save It for Inspiration
- Color Palettes: Use your finished page as a reference for future coloring projects.
- Art Portfolio: Save your best work in a folder to look back on your creative journey.
- Revisit and Improve: Try coloring the same page in a new way to see how your skills evolve over time.
Your colored Baby Shark page is more than just art—it’s a gateway to creativity, learning, and fun activities. Choose any of these ideas to make the most of your masterpiece and let it bring smiles to everyone around you!

